
There’s a certain kind of quiet that comes with winter. The trees go bare, the ground goes still, and if you look closely, there are little treasures everywhere. A fallen pinecone, a handful of twigs, a fern gone crisp with frost.
So winter is a lovely time to craft with what you gather. Bundle up for a short walk, fill a pocket with pinecones and sticks, and you have almost everything you need for an afternoon of making.
Whether you’re a parent at your own kitchen table, a grandparent with the little ones over, a Sunday school teacher, a homeschool mama, or a classroom teacher planning a nature lesson, these seven ideas are simple to set up and lovely to keep.
7 beautiful winter nature crafts for kids
Here are seven little crafts to make together, each one starting with something you can find outside. So pick one for a quiet afternoon, or work through several as the cold weeks go on.
1. Snowy pinecones
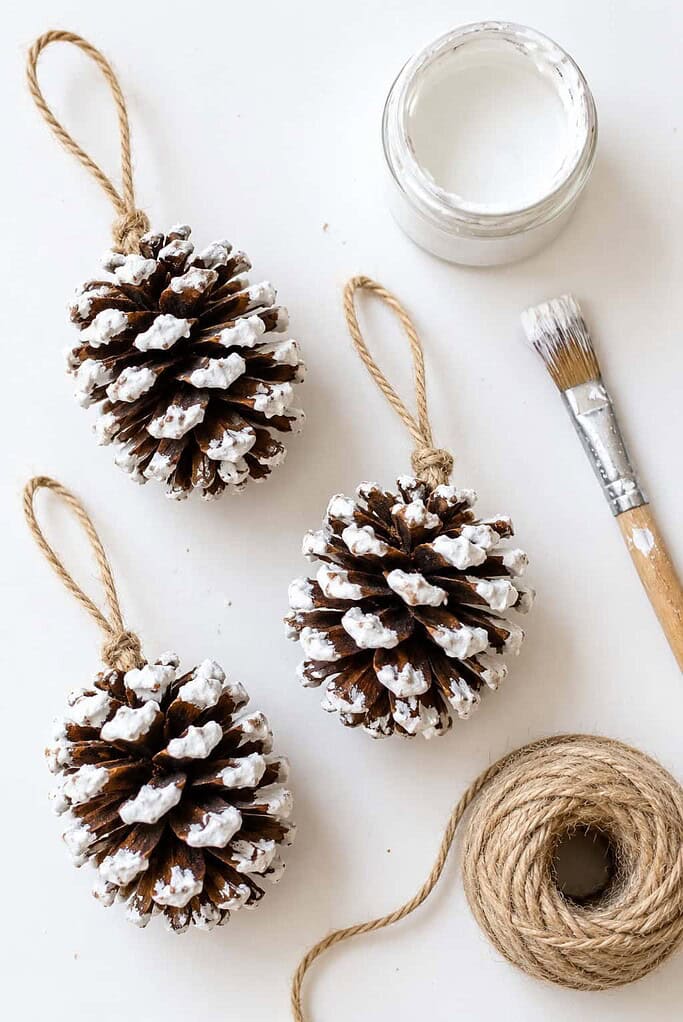
The simplest craft of the whole list, and it turns a plain pinecone into a little frosted ornament.
- Head outside and gather a few dry, open pinecones.
- Dip a small brush or a bit of sponge in white paint and dab it lightly over the tips of the scales.
- For a bit of extra sparkle, sprinkle on some white or silver glitter while the paint is still wet.
- Let them dry, then tie a loop of twine around the top of each one to hang.
Pinecones are one of the best things to gather on a winter walk, and our sweet nature crafts for kids has more ideas for what you find outside.
2. Twig snowflakes
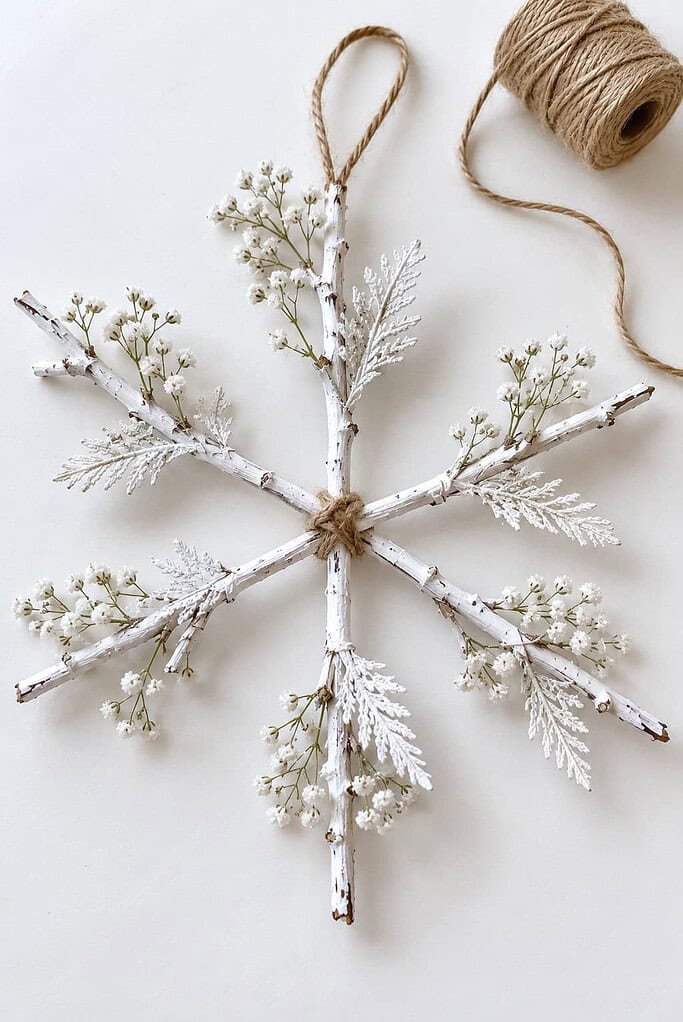
These look like they came straight off a frosty branch, and no two ever turn out the same.
- Gather six twigs of about the same length on your walk.
- Paint them white and let them dry.
- Stack the twigs so they cross in the middle like a star, then tie them together at the center with a bit of twine.
- Tuck a few sprigs of white-painted fern or dried baby’s breath between the arms and glue them in place.
- Add a twine loop at one point to hang it in a window.
The dried bits catch the light like real frost, and they last long after the snow has melted away.
3. Pinecone owls
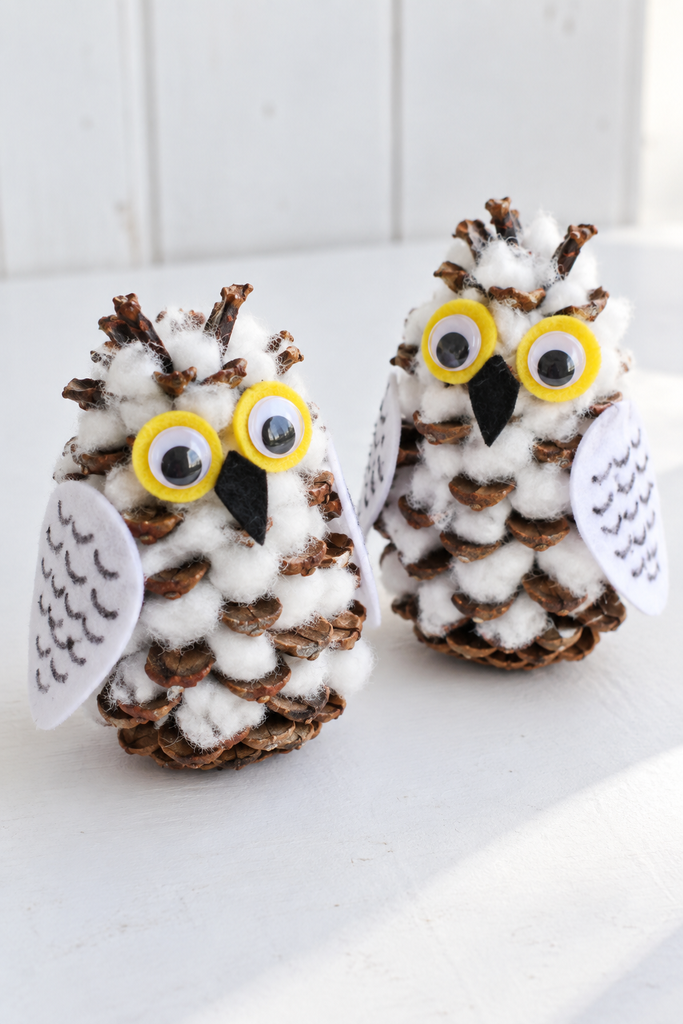
A pinecone makes the perfect little body for a snowy owl, tucked-in feathers and all.
- Pull small bits of cotton or fiberfill and tuck them between the scales of a pinecone for a fluffy, snowy look.
- Cut two yellow felt circles for the eyes, glue a googly eye on each, and glue them near the top.
- Cut a small black felt triangle for the beak and glue it just below the eyes.
- Cut two white felt wings, draw a few feather lines on each with a marker, and glue one on each side.
Owls are always a favorite around here, and our cute owl crafts has more of them for another day.
4. Stick reindeer
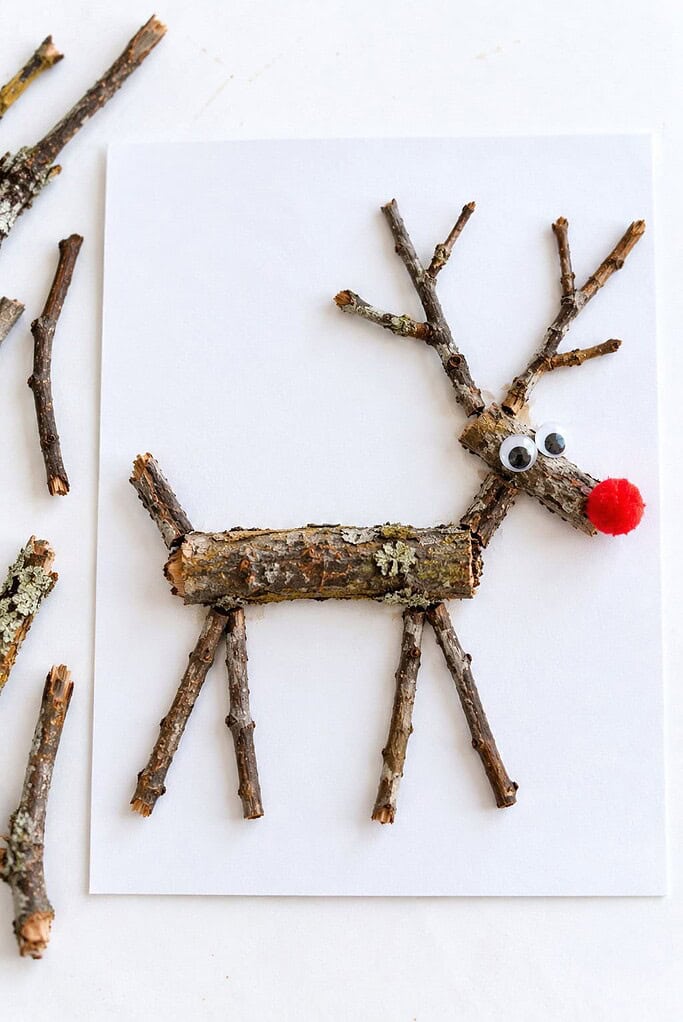
A few gathered twigs come together into a friendly little reindeer, and this one is all natural.
- Gather some small twigs on your walk, including a thicker one for the body, a shorter one for the head, and a little forked twig for the antlers.
- Lay the body twig across a piece of cardstock, set the shorter twig above it for the head, and glue them both down.
- Glue the forked twig above the head for antlers, and add two or three thin twigs below the body for legs.
- Glue on two googly eyes and a red pom-pom for Rudolph’s nose.
For a whole herd of them, our charming reindeer crafts is full of easy ideas.
5. Twig Christmas tree
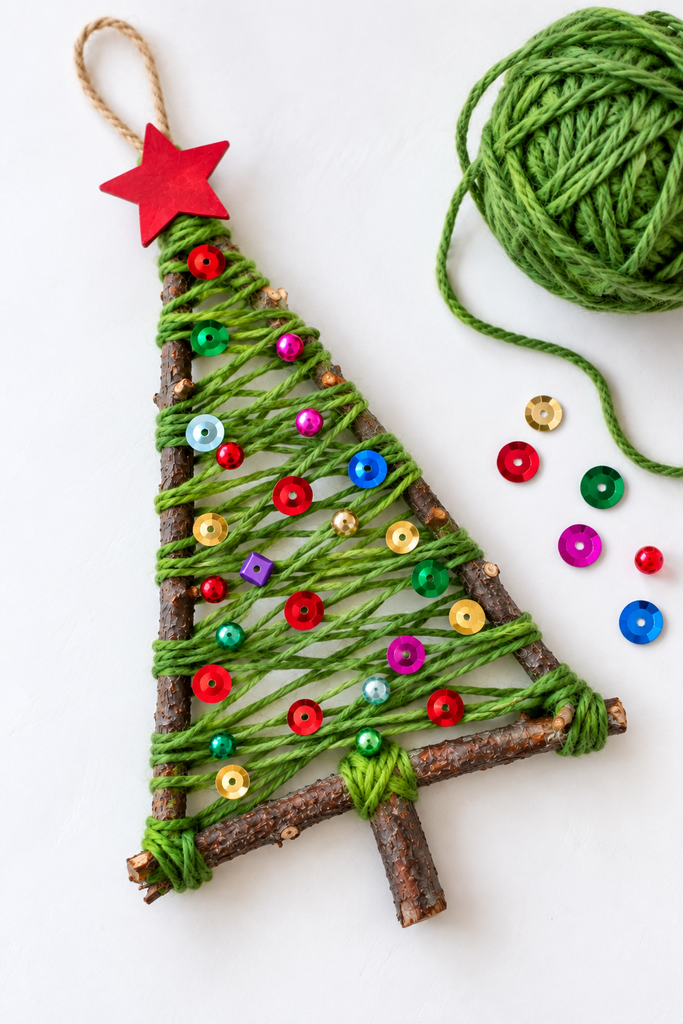
This little tree starts with twigs from the yard and a bit of green yarn, and it hangs so prettily in a window.
- Gather three twigs and arrange them into a triangle, gluing or tying the corners together.
- Wrap green yarn back and forth across the frame until it looks full and leafy.
- Glue on colorful sequins or beads for ornaments.
- Add a small star at the top and a loop of string to hang it.
It’s a cozy craft for a cold afternoon, and our easy winter crafts for kids has plenty more to fill the season.
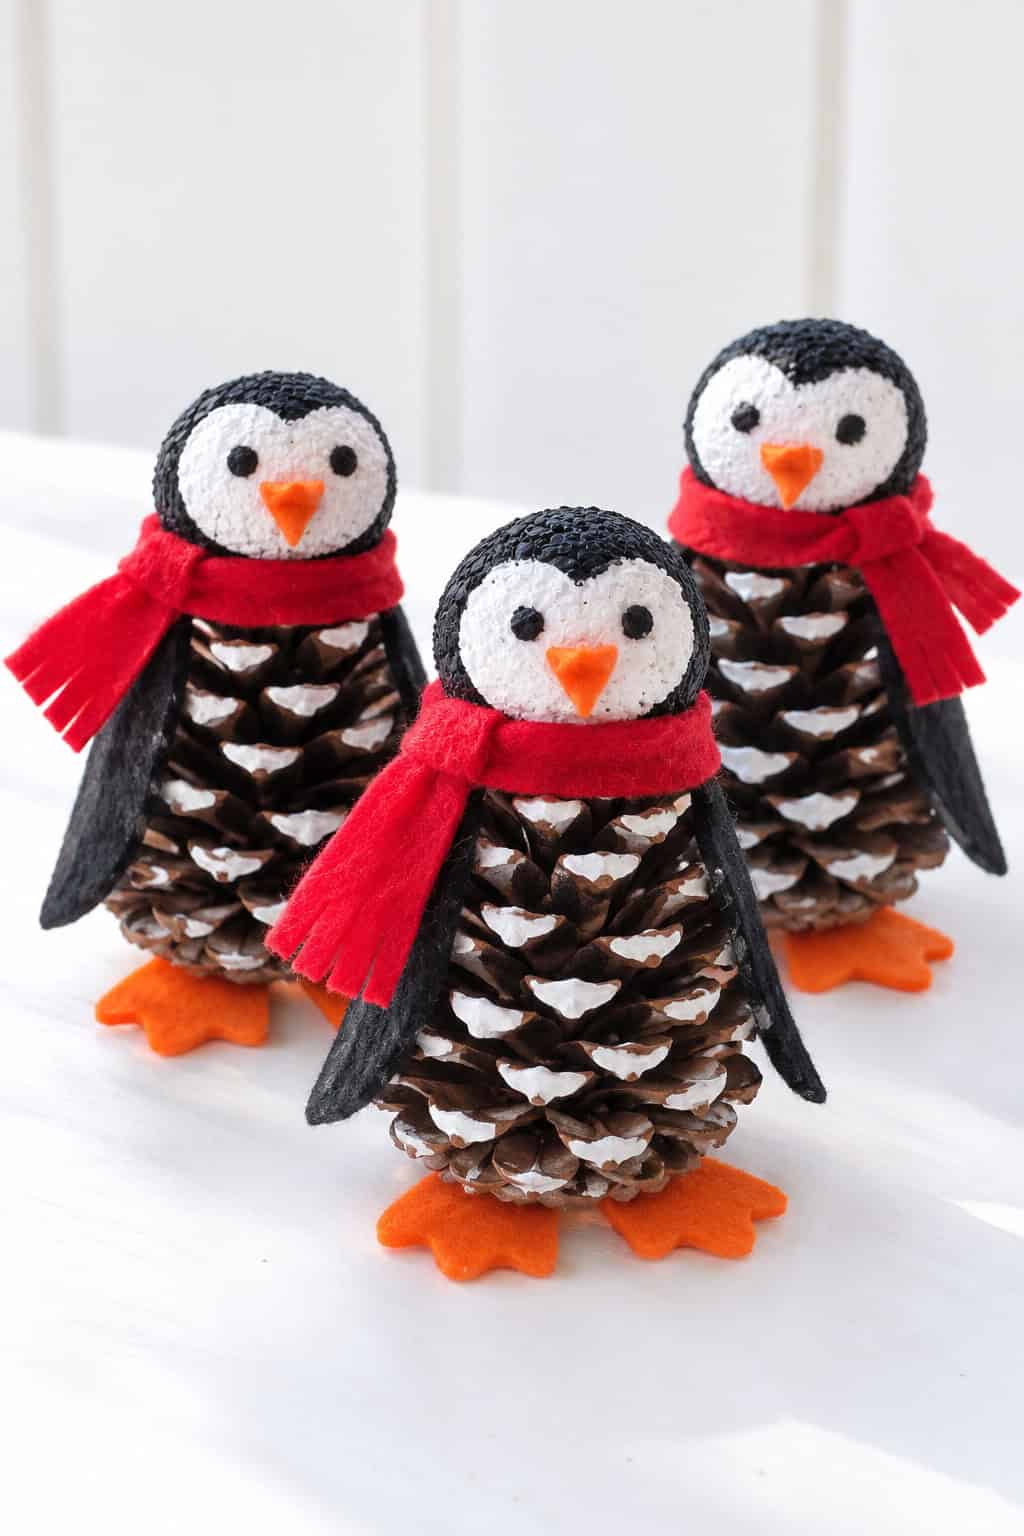
6. Pinecone penguin
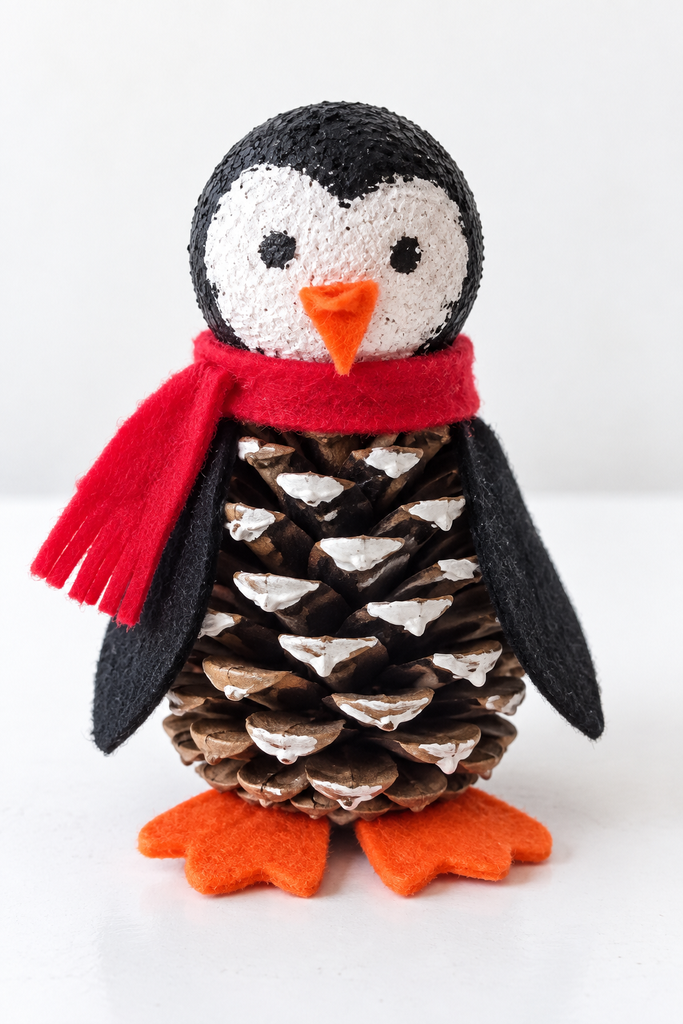
This cheerful little penguin is all bundled up for the cold, scarf and all.
- Stand a pinecone upright for the body and glue a small foam ball on top for the head.
- Paint the top of the head black and the face white, then add two dots for eyes and a little orange triangle beak.
- Cut two black felt wings and glue one on each side of the pinecone.
- Tie a small strip of red felt around the neck for a scarf, and glue two orange felt feet at the base.
Line a few up on the windowsill and you’ve got a whole waddle of them.
7. Ice ornament
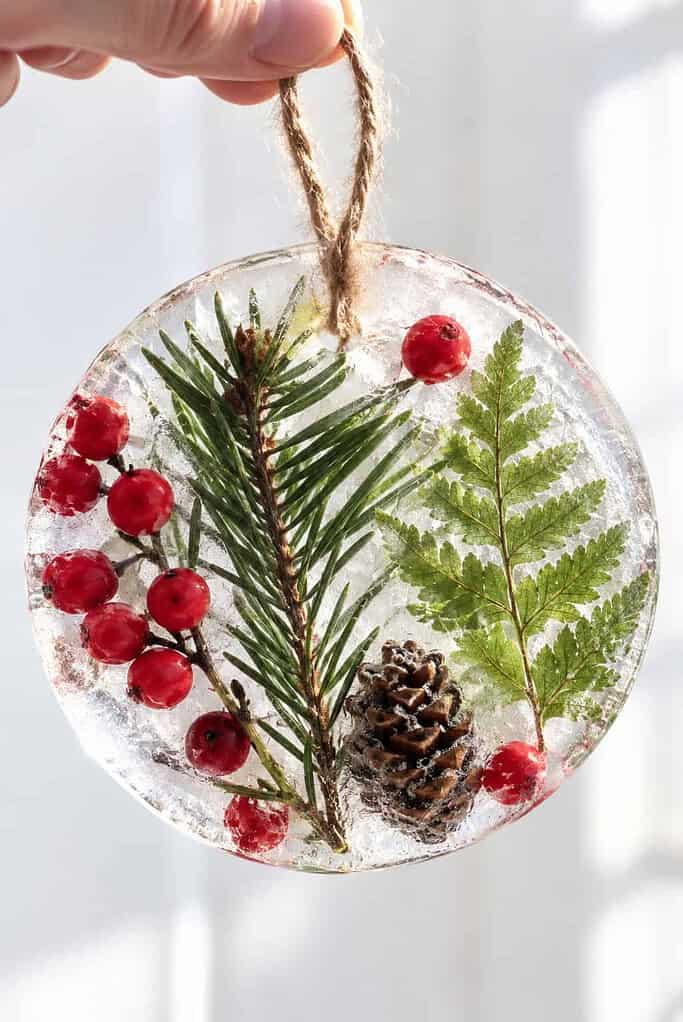
This one is pure winter magic, and it lets the cold outside do most of the work for you.
- Fill a shallow dish or a plastic lid with a little water.
- Lay in a few pretty bits of nature, like red berries, evergreen sprigs, or a single fern leaf.
- Set the two ends of a loop of string into the water so it will freeze in as a hanger.
- Leave the dish outside overnight if it’s freezing, or pop it in the freezer, then gently turn out the ice and hang it from a branch.
They sparkle in the winter sun, and there’s something magical about watching one slowly melt away.
why kids love a good winter nature craft
There’s something special about a craft that starts with a walk outside. Gathering the pinecones and twigs is half the fun, and it gives little ones a reason to bundle up and notice the quiet beauty of the season.
These crafts also use whatever the winter gives, so no two ever look quite the same. A pinecone here, a twig there, and each child’s creation turns out a little different.
Many of them make sweet keepsakes too, the kind you’ll be glad you tucked away. If your family loves saving the little things small hands make, our fun handprint crafts for kids has more to treasure.
simple supplies to keep on hand
The best part of these crafts is that half the supplies come from outside. A basket of pinecones, a handful of twigs and sticks, and a few pretty bits of greenery will carry you through most of the list. Keep some white paint, school glue, and twine or string on hand for nearly all of them.
From there, a few small extras finish things off. Cotton balls, felt scraps, googly eyes, pom-poms, sequins, and a ball of green yarn cover the owls, penguins, reindeer, and trees. And for the ice ornaments, all you really need is a cold night or a spot in the freezer.
None of it needs to be fancy. Most of it is probably already sitting in your craft drawer, waiting for a frosty afternoon.
tips for crafting with little ones
A little prep goes a long way. Take a walk together first to gather your pinecones, twigs, and sticks, and let everything dry indoors for a day before you start so the paint and glue behave.
Keep the expectations gentle. Natural materials are never perfectly even, and that’s the whole charm. A lopsided snowflake or a penguin with a crooked scarf has a character all its own.
And let them lead where you can. If your family enjoys making something from found bits and pieces, our recycled crafts for kids has more ideas along those lines.
pick one winter nature craft to try this week
So pick the one that fits your supplies and the ages around your table. You don’t need to make all seven. Just one good pinecone or a handful of twigs is plenty for a happy afternoon.
The craft is fun on its own, but the walk to gather your bits and the time you spend together is the part that tends to stay with them. Years from now, they may not remember which one they made, but they’ll remember bundling up and hunting for the perfect pinecone with you.
If you and your little ones make a few of these, I’d love to see how they turned out. Leave a photo in the comments when you get a chance, or send one our way. And if it’s fine with you, yours might be posted here on the site to encourage other families crafting at home. There’s no pressure at all, just a warm little invitation to share if you’d like.
With love,
Betty
Get the FREE 3D Turkey Craft
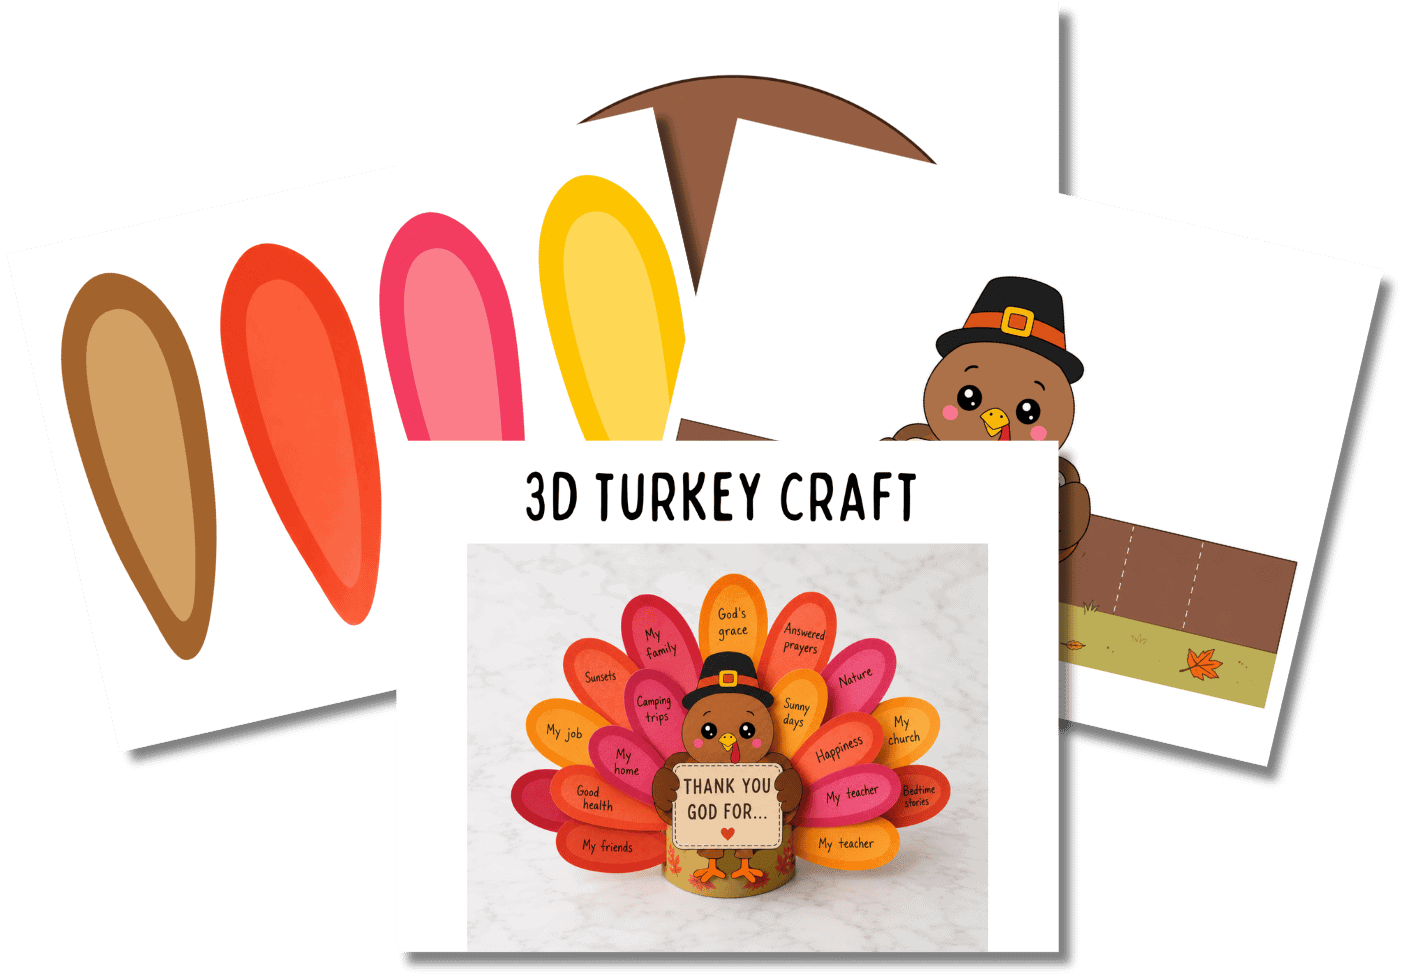
Don’t let your kids just hear that they’re blessed—help them name their blessings one by one.
With this free 3D turkey craft, kids color the turkey and his feathers, then write one thing they’re thankful to God for on each feather. The body wraps around into a base so the turkey stands up on his own, holding a sign that reads “Thank You God for…”
frequently asked questions
what age are these winter nature crafts best for?
Most work well for ages three and up. The snowy pinecones and ice ornaments are gentle enough for the littlest ones, while the owls, penguins, and twig snowflakes suit older children who can manage smaller pieces and a bit of cutting.
where do i find pinecones, twigs, and sticks?
A short walk in a park or your own yard is usually all it takes, especially after a windy day. If you’re short on trees or snow, a craft store carries pinecones and craft twigs too. Just let any natural finds dry indoors before you use them.
do i need to clean the pinecones first?
It’s a good idea. You can bake gathered pinecones on a low oven temperature for a little while to dry them out and clear away any bugs, or simply let them sit indoors for a day or two. Either way, make sure they’re fully dry before painting.
how long do these crafts take?
Most come together in about fifteen to thirty minutes, not counting drying time for paint or glue. The ice ornament is the exception, since it needs a few hours in the freezer or a cold night outside to set.
how do i keep the finished crafts?
Let any paint and glue dry fully, then store the flat ones between sheets of paper and the standing ones in a small box with a little tissue tucked around them. The ice ornaments are the one exception, since they only last while it stays cold.