
There’s something about a little Christmas tree that children never seem to tire of. The pointy top, the star, and all that room to hang as many ornaments as their hearts desire.
So when December rolls around and everyone is waiting on Christmas morning, a tree craft is a sweet way to fill an afternoon together. And most of these use simple things you probably already have, like paper plates, buttons, yarn, or a handful of pom-poms.
Whether you’re a parent at your own kitchen table, a grandparent with the little ones over, a Sunday school teacher, a homeschool mama, or a classroom teacher planning a party day, these twenty ideas are easy to set up and easy to clean up.
20 charming christmas tree crafts for kids
Here are twenty little trees to make together, sorted loosely from the easiest projects for little hands to the ones older children will enjoy. So pick one for a quiet afternoon, or work through several as Christmas gets closer.
1. Paper Christmas tree
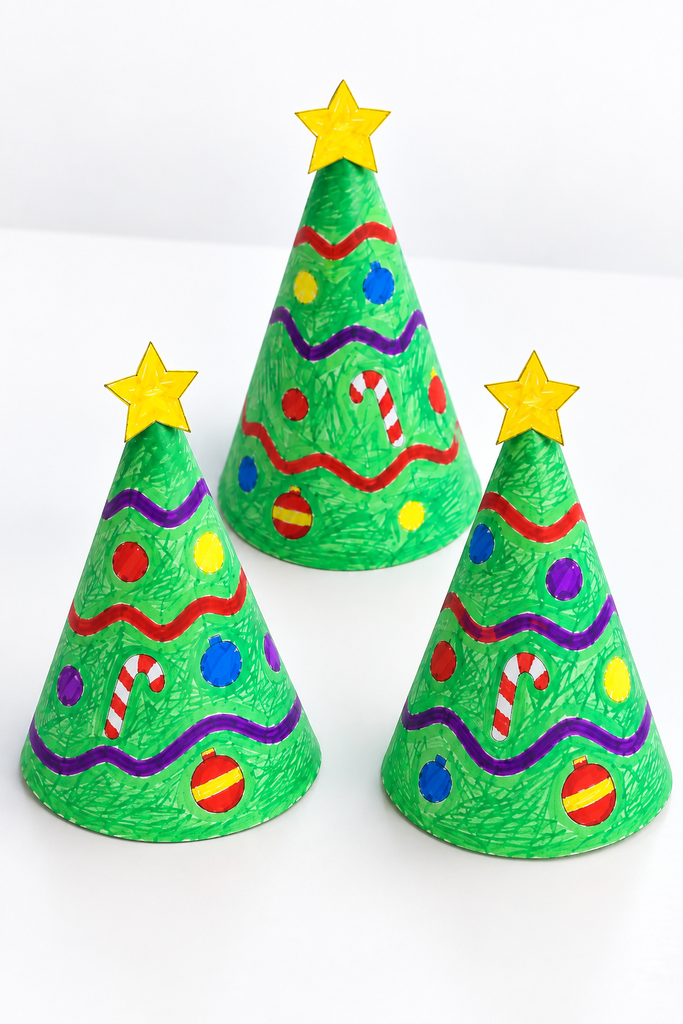
A rolled paper cone is about the simplest tree there is, and it gives every child a blank canvas to fill in their own way.
- Cut a large half circle from green paper, or print a tree template if you have one.
- Let the little ones color it with garland, ornaments, and a few snowflakes.
- Roll the paper into a cone shape and tape the edge closed so it stands on its own.
- Top it with a small paper or foam star.
Some children go neat and tidy, and some cover every inch, and both come out just lovely.
2. Christmas tree pipe cleaner craft
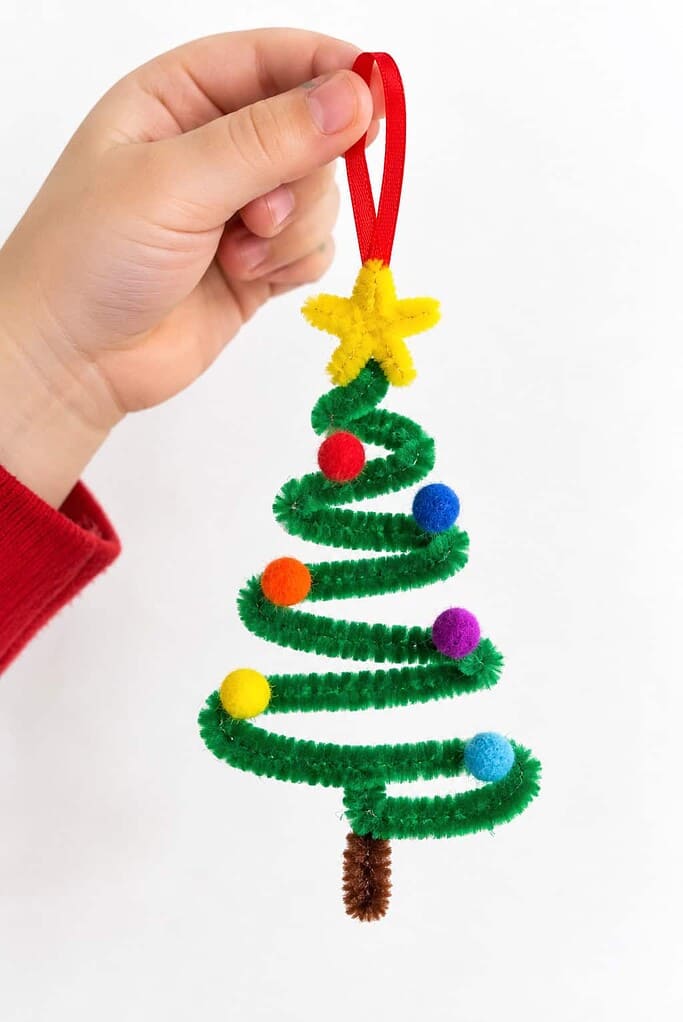
This one turns a single pipe cleaner into a little hanging tree, and the zigzag shape is forgiving enough for hands that are still learning to bend and twist.
- Bend a green pipe cleaner back and forth in a zigzag, starting small at the top and getting wider as you go down.
- Twist a short brown piece onto the bottom for the trunk.
- Shape a bit of yellow pipe cleaner into a star for the top.
- Glue on tiny pom-poms as ornaments and add a ribbon loop so it can hang.
It comes together in just a few minutes, which is nice when little ones are eager to see the finished tree.
3. 3D Christmas tree craft
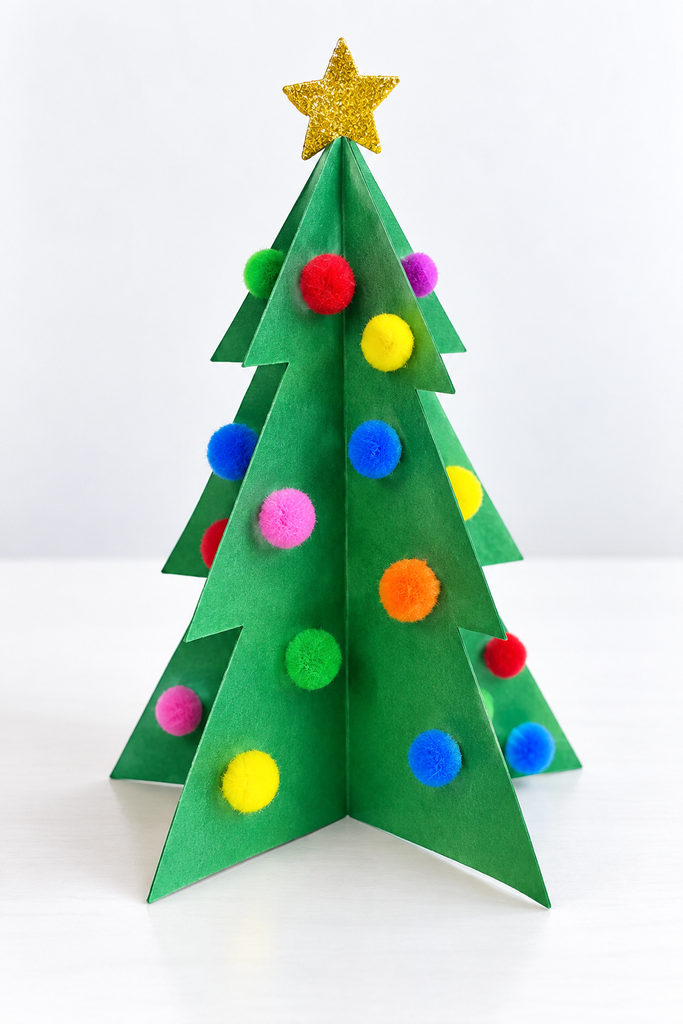
Here’s a tree that actually stands up on the table, and because it has four sides to fill, it keeps busy hands going a good while.
- Cut two matching tree shapes from green cardstock.
- Cut a slit halfway down the center of one from the top, and halfway up the other from the bottom.
- Slide the two pieces together at the slits so they cross and stand upright.
- Decorate all the sides with pom-poms or dot stickers, then add a star on top.
Set a few of these together and the little ones have a whole forest for the windowsill.
4. Handprint Christmas tree
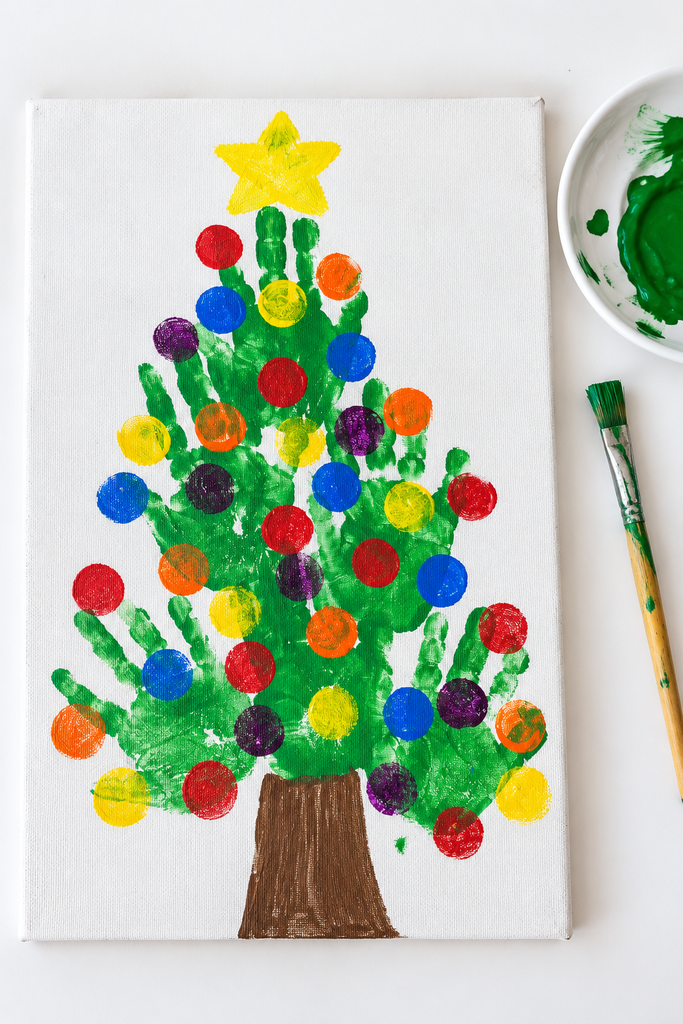
Little handprints make the branches on this sweet keepsake, the kind you’ll be glad you saved once those hands are grown.
- Paint the child’s hand green and press overlapping handprints down the page, with the biggest ones at the bottom.
- Add a brown trunk at the base and a yellow star at the top.
- Let the paint dry all the way.
- Add round ornaments all over with fingertip dots or a dot marker.
For more keepsakes made with little hands, our fun handprint crafts for kids has plenty to reach for.
5. Christmas tree name craft
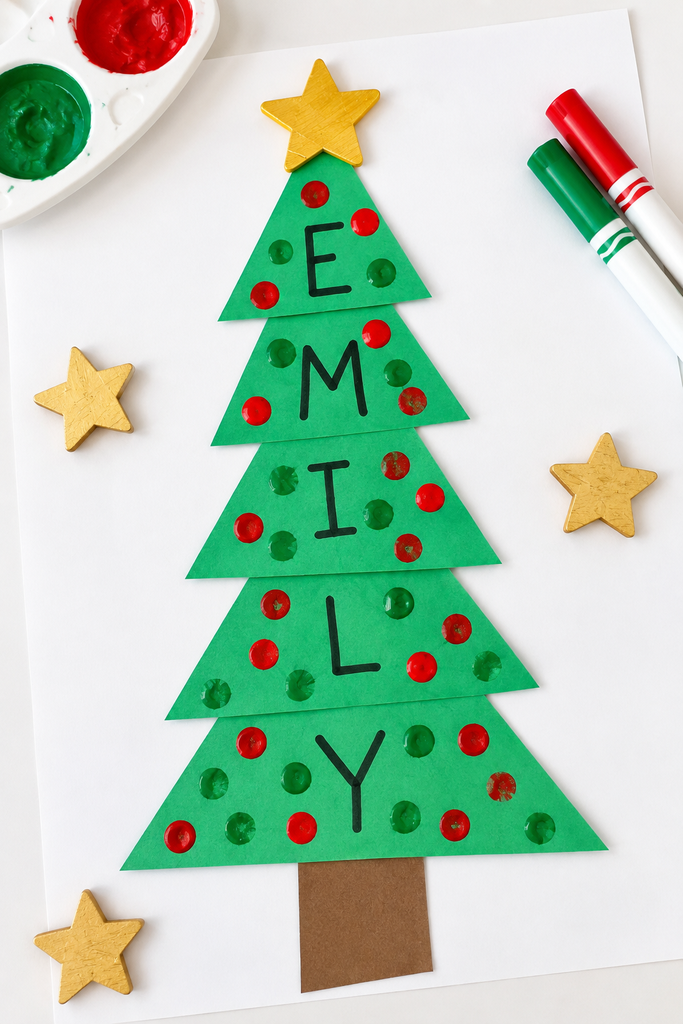
This tree spells out your child’s name one letter at a time, so it sneaks in a little letter practice while they craft.
- Cut green paper triangles in graduating sizes, one for each letter of the name.
- Write a single letter on each triangle.
- Stack and glue them down a page with the smallest at the top, then add a brown trunk and a star.
- Let the little ones press fingertip dots all over as ornaments.
Children love finding their own name hidden in the branches.
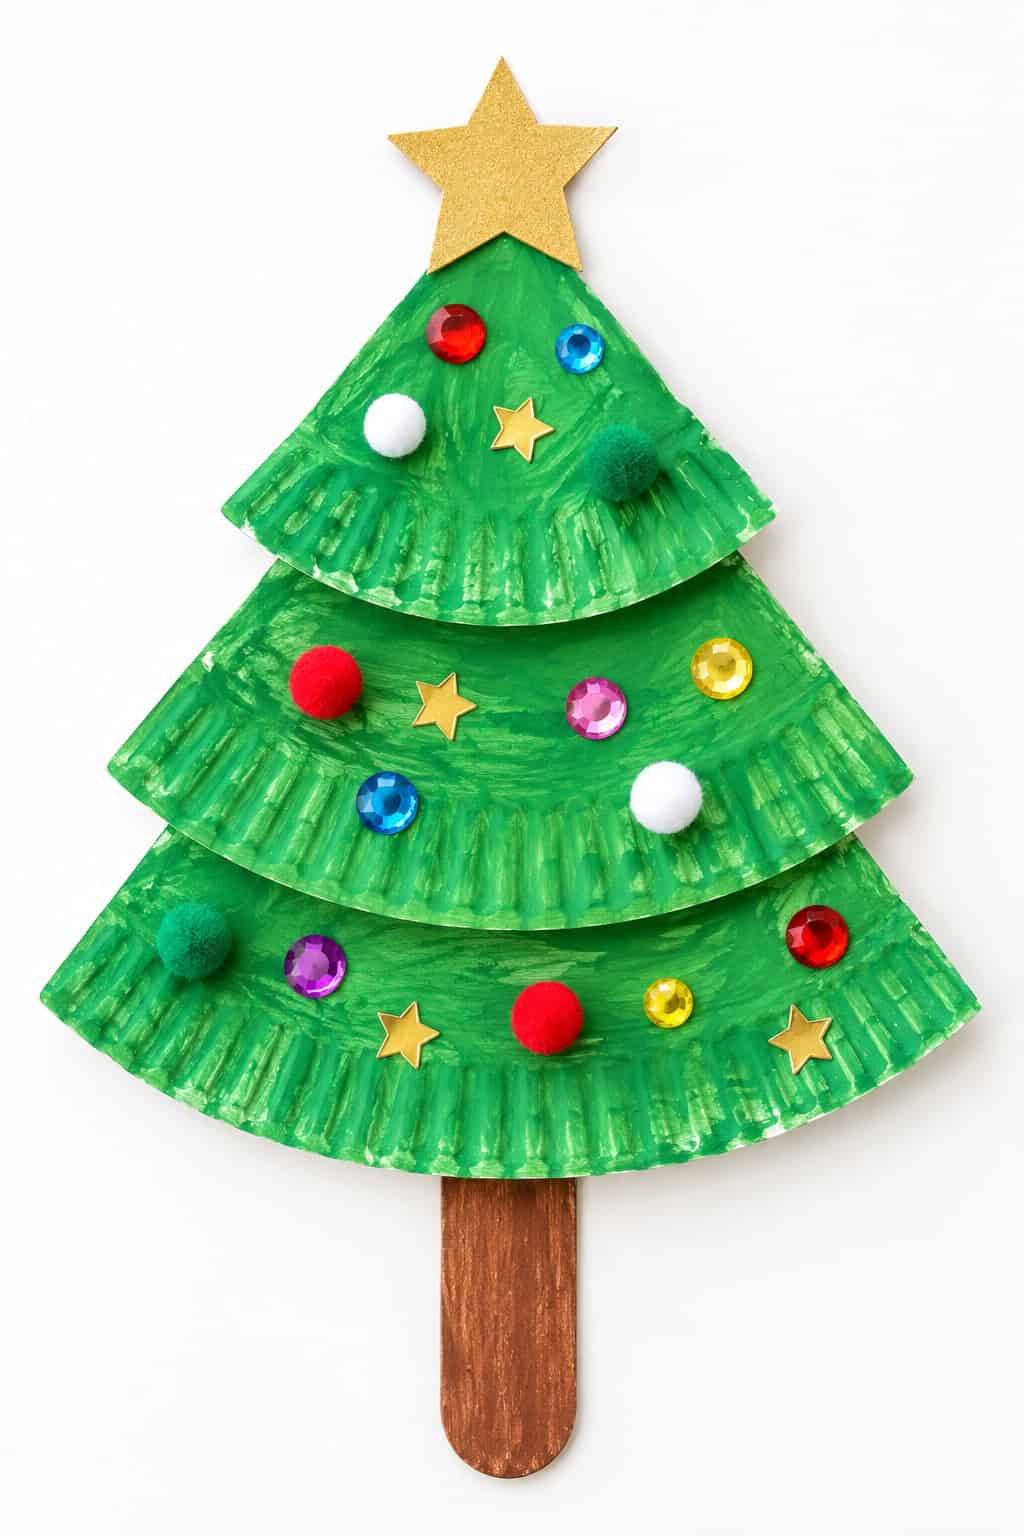
6. Paper plate Christmas tree
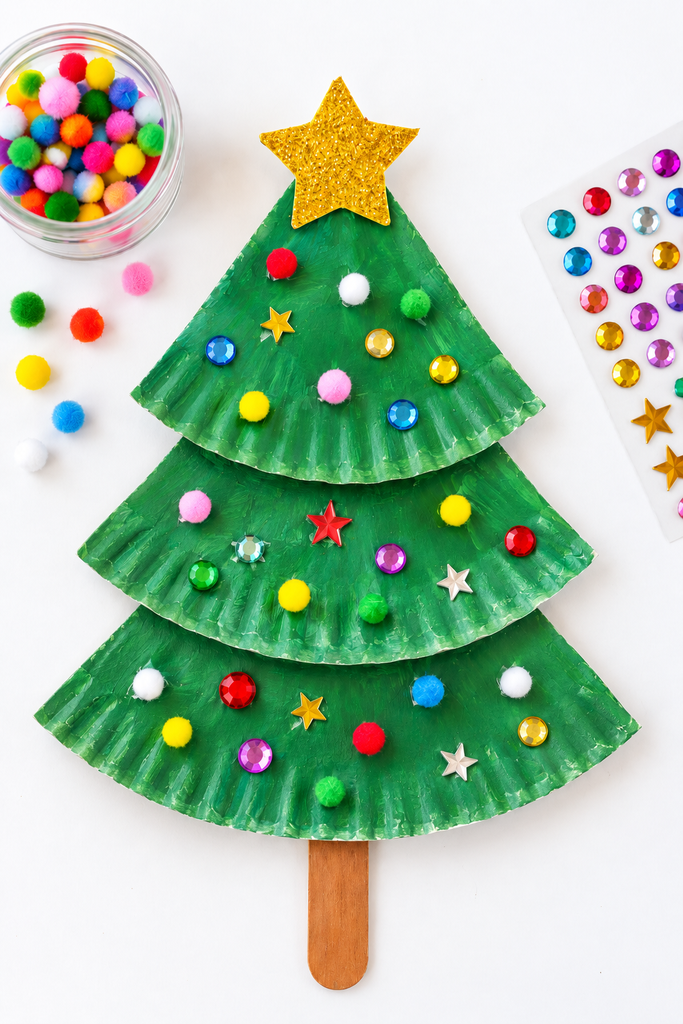
A humble paper plate makes a wonderful little tree, and it’s a fine way to use up what’s already in the cupboard.
- Paint a paper plate green and let it dry.
- Fold or cut it into layered tiers so it looks like branches.
- Glue a craft stick behind the bottom for the trunk, then add a star on top.
- Decorate with gems, pom-poms, and star stickers.
Paper plates never seem to run out of ideas, so if you’d like more, our cute paper plate crafts for kids has plenty to keep little hands busy.
7. Foam Christmas tree
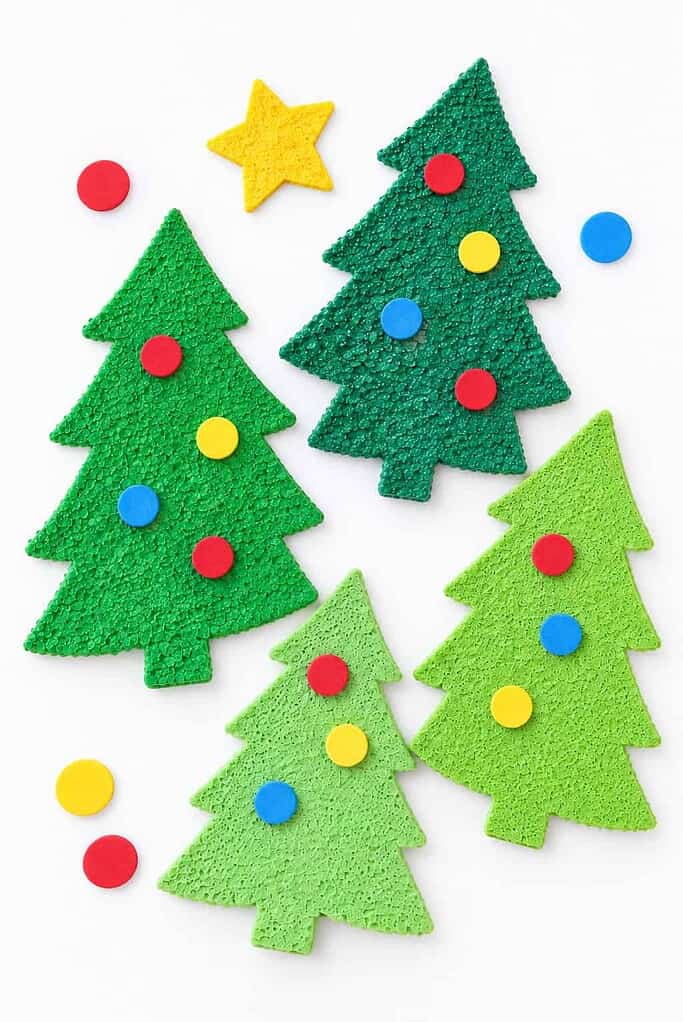
Craft foam holds its shape well, which makes a sturdy tree that stands up to plenty of handling.
- Cut a tree shape from a sheet of thick green craft foam.
- Cut a few more in different shades of green if you like, so they look like a small forest.
- Stand them up on a shelf or the table.
- Add a foam star and a few dot stickers for ornaments.
These are a good pick for younger children who like to play with what they make.
8. Christmas tree footprint craft
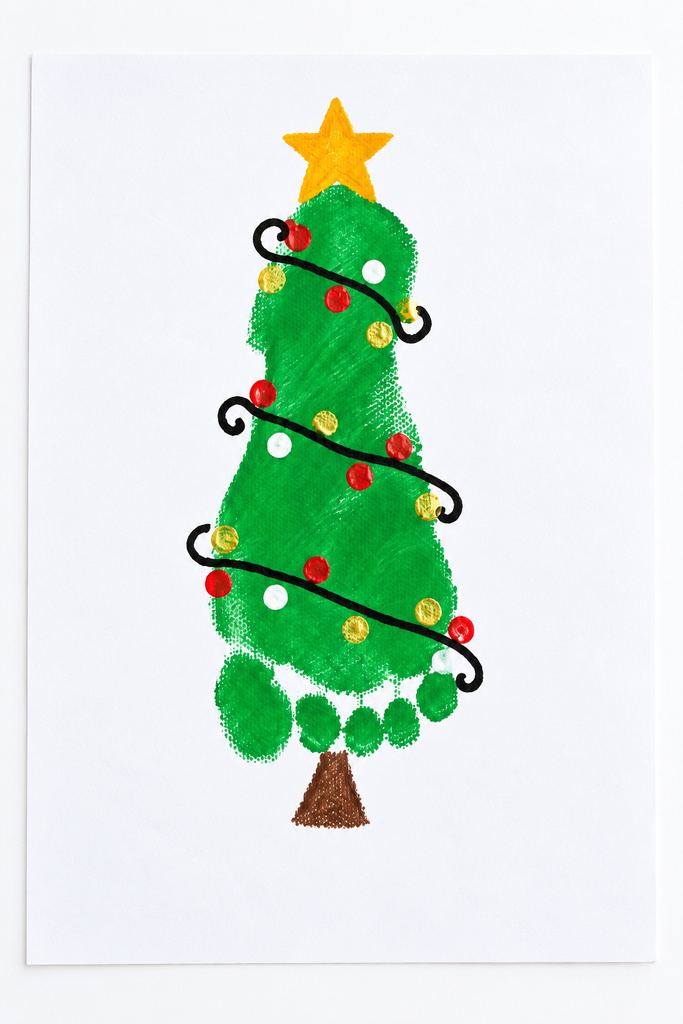
A footprint becomes the whole tree here, capturing just how small those feet were one particular Christmas.
- Paint the bottom of the child’s foot green and press it onto paper or canvas with the heel pointing up.
- Add a brown trunk at the heel and a yellow star at the toes.
- Draw swirling string lights around the tree with a marker.
- Add little dot bulbs and write the year at the bottom.
Grandparents especially treasure these once the season is over.
9. Christmas tree yarn craft
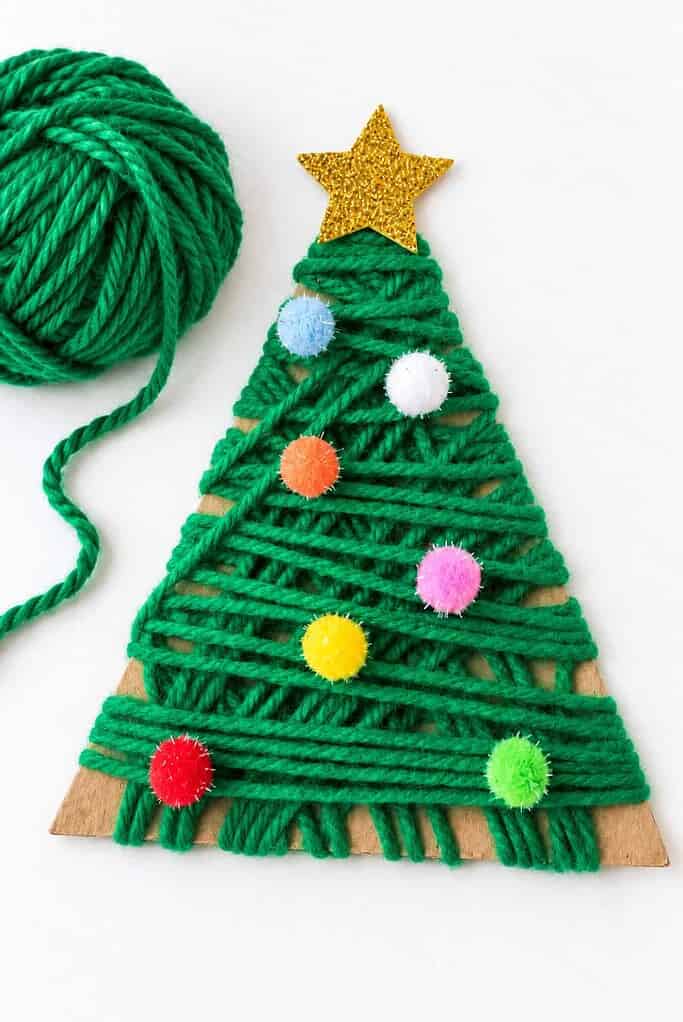
Wrapping yarn is soothing, repetitive work, and it makes a cozy little tree with lovely texture.
- Cut a triangle from cardboard.
- Wrap green yarn around it, back and forth, until the whole triangle is covered.
- Tuck the loose ends behind and tape them down.
- Glue on colorful pom-poms for ornaments and a star at the top.
The wrapping takes a little patience, so this one suits slightly older children or a grownup and child working side by side.
10. Pinecone Christmas tree
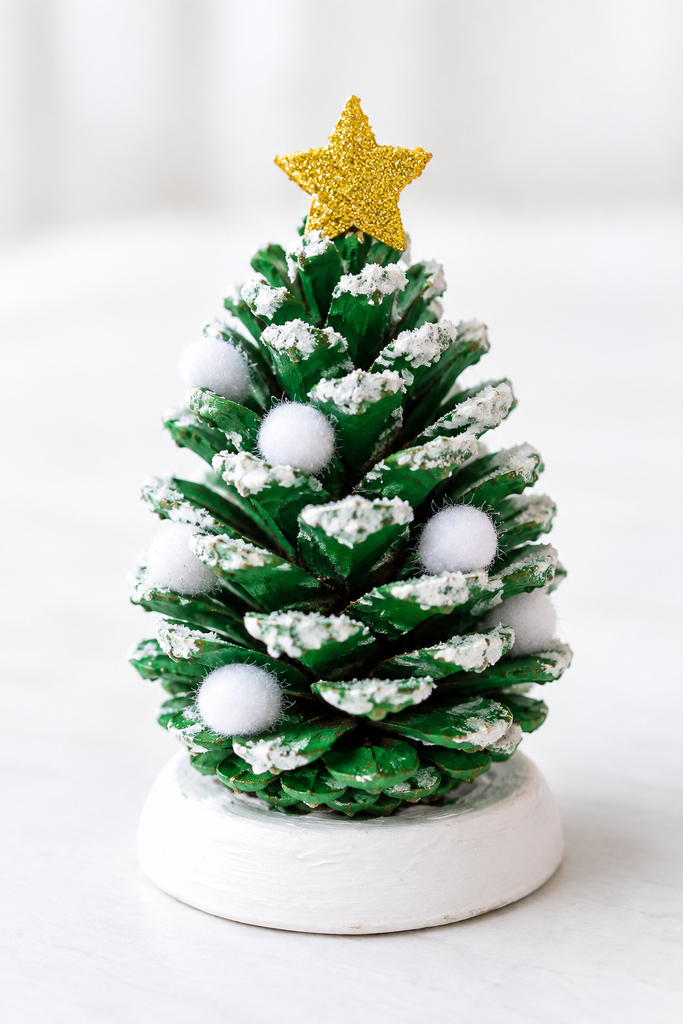
A pinecone from the yard becomes a tiny snowy tree, and gathering it is half the fun.
- Gather a pinecone and paint it green.
- Dab a little white paint on the tips so it looks dusted with snow.
- Tuck tiny white pom-poms between the scales as ornaments.
- Glue a small star on top and set it on a base so it stands.
Crafts that start with something found outdoors are always a treat, and our sweet nature crafts for kids has more ideas for what you gather on a walk.
11. Button Christmas tree
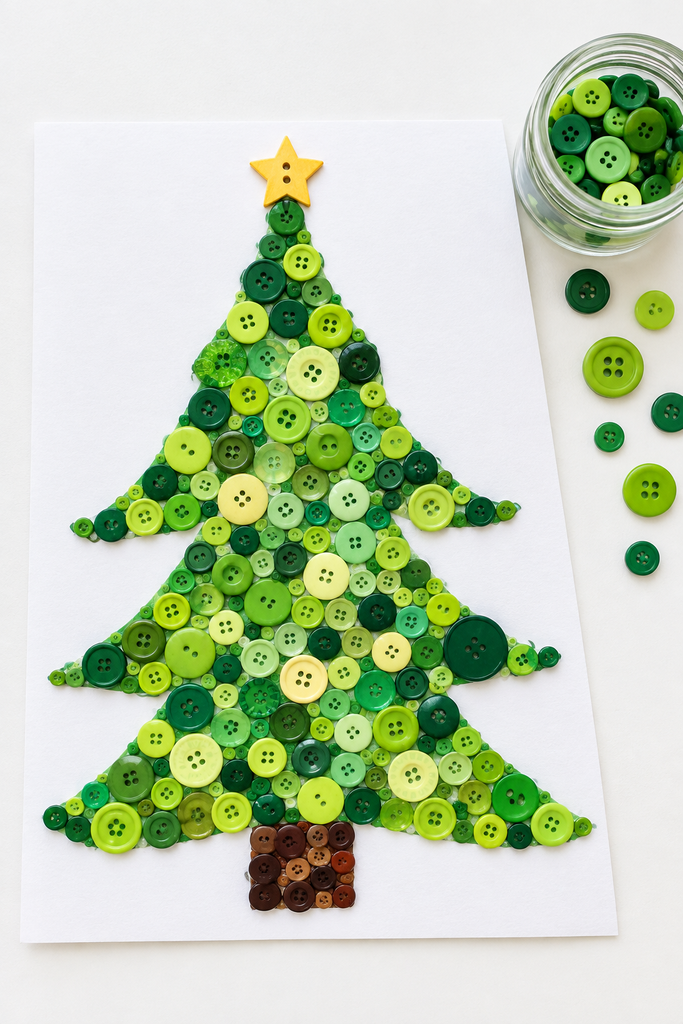
A jar of green buttons is all this one really needs, and sorting for just the right shades is good quiet work for little fingers.
- Draw a simple tree outline on cardstock.
- Spread a layer of glue inside the outline.
- Press green buttons of all sizes to fill the whole shape.
- Add brown buttons at the base for the trunk and a star button at the top.
Hang it on the wall once the glue is dry and it looks like a little piece of art.
12. Toilet paper roll Christmas tree
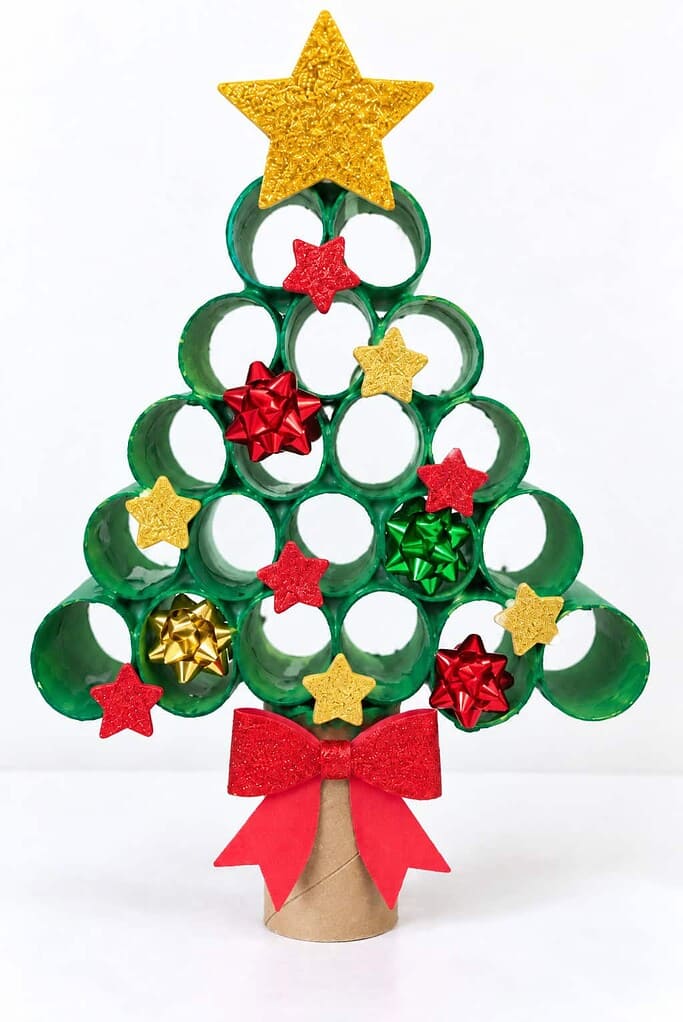
Empty cardboard tubes make a surprisingly pretty tree, so it pays to save them up through the year.
- Paint a few toilet paper rolls green and let them dry.
- Cut each roll into rings.
- Glue the rings together in a stacked triangle, with more rings in each row toward the bottom.
- Add a big star on top and tuck in foam stars or little bows.
For more ways to use them, our easy toilet paper roll crafts for kids is full of ideas.
13. Pom pom Christmas tree
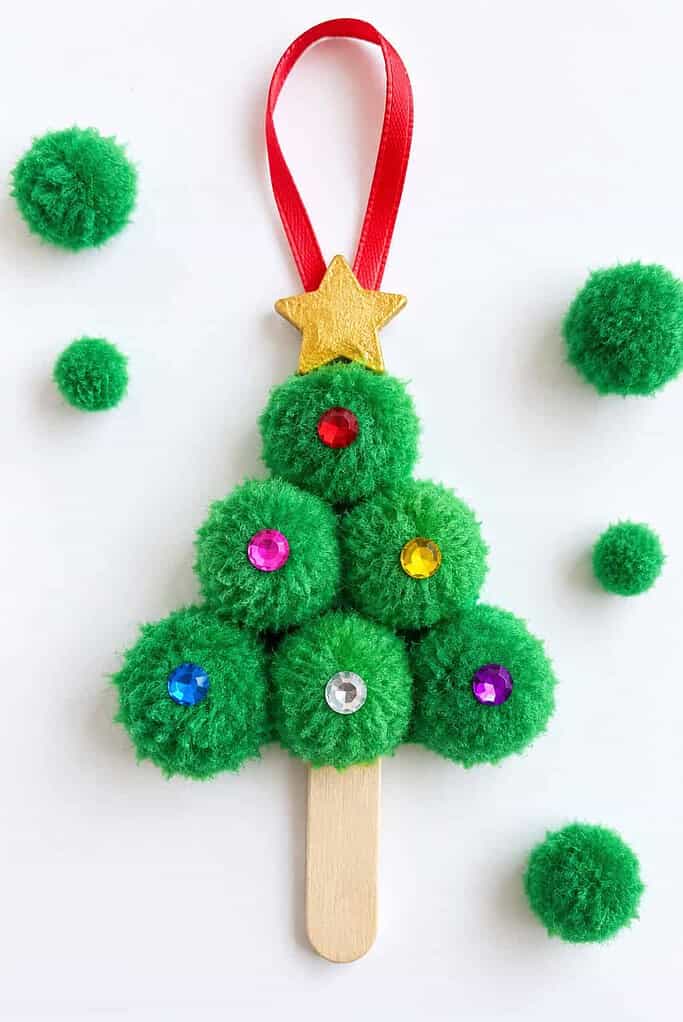
Soft and fuzzy, this tree is a favorite with the youngest crafters, and there’s truly no wrong way to place the pom-poms.
- Glue green pom-poms in a triangle shape onto a wide craft stick or a piece of cardstock.
- Keep adding pom-poms until the tree is full.
- Press tiny gems in between them as ornaments.
- Add a star on top and a ribbon loop so it can hang.
It’s a calm, happy craft for a busy day.
14. Beaded Christmas tree
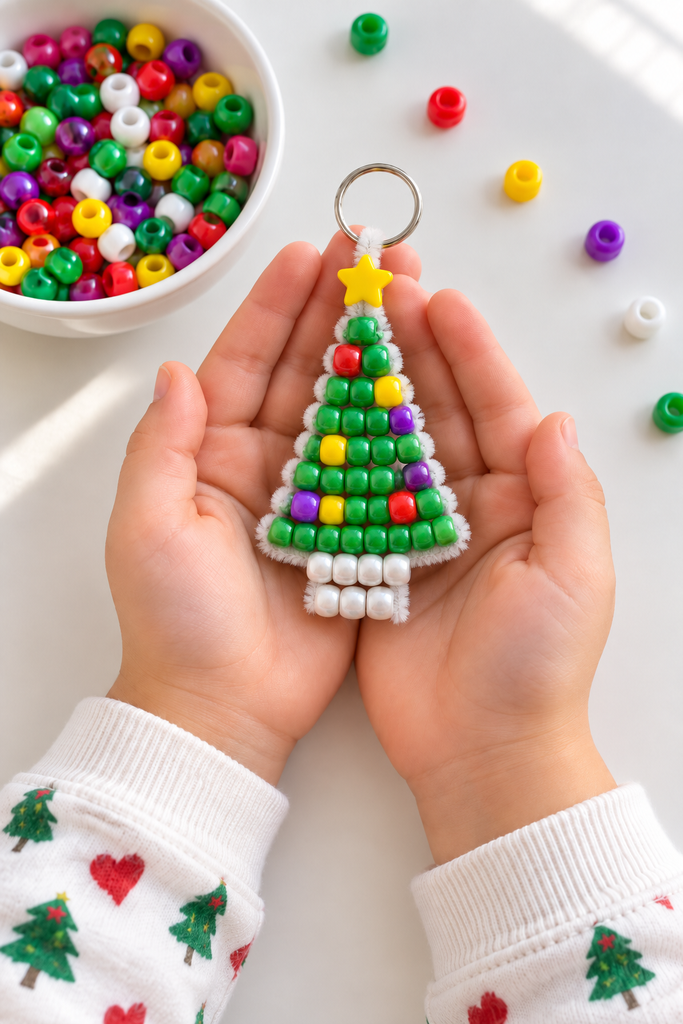
Threading beads is wonderful fine-motor practice, and it makes a cheerful little tree they can carry with them.
- Thread green pony beads onto a pipe cleaner, slipping in a few bright ones here and there for ornaments.
- Shape the wire into a triangle, adding more beads in each row toward the bottom.
- Add a couple of white beads at the base for the trunk.
- Top it with a star bead and bend a loop so it becomes a keychain or ornament.
Older children can manage the beading on their own, while little ones may want a hand holding the wire steady.
15. Popsicle stick Christmas tree
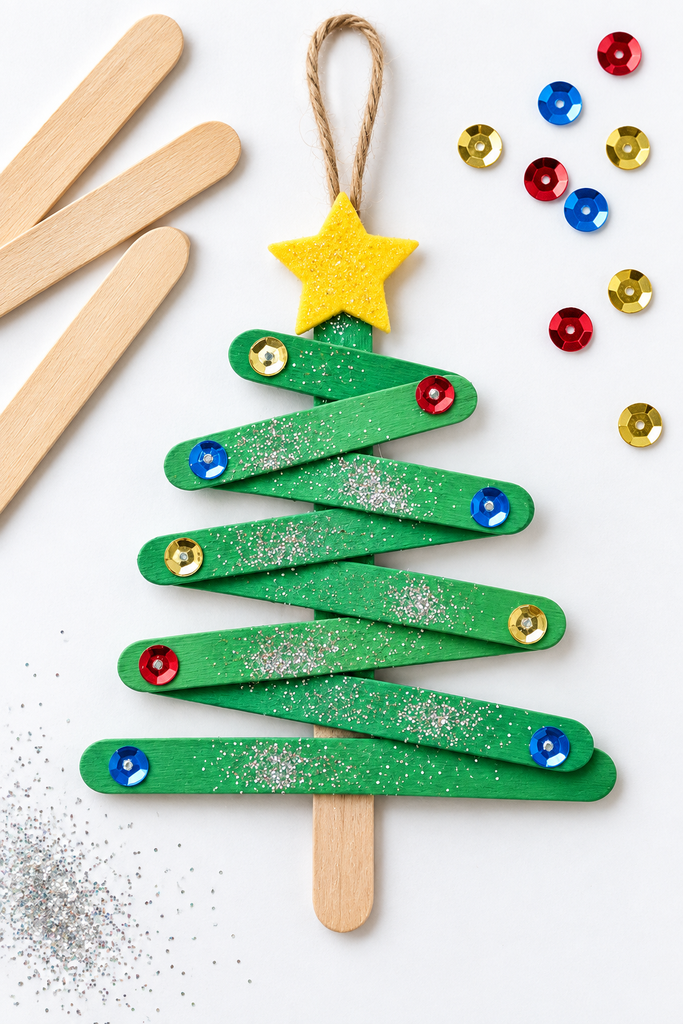
Craft sticks make a sturdy tree you can hang on the wall or the real tree, and the zigzag look is playful and modern.
- Paint several craft sticks green and let them dry.
- Arrange them in a zigzag, shortest at the top and longest at the bottom, then glue them in place.
- Add a little glitter and glue on sequins for ornaments.
- Add a felt star, a plain stick for the trunk, and a bit of twine to hang it.
No two ever turn out quite the same.
16. Felt Christmas tree
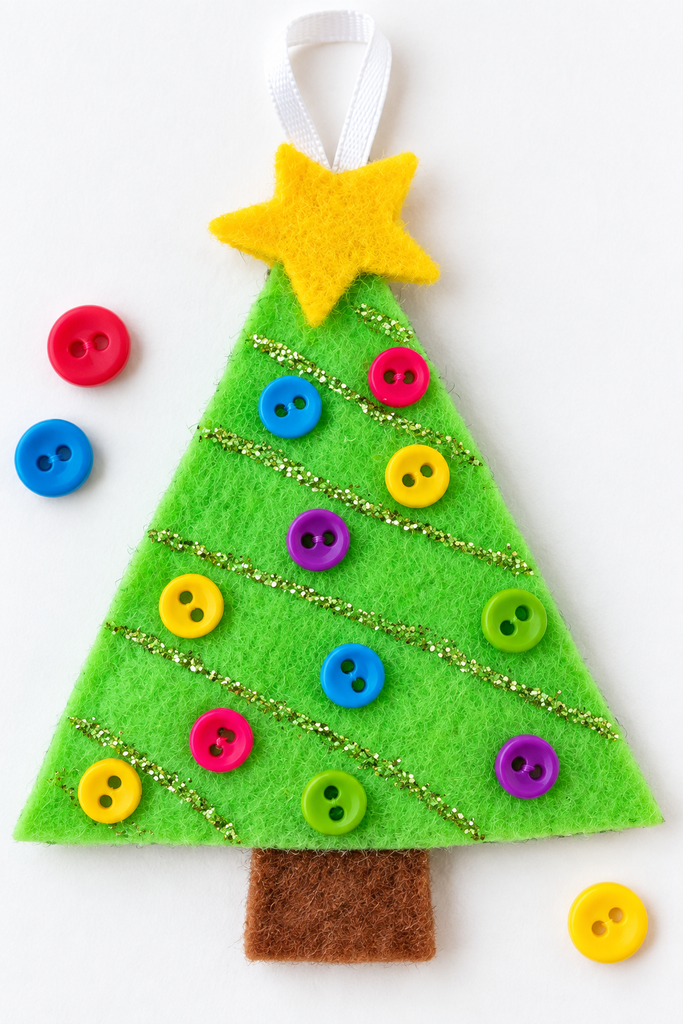
Soft felt makes a tree that’s nice to hold, and the edges stay tidy no matter how many small hands touch it.
- Cut a triangle from green felt.
- Draw or glue a few diagonal lines of glitter across it for garland.
- Glue on colorful buttons as ornaments.
- Add a yellow felt star at the top, a brown felt trunk at the bottom, and a ribbon loop for hanging.
It makes a lovely ornament to bring out year after year.
17. Tissue paper Christmas tree
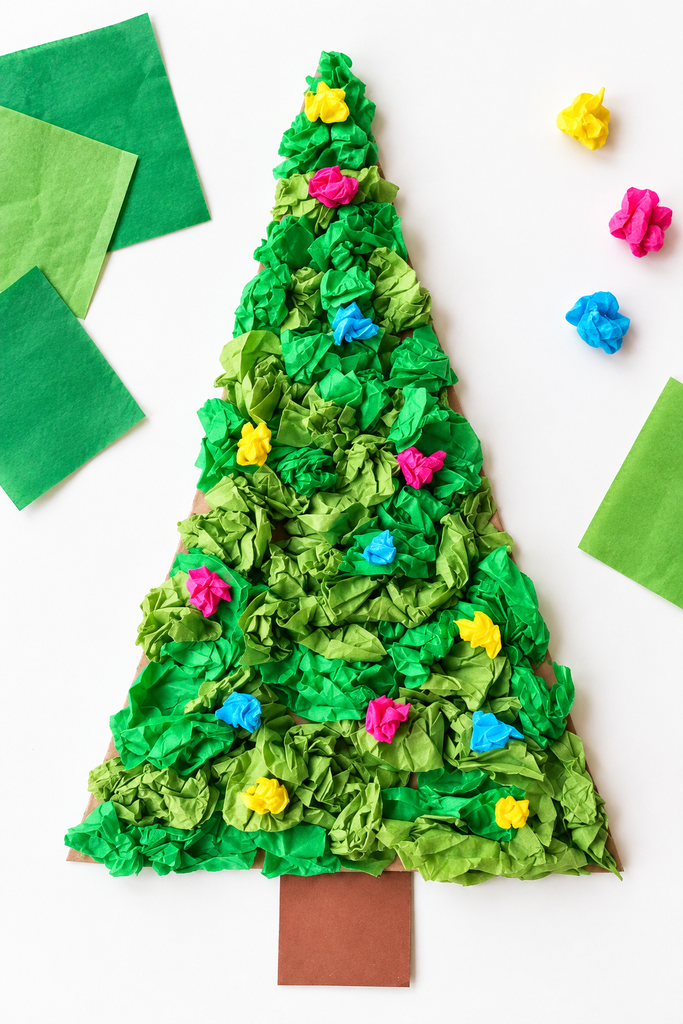
Crumpling tissue paper gives this tree a lovely, bumpy texture, and the scrunching is half the fun for little hands.
- Cut a triangle from cardstock or cardboard.
- Cut green tissue paper into small squares.
- Scrunch each square into a little ball and glue them on until the whole tree is filled.
- Add a few bright tissue balls as ornaments and a brown paper trunk at the base.
For more ways to craft with what’s in the paper drawer, our easy paper crafts for kids has lots of simple ideas little ones can manage.
18. Christmas tree hat craft
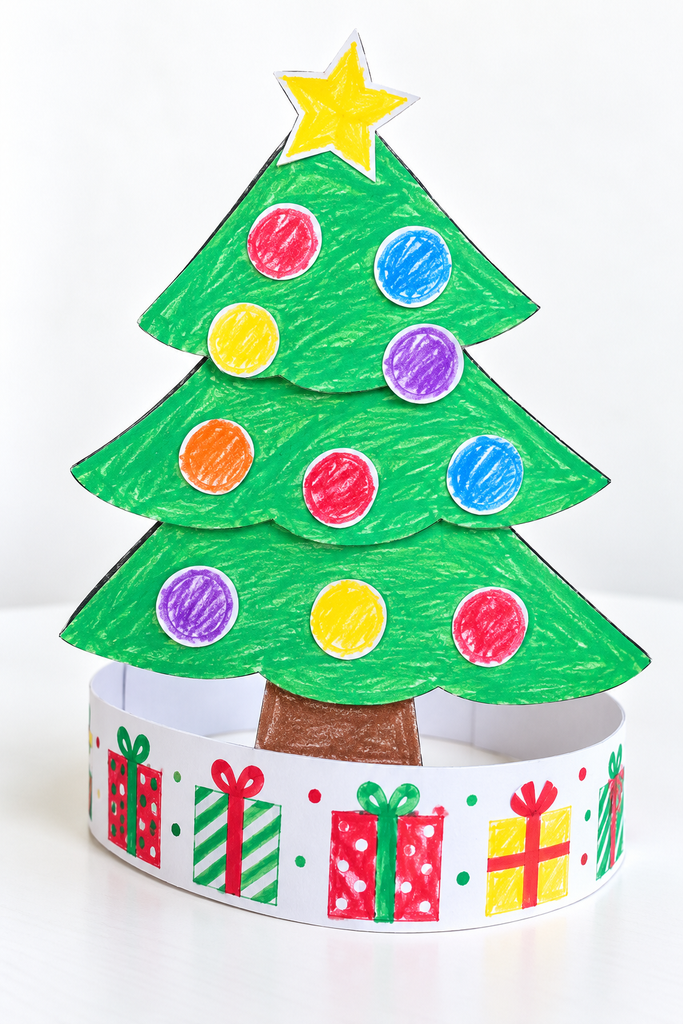
This tree is one the children get to wear, which makes it a hit at a class party or a family gathering.
- Cut a tree shape and a long headband strip from paper, or print a tree hat template.
- Let the little ones color the tree with ornaments and garland.
- Glue the tree to the front of the headband and add a star on top.
- Fit the band around the child’s head and tape the ends together.
They make for some very sweet photos.
19. Bible verse Christmas tree
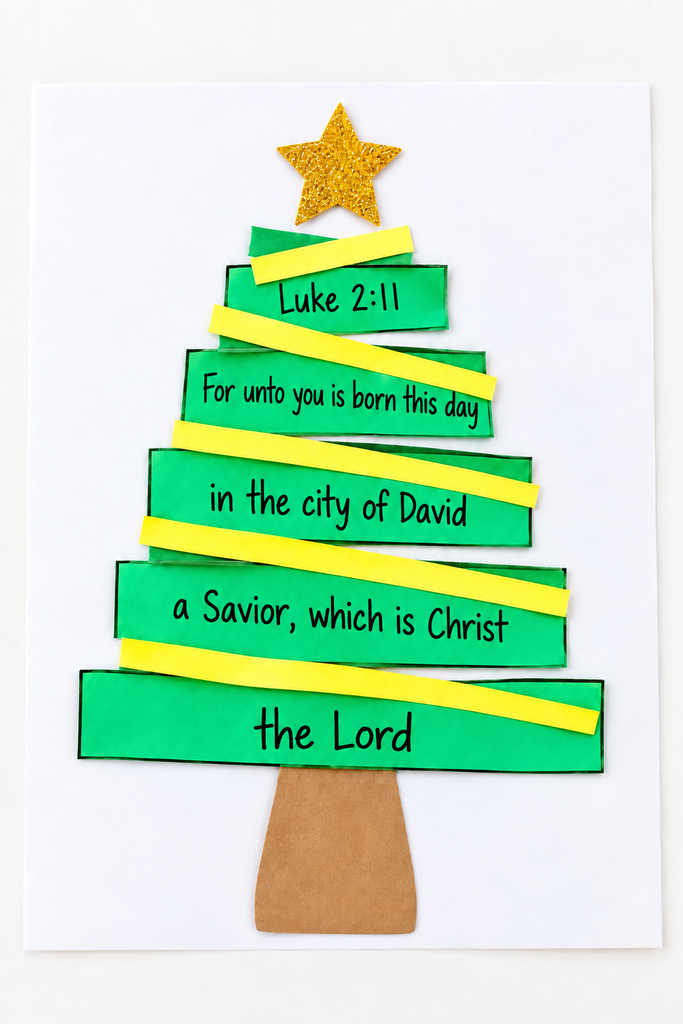
This tree holds a bit of the Christmas story right in its branches, so a little truth gets planted while hands are busy.
- Cut green paper strips from longest to shortest.
- Write a phrase of Isaiah 9:6 on each one, or print them out.
- Stack and glue the strips on white paper like a tree, with the longest at the bottom.
- Weave thin yellow strips between them for garland, then add a gold star and a brown trunk.
As the little ones build it, you can read the verse together, “For unto us a child is born.” For more crafts that plant a little truth, our bible verse crafts is a good place to look.
20. Bottle brush Christmas tree
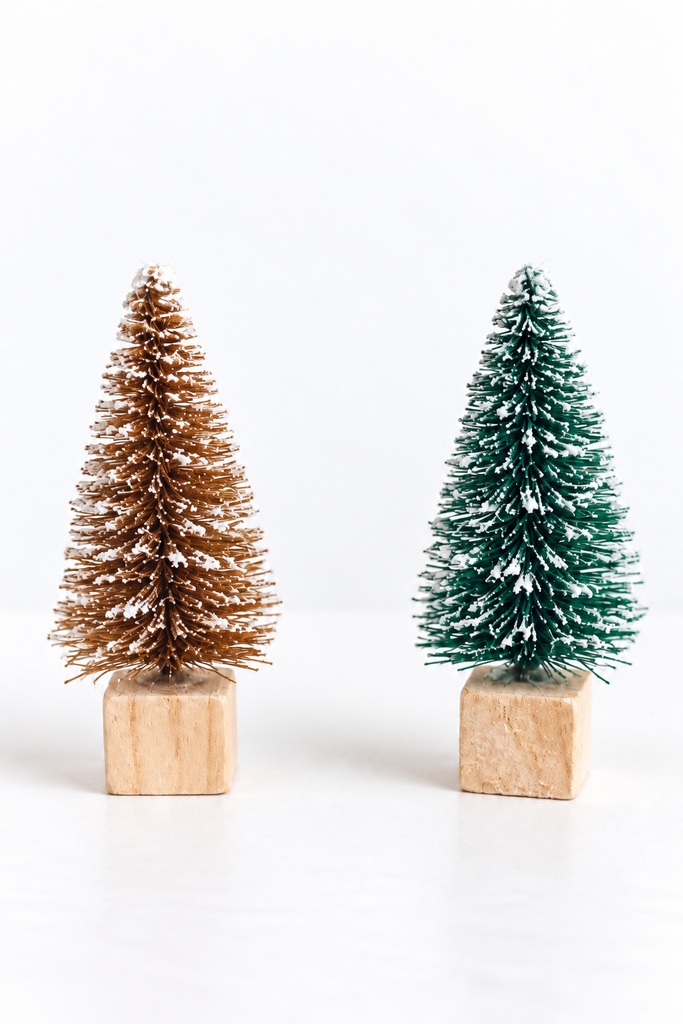
These little trees have a cozy, old-fashioned look that suits a windowsill or a child’s own small Christmas display.
- Gather a few small bottle brush trees, the bristly kind from the craft store.
- Glue each one onto a small wooden block for a base.
- Tie a bit of twine around the top if you’d like to hang it.
- Dust the tips with a little white paint for snow, or leave them plain and simple.
Simple as they are, they add a sweet touch of Christmas to any little corner.
why kids love a good christmas tree craft
There’s a reason the tree shows up in so many crafts. It’s simple enough for a toddler to recognize, and it gives children a place to add all the color and sparkle they love. Every tree becomes a little canvas for their own ideas.
It’s also a craft with no real rules. Ornaments can go anywhere, the star can lean a little, and it still looks like Christmas. That freedom is good for young hearts, and it takes the pressure off the grownups too. Many of these use things you might have set aside, like cardboard tubes and buttons, so if your family likes making something from odds and ends, our recycled crafts for kids has more ideas along those lines.
simple supplies to keep on hand
Most of these trees start with the same short list of basics. Green paper and green paint cover a lot of ground, along with a few paper plates and some cardstock. A bottle of school glue and a good pair of child-safe scissors round out the essentials.
From there, it’s the little extras that make each tree special. Pom-poms, buttons, sequins, gems, and star stickers all come in handy, and a ball of green yarn and a few pipe cleaners open up even more ideas. None of it needs to be fancy, and most of it is probably already sitting in your craft drawer.
tips for crafting with little ones
A little prep goes a long way. Cut the triangles or print the templates ahead of time, and set the supplies out in small bowls so the children can reach what they need without a fuss.
Keep the expectations gentle. The point isn’t a perfect tree. It’s the time together, the ornaments glued on a little crooked, and the pride on their faces when they hold up what they made. And let them lead where you can. If they want ten stars instead of one, that’s part of the fun.
pick one christmas tree craft to try this week
So pick the one that fits your supplies and the ages around your table. You don’t need to make all twenty. Just one good idea and a little glue is plenty for a happy afternoon.
The craft is fun on its own, but the time you spend together is the part that tends to stay with them. Years from now, they may not remember which tree they made, but they’ll remember that you sat down and made it with them.
If you and your little ones make a few of these trees, I’d love to see how they turned out. Leave a photo in the comments when you get a chance, or send one our way. And if it’s fine with you, yours might be posted here on the site to encourage other families crafting at home. There’s no pressure at all, just a warm little invitation to share if you’d like.
With love,
Betty
Get the FREE 3D Turkey Craft
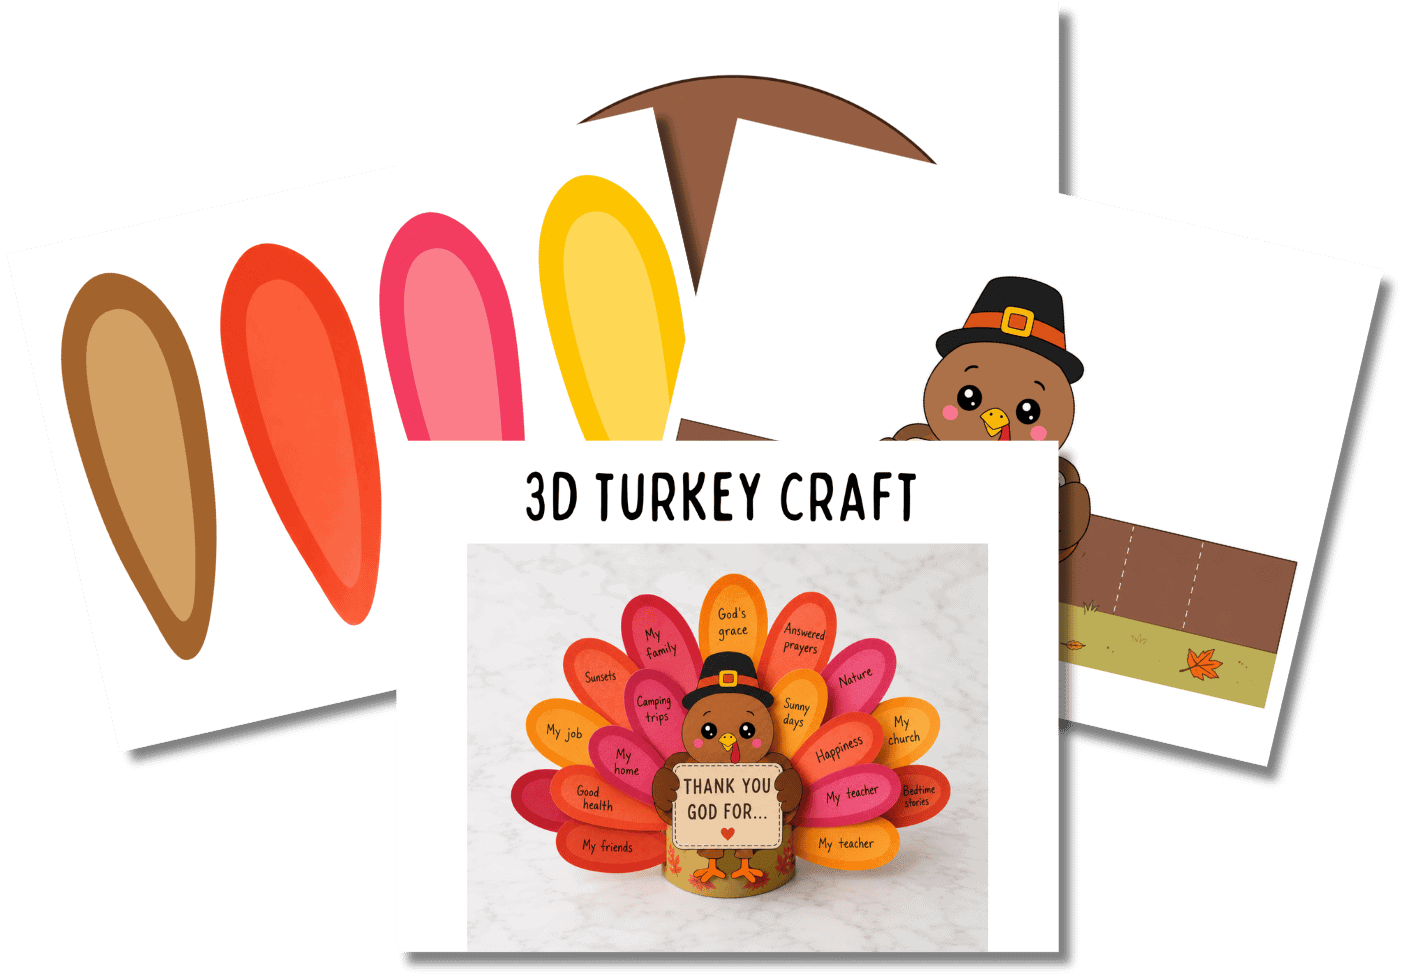
Don’t let your kids just hear that they’re blessed—help them name their blessings one by one.
With this free 3D turkey craft, kids color the turkey and his feathers, then write one thing they’re thankful to God for on each feather. The body wraps around into a base so the turkey stands up on his own, holding a sign that reads “Thank You God for…”
frequently asked questions
what age are these christmas tree crafts best for?
Most work well for ages three and up. The pom-pom, paper plate, and handprint trees are lovely for toddlers and preschoolers, while the beaded, yarn, and popsicle stick trees suit older children who can manage smaller pieces.
what supplies do i need to get started?
You can make many of these with green paper, paint, glue, and scissors. After that, it’s just fun extras like pom-poms, buttons, and star stickers. Each craft lists what it needs, and most call for things you likely already have.
how long do these crafts take?
Most take about fifteen to thirty minutes, not counting drying time for paint or glue. The wrapped yarn tree and the button tree take a bit longer, which makes them nice for a slow afternoon.
can i make these with a class or group?
Yes, these are easy to set up for a group. The paper plate, handprint, and tree hat crafts are especially good for a classroom or Sunday school room, since the supplies are simple and the steps are quick.
how do i keep the finished trees looking nice?
Let any paint or glue dry fully before moving them, and store the flat ones between sheets of paper. The standing trees and ornaments do well in a small box with a little tissue paper tucked around them.