
There are so many ways to teach the alphabet, but crafts have always been one of my favorites. Kids are so focused on making something fun that they often do not even realize they’re learning at the same time.
That’s exactly what you’ll find in this A to Z collection of alphabet crafts. Every letter is paired with a simple animal or object, giving little learners a hands on way to practice their ABCs while getting creative.
If your little ones already love making animal crafts, this is a fun way to stretch that into letter learning too.
Grab your craft supplies and work your way through the alphabet one letter at a time.
the alphabet craft list from a to z
Here is the full list, one craft for every letter. You can work through them in order, or just pick whichever letter your child is learning that week.
A is for Alligator
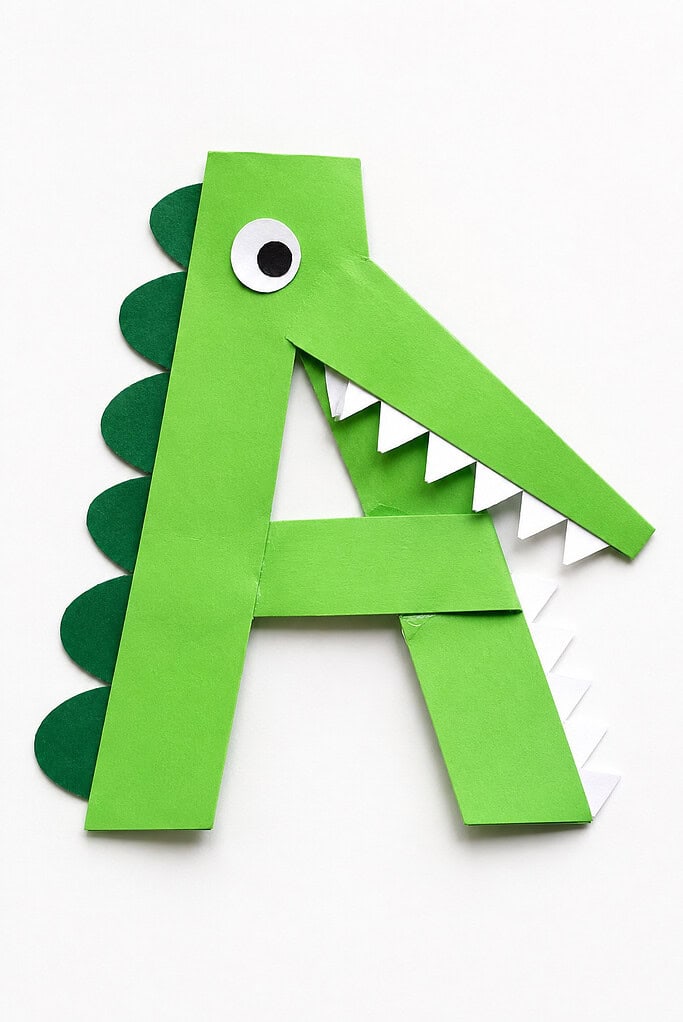
Made with construction paper. Cut a large letter A from green construction paper. Fold the two diagonal sides of the A into a long snapping mouth, and add paper teeth along the fold. The crossbar of the A becomes the hinge of the jaw, so the alligator opens and closes right around the letter.
B is for Bee
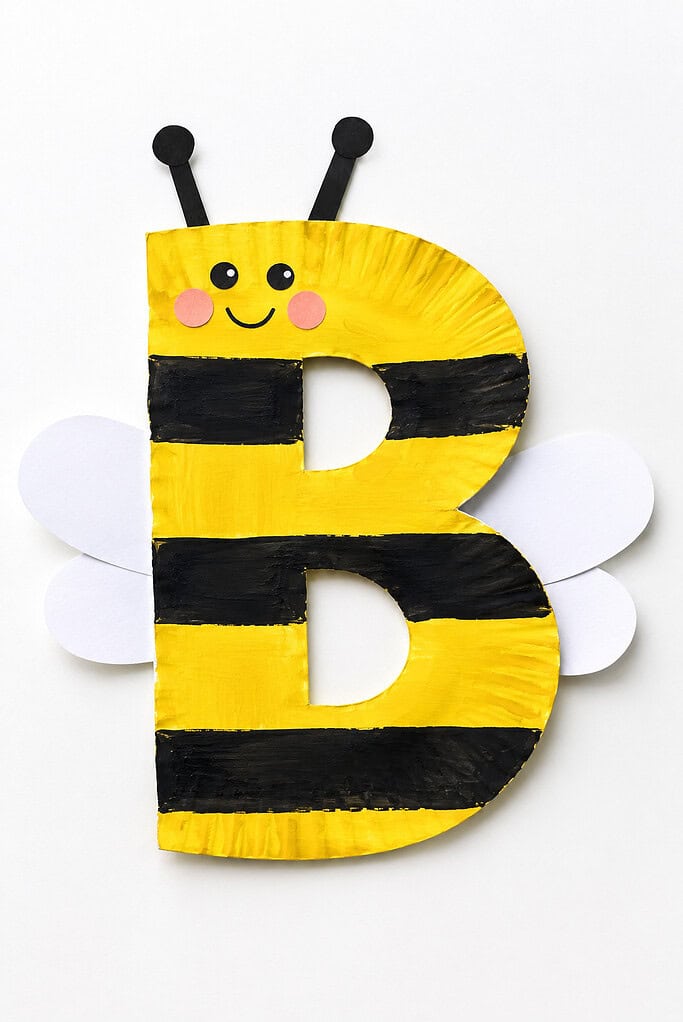
Made with a paper plate. Cut a large letter B from a paper plate and paint it yellow with black stripes. The two bumps of the B become the bee’s rounded body segments, and a pair of little wings tuck into the curves on either side. Draw a small face at the top of the straight edge of the B.
C is for Cat
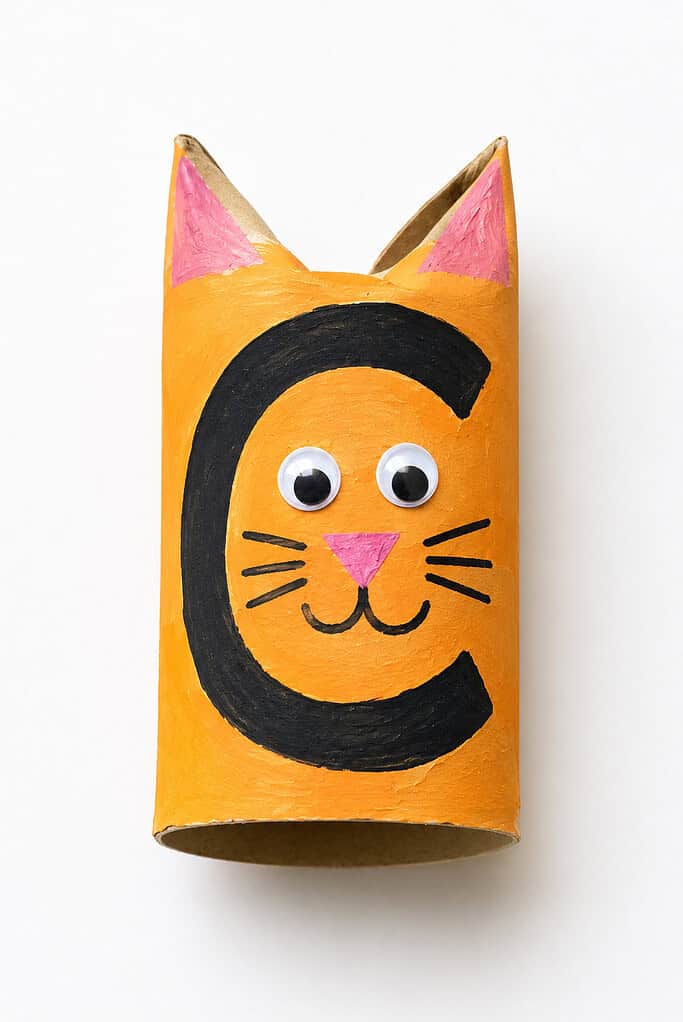
Made with a toilet paper roll. Stand a toilet paper roll upright and draw or paint a large letter C on the front. Pinch two pointy ears at the top so the roll itself becomes the head of the cat, and the curve of the C sits right on its face. Add whiskers, eyes, and a little nose so the letter is part of the cat’s expression.
D is for Dinosaur
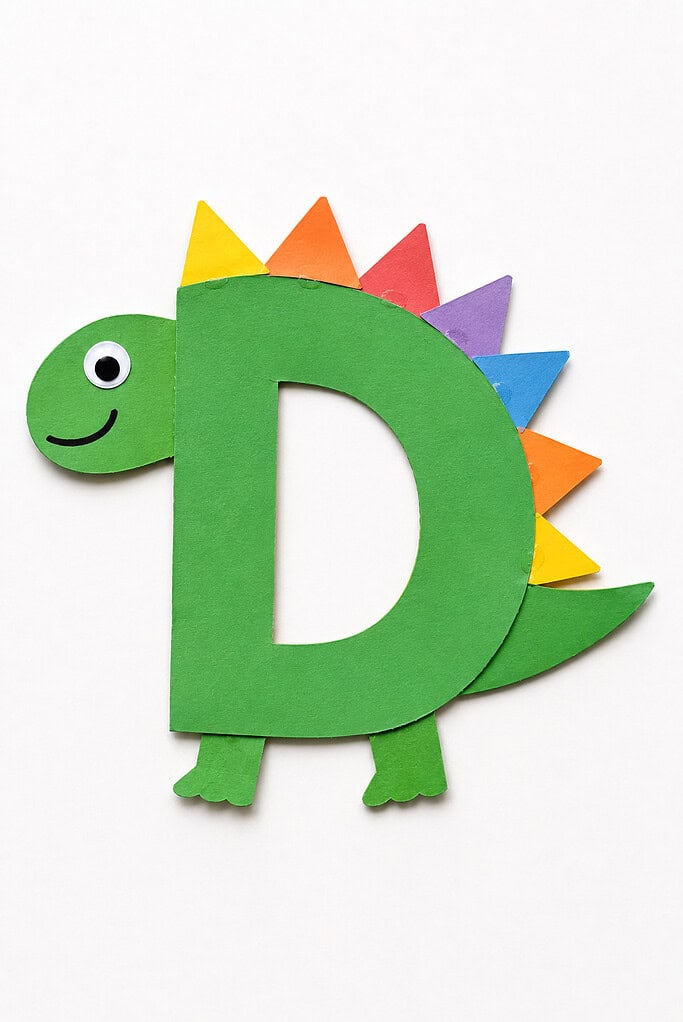
Made with cardstock. Cut a large letter D from cardstock. The straight edge of the D becomes the dinosaur’s flat belly, and the curved side becomes its rounded back. Add a row of spiky triangles along the top of the curve for the spine, then draw on a small head at one end and a tail at the other. The letter is the whole body of the dinosaur.
E is for Elephant
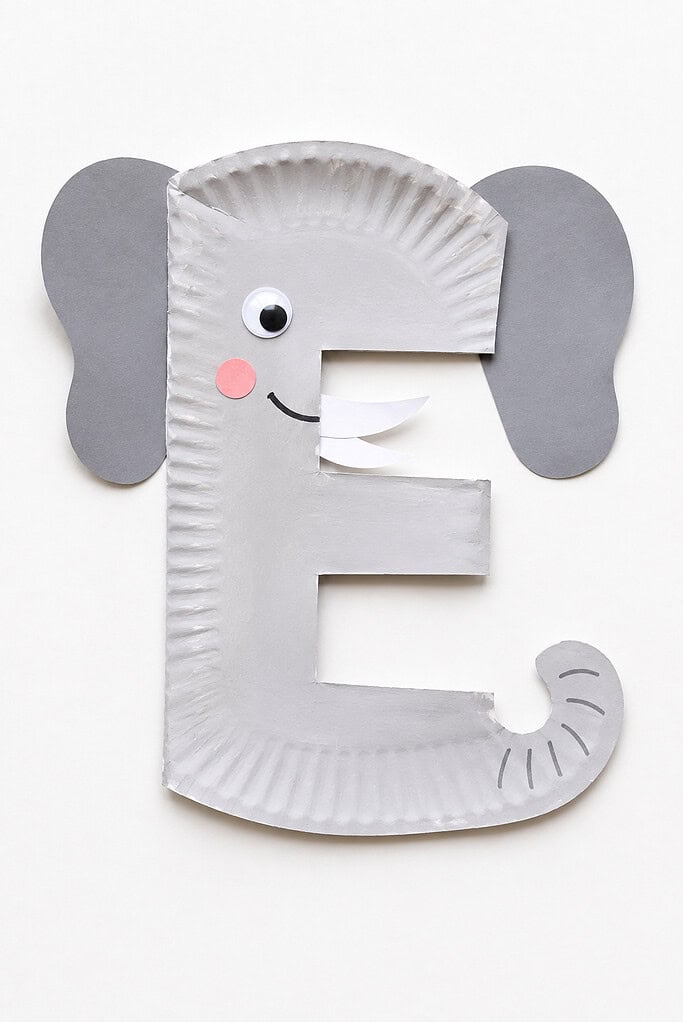
Made with a paper plate. Fold a paper plate in half to make a large letter E shape when laid on its back with the straight fold as the spine. The three horizontal folds of the E become the top of the head, the middle, and the base. Extend the bottom fold into a long curling trunk and add two big floppy ears to the top, so the letter E is clearly visible as the elephant’s body.
F is for Frog
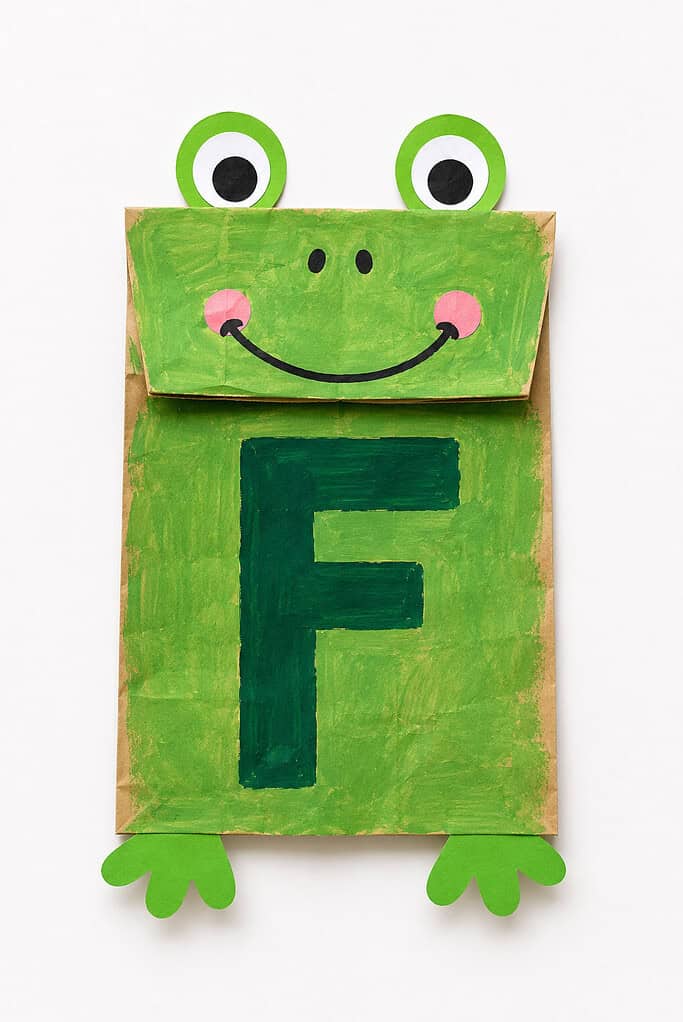
Made with a paper bag. Write a bold letter F on the front of the paper bag before turning it into a puppet. The tall vertical stroke of the F becomes the frog’s long back, and the two horizontal strokes become the wide green mouth when you fold the bag. Add two round eyes popping up on top so the letter F is the first thing you see on the finished frog puppet.
G is for Giraffe
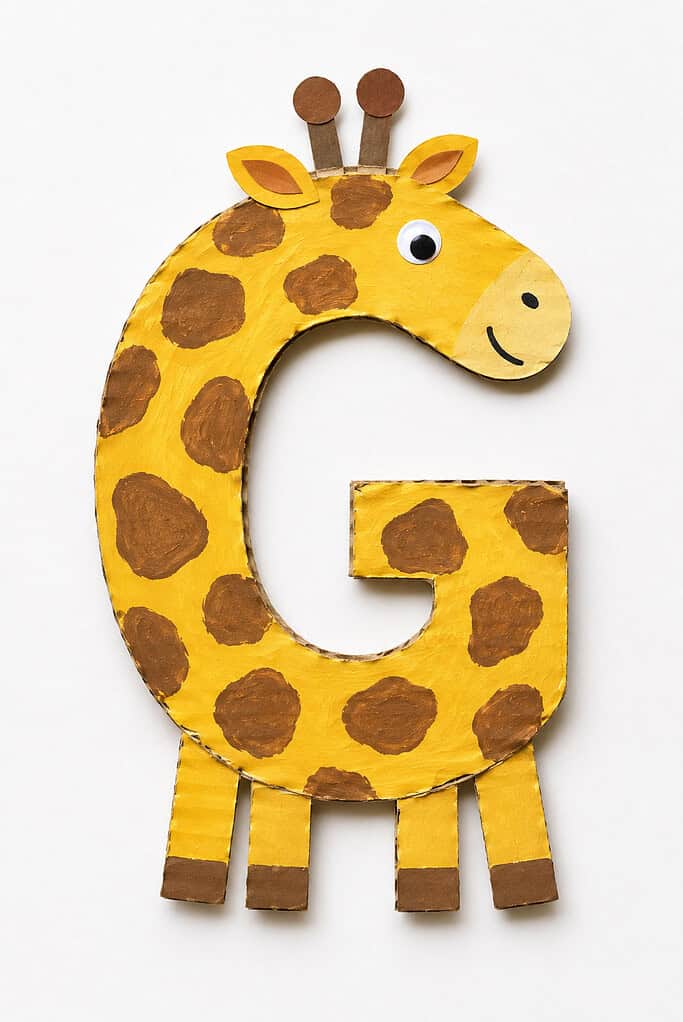
Made with cardboard. Cut a large letter G from cardboard. The long vertical stroke becomes the giraffe’s tall neck and body, and the curved opening of the G becomes the head looking out to one side. Add four small legs at the base, two little ears and ossicones at the top, and dab on brown spots all over. The G shape is the giraffe’s whole silhouette.
H is for Horse
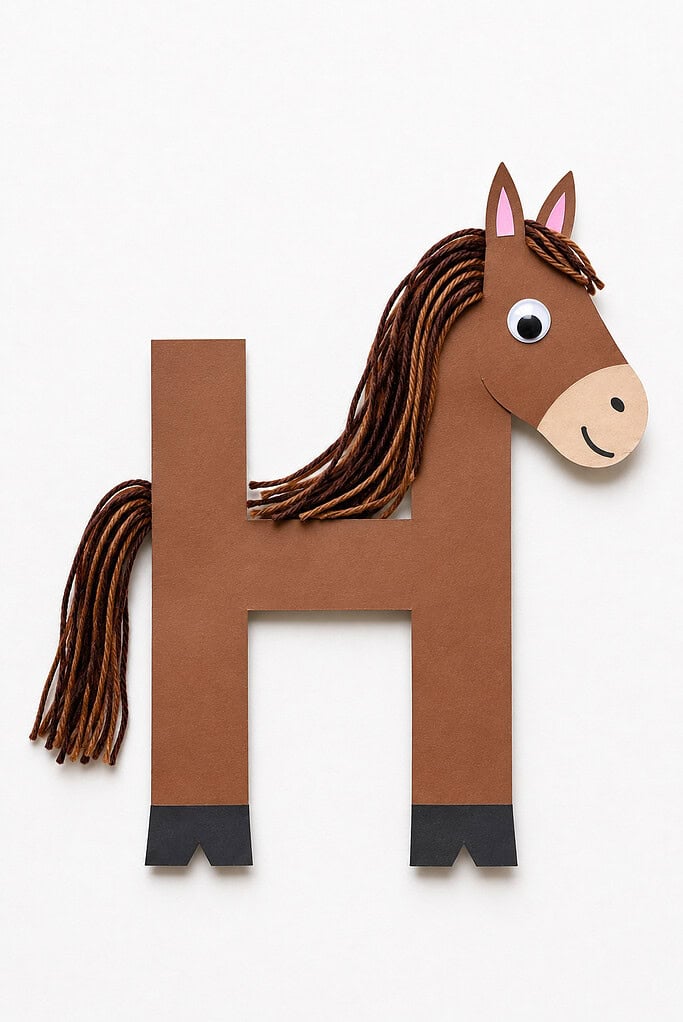
Made with yarn. Cut a large letter H from paper or cardstock. The two tall uprights of the H become the horse’s four legs when you add two more at the bottom of each side, and the crossbar becomes the body. Glue a yarn mane running along the top crossbar and a yarn tail at one end. The letter H stands right at the center of the finished horse.
I is for Ice Cream
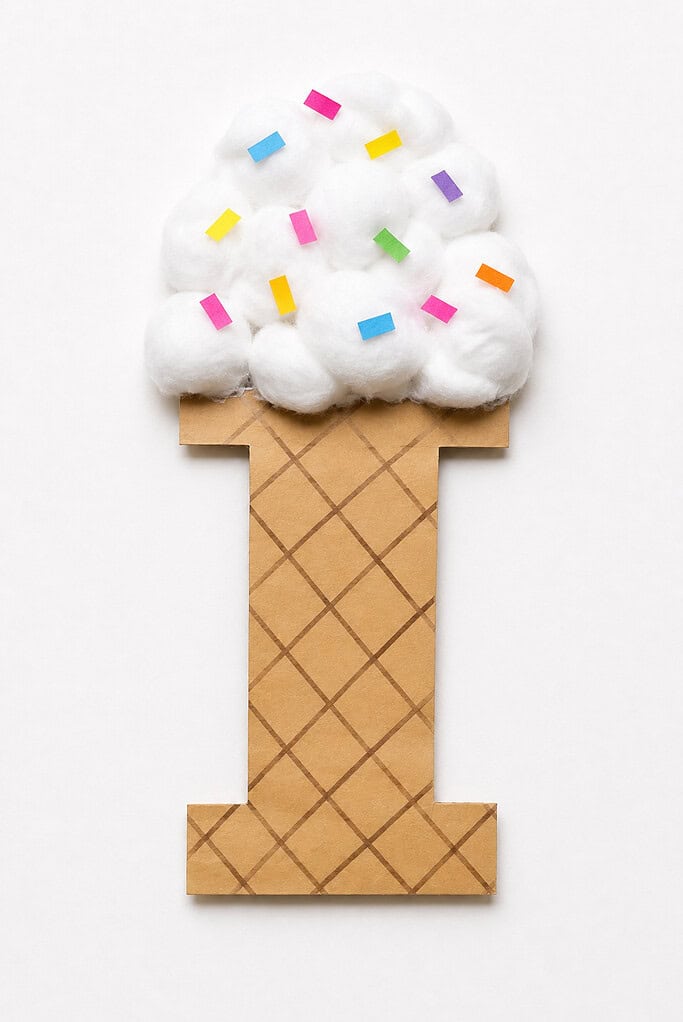
Made with cotton balls. Draw a large letter I on a paper cone and cut it out so the tall vertical stroke of the I forms the cone itself. Glue cotton balls piled on top of the crossbars at the top to make soft, fluffy scoops of ice cream. The I shape is visible in the cone below, making it clear what letter this treat belongs to.
J is for Jellyfish
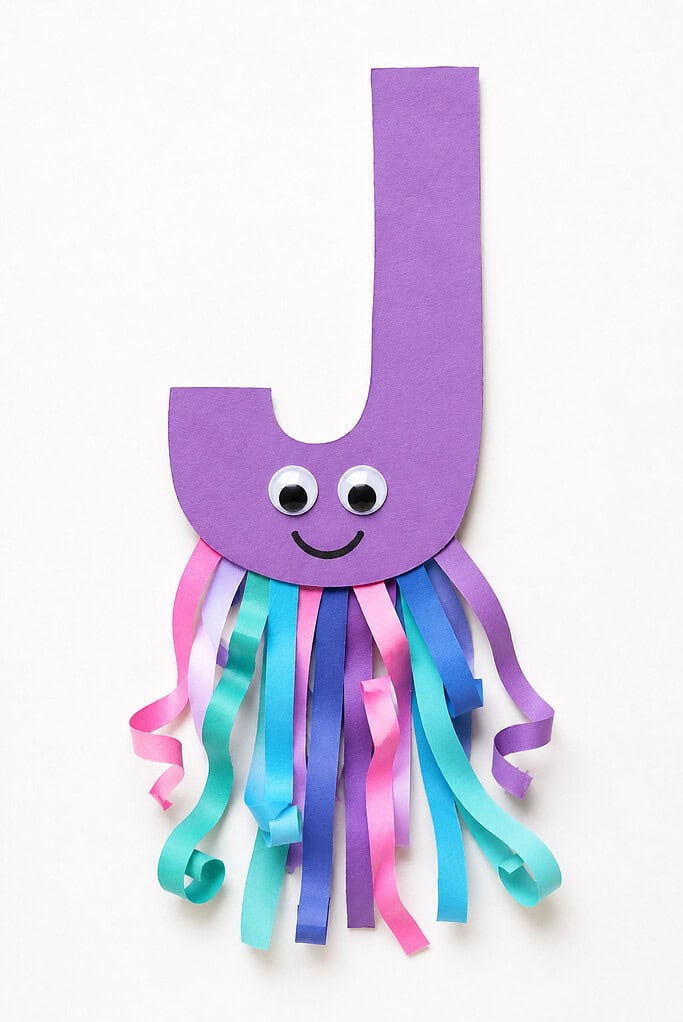
Made with paper strips. Cut a large letter J from paper. The curved hook at the bottom of the J becomes the dome-shaped bell of the jellyfish, and long paper strips hang down from the curve like wavy tentacles. The tall stroke of the J rises up as the jellyfish’s body. The letter shape drives the whole design.
K is for Kangaroo
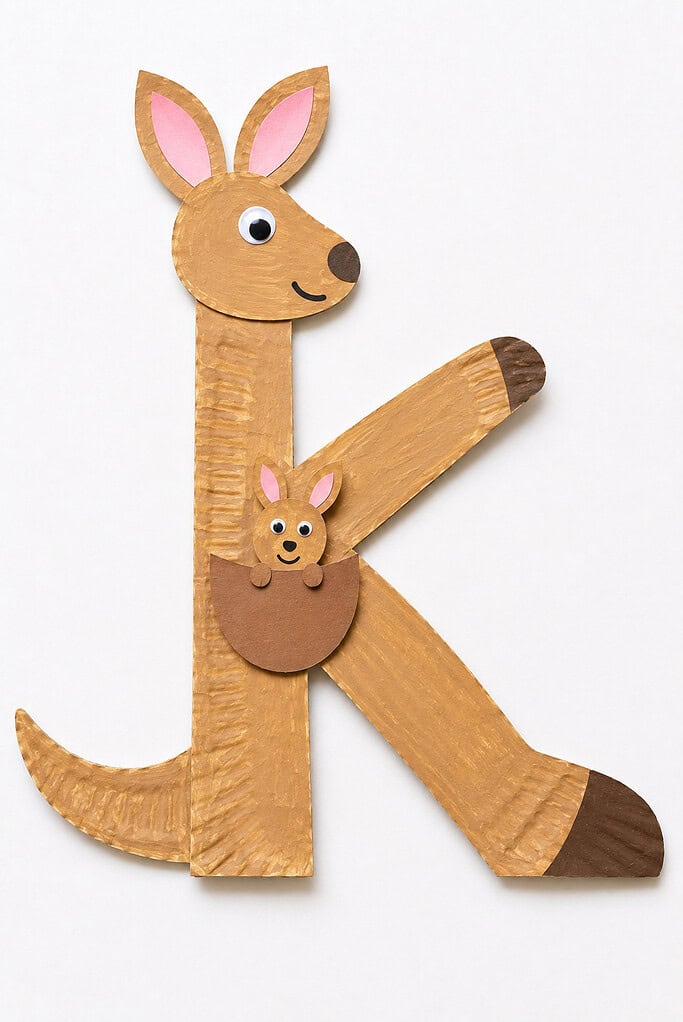
Made with a paper plate. Cut a large letter K from a paper plate. The vertical stroke of the K becomes the kangaroo’s upright body and long tail at the base, and the two diagonal arms of the K become the front legs and the powerful back leg. Tuck a tiny paper joey into the pouch area where the diagonals meet the upright, so the K shape and the kangaroo are one and the same.
L is for Lion
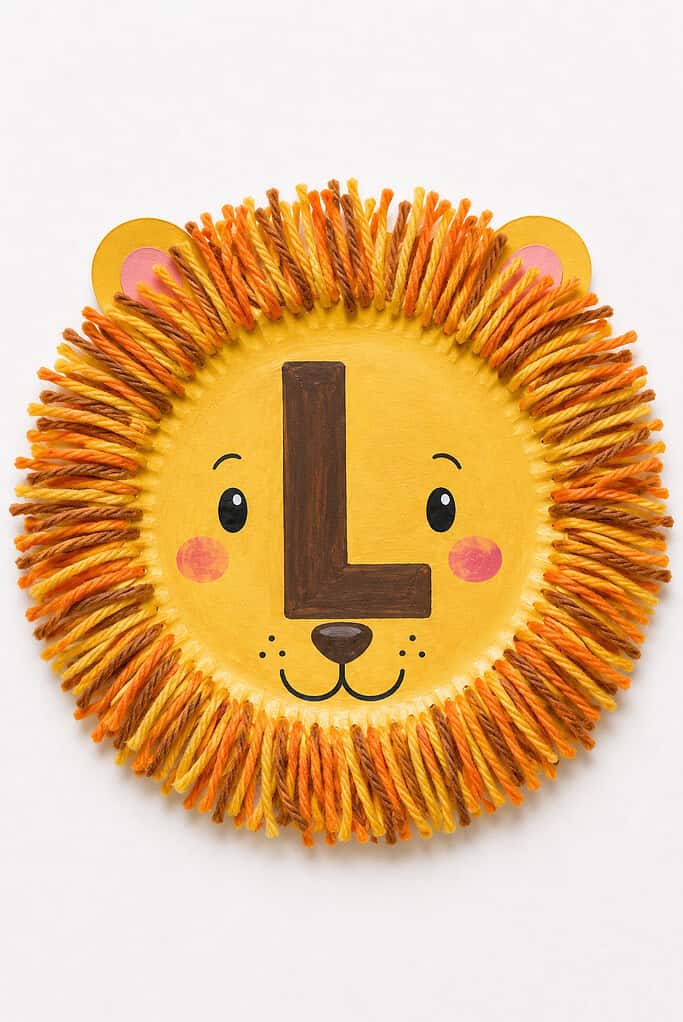
Made with a paper plate and yarn. Write a large bold letter L on a paper plate so it sits right in the center of the lion’s face. Glue a yarn mane all around the edge of the plate, and draw two eyes, a nose, and a mouth so the lion’s expression frames the L. The letter is the feature in the middle of the lion’s friendly face.
M is for Mouse
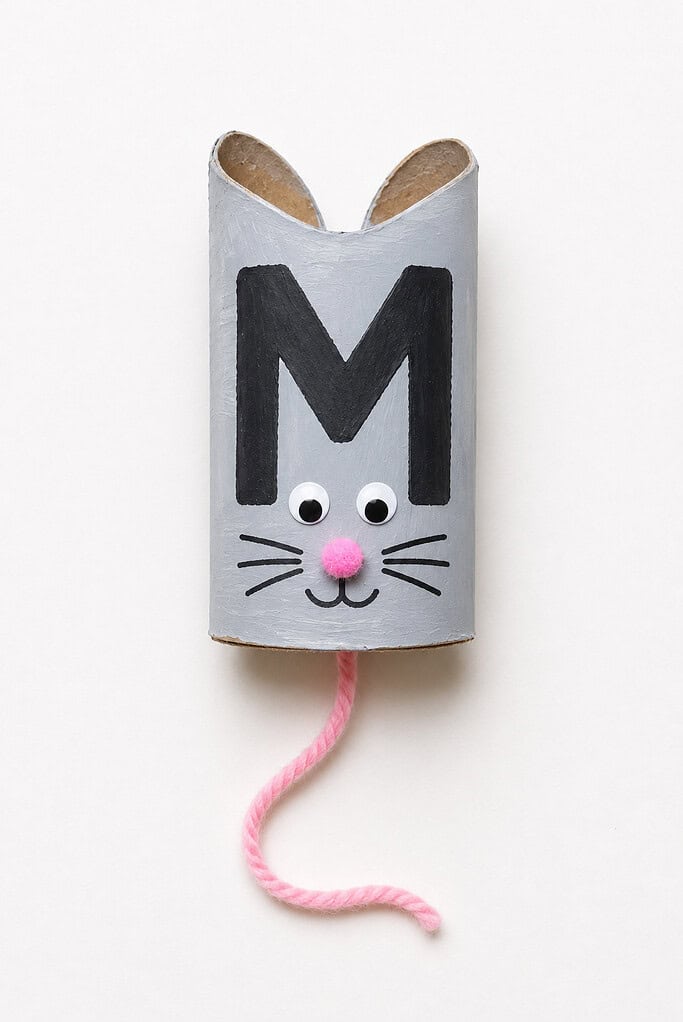
Made with a toilet paper roll. Paint or draw a large letter M on the toilet paper roll before decorating. Pinch the top of the roll into two pointed humps to echo the two peaks of the M, and those humps become the mouse’s round ears. Add a long string tail at the bottom and a little face so the letter M is the mouse from ears to base.
N is for Nest

Made with twigs and paper. Cut a large letter N from paper and lay it flat as the base. Glue little twigs all along the curved inner spaces of the N to build a cozy nest shape that fills the letter, and add a few paper eggs nestled inside. The N is the foundation the nest is built on, so the letter is always showing through.
O is for Owl

Made with cupcake liners. Cut a large letter O from paper and use it as the owl’s round body. Flatten cupcake liners and layer them over the O like feathers, keeping the circle shape of the letter clearly visible underneath. Add two big round eyes right on the face of the O and a small beak at the center, so the letter becomes the owl’s whole round body.
P is for Pig
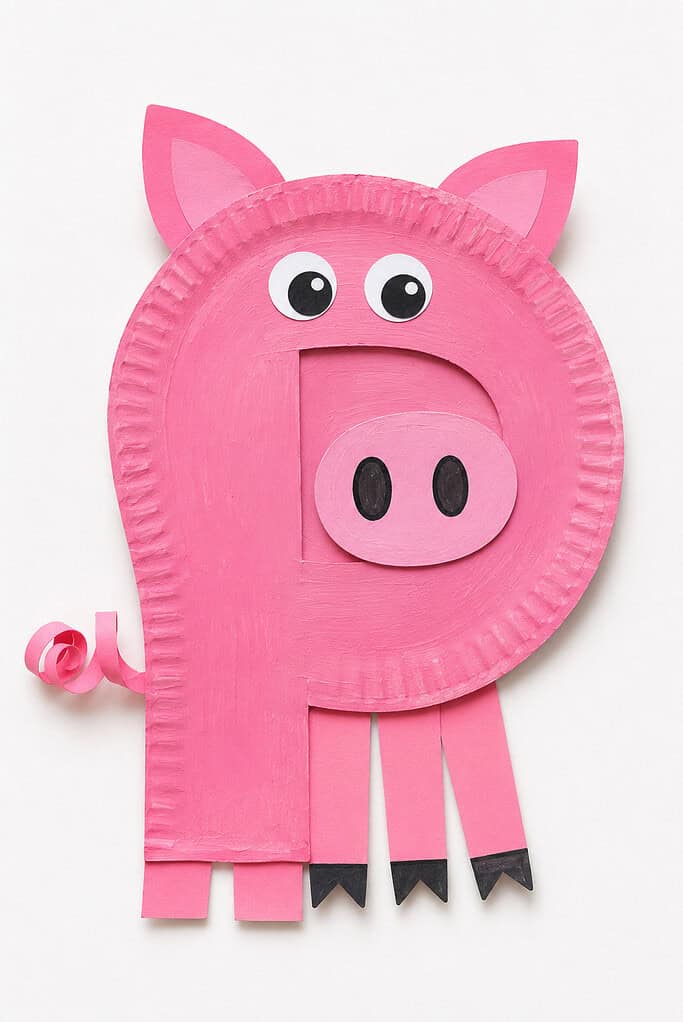
Made with a paper plate. Paint a paper plate pink and write a large letter P on the front. The round loop of the P becomes the pig’s big round snout at the bottom, and the vertical stroke becomes the body. Add two ears at the top of the stroke, draw on nostrils in the loop of the P, and curl a little tail at the back. The letter P is the pig’s face and body all at once.
Q is for Queen
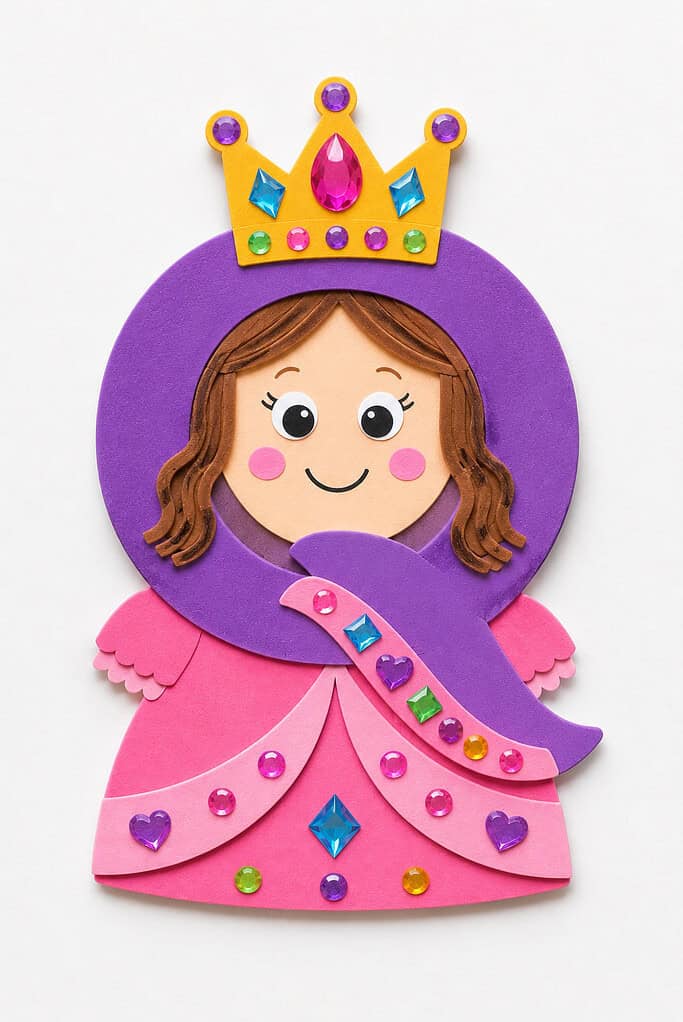
Made with a foam sheet. Cut a large letter Q from a foam sheet. The round O part of the Q becomes the queen’s face, and the little tail of the Q curves down like a royal sash. Cut a small crown from the leftover foam and attach it to the top of the circle, then let your little one decorate the whole letter with jewels. The Q is unmistakably the queen herself.
R is for Rocket
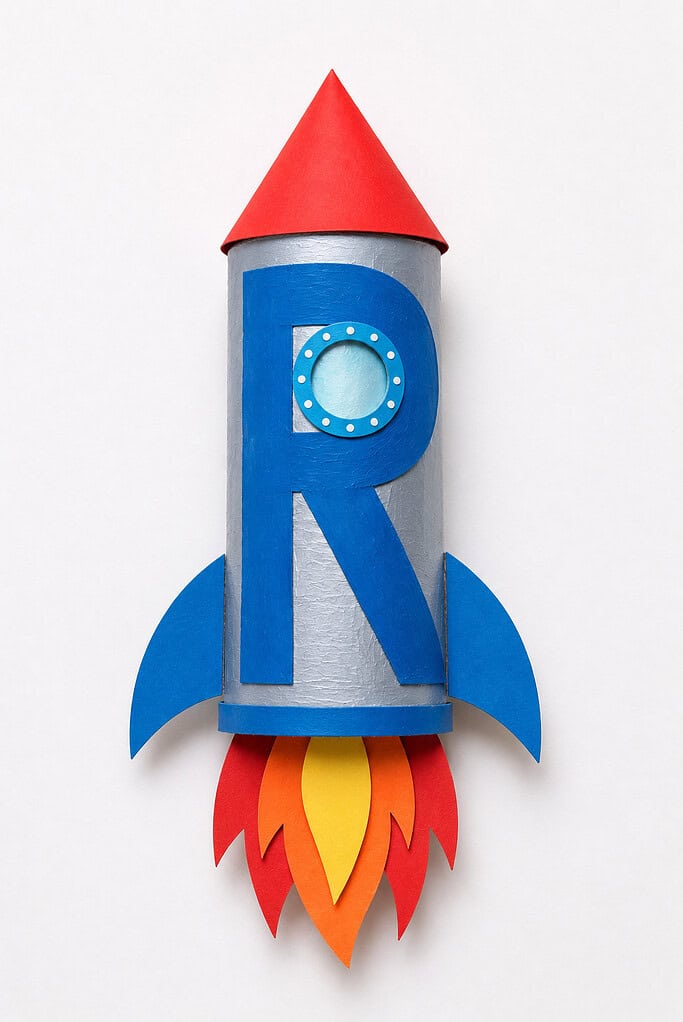
Made with a cardboard tube. Write a bold letter R on the cardboard tube so it runs the full height. The straight vertical stroke of the R is the rocket’s main body, the arch becomes a porthole window, and the diagonal leg of the R kicks out at the base like a launch fin. Add a paper nose cone at the top and more fins at the bottom so the R becomes a rocket ready for launch.
S is for Snake
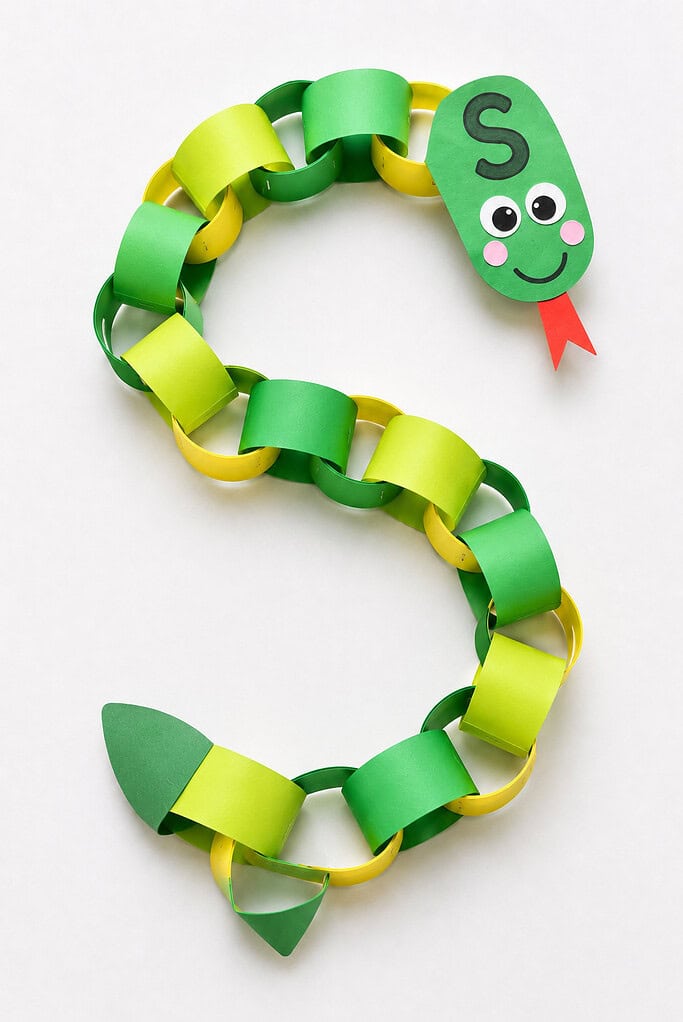
Made with a paper chain. Write or stamp the letter S on the first strip of paper before looping it into the chain. Link the remaining strips together so the finished chain curves and wiggles in a long S shape from head to tail. Add a little head at one end with a forked tongue so the paper chain snake is clearly shaped like the letter S it starts with.
T is for Turtle
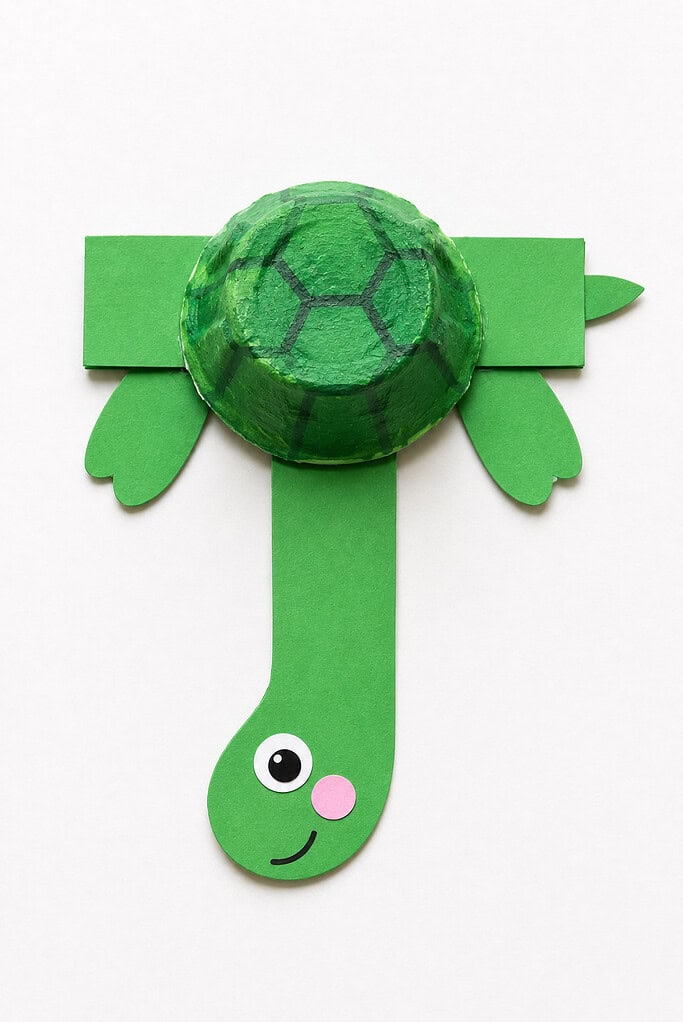
Made with an egg carton. Cut out one egg carton cup and paint it green for the shell. Before attaching the head and legs, cut a large letter T from paper and glue the shell onto the crossbar of the T so the top of the T becomes the turtle’s wide back. The vertical stroke of the T drops down as the neck and head, and four small paper legs spread out from the sides. The T is the turtle’s whole frame.
U is for Umbrella
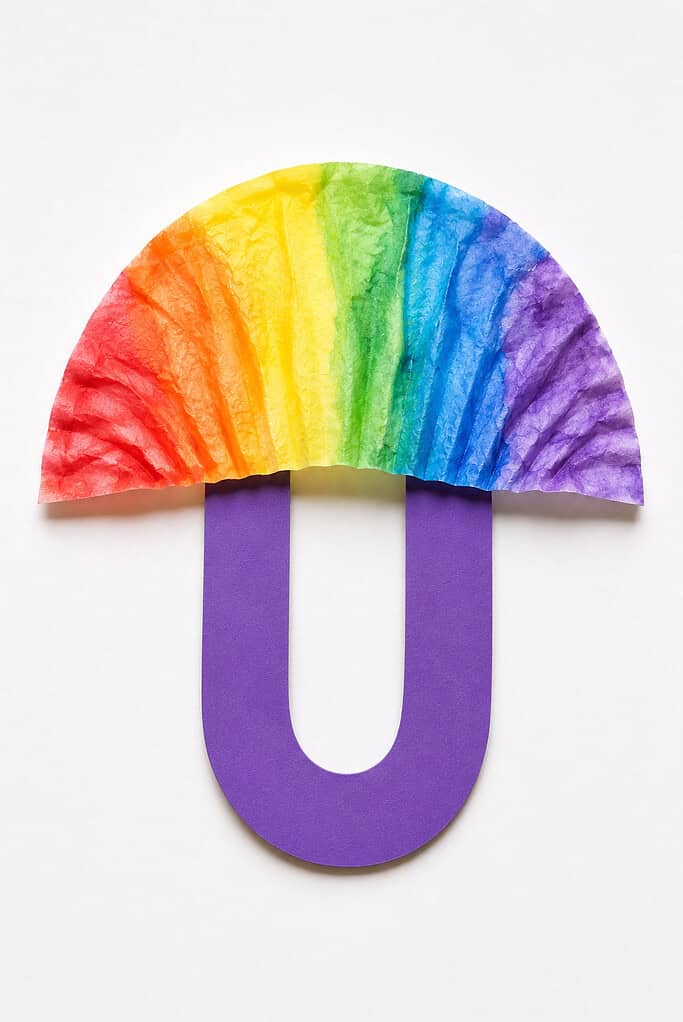
Made with a coffee filter. Color a coffee filter with bright colors and fold it into a dome. Attach it to a paper handle shaped like a large letter U, so the curved bottom of the U is the handle hook and the two upright sides hold the canopy above. The U shape is the umbrella’s handle, and the coffee filter dome sits right on top of it.
V is for Volcano
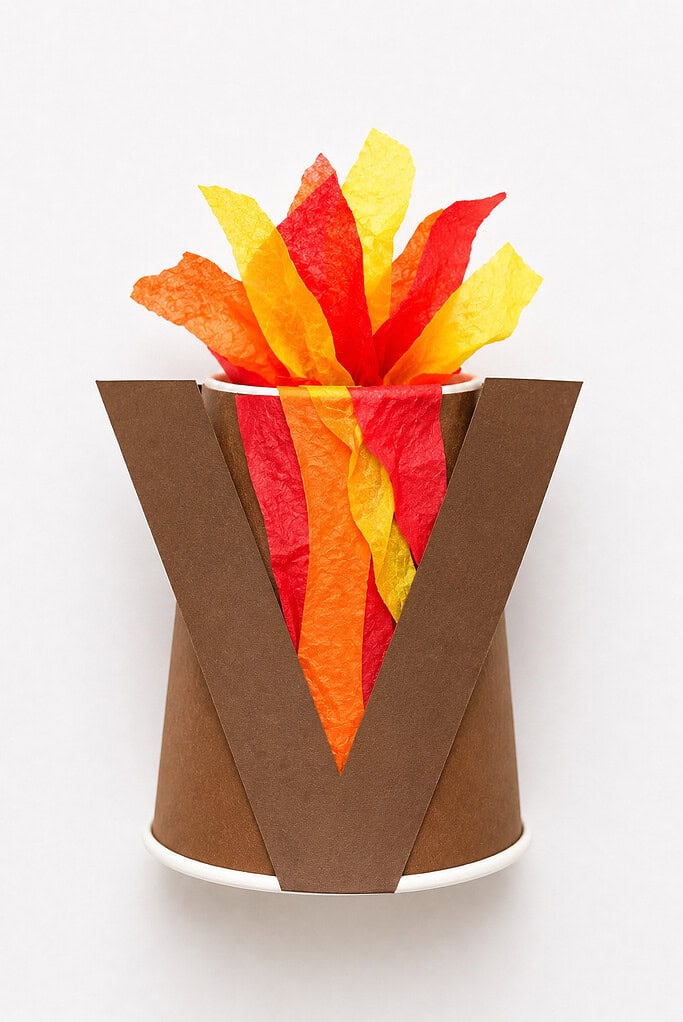
Made with a paper cup. Cut a large letter V from paper and use the two angled sides of the V as the sloping walls of the volcano. Set the paper cup upside down and glue the V around it so the wide mouth of the V opens at the top where the eruption comes out. Add a little baking soda eruption if you are feeling brave, and the letter V is clearly the mountain itself.
W is for Whale
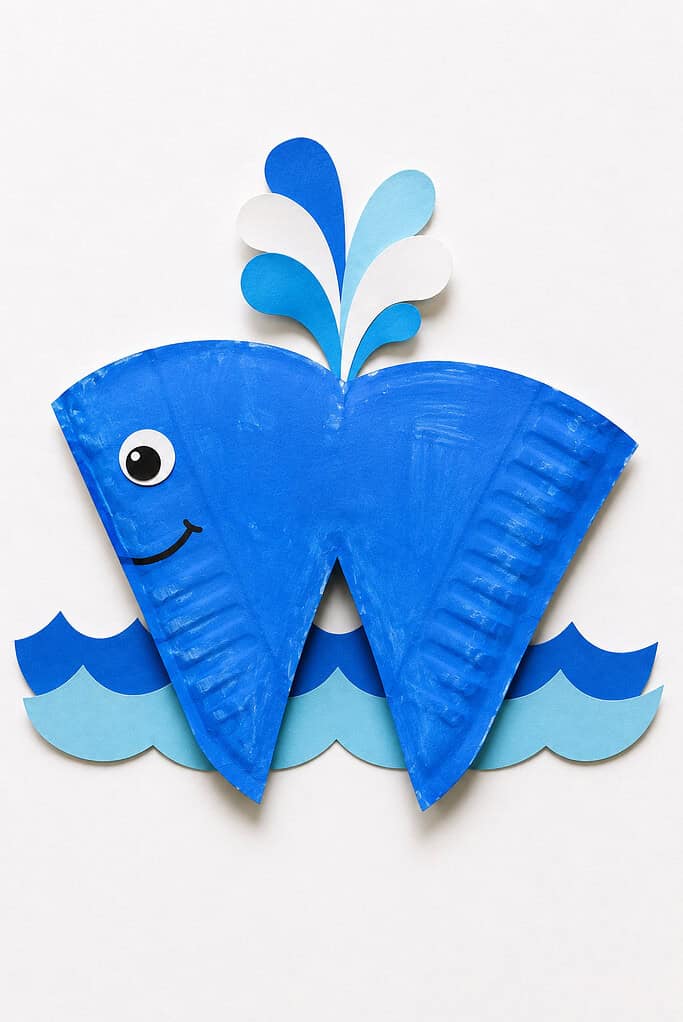
Made with a paper plate. Fold a blue paper plate and cut it into a large letter W shape, so the two downward points of the W become the whale’s tail flukes. The rounded top of the folded plate becomes the whale’s smooth back. Add a paper water spout rising up from the middle of the W, and the letter is unmistakably the whale’s tail cutting through the waves.
If your child loves sea creatures, our collection of ocean crafts for kids has plenty more to explore.
X is for Xylophone
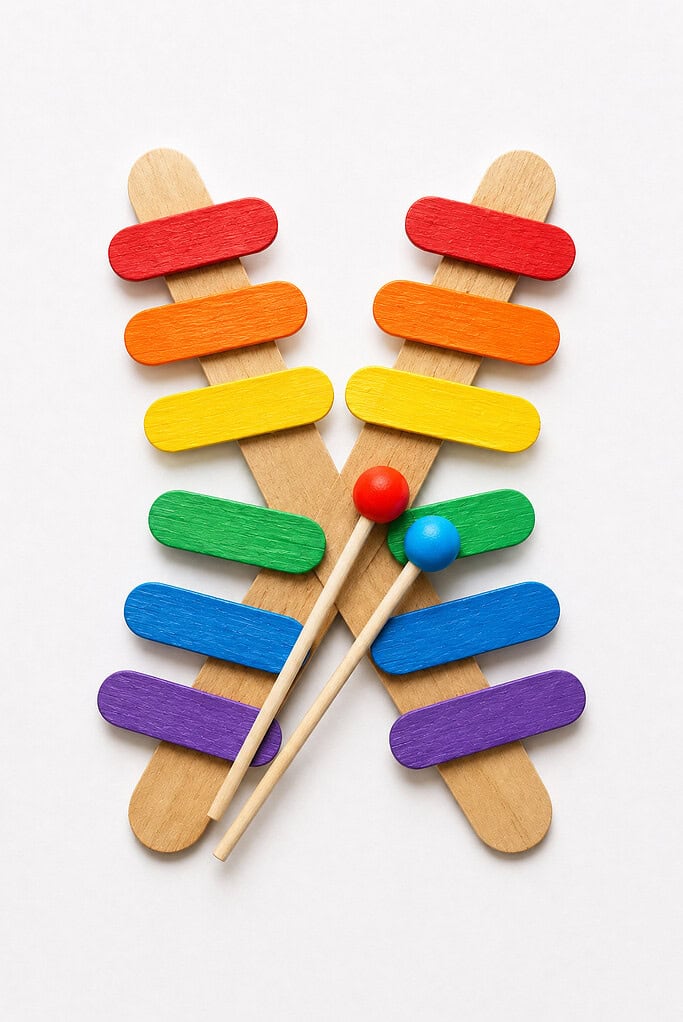
Made with popsicle sticks. Lay popsicle sticks out in a large X shape first, crossing two sticks in the middle so the letter X is the starting point. Then add more sticks in graduated lengths across the arms of the X to form the xylophone’s bars, and paint each one a different color. The X frame underneath shows through, tying the craft right back to the letter.
Y is for Yak
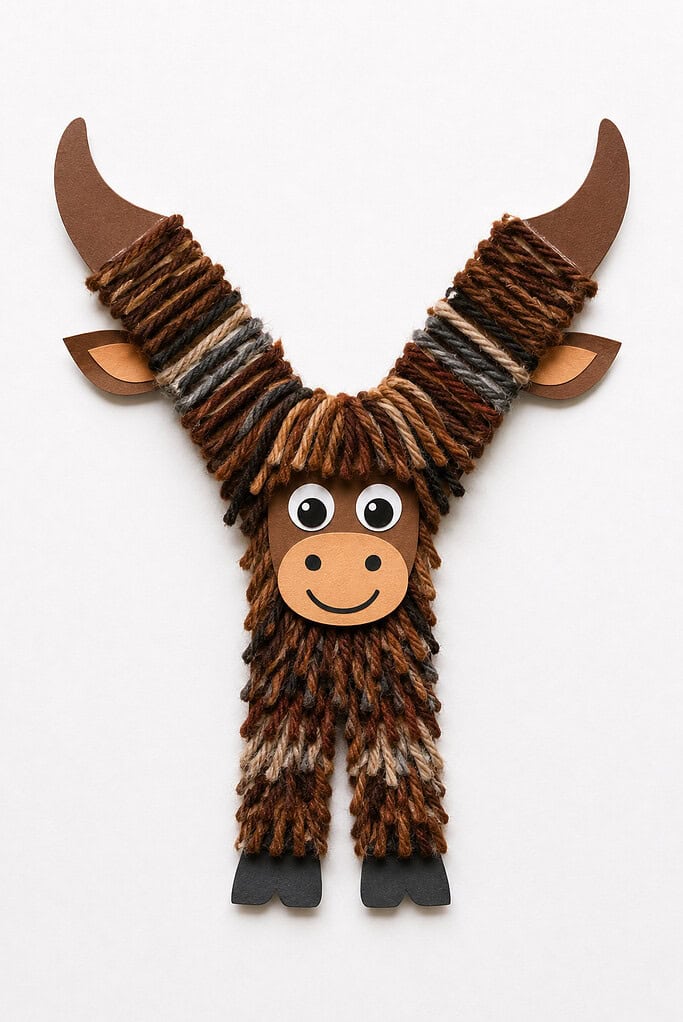
Made with yarn. Cut a large letter Y from paper and use the shape as the yak’s body. The two upper arms of the Y become the yak’s wide horns, and the single stroke below becomes the body and legs. Cover the whole letter in plenty of yarn glued row by row for a shaggy, woolly coat, so the Y shape is buried in texture but still clearly the animal’s frame underneath all that fluff.
Yarn is such a lovely material for little hands, and our roundup of yarn craft ideas has even more cozy projects to try.
Z is for Zebra
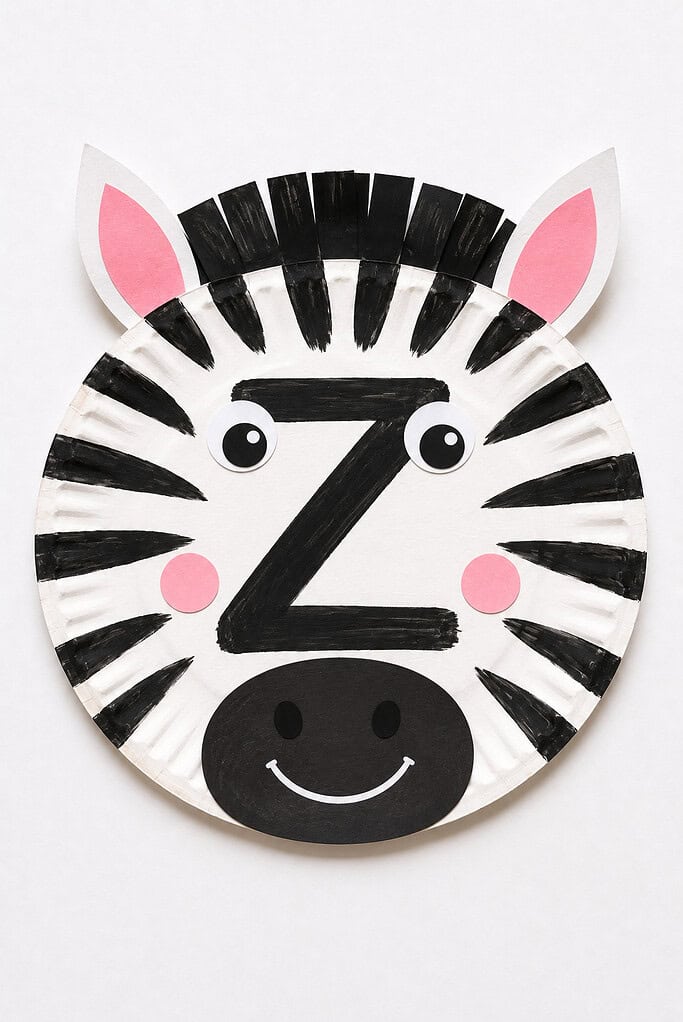
Made with a paper plate. Write a large bold letter Z across the center of the paper plate so it is the main feature. Paint black stripes around the Z on the white plate, and add a small mane along the top edge and a nose at one end. The Z sits right in the middle of the zebra’s face, so children see the letter the moment they look at it.
why alphabet crafts are worth the little bit of mess
When a child makes something with their hands, the letter stops being a shape on a page and becomes something they remember. They snip, they glue, they say the sound out loud, and somewhere in all of that, the letter sticks.
It is good for little fingers too. Cutting, tearing, and gluing all build the small muscles they will use later for writing. The same thing happens with handprint crafts, where the doing matters just as much as the finished piece.
When they are a little older and ready for a new challenge, our sewing projects for kids are a wonderful next step for those same careful hands.
And there is something quietly steadying about sitting beside your child while they work. Children are a heritage from the Lord. (Psalm 127:3) These ordinary afternoons at the kitchen table are part of that gift.
simple supplies you probably already have
One of the nicest things about these crafts is that they do not ask much of you. If you keep a small craft basket, you likely have most of it already.
- Paper plates, construction paper, and cardstock
- Toilet paper rolls, cardboard tubes, and egg cartons
- Yarn, cotton balls, and cupcake liners
- Glue, child-safe scissors, and a few markers or paints
Saving boxes and tubes through the week gives you a steady supply without spending a thing. If you want more ideas using these same basics, our roundup of paper crafts and these bright pipe cleaner crafts are both worth a look.
a gentle way to work through the letters
You do not need to do all twenty-six at once. In fact, it is sweeter not to. A letter a week is a lovely rhythm, and it gives each craft room to breathe. Around the holidays, you might even swap in a seasonal craft for that week, like our warm Thanksgiving crafts for kids when November rolls around.
You might pair the letter with a snack that starts with the same sound, a story from the library, or a walk to look for that letter out in the world. We often fold these into the season too, the way we do with leaf crafts in the fall, pumpkin crafts when the season turns, and apple crafts when the orchard opens.
Most of all, keep it light. If your little one wants to give the cat purple whiskers or skip ahead to the rocket, let them. The goal is curious, happy hands, not a tidy finished product.
start with the first letter and see where it leads
You do not have to plan the whole alphabet today. Pull out the craft basket, pick one letter, and make a start. One small craft at the kitchen table is enough, and the rest will come in its own time. If you are doing these alongside school, our back to school crafts are a lovely companion for the start of a new year.
I would love to hear how it goes. Which letter are you starting with, and which craft did your little ones love most? Leave a comment below and let me know.
i’d love to see your crafts!
Before you go, sweet friend, I have a small invitation. If you make a few of these alphabet crafts with your little ones, I would love to see them. Send in your pictures or share them in the comments below.
I may feature some of the crafts you send right here on the website, so other families can find a little encouragement and inspiration too. There is something special about seeing what another mama made at her own kitchen table, and I would be glad to pass that along.
With love,
Betty
Get the FREE Printable Jonah and the Whale Printable Crafts
 - 2026-04-23T022938.212")
Don’t let your kids just hear Jonah’s story—help them step into it.
With these 2 free Jonah activities, children can explore the story in a fun, memorable, hands-on way. They’ll make an interactive pull-tab whale slider craft that reveals five scenes from Jonah’s journey, and follow along with an 8-page coloring storybook that shares the complete story—including God’s important lesson about mercy and compassion that’s so often missed.
frequently asked questions
what age are alphabet crafts best for?
They work beautifully for toddlers and preschoolers, roughly ages two through five. Younger children will need more help with cutting and gluing, while older ones can take the lead and add their own details.
do i need to do all 26 letters in order?
Not at all. Many families start with the letters in their child’s name, then fill in the rest over time. A letter a week is a gentle pace that keeps it from feeling like a chore.
what supplies should i keep on hand?
Paper plates, construction paper, cardstock, glue, and child-safe scissors will carry you through most of the list. Saving toilet paper rolls, cardboard tubes, and egg cartons through the week covers nearly all the rest.
how do these crafts help with learning?
Making something by hand connects the letter to its sound and shape in a way that sticks. The cutting and gluing also build the small hand muscles children use later for writing.
can i use these for a homeschool or co-op?
Yes. They fit easily into a homeschool letter study or a small co-op craft time. Because the supplies are simple, they scale well for a group, and they pair nicely with quieter summer activities or themed weeks like bug crafts.
