
Needles, threads, and all the small choices are really important when you’re sewing.
Some fabrics are stubborn, some are smooth, and picking the right needle or thread can save you a lot of hassle.
I’ve spent plenty of time figuring out what works best for different materials, and it’s always a little satisfying when it finally clicks.
In this post, I’m sharing practical tips for choosing needles, sizes, threads, and even some techniques!
These are the things I’ve learned along the way – but all are aimed at making sewing easier, less frustrating, and more reliable.
How to Pick the Right Sewing Needle for Each Project
The needle you choose can completely change how your stitches turn out.
Some projects call for a strong, thick needle, while others barely need one at all.
Get it wrong and you’ll end up with skipped stitches, thread snapping, or tiny holes in your fabric (and nobody wants that).
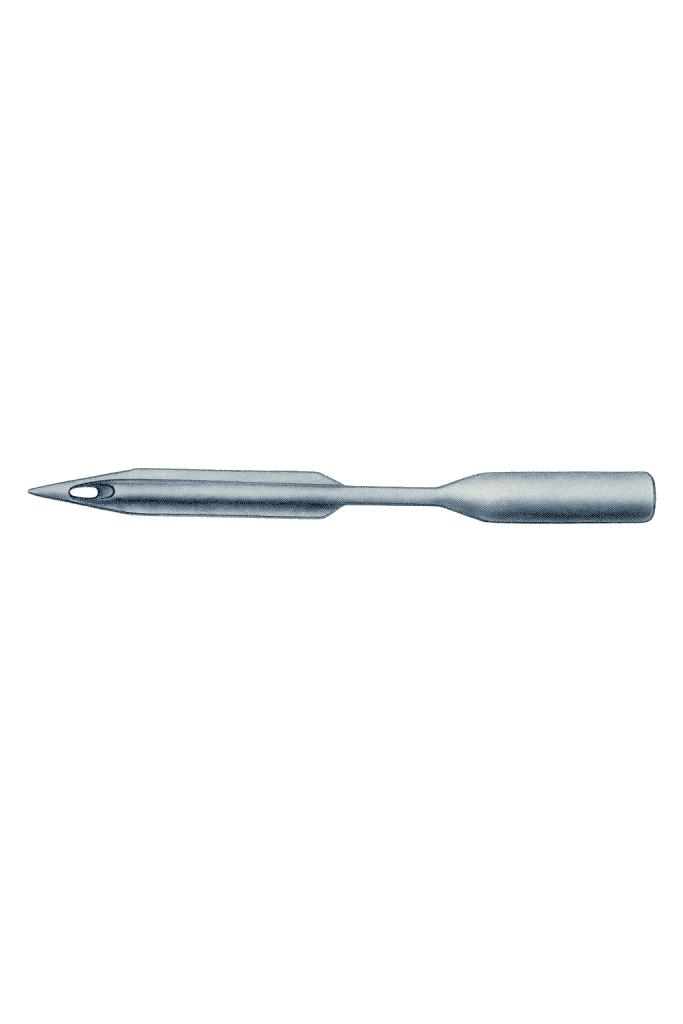
Needle Types and Sizes
Nowadays, you need different needles for different projects – there’s no one-size-fits-all anymore.
Modern sewing machines have all kinds of specialized needles to help your stitches look better and let you try more techniques.
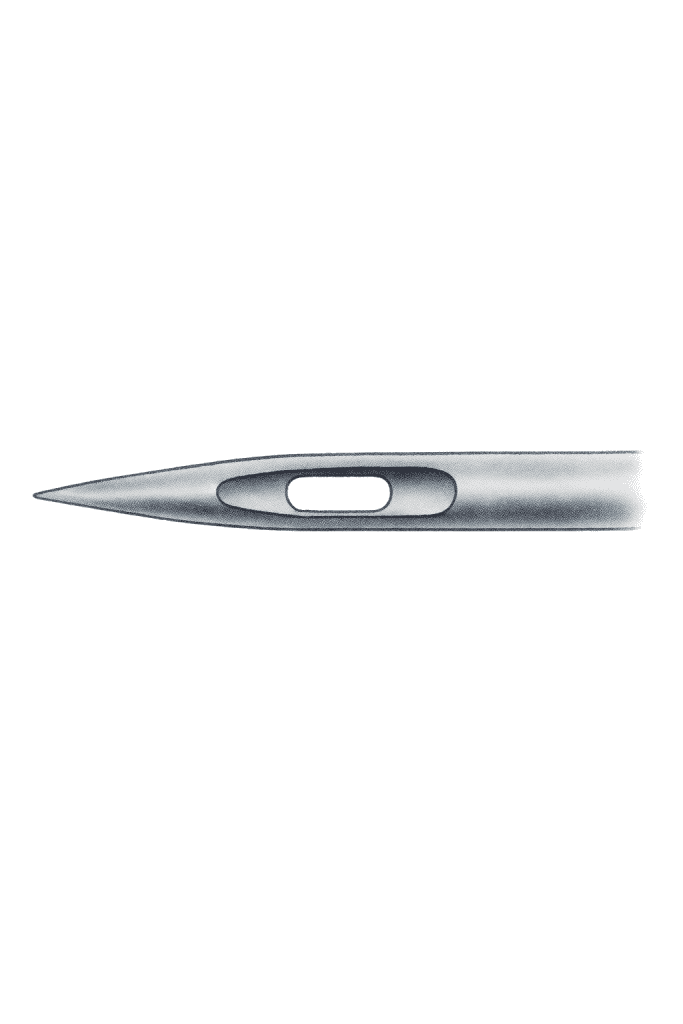
Needles come in different sizes and shapes, each meant for certain fabrics or projects.
- Numbers – tell you how thick or fine the needle is
- Letters – show the shape of the tip
For example, an American size 10 is about the same as a European 70/10.
Smaller numbers mean finer needles, while bigger numbers are stronger and thicker.
Seems simple, but picking the right one can really change how your sewing turns out.
Matching the Needle to Your Fabric
You want a needle sharp enough to glide through without effort, but not so thick it leaves little puncture marks.
Needle packaging can show both American and European sizes, which helps you match it to the fabric weight:
- Finer fabrics – smaller needles
- Heavy or dense fabrics – larger needles
Quick tips:
- Pick a needle that matches your thread and the look you want.
- Sharp tips for woven fabrics, rounded for knits.
- Use needles recommended for your machine.
(If you want to add beautiful lace details to your projects, learn how to sew lace on fabric in 6 easy steps.)
Needle Points Made Easy!
Below is a quick guide to help you match needles to your fabric and thread.
Hopefully, it clears up some of the confusion along the way.
Some favorites are:
| Needle Type | Best For | Key Feature / Tip |
|---|---|---|
| Ball Point (S) | Stretchy fabrics like jersey, swimwear, elastic | Rounded tip slides between fibers, prevents snags |
| Denim / Jeans (J) | Thick, tightly woven fabrics like denim, canvas | Sharp point and strong shaft; won’t bend or break easily |
| Embroidery (E) | Decorative threads like rayon | Larger eye protects delicate threads from shredding |
| Fine Ball Point (SES) | Lightweight knits, lingerie, silk jersey | Gentle ballpoint with extra precision for fine fabrics |
| Medium Ball Point (SUK) | Average to heavyweight knits (interlock, double knits, sweater-weight) | Smooth seams, prevents skipped stitches |
| Metallic (MET) | Metallic or rayon threads | Elongated eye and groove reduce friction on fragile threads |
| Microtex / Sharp (M) | Silk, microfiber, tightly woven fabrics | Extra-fine sharp point for crisp, clean stitches; great for topstitching |
| Quilting (Q) | Patchwork, layered fabrics | Glides through multiple layers without large holes or skipped stitches |
| Topstitching (N) | Decorative stitching on hems, bags, garments | Extra-large eye and strong shaft for visible stitching |
| Triple Needle (DRI) | Decorative effects, tucks, hems | Creates three perfectly parallel rows of stitches |
| Twin Needle (ZWI) | Double-needle stitching, stretch fabrics | Produces two even parallel lines; great for hems or decorative seams |
| Universal (H) | General sewing on woven and knit fabrics | Reliable all-purpose needle; good starting point |
| Leather / Wedge (NTW or LL) | Leather, suede, heavy fabrics | Strong wedge tip slices cleanly without tearing |
| Wing (WING) | Hemstitching, heirloom sewing | Winged sides create decorative holes; perfect for vintage or table linens |
Get to Know These 11 Specialty Sewing Needles
It’s amazing how many fabrics and threads we have to play with these days.
But, of course, more options mean more decisions especially when it comes to needles.
Grab the wrong one, and you’re staring at skipped stitches, puckered seams, or tension problems that make you want to pull your hair out.
Use the right specialty needle, though, and even tricky fabrics start cooperating under your machine.
Here are some of the most useful specialty needles:

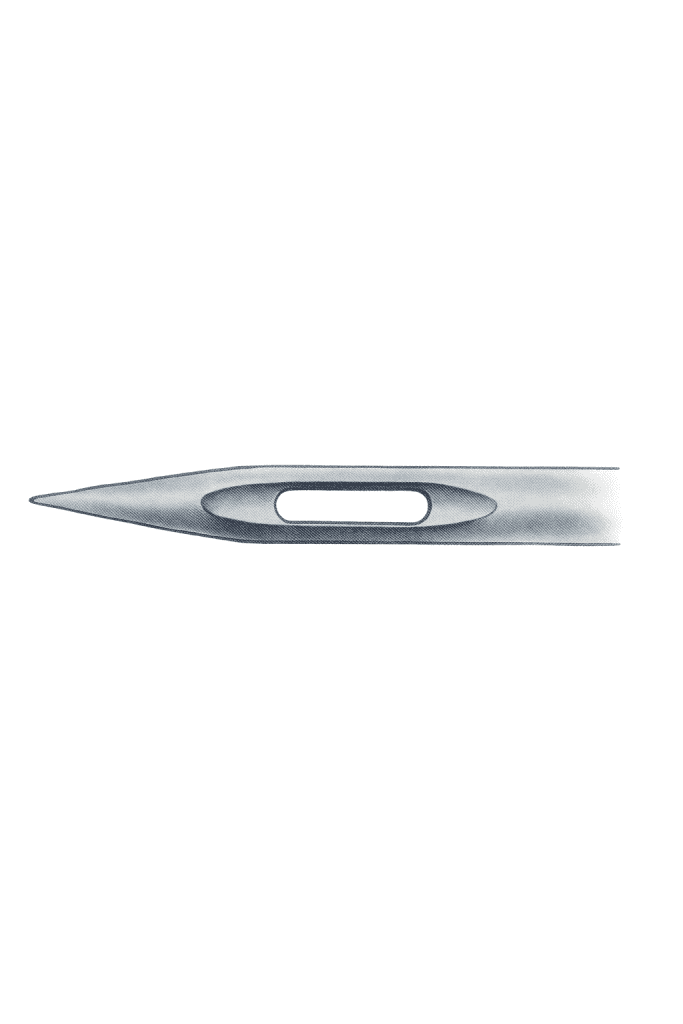


Take a look at some common needle sizes…
Needle size really matters, maybe more than we realize.
It affects how smoothly your machine stitches, whether the thread slides through the fabric nicely, and if your seams end up neat or puckered.
(For more on how seam allowances affect your stitching, check out our essential guide to seam and hem allowances.)
You’ll usually see needle sizes written with two numbers, like 75/11 or 90/14 – the first is European size, the second is American.
- 75/11 & 90/14 – Keeps delicate threads from shredding or splitting. Perfect for smooth decorative stitching.
- 80/12–110/18 – Cuts through thick materials cleanly. Great for bags, belts, and upholstery.
- 80/12 – Larger eye prevents skipped stitches on slippery threads.
- 60/8–90/14 – Extra-sharp points for precise stitching on delicate synthetics.
- 75/11 & 90/14 – Tapered point slides through layers easily for smooth, even stitches.
- 70/10, 80/12, 90/14 – Versatile for quilting, monogramming, or hoop embroidery.
- 80/12–100/16 – Handles thicker or multiple threads for visible seams and decorative work.
- 2.5/75–3.0/80 – Creates three parallel rows of stitching for decorative hems or tucks.
- 1.6/80–6.0/100 – Sew two lines at once; smaller for delicate fabrics, larger for bold details.
- 100/16 – Tiny fins make decorative holes; ideal for heirloom or vintage-style linens.
- 100/16 – Bigger openwork patterns for dramatic heirloom effects or detailed home décor.
Thinking about upgrading your sewing setup? My ultimate guide to picking a sewing machine is packed with tips to help you choose the right one for your projects, fabrics, and budget.
Getting Your Thread and Machine in Sync
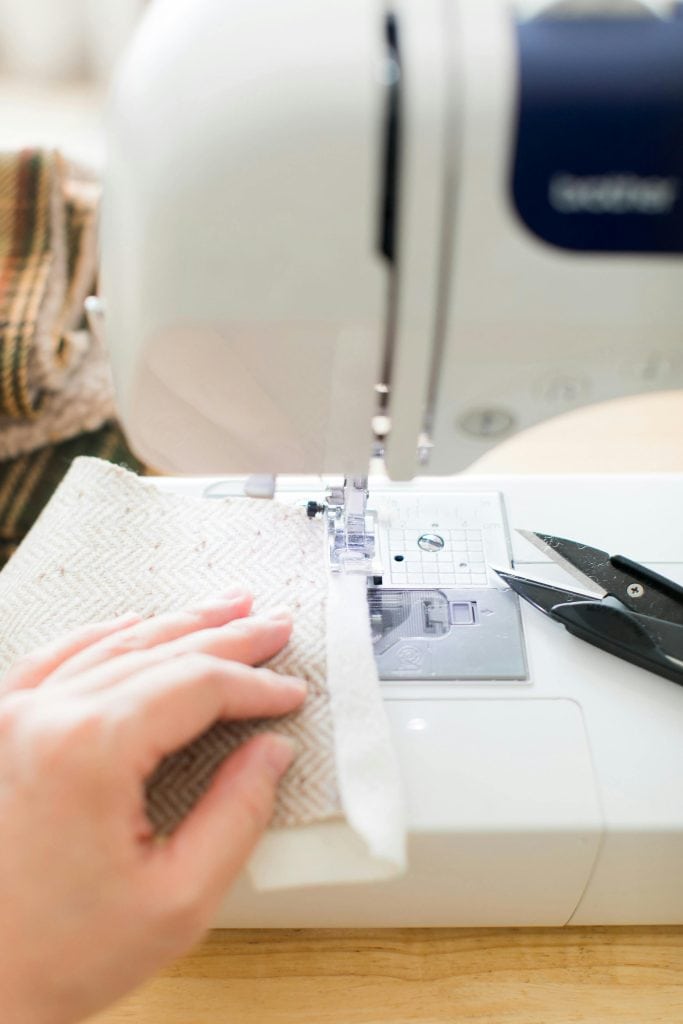
Picking the right needle is crucial, yes, but your thread and how you set up your sewing machine can make or break the whole sewing experience.
Even a great needle won’t help if the thread feeds unevenly or the tension is off.
Getting this right keeps your stitches smooth and avoids hours of frustration (I’ve been there).
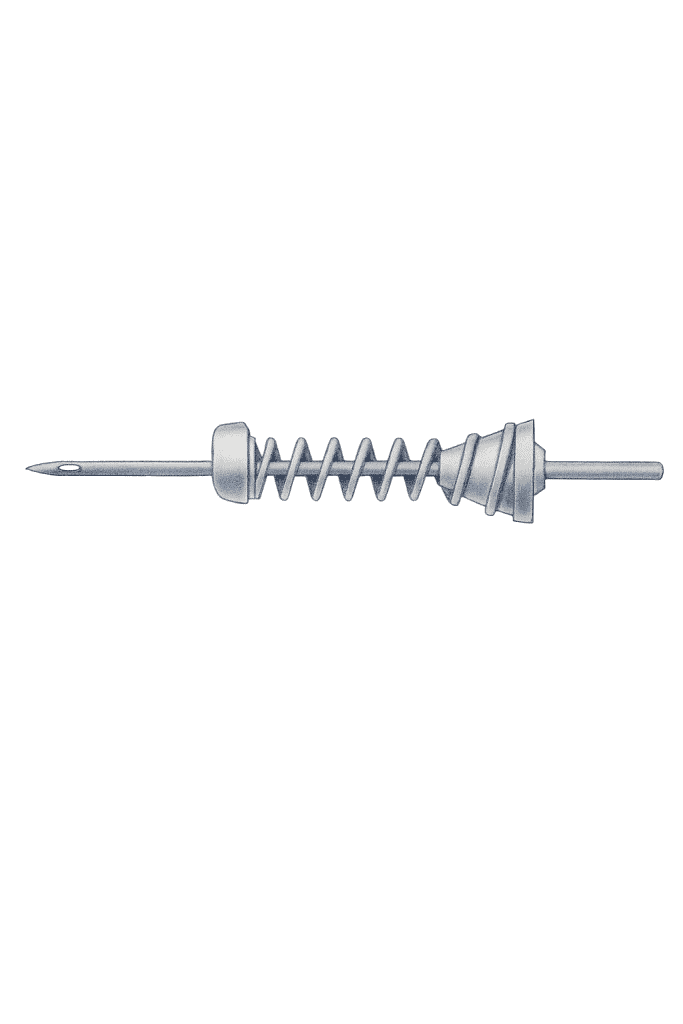
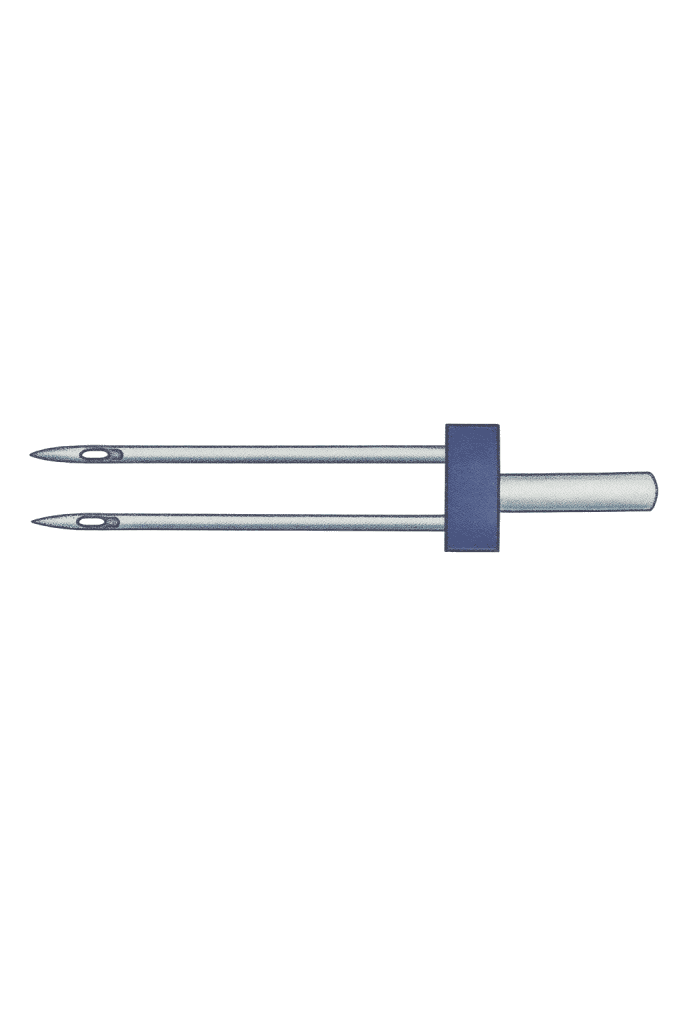
Twin and Triple Needle Threading
Got a machine that handles twin or triple needles? Awesome. But these needles need a zigzag function and usually a top-loading bobbin.
Thread has to feed front-to-back, and if your bobbin loads from below, you might run into trouble.
Threading paths for twin and triple needles can be… finicky. So yes, check your manual.
Test Before You Commit
Not all threads are the same. Metallic, rayon, and embroidery threads can be delicate.
Always do a quick test on scrap fabric first.
Stitches look uneven? Adjust tension, swap the needle, or tweak your bobbin thread. Tiny changes make a big difference.
Pro tip: Using a stabilizer underneath can make decorative stitching look way more polished. Somehow it just works.
Parallel-Wound vs. Cross-Wound Thread
Thread spool type matters more than most people realize.
- Parallel-wound thread – Usually on domestic spools. Best on a vertical pin so it unwinds smoothly from the side.
- Cross-wound thread – Often on sergers or cones. Can feed from horizontal or vertical pins, keeping tension even and tangles at bay.
If your thread acts up, sometimes just flipping the spool orientation fixes everything.
Vertical for parallel-wound, horizontal for cross-wound.
And if your machine can’t switch, a spool feeder or stand can save the day.
A quick sewing hack for you! If your machine has a vertical spool pin, try stacking a second spool of matching thread on top of the one already threaded. I was surprised it worked – no unthreading or rethreading needed!
Try This Thread Blending Technique
If you can’t find the perfect thread color, try thread blending. Mix a few threads together for a custom, multicolor effect!
For machine sewing, thread a few lightweight threads through one needle for a thicker topstitch.
Bigger needle helps with the bulk, and a Thread Palette keeps spools from tangling.
On a serger (see our guide on the anatomy of a serger), you can blend up to five threads through the looper.
Somehow it just works, and the Palette makes feeding smooth.
Play around with colors. Some of the best combos are totally accidental, and it makes your projects look super fun and unique.
Got a needle or thread trick that changed your sewing routine? Share it in the comments – someone else might stumble upon the exact tip they didn’t know they needed.
FAQs
1. How often should I change my sewing machine needle?
A general rule is to change your needle after every 8–10 hours of sewing or at the start of each new project. Dull needles can cause skipped stitches, fraying, or uneven tension – especially when switching between fabric types.
2. Can I use the same needle for both woven and knit fabrics?
Not ideally. Woven fabrics need a sharp-point needle (like Universal or Microtex), while knits require a ballpoint needle that slides between fibers. Using the wrong one can cause snags or holes in your fabric.
3. What’s the difference between polyester and cotton thread?
Cotton thread is soft, matte, and ideal for natural fabrics like linen or cotton. Polyester thread is stronger and has a slight stretch, making it perfect for synthetic blends and knits. You can even blend both for decorative topstitching.
4. How can I stop my thread from breaking mid-stitch?
First, check that your needle is the right size for your thread. If the needle’s eye is too small, friction can cause the thread to shred. Also, rethread your machine, check tension settings, and make sure your spool is unwinding smoothly in the correct direction.
5. Why does my fabric pucker when I sew?
Puckering often happens when the thread tension is too tight or when using a needle that’s too large for the fabric. Try loosening the tension slightly, switching to a smaller needle, or adding a stabilizer for thin or stretchy fabrics.
