Linen is one of those fabrics that feels both timeless and practical.
It’s strong, breathable, and grows softer with every wash – qualities that make it just as useful for a humble dish towel as it is for a favorite handmade dress.
But sewing with linen can feel a little intimidating if you’ve never worked with it before.
That’s why this guide is here.
I’ll walk you through the essentials – how to choose the right linen fabric, pre-wash it for best results, cut it with accuracy, and press it for a polished finish.
Each step is straightforward once you know what to do, and learning them will give you the confidence to handle linen with ease.
Whether your first project is a simple set of napkins or you’re ready to dive into clothing, starting with the basics will set you up for success.
How to Choose the Right Linen Fabric for Sewing
Before you begin cutting or stitching, choosing the right type of linen is the first step toward a successful project.
If you’re unsure where to start, my guide on how to buy affordable linen fabric is a great place to learn how to find quality linen without overspending.
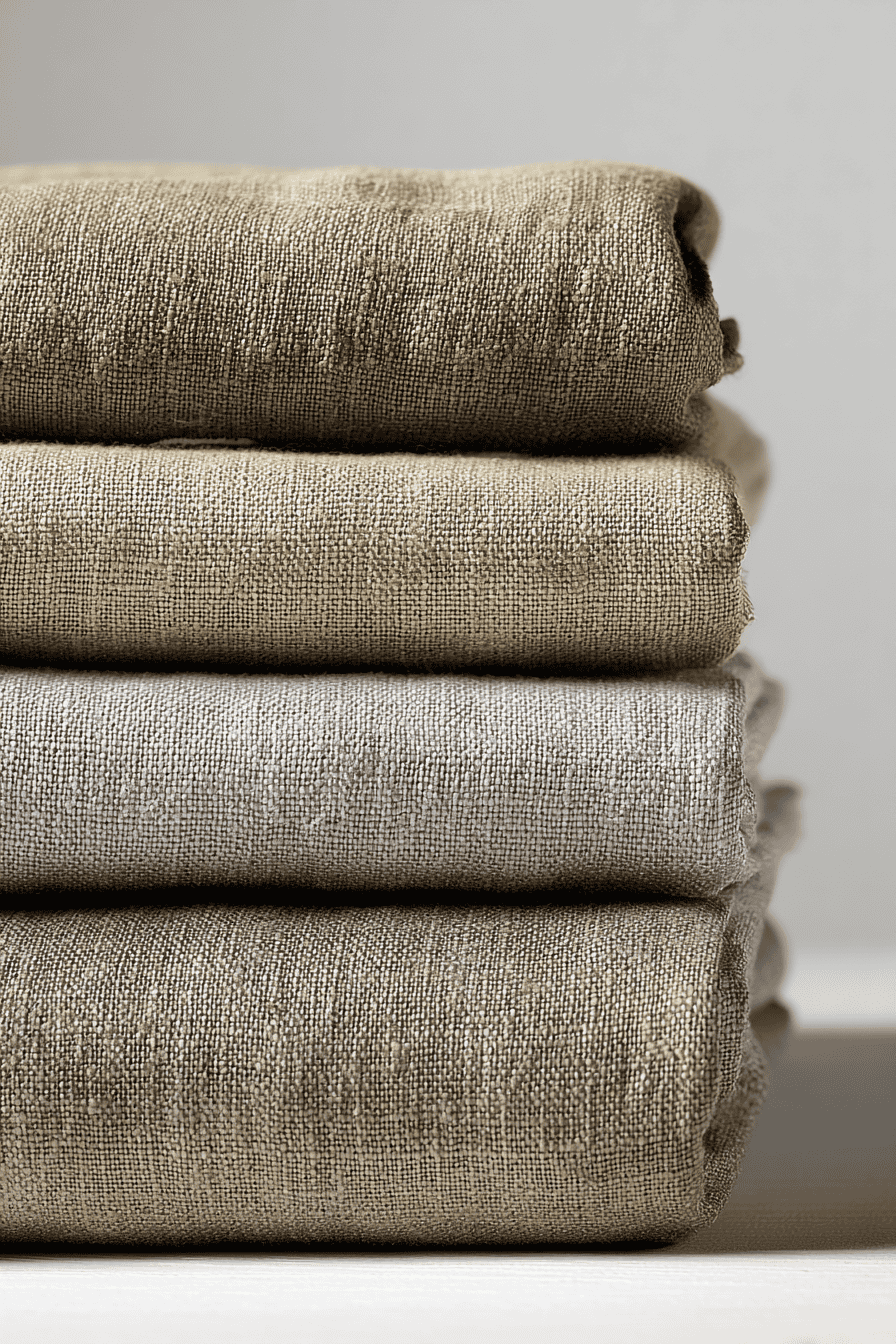
Linen comes in different weights and textures, and each has its best uses.
1. Pick the Right Weight of Linen
- Lightweight linen – Great for scarves, summer blouses, handkerchiefs, and airy curtains. (For more on choosing fabrics for warm weather, see linen vs cotton for summer garments.)
- Medium weight linen – The most versatile option. Ideal for shirts, dresses, skirts, pants, and beginner sewing projects like napkins or pillow covers.
- Heavyweight linen – Best for structured pieces such as jackets, aprons, tablecloths, and upholstery.
If you’re just starting, medium-weight plain weave linen is the easiest to work with. It holds shape well, drapes nicely, and isn’t too slippery or stiff.
2. Check the Quality of the Weave
Hold the fabric up to the light – look for an even weave without too many thick slubs or gaps.
A balanced weave ensures that your seams stay straight and your finished project wears well.
3. Choose 100% Linen for Beginners
While linen blends exist (linen-cotton, linen-rayon), 100% linen is best for learning.
It behaves consistently, softens beautifully over time, and rewards careful sewing with durability.
If you want to check fabric authenticity, my guide on how to do a burn test for natural fabrics can help you identify fibers before you sew.
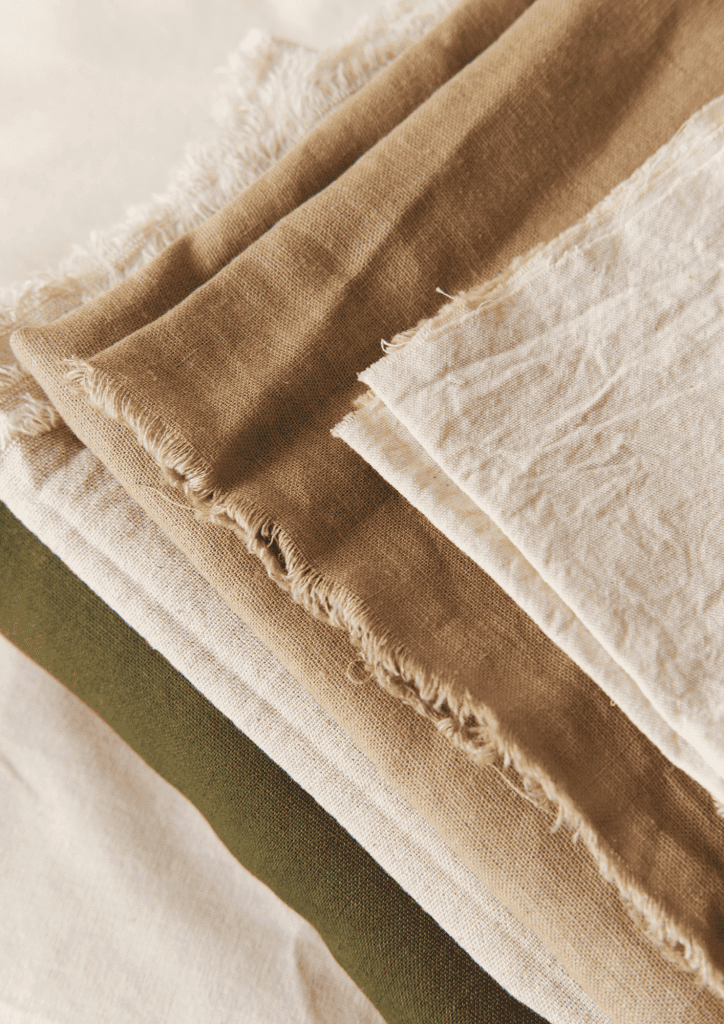
4. Start Simple with Color and Pattern
Solid colors in medium shades (like natural flax, soft gray, or muted blue) make it easier to see your stitches and fabric grain.
Once you’re confident, you can explore stripes, checks, or textured weaves like herringbone and twill.
If you’d like to explore another classic natural fiber, check out my simple guide on sewing with wool.
How to Pre-Wash Linen Fabric Before Sewing
Pre-washing linen is not optional – it’s the step that ensures your handmade piece keeps its shape, softness, and durability for years to come.
Linen naturally shrinks the first time it’s washed, so taking care of this before cutting and sewing will save you from seams that pull or garments that fit too tightly.
1. Wash Before You Cut
- Place your fabric in the washing machine on a gentle or normal cycle.
- Use cool to warm water (not hot). Hot water can shrink linen more dramatically.
- Add a mild, plant-based detergent. Avoid fabric softeners – they coat the fibers and reduce absorbency.
2. Drying Linen the Right Way
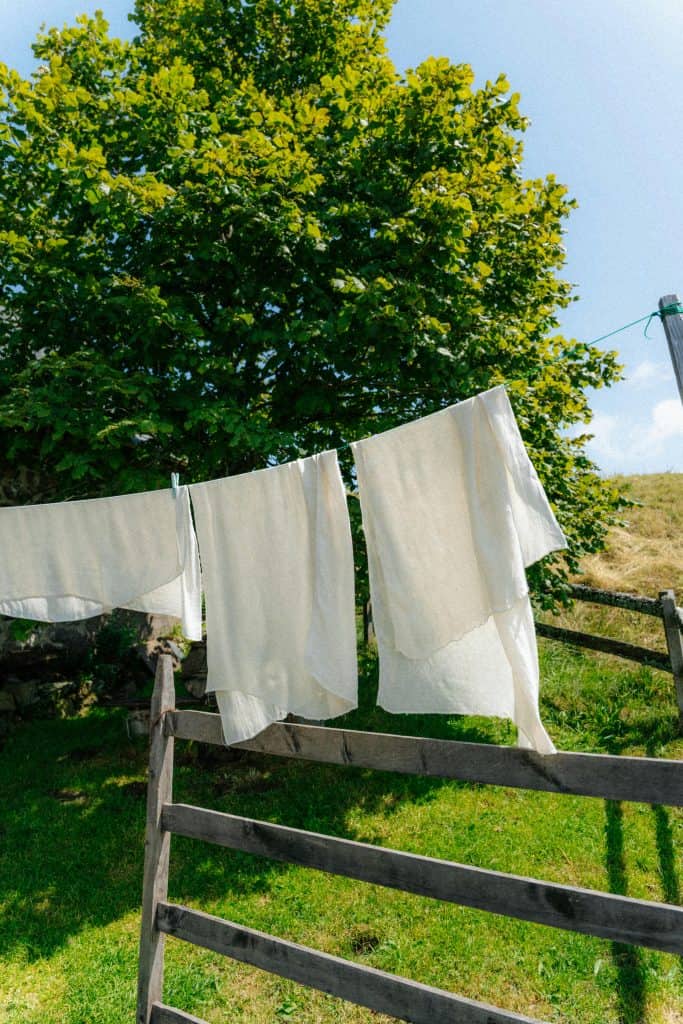
- Air-drying: Hang the fabric on a line or rack for a crisper finish.
- Tumble-drying: Use a low to medium setting for a softer hand feel. If you want linen that feels lived-in and supple, this is the way to go.
For most sewing projects, tumble-drying is recommended – since you’ll likely wash and machine-dry the finished garment or item in the future, this helps your fabric “settle in” right away.
3. Press While Slightly Damp
Linen responds best to the iron when it isn’t bone dry.
Smooth it out with a hot, steamy iron as soon as it comes out of the dryer, or spritz lightly with water before pressing.
This step evens out the fibers and gives you a perfectly flat surface for cutting.
4. Optional: Wash Twice
If you’re making a fitted garment (like pants or a dress), you may want to wash and dry linen twice before sewing.
This ensures all shrinkage is finished before you start.
How to Cut Linen Fabric Accurately
Once your linen is washed and pressed, it’s ready for cutting.
Linen has a looser weave than some fabrics, so it can shift if you’re not careful.
A precise cut now will make your sewing smoother and your seams cleaner.
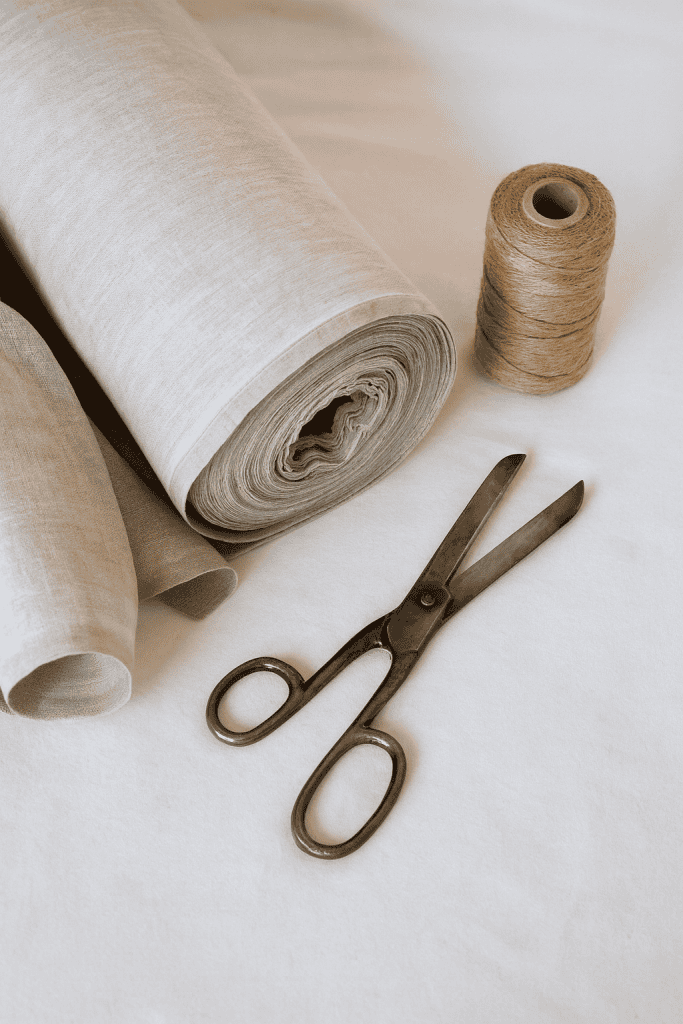
1. Gather the Right Tools
- Sharp fabric shears or a rotary cutter with a fresh blade.
- A self-healing cutting mat (if using rotary).
- Pattern weights or pins to hold your pattern steady.
- Tailor’s chalk or a washable fabric pen for clear markings.
2. Align with the Fabric Grain
Linen has a clear grainline thanks to its strong, straight weave, and cutting along this grain is what keeps your finished project from twisting or hanging awkwardly.
Before laying out your pattern, check the raw edge of your fabric.
If it looks uneven or jagged, you can gently pull a single thread from the weave – this creates a straight line you can trim along, giving you a clean edge to work from.
When positioning your pattern pieces, always align the grainline arrows printed on the pattern with the selvedge, which is the tightly woven finished edge of the fabric.
This step might feel small, but it’s what ensures that your seams sit straight and your garment drapes the way it was designed to.
3. Cut on a Flat Surface
A large, flat cutting surface is key when working with linen.
Because linen has a looser weave, it can shift or sag if you’re trying to cut on carpet, a bed, or any uneven surface.
Spread your fabric out on a table or a cutting mat, smoothing it with your hands so it lies flat without stretching.
The goal is to let the fabric rest naturally. Pressing it beforehand also helps it behave better during this stage.
If you don’t have a dedicated cutting table, even a clean floor can work – just make sure it’s smooth, stable, and large enough to lay out your fabric without folding it.
4. Prevent Shifting While Cutting
Linen has a tendency to wiggle a little as you cut, which can throw off your accuracy.
To keep it steady, secure your pattern with weights instead of relying solely on pins.
Weights hold the fabric flat without distorting it, especially useful for wider pattern pieces.
If your linen is lightweight or especially fine, you can mist it lightly with spray starch before cutting.
This temporary stiffening makes the weave more stable, so your scissors or rotary cutter glide cleanly without pulling threads out of alignment.
It’s a simple trick that makes a noticeable difference in the precision of your cuts.
5. Mark Accurately
Marking is where precision pays off later at the sewing machine.
Because linen has a textured surface, some markings can disappear quickly or get lost in the weave.
Choose a tool that contrasts with your fabric’s color and washes out easily.
Tailor’s chalk, chalk wheels, or water-soluble fabric pens are reliable for most projects.
For very detailed work, or when you want markings to stay put through handling, tailor’s tacks (small stitches made with contrasting thread) are a traditional but effective option.
Taking a little extra time to mark carefully ensures your darts, seams, and notches line up as they should, making your sewing smoother and your final piece more polished.
Precision here saves frustration later – straight cuts and aligned markings give you cleaner seams and polished results.
How to Press Linen Fabric for Sewing Success
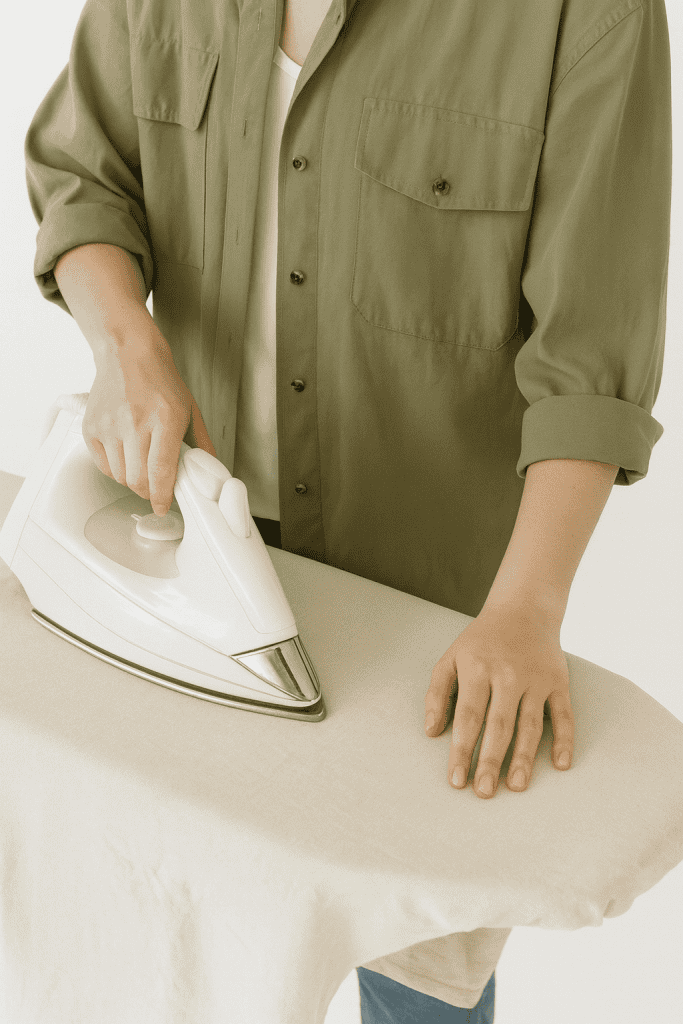
Pressing linen is one of the most important parts of sewing with this natural fabric.
It helps your seams stay flat, shapes your project as you work, and gives the finished piece a professional look. Linen responds beautifully to steam and heat, but it needs to be pressed with care.
Here’s how to do it properly at every stage.
1. Prepare Your Iron and Fabric
Start by setting your iron to the linen or cotton setting, which is usually medium-high to high heat.
Make sure the steam function is switched on, since linen benefits from moisture as much as from heat.
Before pressing your main fabric pieces, test the iron on a small scrap.
This way, you can confirm that the heat won’t cause shiny patches or water spotting.
Place your fabric flat on the ironing board, smoothing it gently with your hands.
If you are pressing seams, always position the fabric so the seam side is facing up – this allows the iron to press the stitches into place more effectively.
2. Use a Pressing Cloth
A pressing cloth acts as a buffer between your iron and the linen.
Simply place a piece of clean cotton or muslin over the area you want to press, then apply the iron on top of it.
This protects darker linens from developing sheen and helps distribute the steam evenly across the fabric surface.
It’s a small extra step, but it goes a long way toward preserving the texture and finish of your linen, especially if you’re working with a high-quality fabric.
3. Press, Don’t Slide
When pressing linen, the technique matters just as much as the settings.
Instead of sliding the iron back and forth like you might with laundry, lower the iron directly onto the fabric, apply firm pressure for a few seconds, then lift it straight up.
Move the iron to the next section and repeat.
This “press and lift” motion keeps the weave of the fabric stable.
Sliding the iron across linen can stretch it out of shape or distort the grain, which can affect the fit and drape of your finished project.
4. Add Steam and Moisture
Linen responds best when pressed while slightly damp.
If your fabric has dried completely, mist it lightly with a spray bottle before you begin.
As you press, let the steam from your iron penetrate the fibers—it helps them relax and flatten smoothly.
For especially stubborn wrinkles or thick seams, use the steam burst function on your iron.
The combination of heat, weight, and moisture allows the fabric to settle into the shape you need.
5. Press Seams as You Sew
One of the best habits you can develop is pressing each seam immediately after sewing it.
First, press the seam flat in its original position – this sets the stitches into the fabric.
Next, press the seam allowance to one side or open it up, depending on your pattern instructions.
For curved seams, such as darts or armholes, use a tailor’s ham or even a rolled towel underneath to maintain the curve while pressing.
This prevents those areas from being flattened and helps the garment hold its shape.
6. Final Press for a Professional Finish
Once your project is complete, give it a final all-over pressing.
Lay the piece flat on the ironing board or position it carefully so you can press one section at a time.
Use plenty of steam to sharpen edges, flatten hems, and smooth out any last wrinkles.
When you’re finished pressing, let the linen cool on the board before moving it.
This cooling time allows the fibers to set in place, helping the garment or home item hold its shape for longer.
Beginner Linen Sewing Projects to Try First

Once you’ve learned how to choose, wash, cut, and press linen, the best way to build confidence is by starting with simple projects.
Linen is forgiving and gets better with use, so even beginner makes will be durable and useful around the home.
These small projects let you practice straight seams, neat hems, and pressing techniques before you move on to clothing.
| Project | What You’ll Learn |
|---|---|
| Napkins | A straightforward square with hemmed edges. Great for practicing clean corners and consistent seam allowances. |
| Tea Towels | Similar to napkins but slightly larger, giving you practice with grainlines on a bigger piece of fabric. |
| Drawstring Bags | Perfect for organizing household items or gifts. You’ll practice sewing seams, pressing folds, and inserting a drawstring. |
| Pillow Covers | An excellent first “home goods” project where you’ll learn about cutting larger pieces and pressing crisp hems. |
| Table Runners | A chance to practice long, straight seams and finishing techniques while making something functional for the kitchen or dining table. |
These projects are small enough to finish quickly yet useful enough to bring a sense of accomplishment.
Once you’ve tried a few, you’ll feel ready to tackle garments like skirts, tops, or lightweight pants with more confidence.
Final Tips for Sewing with Linen at Home
Keep these final tips in mind as you finish up your project:
- Take your time – Work steadily and press each seam as you sew. Small, careful steps add up to polished results.
- Use your iron as a tool – Pressing with steam is just as important as stitching. It shapes the fabric and keeps seams crisp.
- Expect linen to soften – Freshly sewn items may feel firm at first, but linen naturally becomes softer and stronger with every wash.
- Start simple – Projects like napkins, towels, or pillow covers let you practice the basics before moving on to garments.
- Trust the process – Sewing with linen is a rhythm of wash, cut, press, and sew. Each project builds your skill and confidence.
For ways to make your home non-toxic, check out these non-toxic bedroom swaps for a healthier home.
Start Your First Linen Project Today
Once you know how to choose the right fabric, pre-wash it properly, cut it with precision, and press it at every step, the process becomes straightforward and enjoyable.
Linen rewards the care you put into it, softening over time and holding up to daily use with ease.
Start small, trust the process, and watch your skills grow with every project.
Whether you begin with a simple napkin or move toward a handmade garment, each piece you create will carry both beauty and durability.
Do you have any questions or tips for sewing with linen? Share them in the comments – I’d love to hear your ideas!
FAQs
1. Do I need to finish the raw edges of linen?
Yes. Linen frays easily because of its looser weave, so finishing raw edges is important. You can use a zigzag stitch, pinking shears, or a serger to keep seams neat and prevent unraveling.
2. Can I wash linen in hot water to shrink it on purpose?
It’s not recommended. Hot water can shrink linen unevenly and may weaken the fibers. Stick with cool to warm water, and if you want to pre-shrink fully, wash and dry the fabric twice before sewing.
3. What type of thread works best with linen?
All-purpose polyester thread is strong and works well with linen for most projects. If you want a natural option, cotton thread can be used, but polyester tends to be more durable for frequent washing.
4. Should I use interfacing when sewing with linen?
Yes, for areas that need structure like collars, waistbands, or button plackets. Choose a lightweight fusible interfacing that doesn’t make the linen feel stiff—always test it on a scrap first.
5. Is linen good for beginners compared to cotton?
Yes. While cotton is often recommended for beginners, linen is just as approachable if you take your time with cutting and pressing. Its stability makes it easier to handle than slippery fabrics like silk or rayon.

This was incredibly helpful! I am just getting into garment making and bigger sewing projects for my family and want to prioritize linen. Thank you for your comprehensive post! 🥰🥰 Blessings!