Every great outfit begins with great measurements!
Taking body measurements simply means getting to know your body’s real dimensions so your clothes fit just the way you imagine.
The goal is simple: record the real measurements of yourself (or someone else) so garments sit comfortably and match the look you planned.
When your measurements are correct, patterns make sense, alterations become easier, and sewing feels more predictable.
Accurate measurements are the first step in creating clothes that fit perfectly, especially if you’re just getting started with sewing.
In this article, you’ll learn exactly how to take each key measurement step by step plus how to prepare, record, and double-check your results.
What You’ll Need Before You Begin
Before you start taking measurements, gather a few simple tools to make the process easier and more accurate.
Here’s what to grab:
- Soft measuring tape (flexible, non-stretch)
- Full-length mirror
- Notebook, paper, or sewing planner
- Pen or pencil
- Fitted clothing or undergarments
- Flat, even surface to stand on
- Hair tie or elastic band (to mark natural waist)
- Helper or dress form (optional, for hard-to-reach points)
- Straight ruler or yardstick (optional, for length checks)
How to Prepare Your Body for Measuring
Accurate measurements start with how you stand and what you wear.
Before you begin, take a moment to set yourself up properly – this keeps your numbers consistent and reliable.
- Wear fitted clothing or undergarments. Loose clothes add bulk and change your shape.
- Remove shoes. Stand flat on the floor so your posture stays natural.
- Stand tall but relaxed. Keep your feet hip-width apart, shoulders level, and arms resting by your sides. Avoid stretching upward or tensing your stomach.
- Tie a string or elastic around your natural waist. This helps you find your waistline quickly for multiple measurements.
- Face a mirror. It lets you check that the tape stays straight and parallel to the floor.
- If you’re helping someone else, have them look forward and breathe normally. Measure along the body’s natural lines – not too tight, not too loose.
Once your posture feels balanced and comfortable, you’re ready to begin taking measurements that will guide every step of your sewing project.
How to Measure Each Body Area Accurately
Use a soft, non-stretch measuring tape and make sure it lies flat against the body without twisting.
Keep it level with the floor and stand naturally – upright but relaxed.
If possible, measure in front of a mirror or ask someone to help with areas that are hard to reach, like the back and shoulders.
Write down each number as you go, rounding to the nearest quarter inch or half centimeter for accuracy.
1. Bust / Chest
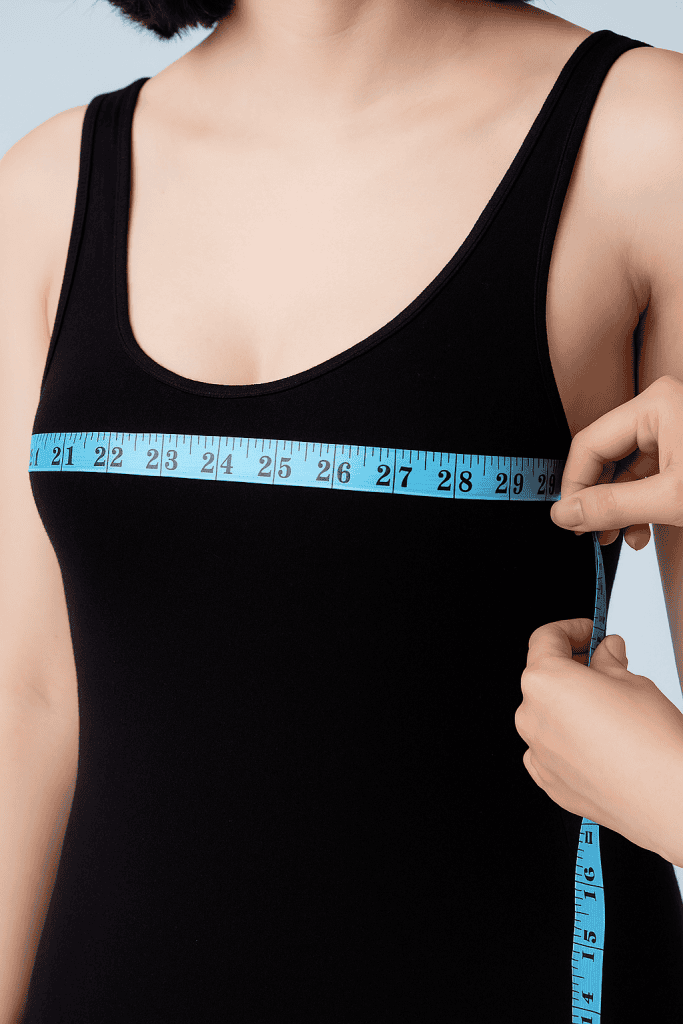
To measure the bust or chest, wrap the tape around the fullest part of the chest, making sure it goes straight across the shoulder blades and stays parallel to the floor.
The tape should be snug but not tight – it needs to sit flat against the skin without digging in.
For women, it’s helpful to also measure the high bust (just under the arms and above the fullest part) to fine-tune pattern adjustments.
Check in the mirror to ensure the tape is level front to back.
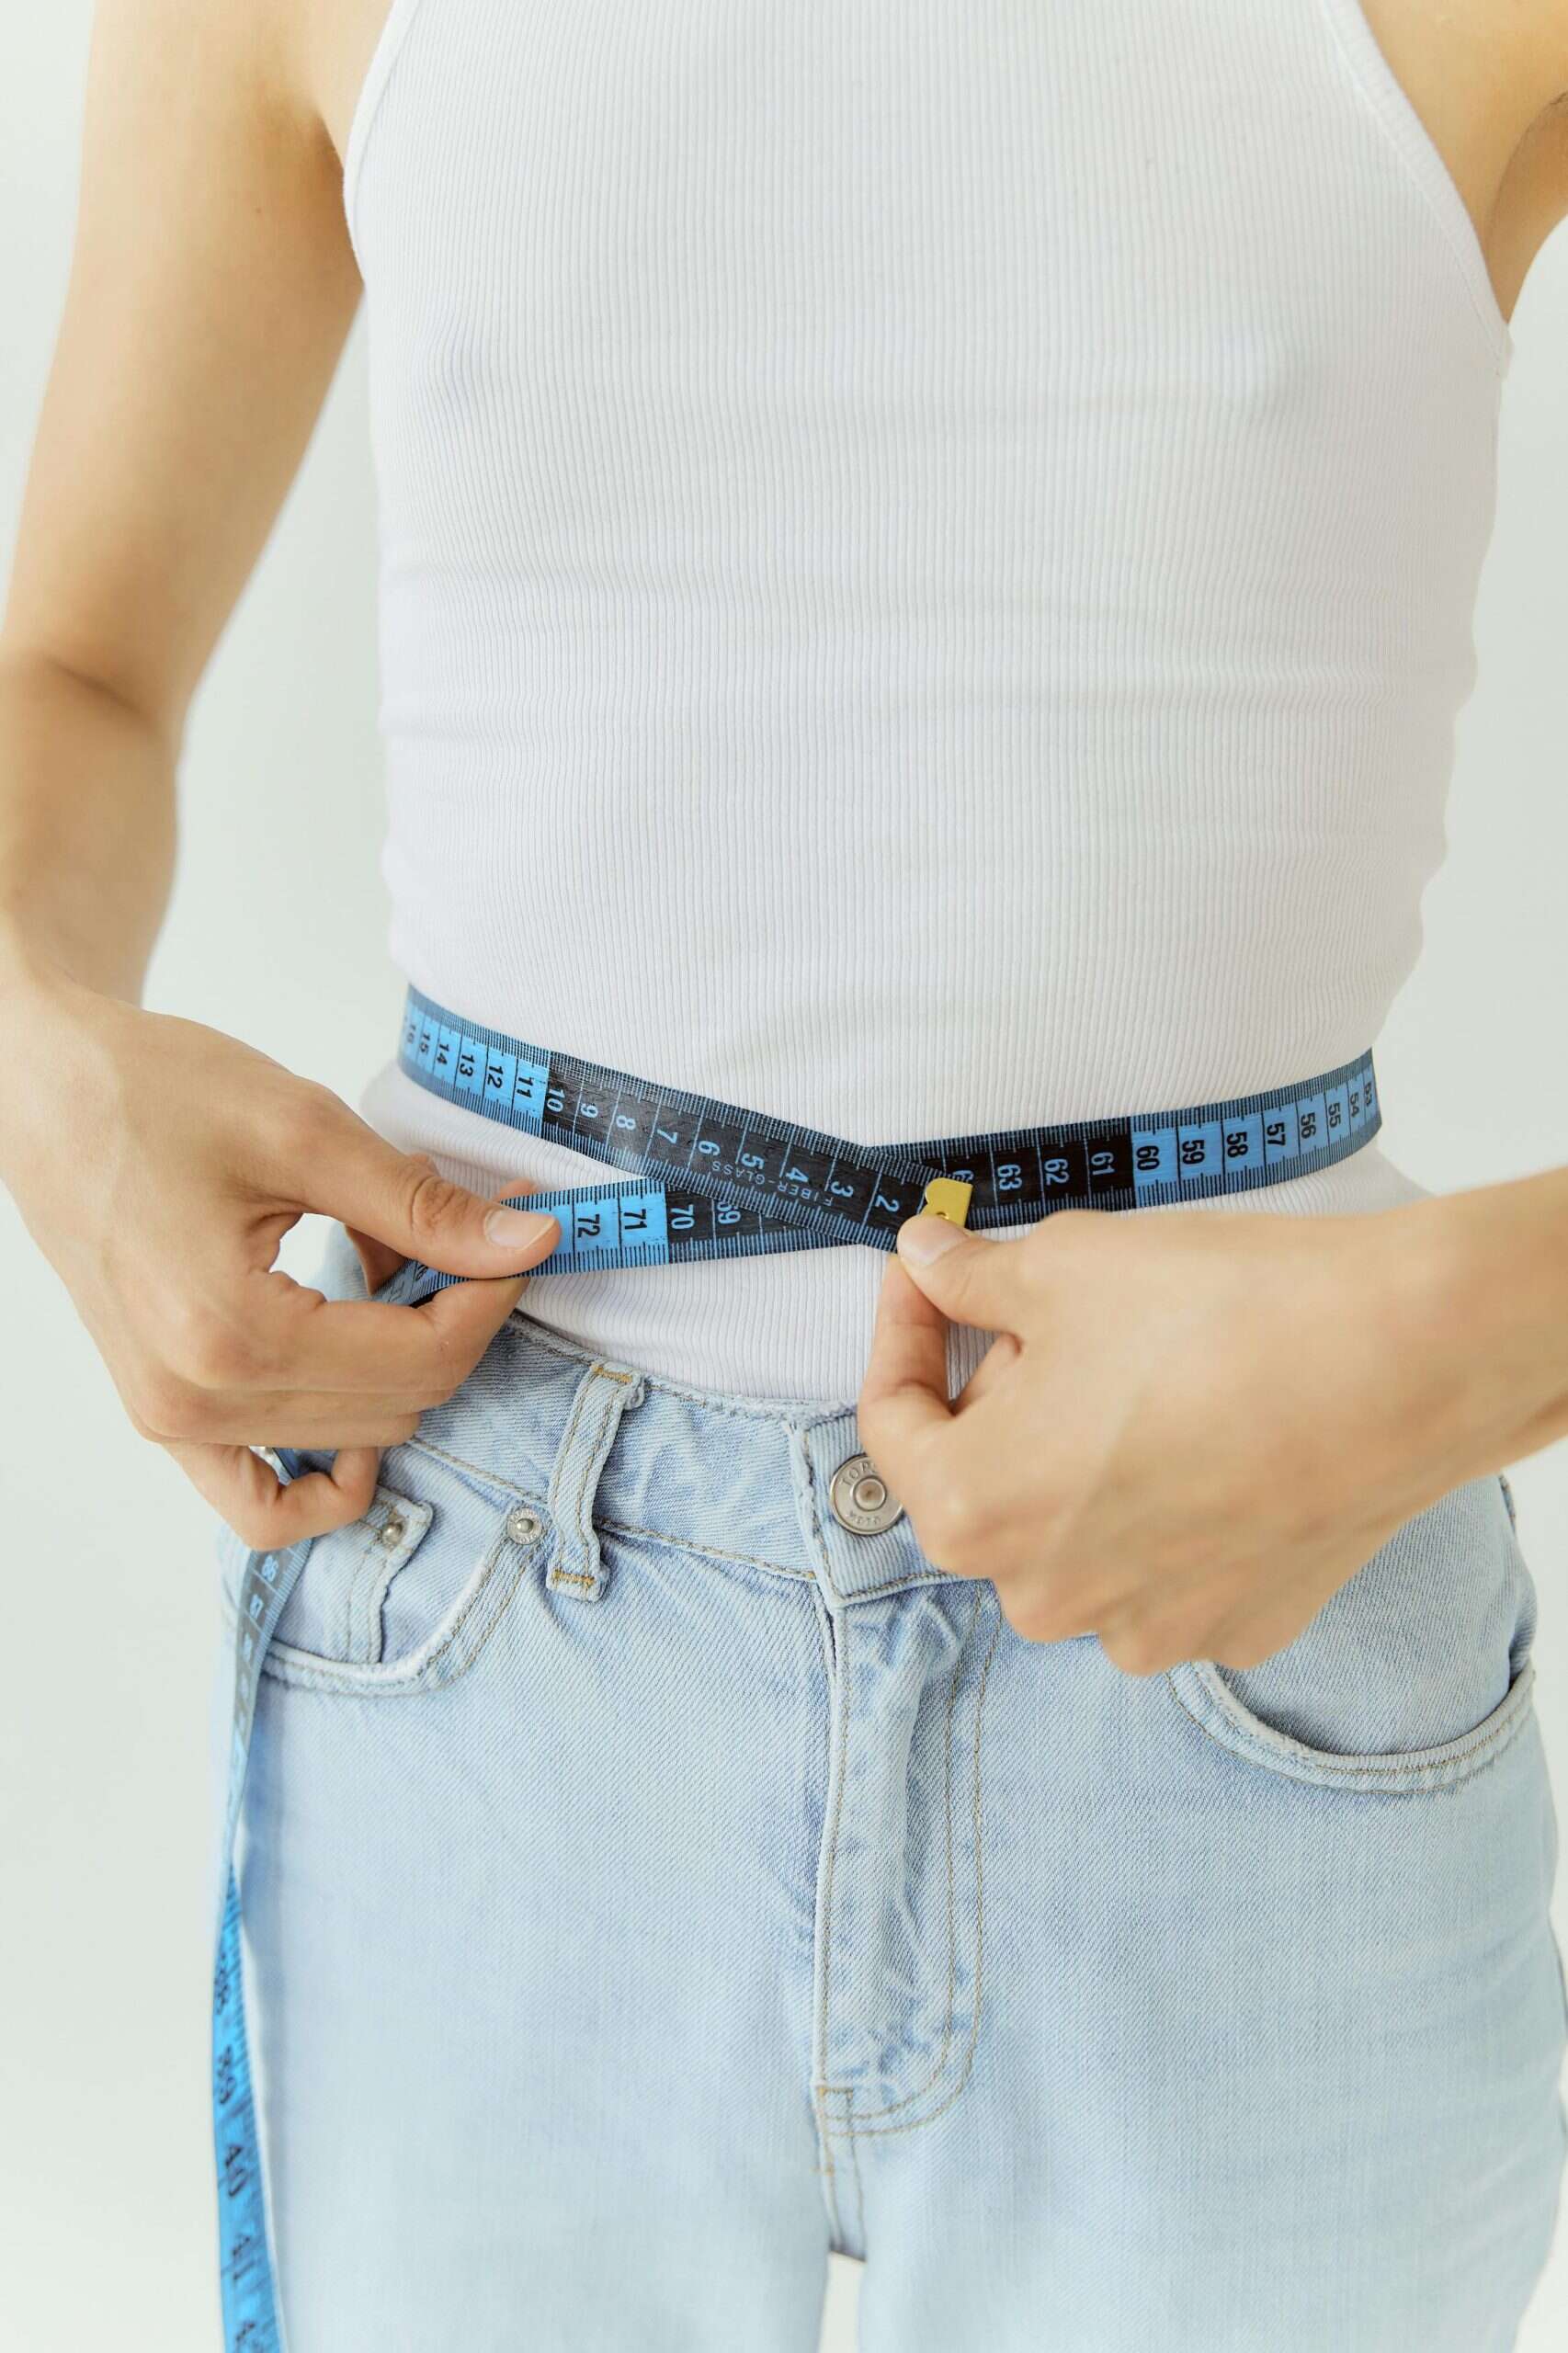
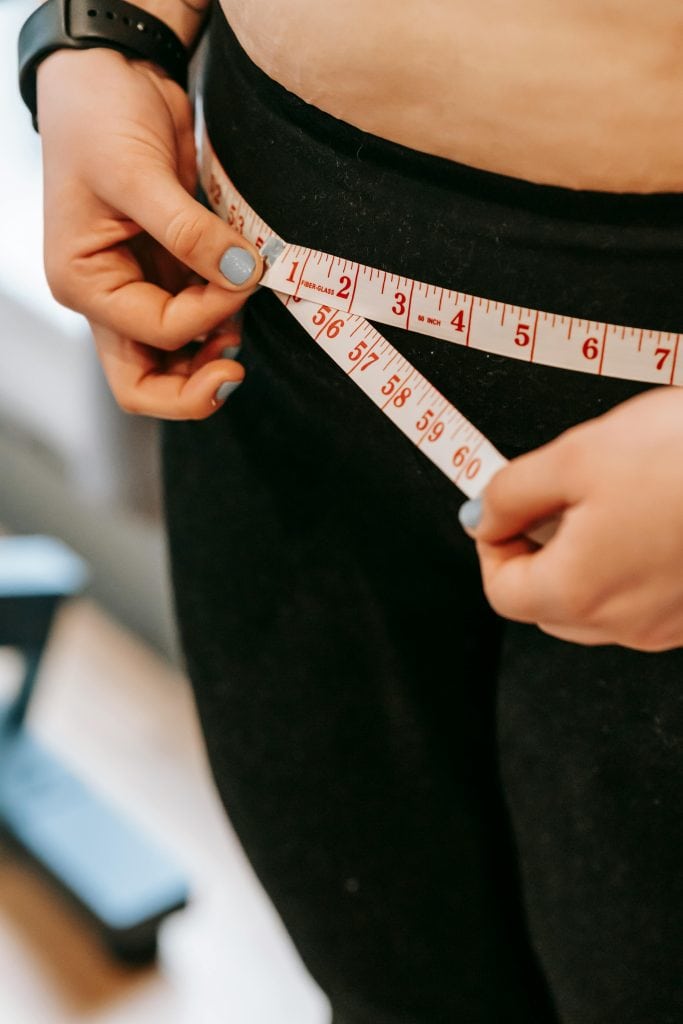
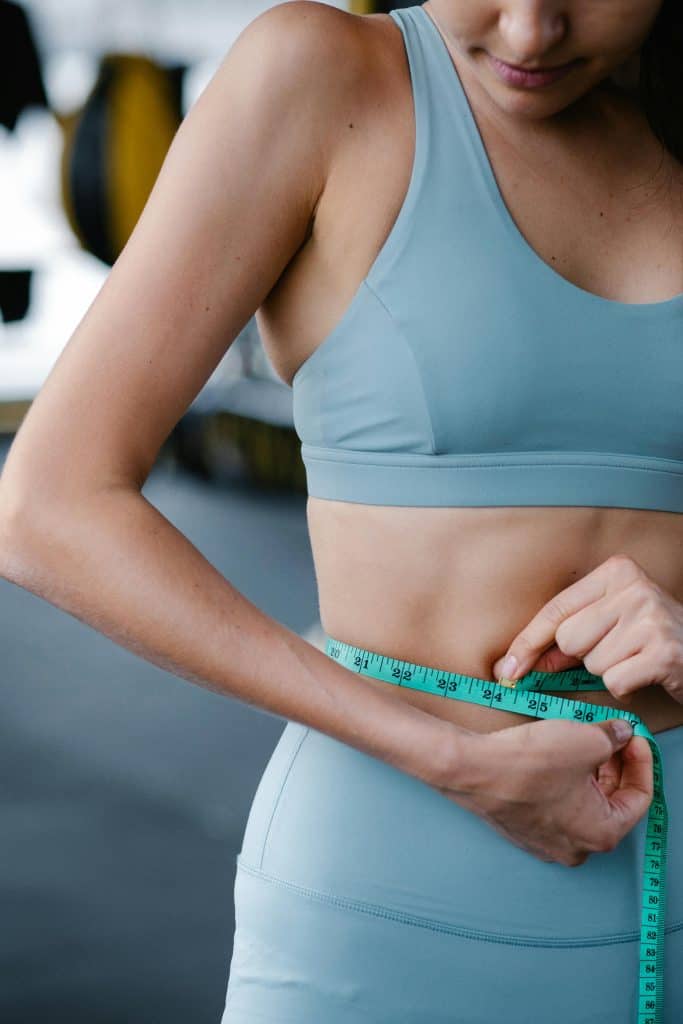
2. Waist
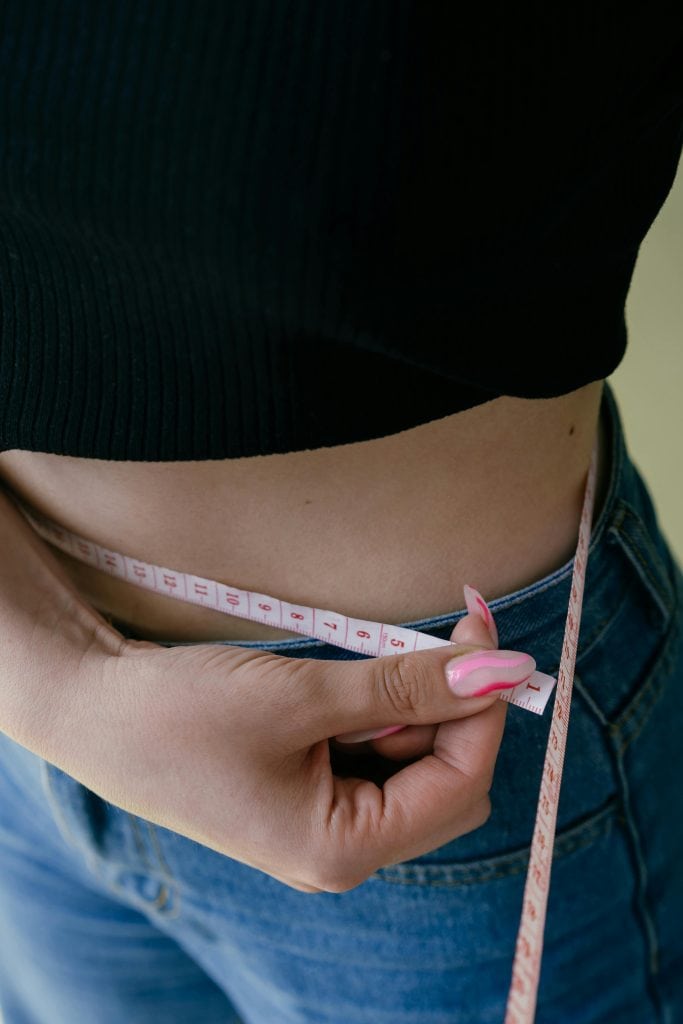
Find your natural waistline – the narrowest part of your torso, usually about an inch above the belly button.
You can locate it easily by leaning to one side; the natural crease is your waist.
Wrap the tape evenly around this point, keeping it parallel to the floor. The tape should fit comfortably, not tight.
You should be able to slide one finger under it.
3. Hips
Stand with your feet together and measure around the fullest part of your hips and seat.
This point is typically seven to nine inches below the waist, depending on your height and proportions.
Move the tape slightly up and down until you find the widest part – that’s your true hip measurement.
Keep the tape horizontal and smooth, holding it firmly but without compression.
4. Shoulder Width
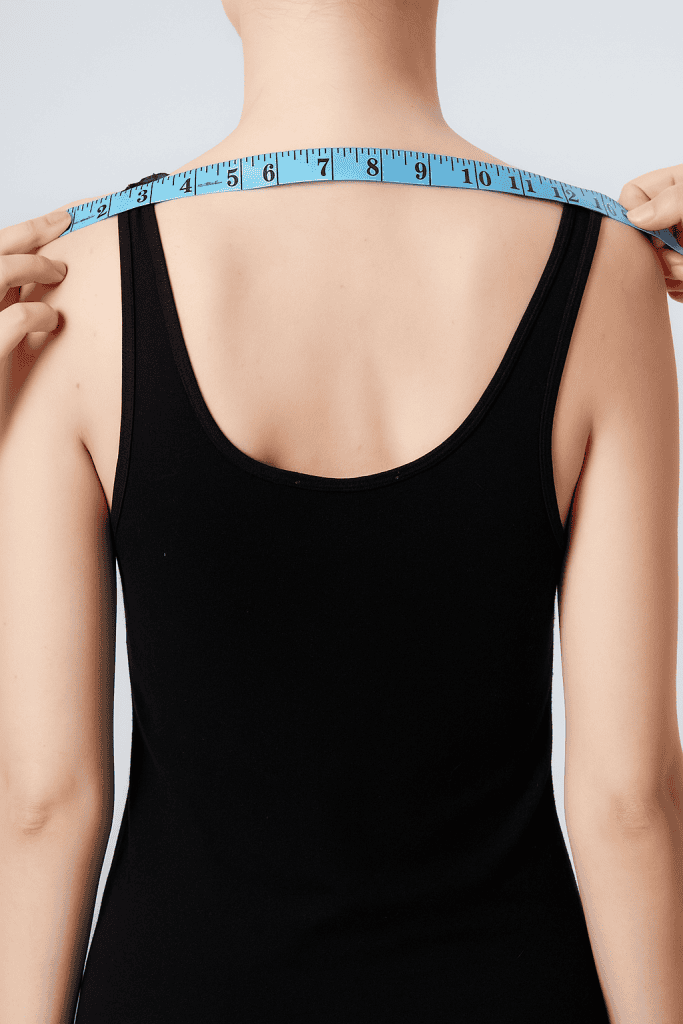
Measure straight across the upper back from one shoulder edge to the other.
Start at the point where the shoulder meets the arm, not the curve of the arm itself.
The line should be straight, not angled, and just below the base of the neck.
If you can, ask someone to help so the tape stays level.
5. Back Waist Length
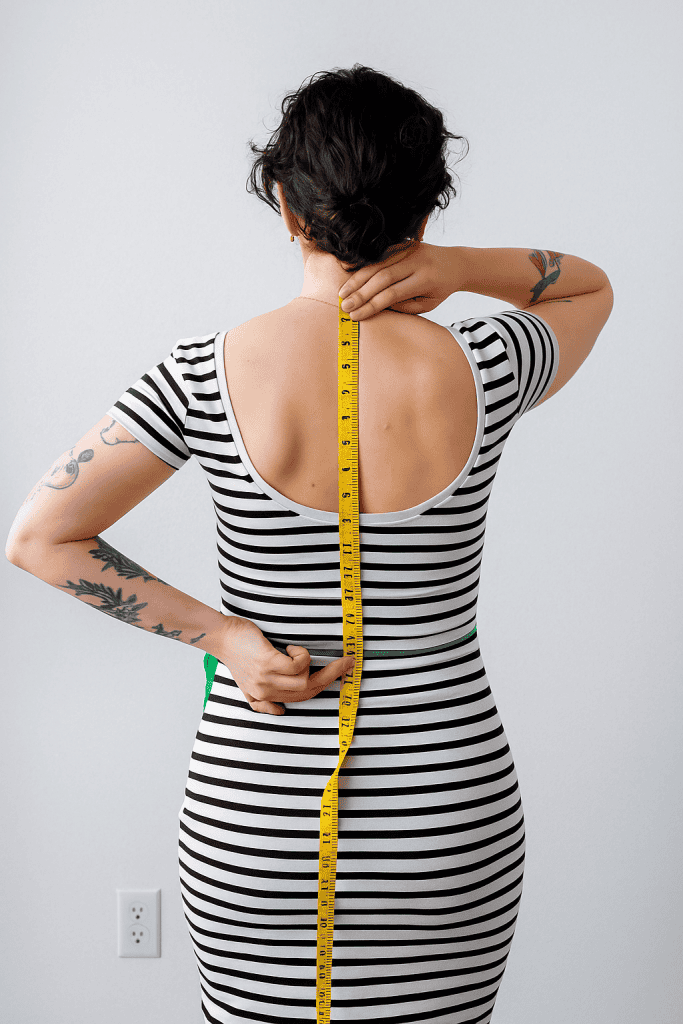
Begin at the prominent bone at the base of your neck (the C7 vertebra) and measure straight down the center of your back to your natural waist.
Use the elastic or string tied around your waist as a guide for the endpoint.
Keep the tape close to the body and vertical.
This measurement helps ensure patterns align properly to your torso length.
6. Arm Length
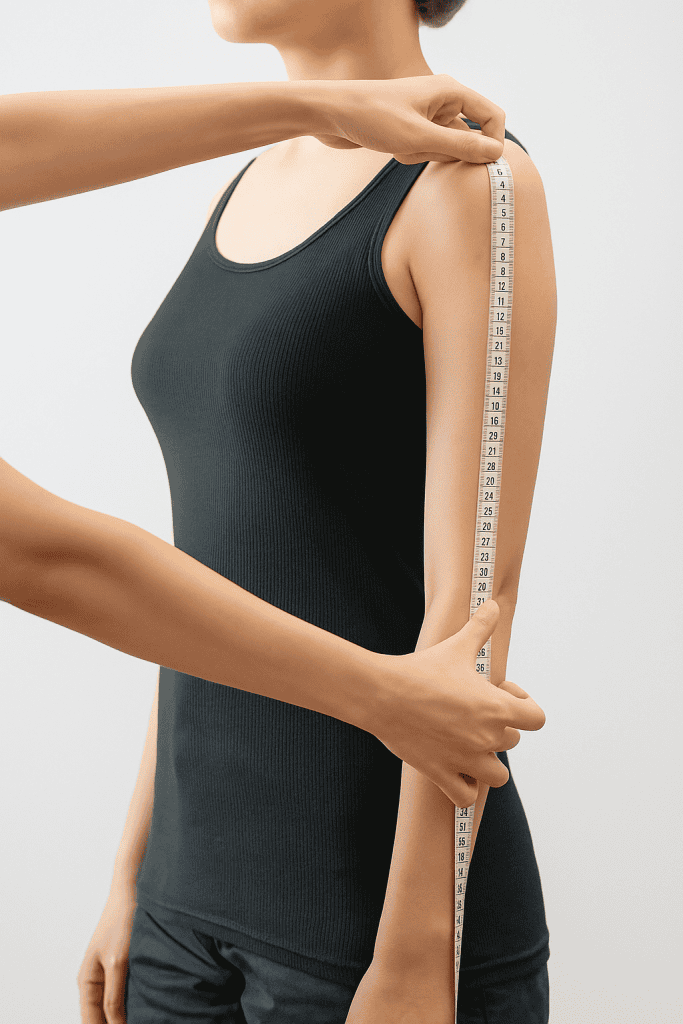
With your arm slightly bent at the elbow, measure from the outer shoulder point down over the elbow to the wrist bone.
Follow the outer contour of your arm without pulling the tape.
Bending the arm slightly prevents the sleeve from ending up too short.
If you want different sleeve options, note both your full-arm and three-quarter lengths.
7. Neck Circumference

Wrap the tape around the base of your neck where a collar would naturally rest.
The tape should be even all the way around and sit comfortably – not tight.
Slip one finger between the tape and skin to allow for breathing room.
8. Inseam
To measure the inseam, stand straight with your legs slightly apart.
Run the tape from the crotch seam down the inside of the leg to the ankle bone.
The tape should follow the inner contour of the leg without gaps. If possible, measure both legs and take the average.
A well-fitting pair of pants can also serve as a quick reference for confirming accuracy.
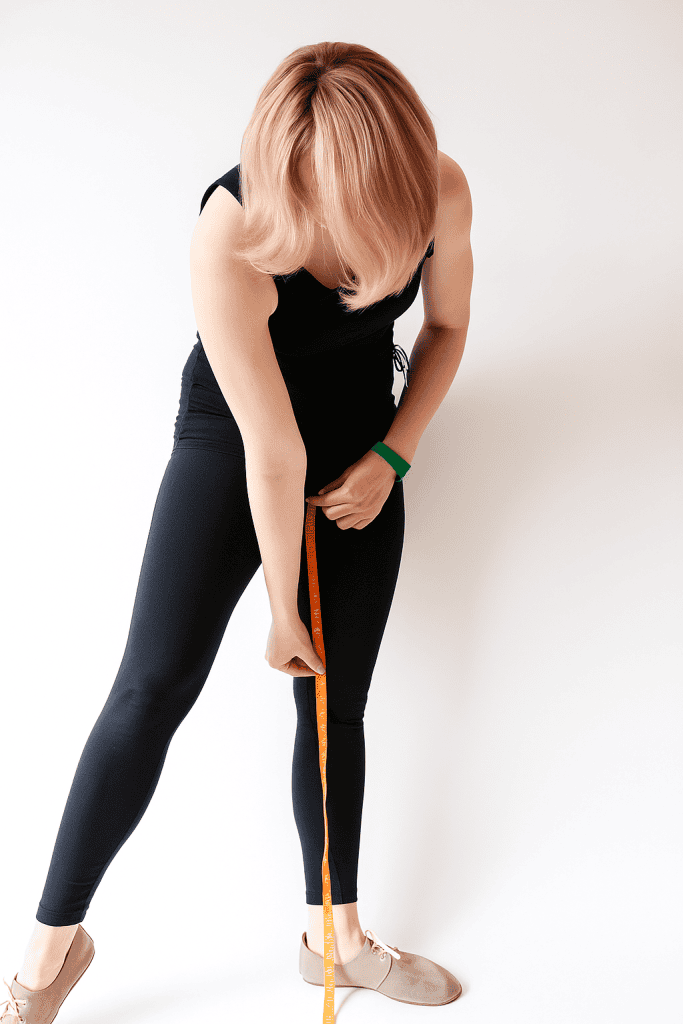
9. Outseam

Measure from your natural waist – where you placed the elastic – down the outside of the leg to the ankle bone or the point where you’d like the pant hem to fall.
Keep the tape straight and close to the leg.
For longer styles, measure down to the floor while barefoot to plan for hem adjustments.
10. Bicep
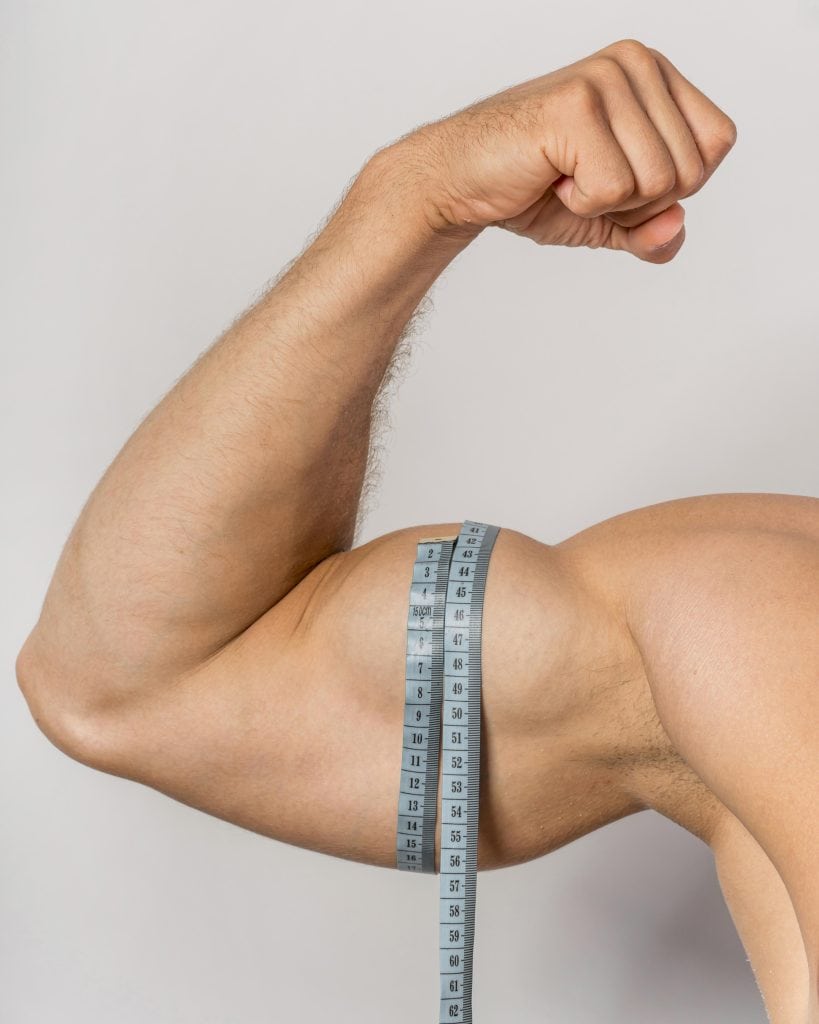
Relax your arm and let it hang slightly away from your body.
Measure around the fullest part of your upper arm, halfway between your shoulder and elbow.
The tape should be snug but not tight.
Take this on your dominant arm, which is often slightly larger, for a more comfortable sleeve fit.
11. Wrist

Measure around the wrist bone where a sleeve cuff would sit.
Hold the tape flat and firm but leave enough room for movement.
If you’re making a fitted cuff, add about half an inch for comfort.
When you’re done, review every measurement:
- Re-measure any numbers that seem inconsistent.
- Confirm that all tapes were kept level and firm, not tight.
- Write your measurements immediately in your chart for easy comparison later.
Reliable measurements mean smoother pattern fitting, cleaner seams, and garments that feel made for you – because they are.
Visual Measurement Chart: Your Quick Reference
This chart lets you see all the key measurements at a glance, stay organized, and track your numbers over time.
| Measurement | How to Measure | Tips |
|---|---|---|
| Bust / Chest | Around the fullest part of your chest | Keep the tape level and snug but not tight |
| Waist (Natural) | At the narrowest part of your torso | Stand relaxed; make sure tape is horizontal all the way around |
| Hips / Seat | Around the fullest part of hips/butt, feet together | Ensure tape sits flat and parallel to the floor |
| Shoulder Width | From edge of one shoulder to the other across the back | Measure from the outer shoulder points; keep arms relaxed |
| Back Waist Length | From base of neck (C7 vertebra) down to natural waist | Keep the tape straight along the spine without slouching |
| Arm Length / Sleeve | From outer shoulder seam to wrist, arm slightly bent | Measure along the outer arm, with the tape following the natural curve |
| Neck Circumference | Around base of neck where collar sits | Keep tape snug but comfortable; don’t pull too tight |
| Inseam | From crotch to ankle | Keep legs straight; measure along inner seam of leg |
| Outseam / Leg Length | From waist to ankle | Keep tape flat along side of body; stand straight |
| Bicep / Wrist | Around fullest part of upper arm / wrist bone | Keep tape level and snug but not tight |
Once you have your measurements, usually the next step is understanding sewing patterns, so you know how your numbers translate into a garment.
How to Record, Label, and Store Your Measurements
Once you’ve taken your measurements, don’t just leave them scribbled on a scrap of paper.
Take a minute to organize them properly. Clear, updated notes make every future project easier.
Label Clearly
Write down each body part in the same order each time – bust, waist, hips, shoulders, arms, and so on.
Add the date beside every set of measurements so you can see small changes over time.
If you sew for other people, keep everyone’s chart separate and labeled. It saves confusion later (especially when two people have similar sizes).
Use a Consistent Format
You can keep your chart in a sewing journal/notebook, on a printable sheet, or in a simple spreadsheet – whatever feels natural.
Include both inches and centimeters if you often use international patterns.
Highlight your key fit points – bust, waist, and hips – so they’re easy to spot when you’re checking a new pattern.
Store Safely
Tuck your chart in with your patterns or inside your sewing planner.
If you prefer digital backups, snap a photo or scan it, then store it in a folder or cloud drive.
Update your measurements once or twice a year, or before starting something new (like moving from tops to pants).
Little habits like this keep your sewing organized, consistent, and stress-free.
Over time, you’ll build a personal library of fit information that makes every project feel smoother from the start.
How to Double-Check Accuracy
Once all your measurements are written down, take a few minutes to confirm that everything makes sense.
This quick review step helps you catch small errors before cutting fabric.
- Repeat key points. Re-measure the bust, waist, and hips once more. If the second number differs by more than half an inch (or a centimeter), measure again and record the average.
- Check balance. Compare left and right sides – shoulders, arms, and legs should be close in length. Minor variations are normal, but big differences usually mean the tape shifted.
- Review posture. Make sure you stood naturally for every measurement. If you notice one looks unusually small or large, re-measure that area while relaxed.
- Confirm tape position. Each measurement line should be straight and level with the floor. Curved or tilted lines lead to inaccurate results.
- Verify units. Double-check that all measurements use the same unit system (inches or centimeters).
A few extra minutes here go a long way. When your measurements line up neatly, sewing feels smoother and more predictable.
Adjusting for Different Garment Styles
Not all garments fit the same way, even when they use the same body measurements.
How you plan to wear a piece – structured, relaxed, or fitted – determines how much ease you’ll need to add.
Ease is simply the extra space between your body and the fabric that allows movement and comfort.
Understand the Two Types of Ease
- Wearing ease – Built-in room for comfort. It lets you breathe, sit, and move easily.
- Design ease – Added for the style of the garment, like the fullness of a gathered skirt or the boxy shape of a jacket.
How to Adjust Based on Garment Type
- Fitted garments (like blouses or tailored dresses): Add 1–2 inches of ease around the bust and hips, and about ½–1 inch at the waist.
- Semi-fitted garments (like casual tops or skirts): Add 2–3 inches at the bust and hips, 1–2 inches at the waist.
- Loose or relaxed garments (like tunics or oversized shirts): Add 3–5 inches or more, depending on the design and your comfort preference.
- Knit fabrics: These often need less ease since the fabric stretches. Sometimes you subtract ease (known as negative ease) for a closer fit.
Simple Tip
Before you cut into your fabric, compare your body measurements (plus ease) to the finished garment measurements on the pattern envelope.
It’s the quickest way to see whether the final fit will feel structured, relaxed, or roomy.
If you prefer skipping the pattern altogether, you can also learn how to clone your clothes perfectly in minutes – a great way to duplicate your favorite fit right from your wardrobe.
Once you get a feel for ease, you’ll have more control over how every handmade piece looks and feels – whether it’s a crisp work shirt or a soft weekend dress.
6 Common Beginner Mistakes (and How to Avoid Them)
Getting clean, accurate measurements takes a little patience and practice.
Most mistakes come from small habits that are easy to fix once you notice them.
1. Pulling the Tape Too Tight
Tight tape makes numbers smaller than they should be.
Keep the tape snug but not pressing into the skin.
You should be able to slide one finger underneath.
2. Measuring Over Bulky Clothing
Thick or layered clothes distort your shape.
Always measure over light, fitted garments or undergarments.
3. Letting the Tape Tilt
If the tape isn’t level, your measurement will be off – especially at the bust, waist, and hips.
Use a mirror or ask for help to keep it parallel to the floor.
4. Guessing or Rounding Too Much
Avoid rounding up or down more than ¼ inch (or half a centimeter).
Precision makes pattern fitting easier and avoids wasted fabric later.
5. Skipping the Back or Shoulder Points
It’s easy to overlook areas like back waist length or shoulder width, but these affect how garments hang.
Take your time with these – they’re worth it.
6. Not Labeling the Date
Your body can shift slightly over time. Recording the date helps you know when it’s time to update your chart.
Small corrections like these lead to big improvements in fit. The more consistently you measure, the more predictable (and satisfying) your sewing results will become.
With accurate measurements, you can confidently sew your own timeless capsule wardrobe that fits perfectly.
Measure, Record, and Sew With Confidence
Accurate body measurements are the foundation of every well-made garment.
Once you understand the process, it becomes second nature – part of your rhythm before cutting fabric or adjusting a pattern.
Take your time, measure carefully, and keep your notes organized.
Try measuring yourself today using the steps in this guide, and record your results in your sewing planner.
After mastering measurements, you can move on to design and make your own clothes for a perfect fit every time.
You’ll see just how much simpler pattern adjustments become.
Have a question or a tip of your own? Comment below – I’d love to hear how you approach taking measurements for your handmade clothes.
FAQs
1. How often should I update my measurements?
It’s a good idea to re-measure every six months, or anytime you start a project that requires precision, like pants or a fitted dress. Bodies naturally change over time, so keeping your measurements current helps prevent surprises and saves time on adjustments.
2. Can I measure myself accurately without help?
Yes! Most measurements can be done alone using a mirror to check tape placement and a string or elastic band for reference points, like your waist. For tricky areas like the back, shoulders, or upper chest, a helper or a dress form can make measurements more precise.
3. Should I record my measurements in inches or centimeters?
Use whichever unit your sewing patterns use. If you work with patterns from different sources, recording both inches and centimeters can make conversions easier and reduce mistakes.
4. What’s the best way to store my measurements long-term?
Keep a simple paper chart in your sewing notebook, and back it up digitally with a photo, spreadsheet, or note on your phone. Make sure to update it each time you re-measure, so you always have your latest numbers on hand.
5. How do I handle measurements for stretch fabrics?
For knit or stretch fabrics, it’s usually best to subtract a little from your body measurements (about ½ to 1 inch) depending on how stretchy your fabric is. Always check your pattern instructions for the recommended ease for accurate results.
