Looking for a soap that actually nourishes your skin? You’re going to love this one!
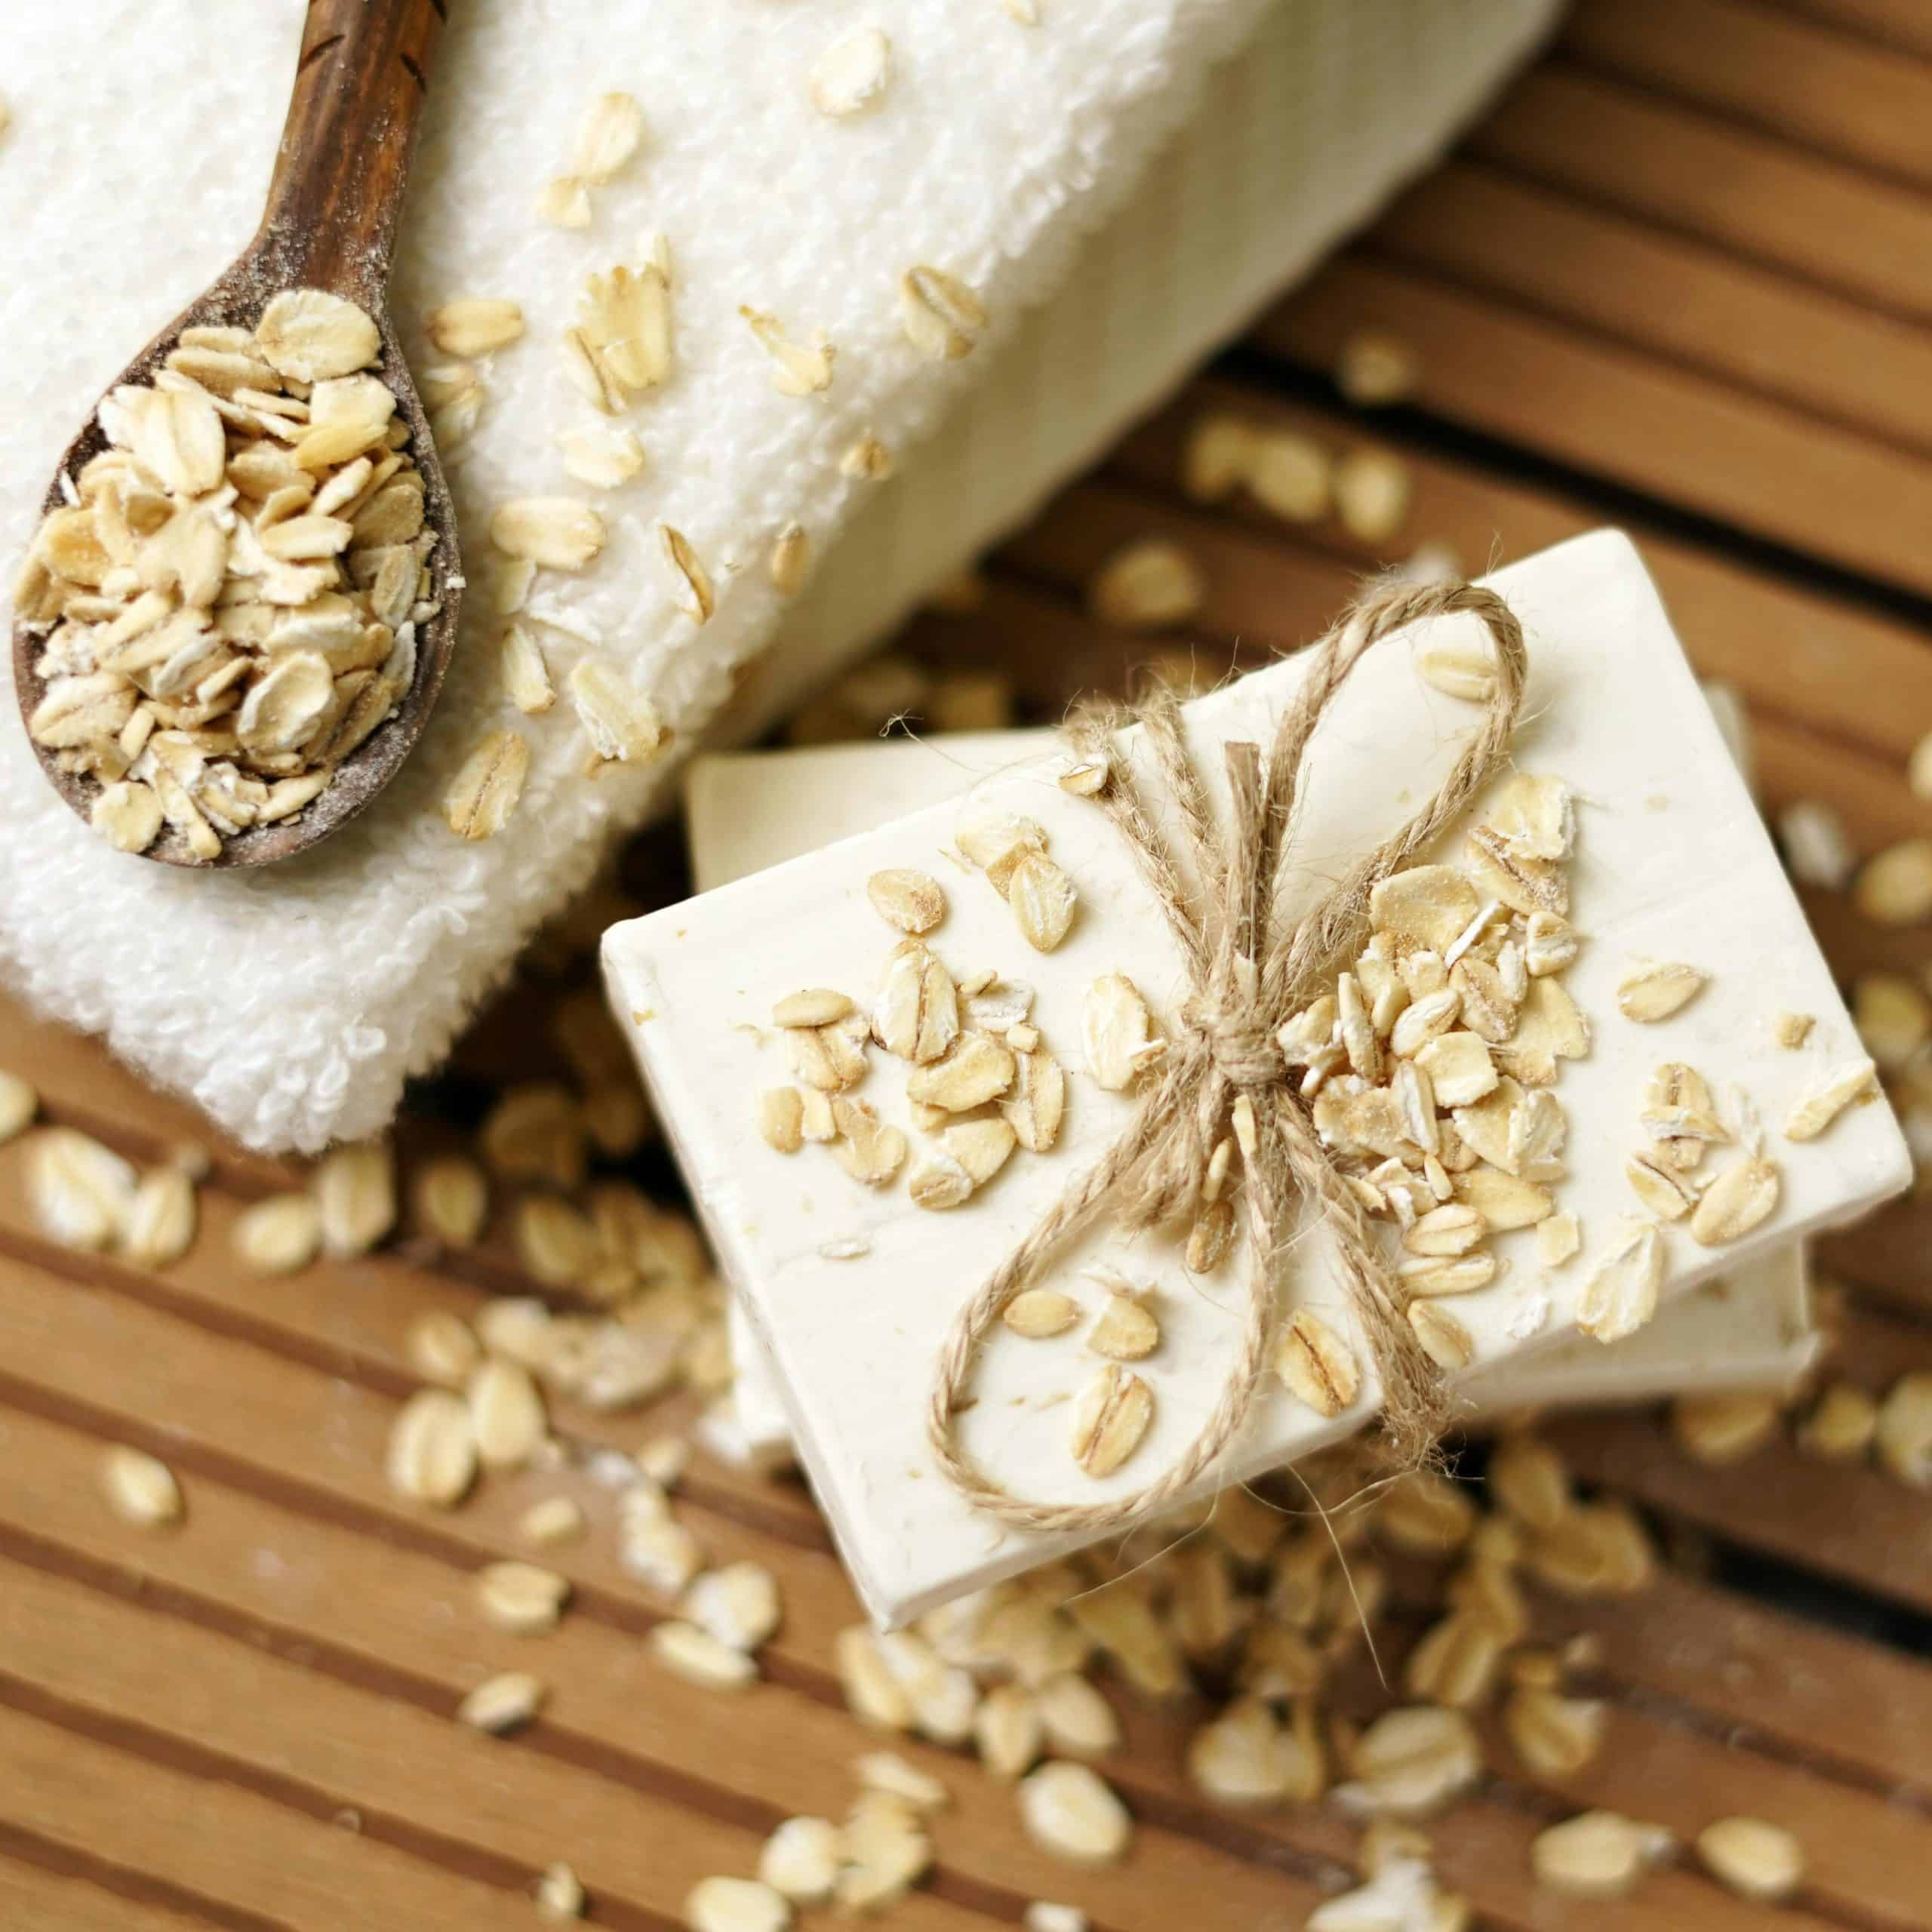
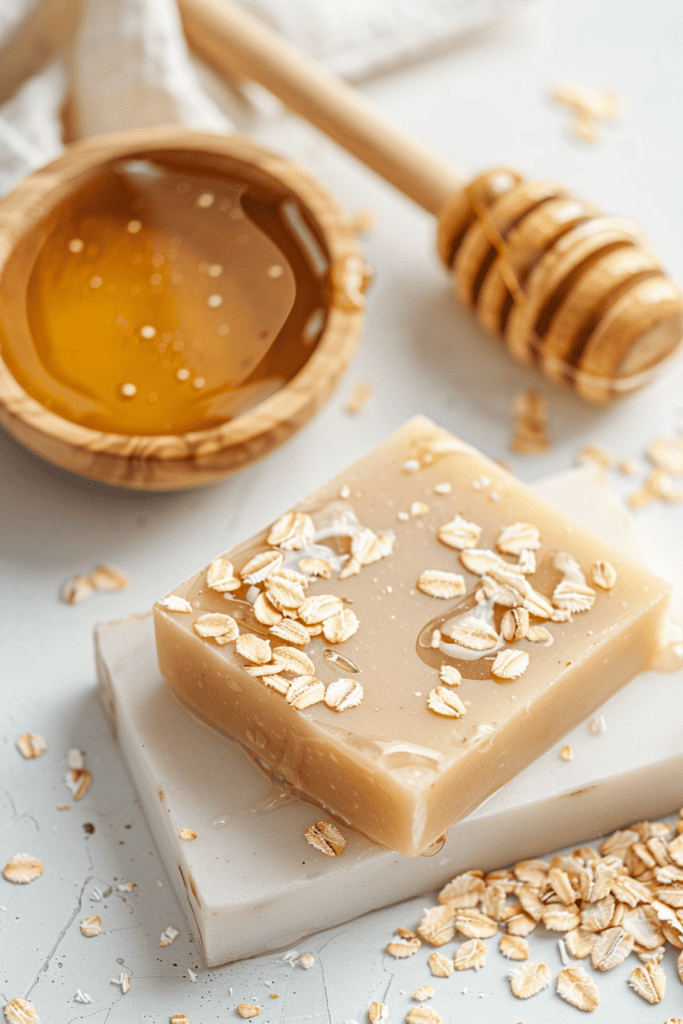
Made with goat milk for creaminess, honey for natural moisture, and oats for gentle exfoliation, this bar is full of real ingredients your skin will recognize and love.
No synthetic fragrances, no dyes, no unnecessary extras – just simple, skin-loving goodness that does its job beautifully.
It’s mild enough to use every day, even for kids or anyone with sensitive skin. The process is beginner-friendly, and once your ingredients are ready, it only takes about an hour from start to finish.
If you’ve been wanting to try your hand at homemade soap, this is such a kind and easy way to begin. You’ll be surprised how doable it is – and how lovely it feels to use something you made yourself.
Why Make Goat Milk Soap at Home?
Most store-bought soaps aren’t exactly skin-friendly. A lot of them are full of ingredients that leave your skin feeling dry, tight, or just plain irritated. And if you have little ones, sensitive skin, or deal with things like eczema, you know how frustrating that can be.
This recipe brings it back to the basics with three simple ingredients that actually help: goat milk, honey, and oats.
Goat milk is creamy and gentle, perfect for skin that needs a little extra kindness.
Honey draws in moisture and has natural antibacterial benefits. And oats soothe irritation and add just the right amount of texture – soft, not scratchy.
And once you try it, you’ll see: making your own soap might become one of your favorite homemade habits.
Now, let’s walk through how to make it.
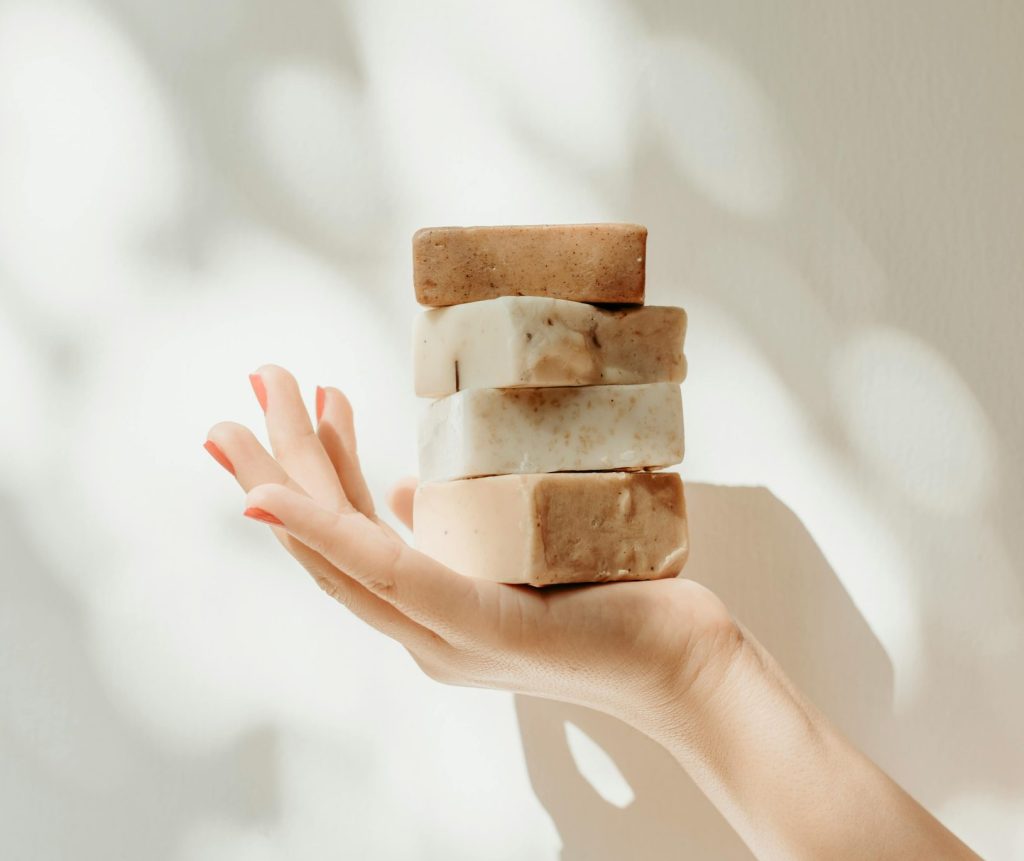
Skin-Loving Ingredients (Makes approximately 4 small bars)
Before we begin, lay everything out on your counter.
Here’s what you’ll need:
- 1 pound Goat Milk Soap Base: Look for a melt-and-pour base made with real goat’s milk – it should be creamy white and opaque.
- 1–2 tablespoons Raw Shea Butter (optional superfat): Just a spoonful enriches the soap, adding a silky, conditioning layer.
- 1 tablespoon Raw Honey: Golden and thick, honey brings moisture and a touch of lather.
- 2 teaspoons Sweet Almond Oil or Olive Oil (optional extra moisturizer): Either oil will do. These oils add glide and creaminess, turning each wash into a soft-touch moment for skin that needs extra kindness.
- 2 tablespoons Ground Oats (Colloidal Oatmeal): Use finely ground oats to gently polish and calm the skin. They’ll suspend in the soap like flecks of comfort, soothing even the most weather-worn hands.
- 1 teaspoon Ground Coffee (optional): A very fine grind (or soft, spent coffee grounds) brings just a whisper of exfoliation – perfect for heels or elbows.
- 1 teaspoon Dried Lavender Buds or Petals (optional): A soft scatter on top of each bar makes them look like something out of a farmhouse gift basket.
- 20–30 drops Essential Oils (optional): Choose what speaks to you:
Lavender + Frankincense for calming and anti-aging.
Patchouli + Cinnamon for a cozy, spiced bar (just 1–2 drops of cinnamon – it’s strong!).
Or skip the scent entirely for a pure, unscented bar gentle enough for baby’s bath.
Tip: If you’re scenting these bars for your children’s hands, I suggest lavender or oatmeal-honey blends – gentle, familiar, and not overpowering.
Step-by-Step Instructions
Once you have your ingredients and tools ready, it’s just a matter of taking it one step at a time. Just follow along, stay safe, and go at your own pace. I’ll break it down clearly so you know exactly what to do from start to finish.
1. Melt the Soap Base
Chop 1 pound of goat milk melt-and-pour soap base into small, even cubes – about sugar cube size. This helps everything melt evenly.
Place the cubes in a heat-safe glass bowl and melt slowly using a double boiler or microwave in 30-second bursts, stirring in between. You want it smooth and creamy – not boiling. If you’re using a thermometer, aim for around 140°F.
2. Add Shea Butter and Carrier Oil
Once the base is melted, stir in 1–2 tablespoons of raw shea butter until fully dissolved. This adds richness and makes the soap feel soft and nourishing on your skin.
Then mix in 2 teaspoons of sweet almond oil or olive oil. Either one works beautifully to boost moisture and glide in the finished bar.
3. Stir in the Honey
Let the mixture cool just slightly (still warm, not steaming). Stir in 1 tablespoon of raw honey slowly and gently.
Honey adds moisture, soft lather, and helps the soap firm up nicely. It’ll make the mixture creamier and just a touch darker.
Work somewhat quickly after this step – honey speeds things up!.
4. Add Ground Oats (and Coffee, if using)
Now’s the time for texture.
Add 2 tablespoons of finely ground oats (aka colloidal oatmeal) and stir well. These soothe and gently exfoliate.
If you’d like extra scrub, sprinkle in 1 teaspoon of ground coffee (either very fine grind or soft, used grounds work best). This adds a rustic look and a touch of exfoliation especially great for hands, elbows, or feet.
5. Add Essential Oils
Once your mixture cools to about 120°F (or when it starts to slightly thicken), add 20–30 drops of essential oils, if using.
Here are a few cozy scent ideas:
- Or keep it unscented for sensitive skin or baby-friendly bars
- Lavender + Frankincense (calming + gentle)
- Patchouli + Cinnamon (spiced + grounding – just 1–2 drops of cinnamon though, it’s strong!)
6. Pour into Molds
Carefully pour the warm soap mixture into silicone molds (rounds, rectangles, or even lined muffin tins). Silicone is easiest to work with, but feel free to get creative with what you have on hand.
If bubbles appear, you can lightly spritz the surface with rubbing alcohol or leave them for a more rustic look.
7. Decorate the Tops (Optional)
Before the soap sets, sprinkle a little something on top:
- A few dried lavender buds
- A dusting of ground oats
- A touch of cinnamon
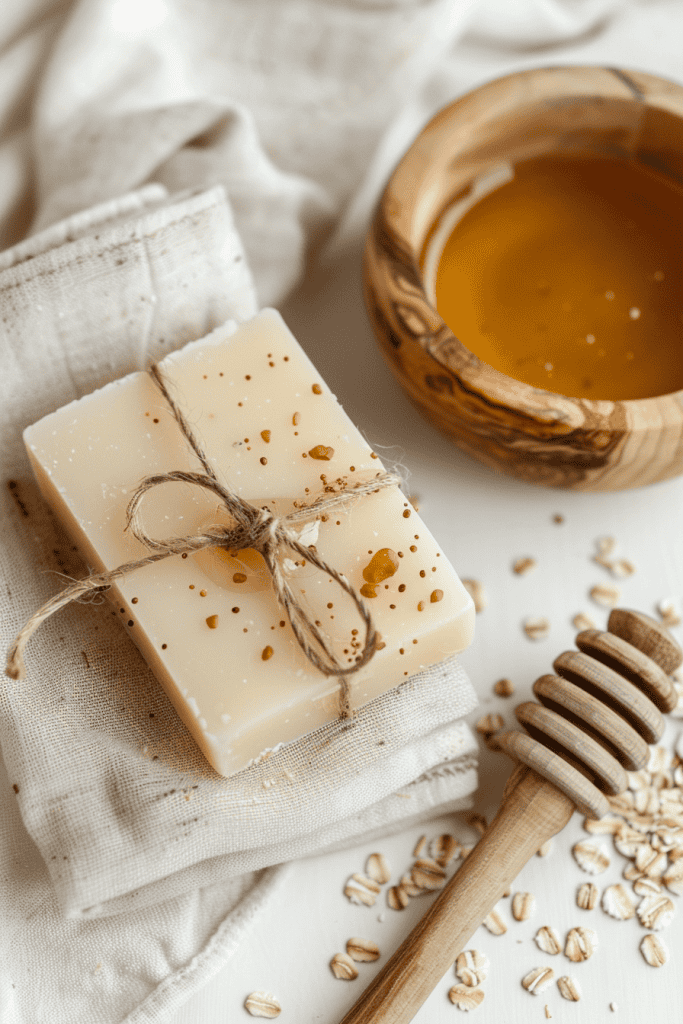
Just a light scatter will make the finished bars look gift-worthy.
8. Let the Soap Cool and Set
Leave the soap to harden at room temp for 4–6 hours, or pop the molds into the fridge for 1–2 hours to speed things up.
Once fully set, gently remove the bars from the molds.
9. Cure & Store
Technically, your bars are ready to use as soon as they’re cool but letting them sit out on a towel overnight helps them firm up a bit more.
To store, wrap in parchment paper or store in an airtight container in a cool, dry spot (away from steam). Natural glycerin can attract moisture in humid climates.
Shelf Life & Storage
These goat milk soap bars are best used within 3 to 4 months for peak freshness and scent. They’ll still be fine after that, but the color or fragrance may fade a little over time.
Store your bars in a cool, dry place – away from steam, direct sunlight, or anything that might cause them to sweat. Because melt-and-pour soaps contain natural glycerin, they can pull moisture from the air, especially in humid climates.
A lidded tin, drawer, or cabinet works perfectly.
If you’re gifting the bars, it’s a thoughtful touch to include a little “use by” note. Something like “Best enjoyed before [insert date]” makes it feel personal and helpful all at once.
A Few Things That Might Come Up
A few quick answers for those little “wait, is this normal?” moments:
Why is my soap sweating?
If you notice little beads of moisture on the surface, don’t worry – your soap isn’t crying. That’s just the natural glycerin pulling moisture from the air. It’s harmless. To prevent it, store your bars in a cool, dry place or wrap them in parchment or wax paper if your climate’s humid.
Why is my honey sinking to the bottom?
This usually means the mixture was too hot or wasn’t stirred long enough. Let the base cool a bit before adding the honey, and keep stirring gently until it’s fully blended. Pour when the mixture starts to thicken slightly – that’s the sweet spot.
Can I double the batch?
Absolutely – but keep in mind that once the honey and oats are in, the soap will start to thicken faster. Work steadily and have your molds ready to go before you begin. It’s doable, just don’t pause to make tea mid-batch.
Ready to Pour Your First Bar?
You’ve got everything you need – simple ingredients, clear steps, and a recipe that’s as gentle as it is rewarding.
Whether you’re making soap for your own home, stocking up for gifts, or just trying something new for the joy of it, this is a beautiful place to begin.
So go ahead. Pour your first bar. Let it set. And then enjoy the small, quiet magic of using something you made by hand – something that cares for your skin, skips the toxins, and feels like a little act of everyday kindness.
Every handmade habit starts with one small try.
