As a mom of two little ones, I’m extra mindful about what touches their skin. I avoid synthetic fragrances, harsh ingredients, and anything that doesn’t align with our non-toxic lifestyle.
I wanted a soap that was safe for my kids, simple to make, and gentle on the skin. When I couldn’t find exactly what I was looking for, I started making it myself – and haven’t looked back.
It works. It lasts. And it fits the way we live.
This goat milk soap recipe is the one I use most. It’s gentle enough for my kids, doesn’t dry out their skin, and takes less than 30 minutes to make. No lye. No guessing. Just clean, effective ingredients I can pronounce.
If you’re looking for a safe, straightforward way to make your own soap at home, here’s how to start.
Why I Make Goat Milk Soap for My Kids
Goat milk is naturally rich in fatty acids and vitamins that help protect and strengthen delicate skin without drying it out. It creates a creamy lather that’s gentle on little hands and doesn’t strip away moisture like many store-bought soaps.
Over the years, I’ve leaned more and more into making things myself – meals from scratch, clothes for the kids, and now, even the soap by the sink. Once I started experimenting with simple skincare, I realized how empowering it felt.
If you’re looking for a nourishing option made with traditional fats, you might enjoy my tried and true tallow soap recipe. It’s rich, long-lasting, and another simple way to make wholesome soap right at home.
I stick to organic and non-toxic products whenever I can. Clean ingredients I trust over long labels I don’t.
And more than anything, I like knowing exactly what’s in the soap we use every day. No sulfates. No synthetic fragrances. Just a few skin-friendly basics that do what they’re supposed to.
If you’ve ever wondered what’s really in your soap, this recipe is a good place to start.
What You Will Need
Here’s what we use in our home when making this handmade soap for kids:
Basic Tools:
- Cutting board & knife – for cubing the soap base. (I use the same board we chop apples on.)
- Microwave-safe bowl or a double boiler setup – whatever you have on hand for melting.
- Spoon or spatula – to stir all that creamy goodness together.
- Silicone soap molds – I love the round ones about 2.5 inches across – just right for small hands.
- (Optional) A small spray bottle with rubbing alcohol – helps pop bubbles on top after pouring, though it’s not essential.
Setting up your tools ahead of time makes the process smoother. I like to clear the counter and set out ingredients in small bowls before beginning.
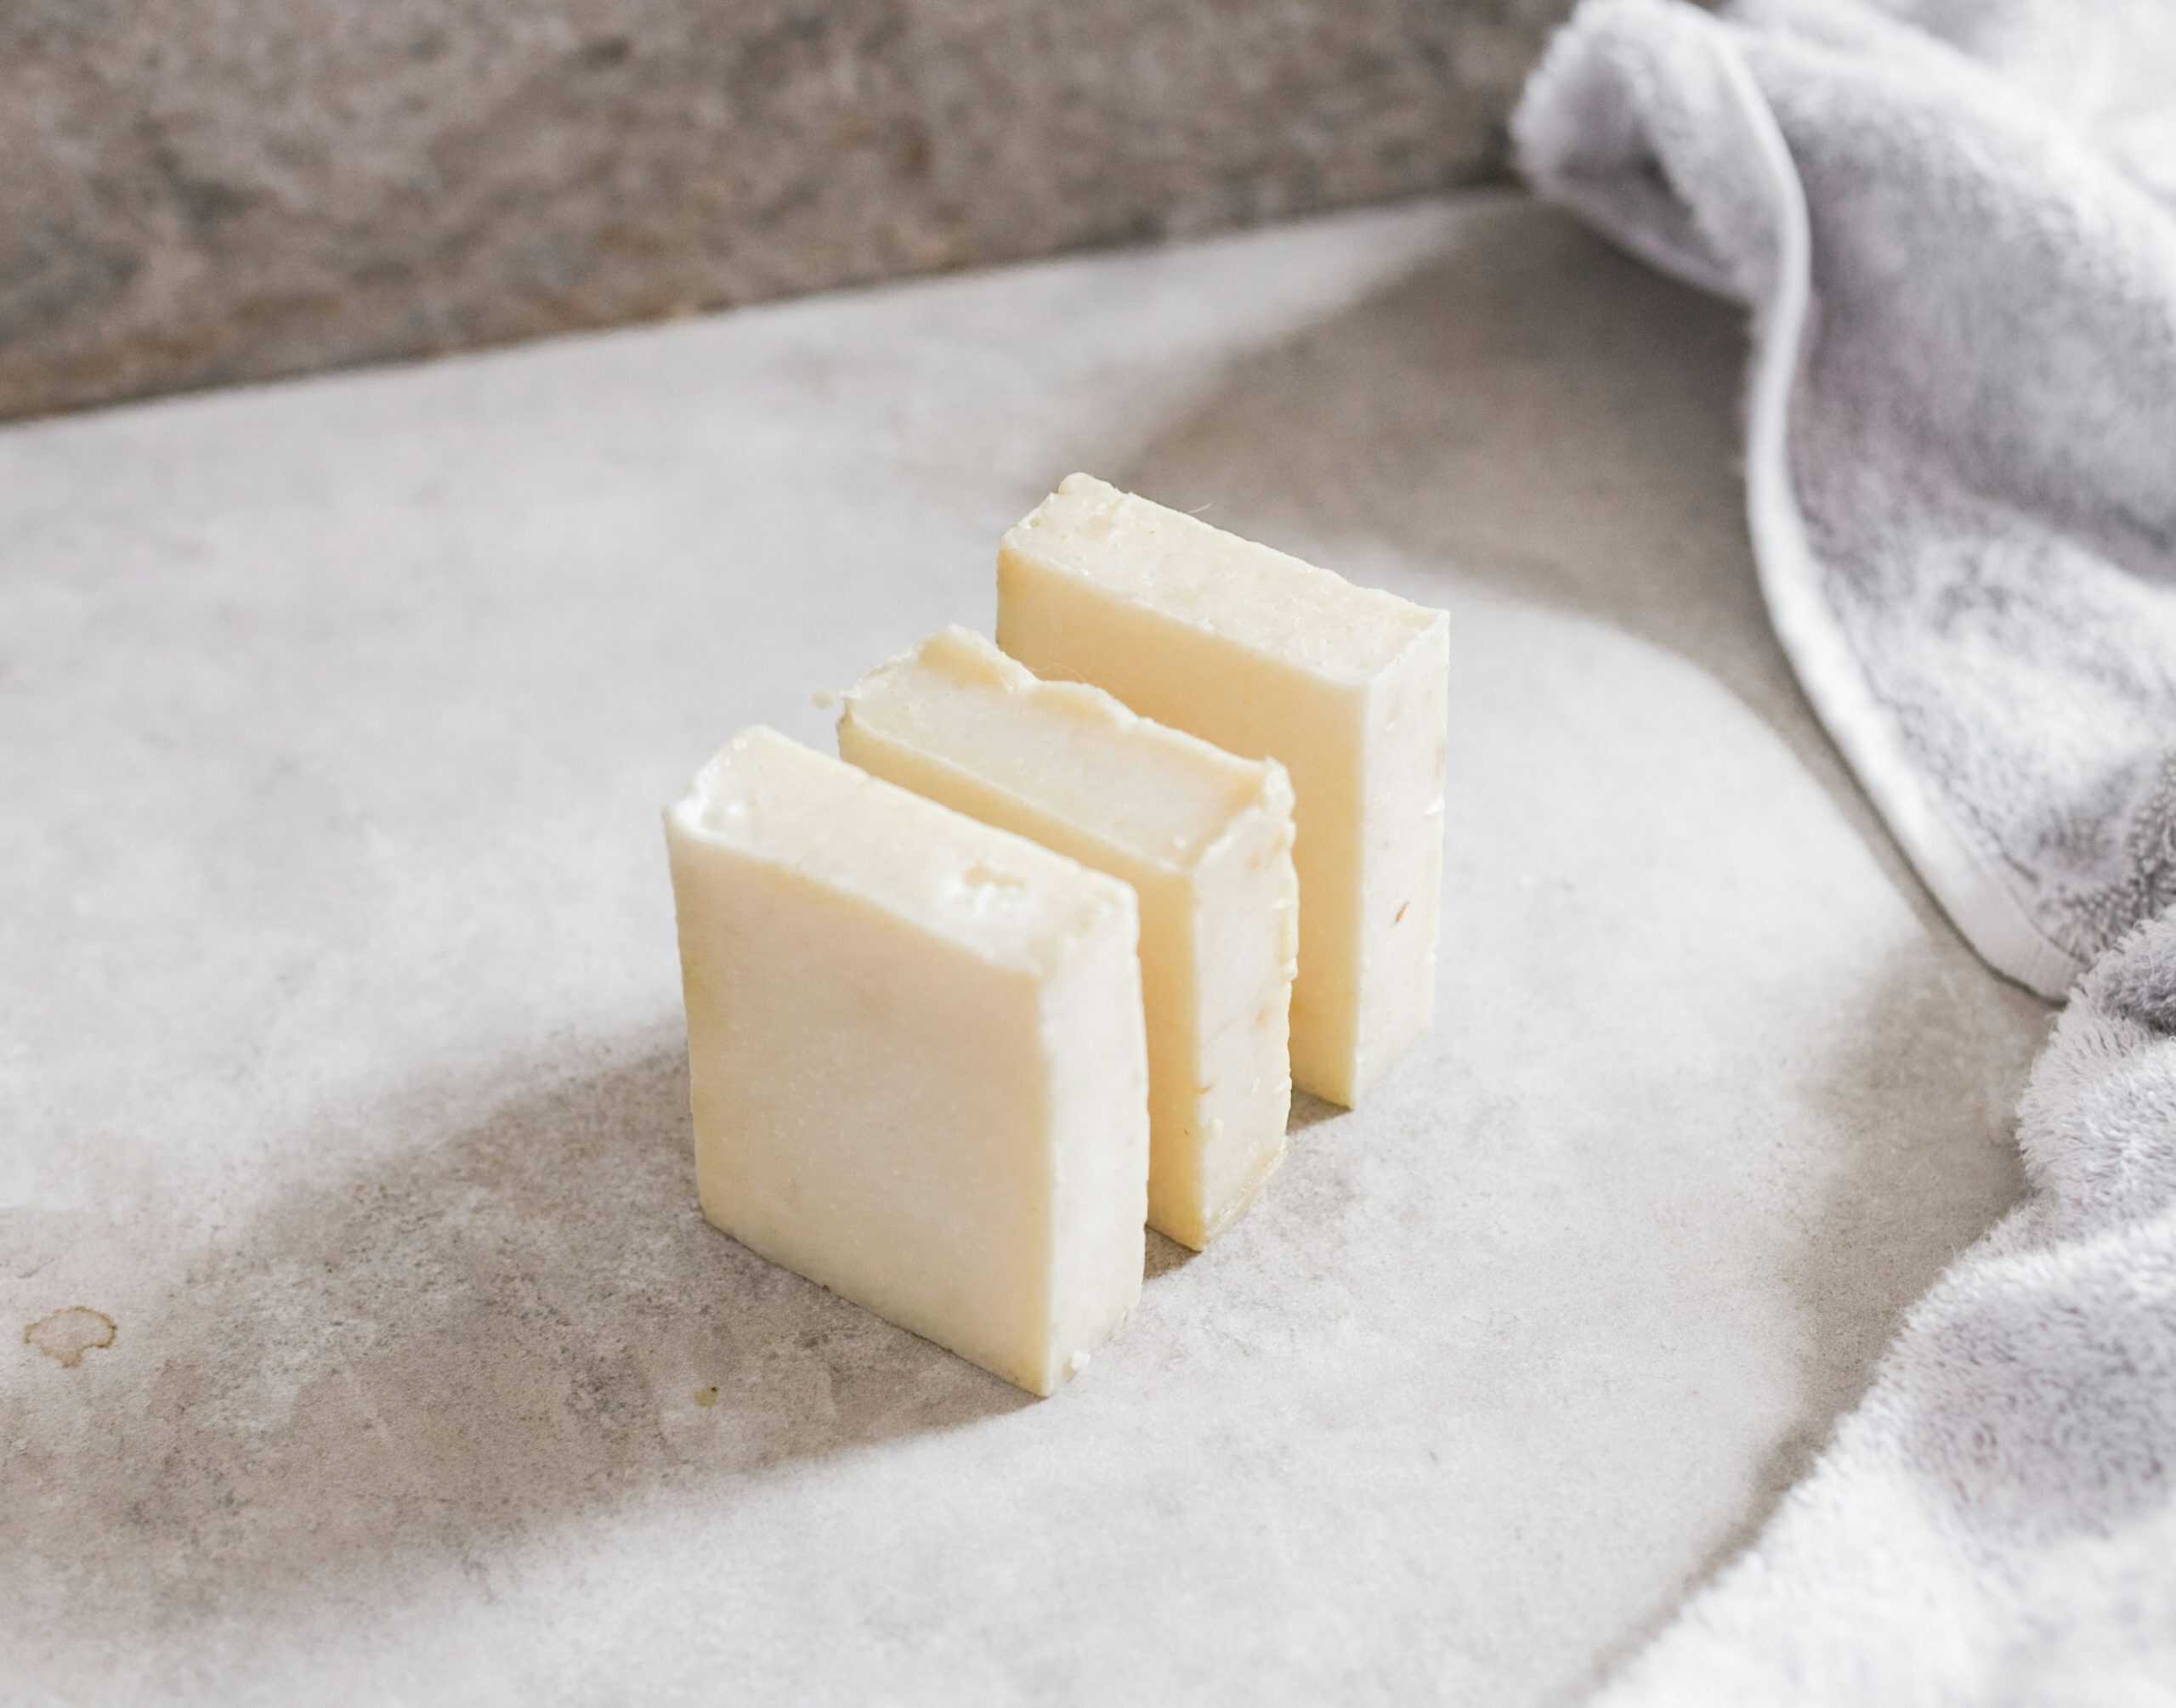
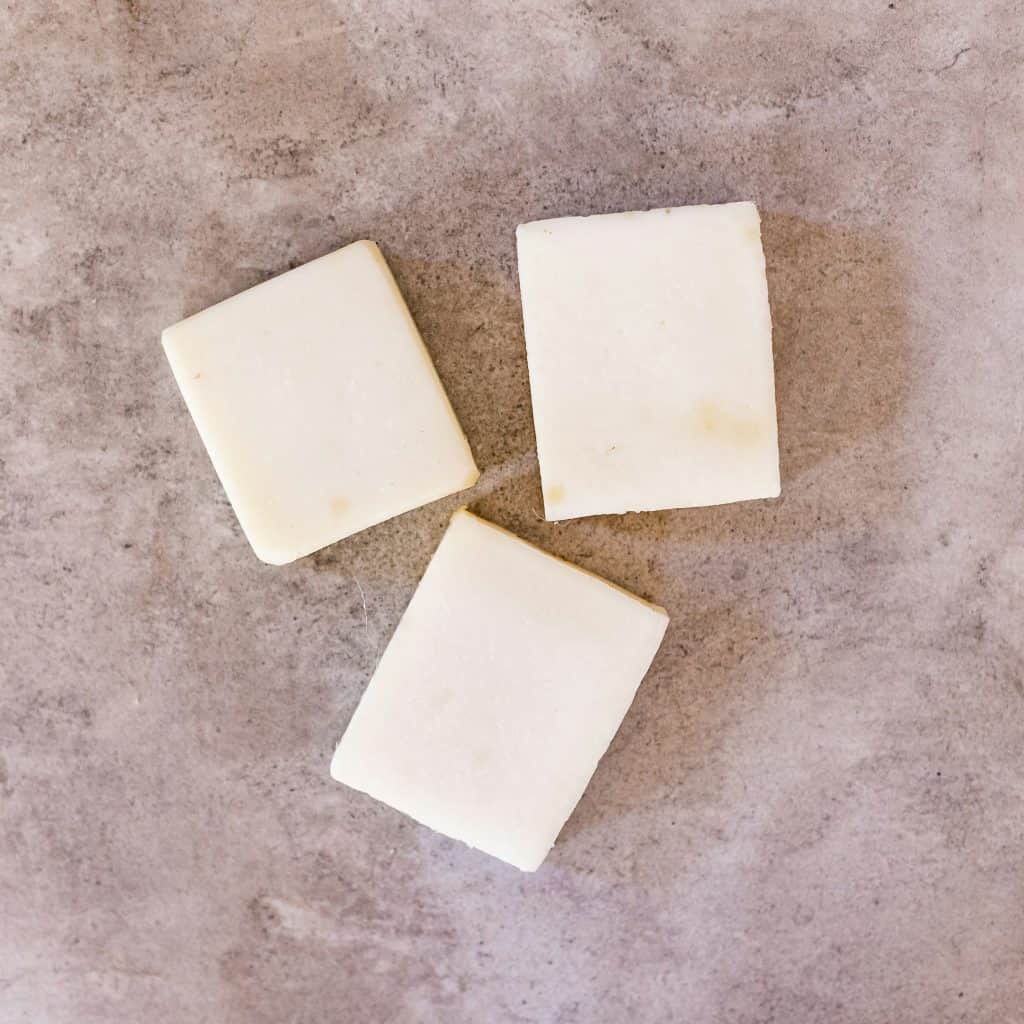
The Ingredients (makes about 4–6 small bars)
One of the things I love most about this recipe is how few ingredients it takes – and how safe and gentle they are for little ones. Here’s what goes into our natural soap for kids:
- Goat Milk Melt and Pour Soap Base – 1 pound. This is the heart of the recipe. I use the Skin Said Yes goat milk soap base, which comes in a generous 5-pound block. For this batch, we’ll cut about a fifth of it into cubes – enough for 4 to 6 toddler-sized bars. This base is creamy, nourishing, and already saponified, so there’s no need to handle lye.
- Vitamin E Oil – 1 teaspoon. Thick and golden, just a teaspoon of this adds skin-loving moisture and a touch of antioxidant power. I use Nexon Botanics, but any pure vitamin E oil will do. It helps the soap feel silky and nourishing – something I appreciate especially when caring for delicate little hands. The gentle ingredients support healthy skin without stripping away natural moisture.
- KidSafe Essential Oil Blend – 25–30 drops. For this batch, I used Plant Therapy’s Germ Destroyer blend. It’s safe for children ages 2 and up, with just the right balance of freshness and comfort. About 1 to 1.5 mL (25–30 drops) is perfect for one pound of soap.
- Optional: Raw Shea Butter – 1 tablespoon. If your little one has dry, sensitive skin or eczema-prone patches, adding a bit of unrefined shea butter can offer extra moisture and barrier support. It’s rich in essential fatty acids and vitamins A and E, which help soothe irritation and lock in hydration.
Essential Oil Safety (Very Important)
Before adding essential oils, it’s important to talk about age and dilution.
Even though this is rinse-off soap, essential oils are still concentrated plant extracts. A little truly goes a long way.
For children ages 2 and up, a safe dilution for melt-and-pour soap is about 0.5 to 1 percent total dilution. For one pound (16 oz) of soap base, that equals roughly:
- 15 to 30 drops total essential oil
- Or about 0.5 to 1.5 mL
That is why I stay within the 25 to 30 drop range per pound.
For babies under 2 years old, I recommend:
- Skipping essential oils entirely
- Using plain goat milk soap base with optional vitamin E only
Goat milk on its own is gentle and effective. Babies do not need added fragrance for clean skin.
Always:
- Choose high-quality oils from reputable brands
- Use blends labeled safe for children
- Avoid strong oils like peppermint, eucalyptus, clove, or rosemary for young children
- Do a small patch test if your child has sensitive skin
When in doubt, simpler is better.
Step-by-Step Instructions for Making Goat Milk Soap
This is where the work happens and you’ll be surprised how simple this really is. The steps are easy to follow, and the finished bars feel like something you’d actually want to use every day.
1. Melt the Soap Base
Start by placing your cubed goat-milk soap base into a microwave-safe bowl or the top of a double boiler.
If using the microwave, heat in short bursts – 20 to 30 seconds at a time, stirring in between. It usually takes 2 to 3 rounds to fully melt a pound. If using the stovetop method, set a heat-safe bowl over a pot of simmering water and stir gently until it’s smooth and velvety.
At this stage, the scent is warm and mild – like vanilla cream. It quietly fills the kitchen with a sense of comfort.
If you’re using shea butter, now’s the time to add it in. Let it melt slowly with the soap base, stirring gently to combine. Shea butter has a slightly nutty scent and melts down into a silky richness that’s especially comforting for kids with dry, sensitive skin.
2. Stir in the Vitamin E
Once your base is fully melted, remove it from heat and add your teaspoon of vitamin E oil.
Take your time stirring. Vitamin E is thick and slow-moving but worth every swirl. It gives the soap a skin-softening richness, perfect for daily use on delicate skin.
3. Cool Slightly, Then Add Essential Oils
Let the mixture rest for a minute or two – just enough to lower the heat slightly before adding your oils. This preserves their scent and therapeutic qualities. Then, drop in 25–30 drops of your chosen KidSafe essential oil. Stir slowly and mindfully for a full 30 seconds, letting the aroma rise.
4. Pour into Molds
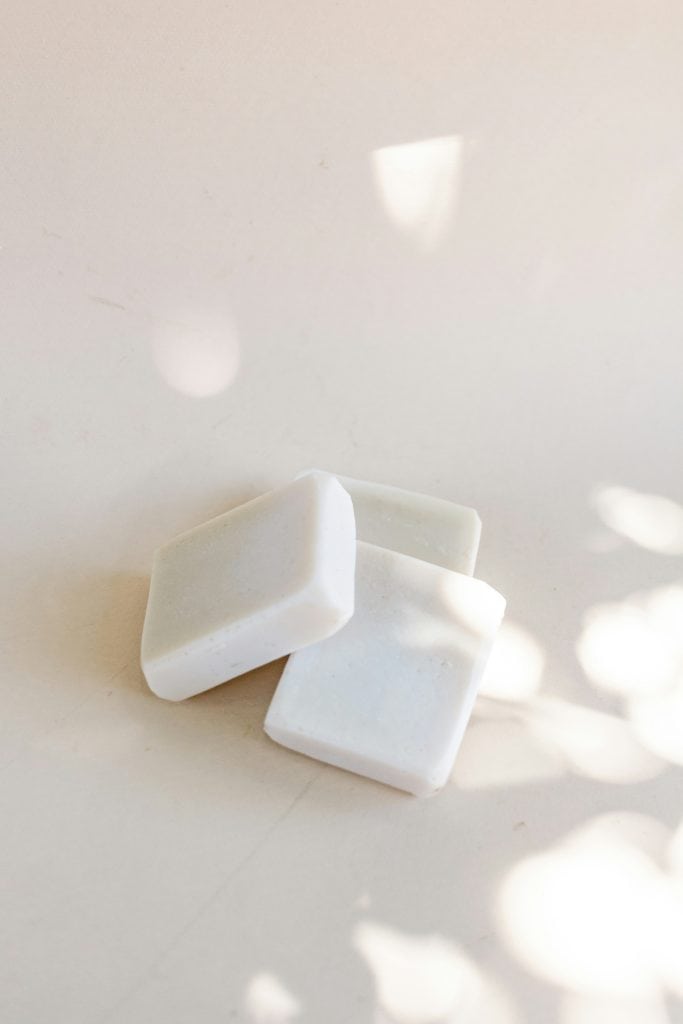
Now it’s time to pour. Carefully transfer your scented mixture into silicone soap molds. I use round ones that fit neatly into small palms – no slipping, just easy lathering for little hands.
If you see bubbles on the surface, you can spritz a light mist of rubbing alcohol over the top. It’s a simple trick that pops those bubbles and leaves a smooth finish. But don’t worry if you skip this step – imperfections are part of the homemade charm.
5. Let the Soap Harden
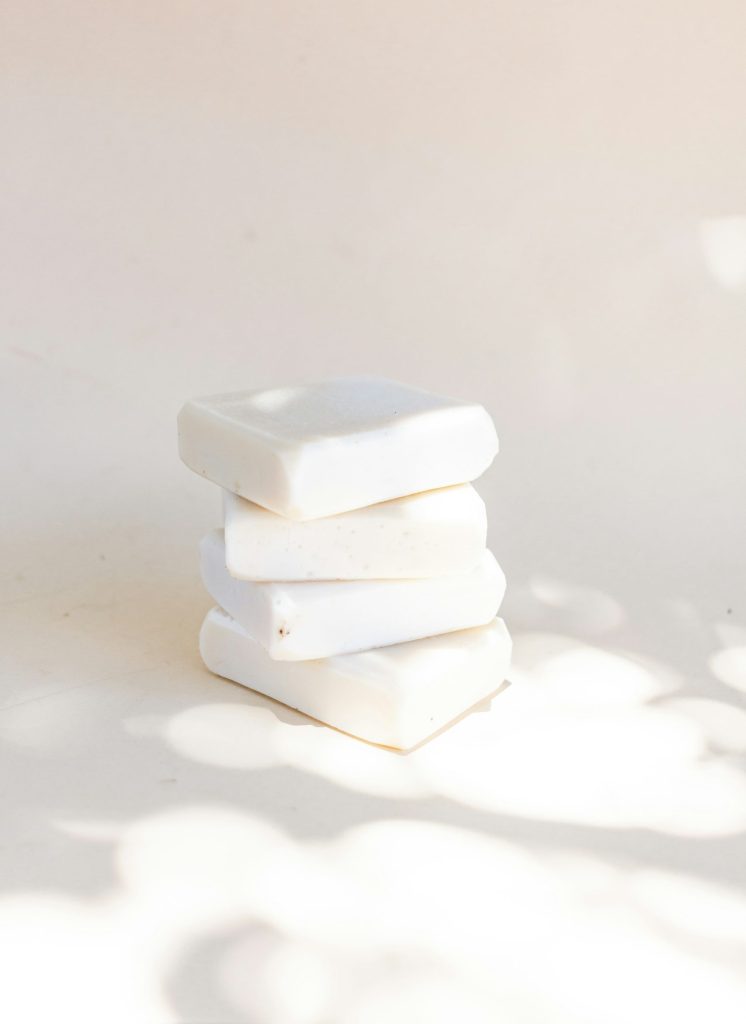
Set the filled molds in a safe, undisturbed spot. For us, it’s the top of the fridge – out of reach from curious kids. Let the soap sit for at least 4 hours, or even better, overnight. During this time, it will firm up nicely, changing from warm liquid into a creamy white bar.
6. Unmold and Enjoy
Once hardened, gently press the bottom of each mold to release the bars. Silicone makes this part a breeze. Place a bar by the bathroom sink and tuck the rest away – or better yet, share one with a neighbor or friend.
When we’re spending more time outdoors, especially in the warmer months, I sometimes pair this soap with my tick and mosquito repellent oil so the kids have both gentle cleansing and natural protection in their routine.
Getting the Little Ones Involved
If you’ve ever tried to stir a pot with a toddler underfoot, you know: kids don’t just want to watch – they want to touch. And when it comes to making natural soap for kids, this project is wonderfully hands-on (and mess-friendly).
Here are a few ways I bring my little one into the process:
Let Them Choose the Mold
Colorful silicone molds in fun shapes like stars, honeycombs, or animals can turn soap into something playful and exciting. Letting kids choose their favorite shapes gives them a sense of ownership and makes the process more engaging.
Help with Pouring
Older toddlers can assist with pouring the soap into molds when closely supervised. With an adult’s guidance, this slow, careful step becomes a great opportunity to practice coordination – and it’s okay if a little soap gets spilled.
Wrapping Extras for Gifts
Once the soaps are fully set, wrapping them in fabric squares or wax paper and tying them with twine turns them into thoughtful handmade gifts. Folding, decorating, and tying are perfect little tasks for small hands to enjoy.
Making Handwashing More Fun
When children spot a soap they helped create by the sink, they’re more likely to look forward to using it. That extra bit of involvement can turn a simple routine into something special.
Including children in the process encourages creativity, confidence, and care – all while giving them a hands-on experience they’ll remember.
If you’re looking for a simple add-on for dry lips, try my ultra-nourishing tallow lip balm.
A Small Act Of Care
It feels good to know exactly what’s going on your skin. Making your own soap means using ingredients you trust – and skipping the extras you don’t need.
It’s a simple process that works. Once you’ve got your supplies, it takes less time than most people expect, and the results speak for themselves: a bar that’s gentle, effective, and made with intention.
Once I realized how simple it was to create soap, I stopped buying store-bought hand creams too. My anti-aging hand cream recipe became a natural extension of the same mindset.
It also gives you more control. No more relying on labels or wondering what “fragrance” actually means. You decide what goes in, what stays out, and what scent (if any) you want to use.
And once you’ve done it once, it gets easier every time. One small skill that adds real value at home, saves money over time, and replaces one more store-bought product with something better.
FAQs
1. How long does melt-and-pour goat milk soap last?
When stored properly, homemade goat milk soap can last 6–12 months.
To extend shelf life:
- Store unused bars in a cool, dry place
- Keep them wrapped in wax paper or in an airtight container
- Avoid humid areas
Once in use, make sure the bar can dry fully between washes. A draining soap dish makes a big difference.
2. Can I use this soap on babies under 2 years old?
Yes, with one important adjustment.
For babies under 2:
- Do not use essential oils
- Keep the recipe simple (goat milk base + optional vitamin E)
Even KidSafe blends are formulated for children 2 and up.
Babies have thinner, more absorbent skin, which means they do not process essential oils the same way older children do. A plain, unscented goat milk bar is the safest option for that age group.ers and older children.
3. Why is my soap sweating after it hardens?
This is called glycerin dew. It’s common with melt-and-pour soap bases.
Because the base contains natural glycerin, it attracts moisture from the air. It doesn’t mean your soap is bad.
To reduce sweating:
- Wrap bars tightly once hardened
- Store in a dry space
- Avoid leaving unused bars exposed in humid rooms
4. Can I add oatmeal or other natural ingredients?
Yes, but keep it simple.
Finely ground oatmeal can add gentle exfoliation. Just stir in 1–2 teaspoons per pound of soap base before pouring.
Avoid adding fresh ingredients (like fruit or milk) because they can spoil or shorten shelf life. Melt-and-pour works best with dry, stable additions.
5. Can I remelt the soap if I mess up?
Yes, within reason.
If your soap sets unevenly or you forget an ingredient, you can:
- Chop it back into cubes
- Remelt gently
- Repour into molds
Just avoid overheating, as repeated high heat can affect texture and scent strength.
Soap making with melt-and-pour is forgiving. That’s one of the reasons it’s such a practical place to start.
