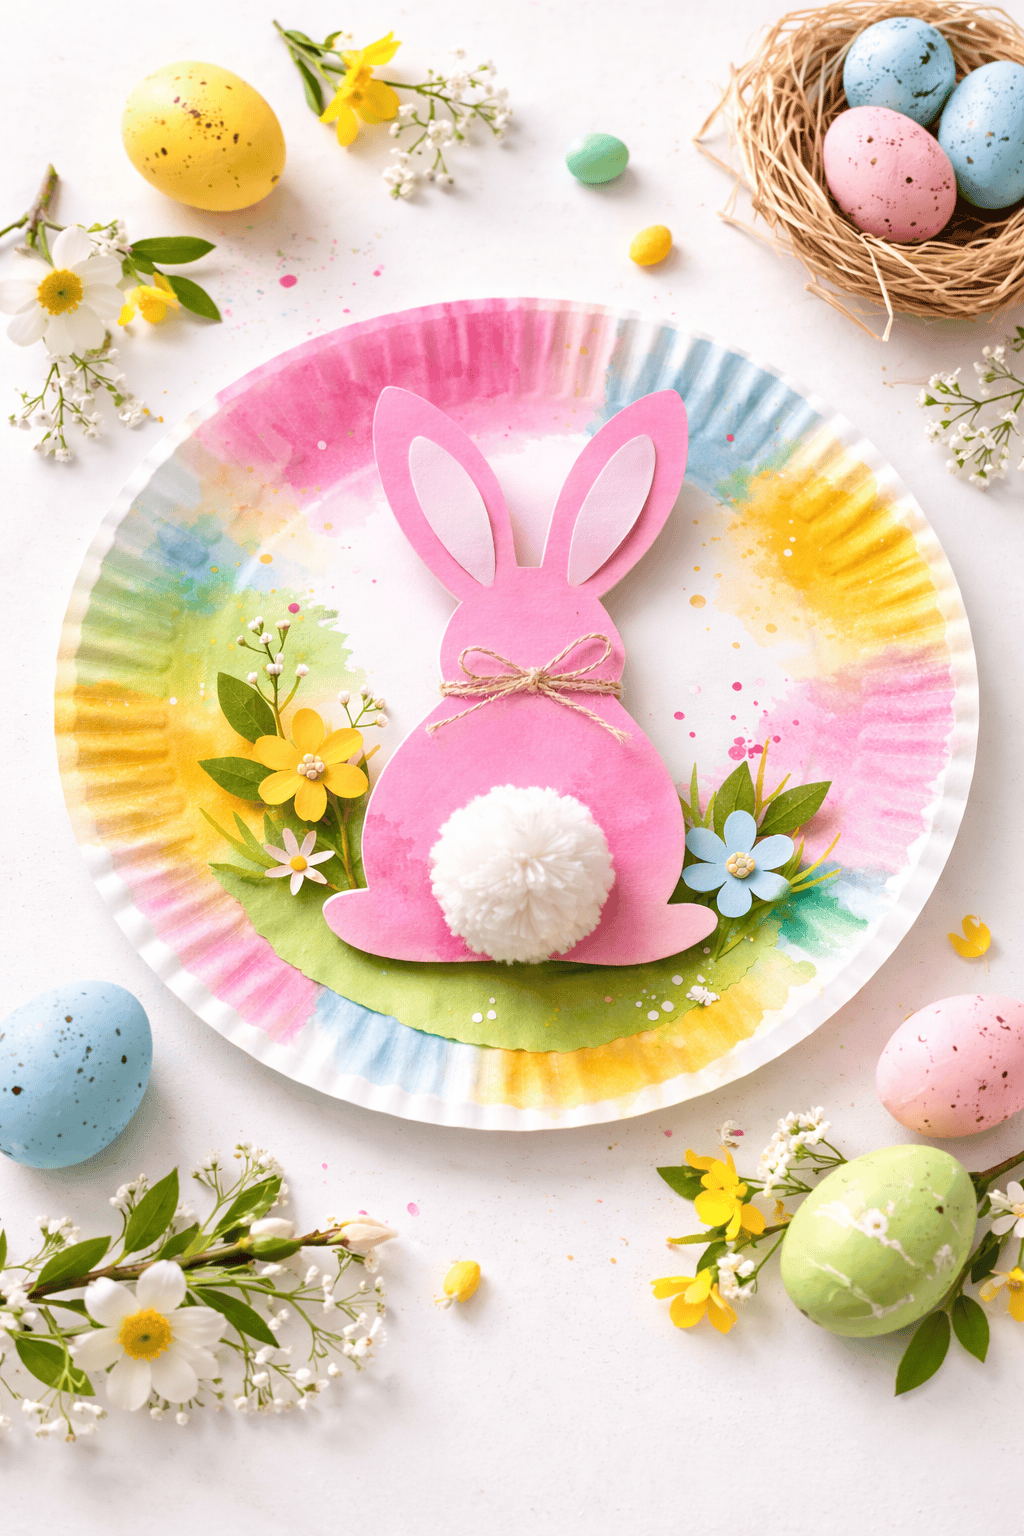
Welcome spring by doing fun, hands-on Easter crafts with your little ones!
These activities use mostly household, recycled, or natural items – perfect for a homestead mindset.
In the list below, you’ll find 10 simple crafts that feature Easter and spring themes using things like egg cartons, leaves, pinecones and cotton.
Most supplies are everyday items, so you won’t need fancy tools or store-bought kits.
Gather your materials, and let’s get crafting!
Why Easter Crafts Are Great for Toddlers
Crafts are more than just cute projects – they support early childhood development.
Creative activities help children practice fine motor skills (grasping paintbrushes, cutting with supervision, tearing cotton balls) and hand-eye coordination.
When toddlers press sponge stamps or glue cotton, they’re strengthening little muscles needed for writing and self-care tasks.
Arts also spark cognitive skills: sorting colors, counting the number of chicks made, and imagining stories about their creations.
Plus, Easter crafts offer sensory play (wet paint, rough leaves, soft cotton) which builds neural connections.
Overall, letting kids get a little messy with art boosts confidence and creativity – key life skills cited by child development experts.
As one guide notes, art projects “foster a child’s imagination” and reinforce problem-solving abilities through fun, hands-on play.
If you’re looking for more ideas for kids, check out our wholesome Easter craft ideas post for additional projects.
10 Easy Easter Crafts for Toddlers
Here are 10 simple, spring-inspired crafts to make with toddlers. Each project uses safe, familiar materials and celebrates Easter themes.
Try one at a time or set up a little craft station so kids can pick and choose – either way, the focus is on fun, creative play and learning.
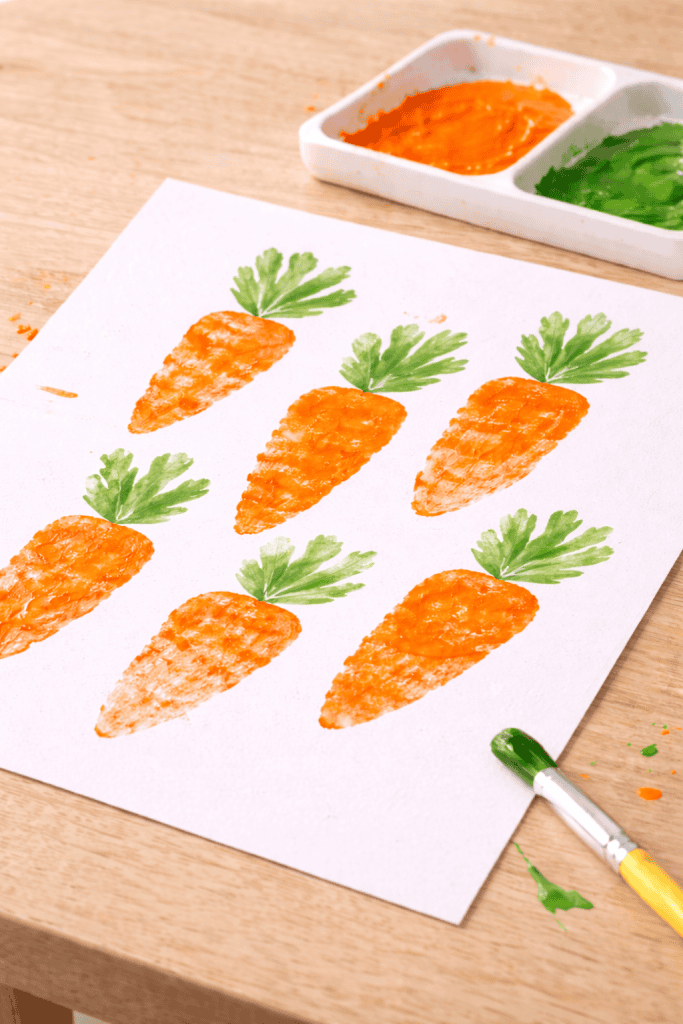
1. Fingerprint Easter Carrots
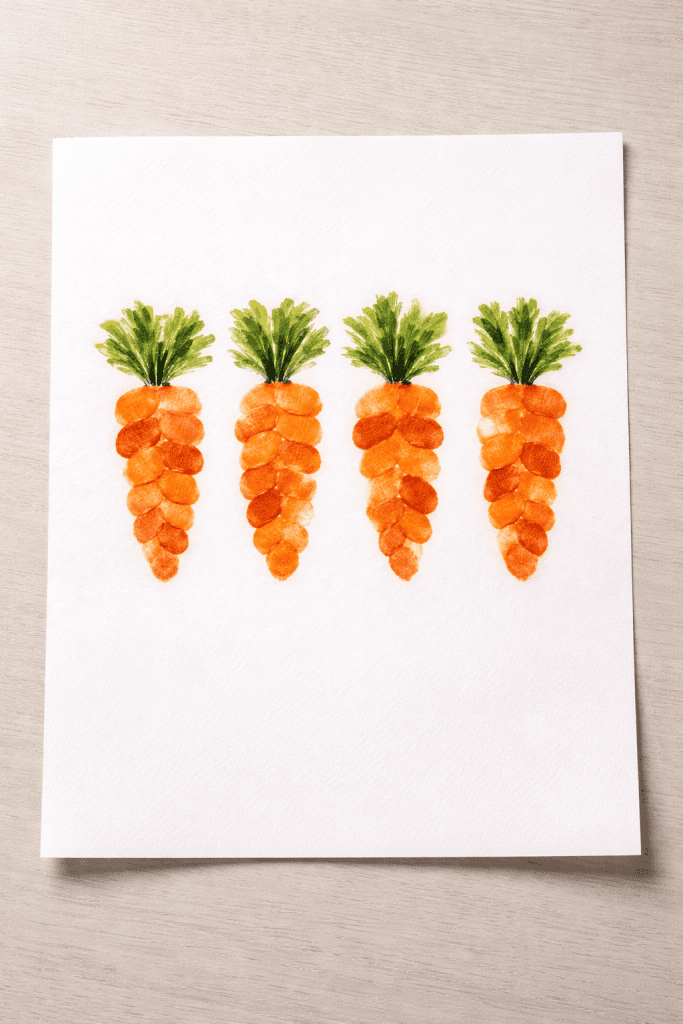
This simple finger-painting activity lets toddlers create bright, cheerful carrots using just their fingertips. It’s easy to set up, quick to clean, and perfect for little hands exploring textures and colors.
Materials: Orange washable paint, a paper plate or tray, white or brown construction paper, and green paper or a green marker for carrot tops.
How to Do It: Pour a small dab of orange paint onto a plate or tray. Help your toddler dip one finger or thumb into the paint and press it onto the paper at a slight angle to form carrot shapes.
Repeat across the page to make a row or a cluster of carrots. Once dry, add green paper strips or use a green marker to draw leafy tops above each carrot. Encourage your toddler to experiment with different sizes or patterns of carrots.
This craft strengthens finger muscles, builds hand-eye coordination, and reinforces color recognition. Counting carrots or talking about how they grow underground blends early science with imaginative play, and toddlers delight in seeing their efforts come to life.
2. Sponge-Painted Easter Eggs
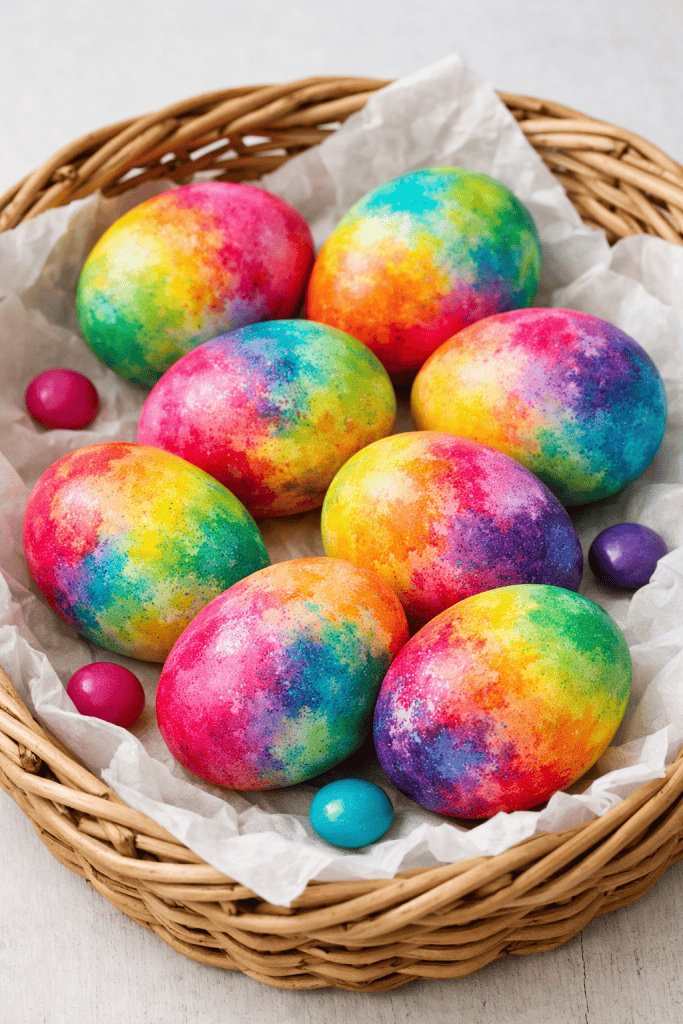
Stamp colorful Easter eggs using sponges for a mess-friendly painting activity toddlers adore. They can press, dab, and overlap colors to create a lively, tactile composition.
Materials: Kitchen sponges cut into egg shapes, washable paint in spring colors, paper or cardstock, and shallow plates for paint.
How to Do It: Dip the sponge lightly into the paint and press it onto paper to make egg shapes. Let your toddler layer colors or create patterns, like polka dots or stripes, using different sponges. You can also make clusters of eggs to resemble an Easter basket.
This activity introduces cause-and-effect, encourages experimentation with colors and textures, and helps develop large and small motor skills. Toddlers also get a sense of accomplishment as they see each colorful egg appear on the page.
If you want, pair this craft with a resurrection scavenger hunt for kids to extend Easter fun beyond arts and crafts.
3. Nature Flower Collage

Bring spring indoors by turning outdoor treasures into beautiful flower art. Toddlers love arranging petals, leaves, and twigs to create their own mini garden.
Materials: Leaves, flower petals, grass, small twigs or pine needles, heavy paper, and non-toxic glue.
How to Do It: Take a short nature walk to collect leaves, petals, and other small items. Encourage your toddler to place them on paper and explore arranging them into flowers or patterns before gluing. Twigs can become stems, petals can form flowers, and small leaves can make buds or butterflies. Let them experiment freely – there’s no “wrong” way.
This craft supports sensory exploration, fine motor skills, and creative thinking. It introduces toddlers to textures, shapes, and natural patterns while fostering environmental awareness – a perfect homestead-inspired activity.
For more nature-inspired learning, see our essential guide to forest school to get a grasp on outdoor toddler activities.
4. Cotton Ball Bunny
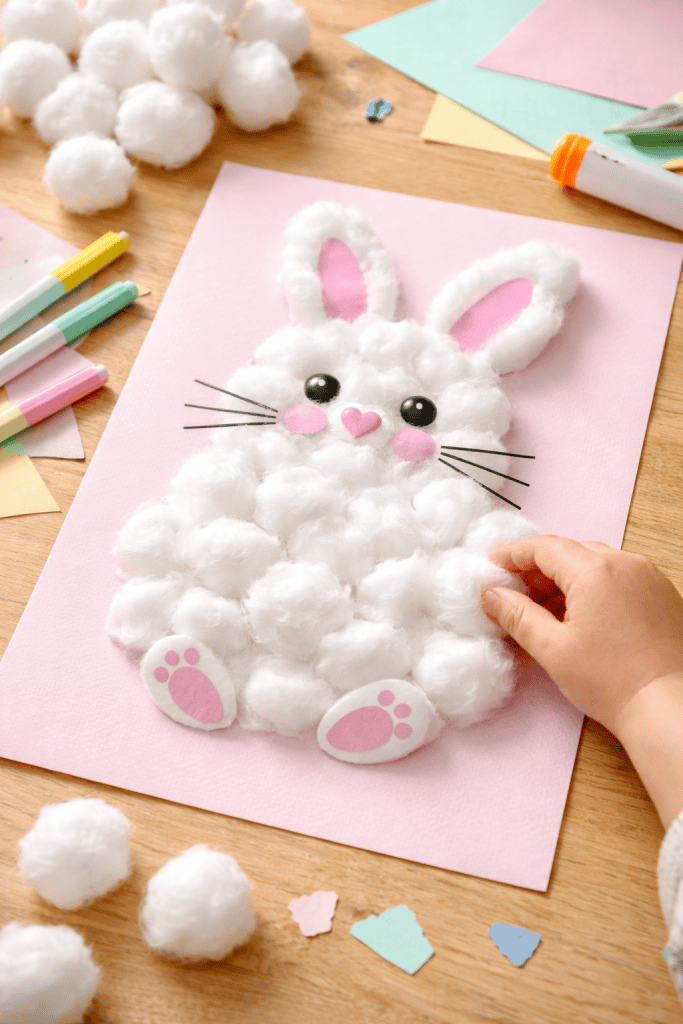
Fluffy Easter animals made with cotton balls are irresistible to toddlers and perfect for tactile exploration.
Materials: Cotton balls, construction paper, glue, markers, and small paper shapes for eyes, ears, beaks, or feet.
How to Do It: Outline a bunny or chick shape on paper. Let your toddler glue cotton balls onto the outline, covering it completely to make a soft, fluffy body. Add facial features, ears, or feet using paper shapes or markers once dry. Encourage them to gently press, pull, or fluff the cotton for extra sensory play.
This craft builds fine motor skills through gluing and placement, promotes sensory awareness, and encourages creativity. It’s also a fun way to discuss animals, springtime babies, and the sounds they make.
Check out our Adam and Eve craft ideas for more character-inspired projects toddlers love.
5. Toilet Paper Roll Bunnies
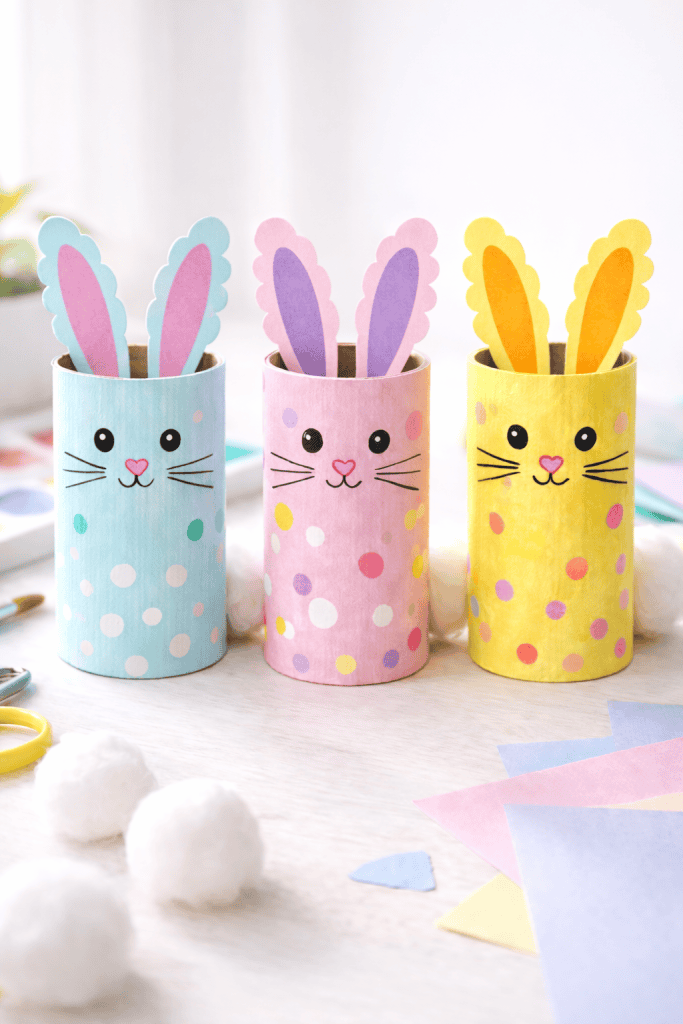
Turn an everyday recyclable into an adorable Easter decoration that toddlers can proudly display or play with.
Materials: Empty toilet paper rolls, washable paint, paper for ears, cotton balls, glue, and markers.
How to Do It: Paint the roll and let it dry. Cut and attach paper ears inside the top of the roll. Draw a bunny face on the front and glue a cotton ball to the back for a tail. For extra fun, toddlers can paint or decorate patterns on the roll before adding the features.
This craft teaches upcycling and resourcefulness while practicing focus, sequencing steps, and problem-solving. Toddlers see that ordinary objects can transform into playful, meaningful creations.
6. Pine Cone Bird’s Nest
Use natural materials to create a spring-inspired chick or nest, connecting toddlers to the natural world.
Materials: Pine cones, yellow paint or yarn, cotton balls or fabric scraps, glue, and small paper pieces for eyes and beaks.
How to Do It: Paint or wrap a pine cone to resemble a chick. Add eyes and a small paper beak. For a nest, arrange twigs and cotton balls around the pine cone on a plate or shallow tray. Encourage toddlers to touch and manipulate materials, arranging them into cozy nests.
This activity promotes sensory exploration, fine motor development, and early environmental awareness while introducing birds, nests, and the rhythm of spring.
7. Carrot Stamp Craft
Turn vegetables into creative art tools that double as tactile exploration and early STEM learning.
Materials: A carrot cut in half lengthwise, orange and green washable paint, and paper.
How to Do It: Dip the cut side of a carrot into orange paint and press it onto paper to make prints. Use green paint or markers for the leafy tops. Encourage toddlers to explore overlapping prints, patterns, or sizes. They may notice texture differences and enjoy creating “garden rows” across the paper.
Stamping strengthens motor control and sensory exploration while connecting art to real-world learning about vegetables, gardens, and healthy food.
8. Leaf Print Art
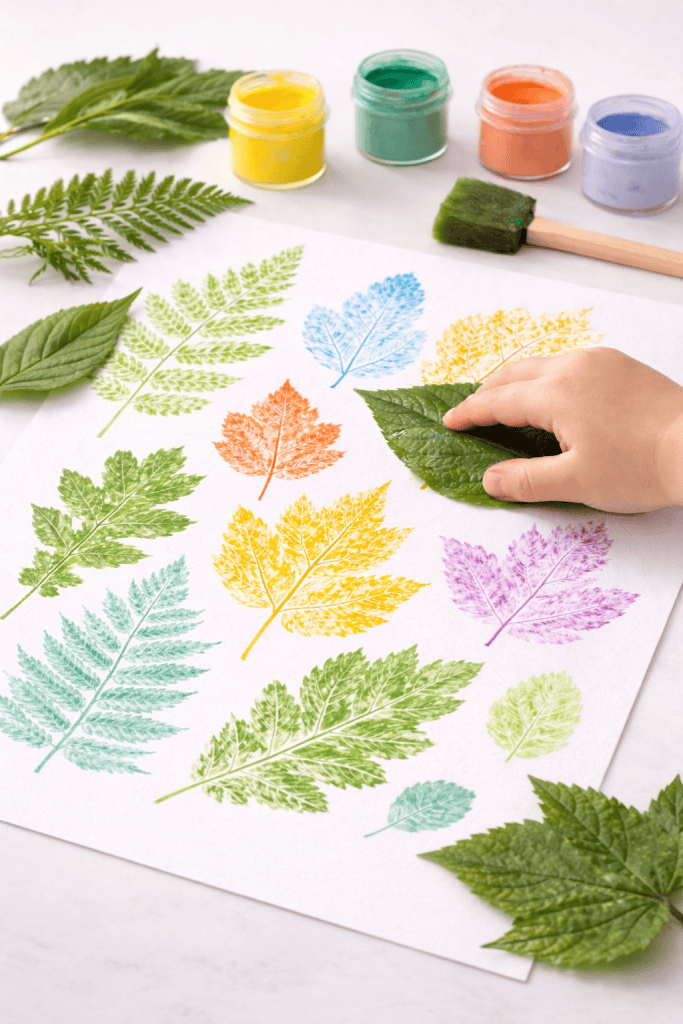
Create beautiful botanical prints using real leaves, combining art, science, and sensory discovery.
Materials: Leaves with visible veins, washable paint, a paintbrush or sponge, and paper.
How to Do It: Paint one side of a leaf, press it onto paper, rub gently, and lift to reveal a print. Repeat with different leaves and colors. Toddlers can explore patterns, vein textures, and shapes, creating a layered collage of leaves and colors.
This craft encourages observation, scientific curiosity, and creativity. Toddlers learn about plant structures and patterns while enjoying the visual and tactile rewards of their work.
For more seasonal projects, see our simple Passover crafts for kids post.
9. Mini Craft-Stick Easter Basket
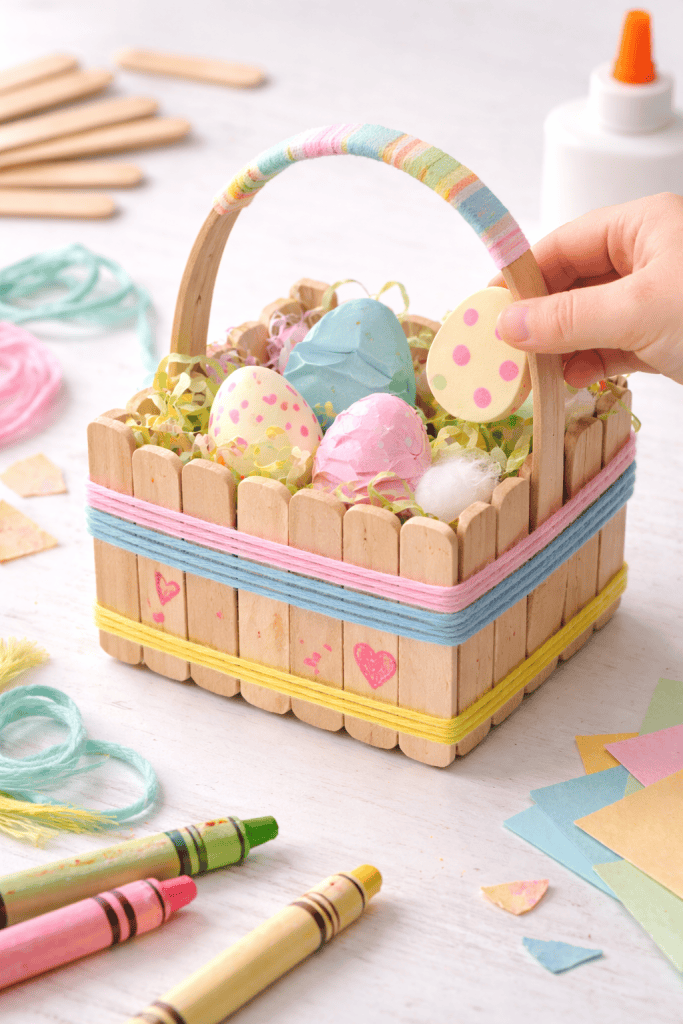
Build a tiny basket perfect for pretend play or decoration, encouraging coordination and creativity.
Materials: Craft sticks, glue or tape, yarn or ribbon, and crayons or stickers for decoration.
How to Do It: Glue craft sticks together to form the base and walls of a small basket. Decorate with yarn, ribbon, or markers. Fill it with paper grass, small paper eggs, or cotton balls. Let toddlers experiment with placement and arrangement for a sense of accomplishment.
This craft develops spatial awareness, problem-solving skills, and creativity. It encourages toddlers to see how simple structures can be built step by step.
10. Handprint Easter Chick
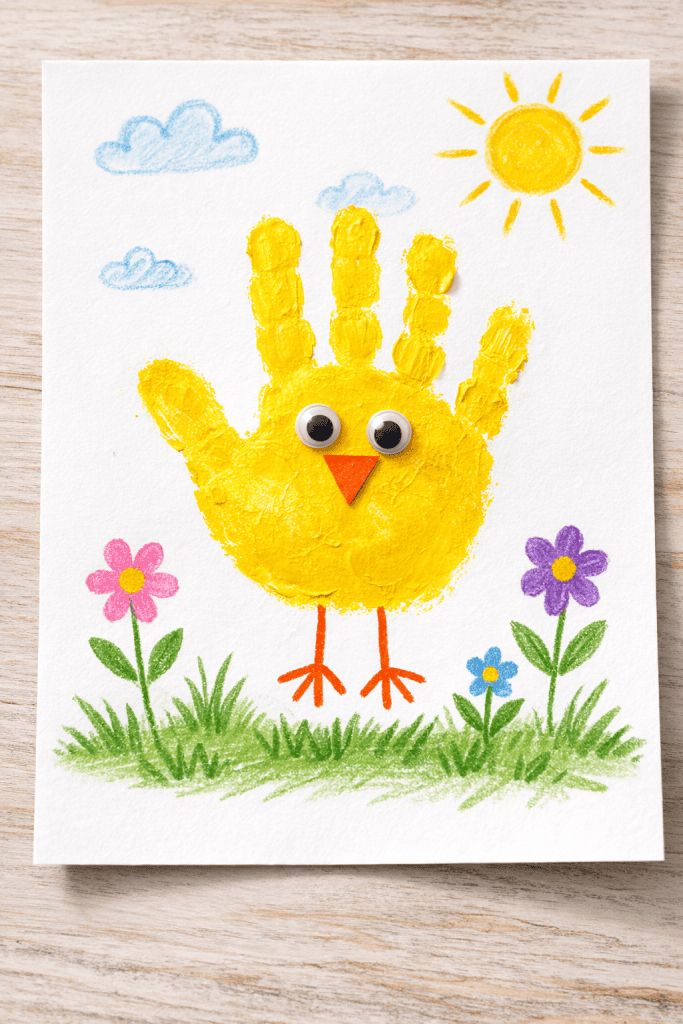
Capture a spring memory with a keepsake handprint craft that also builds motor and sensory skills.
Materials: Yellow paint, paper, markers, and optional googly eyes.
How to Do It: Paint your toddler’s hand and press it onto paper. Once dry, add eyes, a beak, and tiny feet to turn the handprint into a chick. Encourage your child to add extra decorations like grass, flowers, or a sun.
Handprint crafts combine tactile exploration, motor development, and creativity. They also make meaningful gifts for family members or decorations for your home.
Gathering Eco-Friendly Craft Materials
Most of these crafts use items you already have or can find outdoors. Check your recycling bin and pantry: egg cartons, toilet paper tubes, scraps of paper, and cotton balls are craft gold.
Go on a nature walk to collect leaves, pinecones, twigs, flowers, and seeds – these will spark creative projects and excitement about spring. Natural items are especially great for homestead-style crafting.
They teach kids to reuse and recycle, which is both eco-friendly and resourceful. For example, an ordinary egg carton becomes a clutch of chicks with just some paint and glue.
Safety tip: Use non-toxic, washable paints (look for AP-safety labels) and supervise small parts like glued eyes. Keep scissors and sharp tools away from toddlers (parents can cut shapes beforehand).
Always encourage hand-washing after crafts, especially when natural materials or paint are involved. With a little prep, craft time can be creative and safe for your little bunnies and chicks.
Craft Time Tips for Toddlers
- Set Up the Space: Protect tables with newspaper or a craft mat. Dress kids in old clothes or smocks – yes, mess will happen, but that’s part of the fun! Keep wet wipes nearby for quick cleanup of hands and faces.
- Keep Supplies Ready: Pre-cut paper shapes (like bunny ears or carrot tops) and portion paints in small cups or plates. Have glue bottles or sticks within reach. Toddlers get distracted easily, so having everything at arm’s length helps.
- Go Slow and Encourage: Demonstrate each step slowly and let your child try. Praise their effort (“I love how you pressed that egg stamp!”) rather than perfection. It’s about the process, not the perfect end product.
- Stay Flexible: Some toddlers change their mind quickly. Be ready to switch crafts or let them take a break. It’s okay if a carrot gets more stamps or a bunny gets extra cotton balls – that’s creativity.
- Use all the Senses: Talk about what you see, feel, and hear. (“The paint feels cold and soft,” “The pinecone is bumpy,” “We’re making a pink flower!”). This sensory language builds vocabulary.
- Child-Led Ideas: Let your toddler lead occasionally. If they want to make a blue bunny or an orange chick, go with it! This ownership makes the activity more engaging.
By preparing well and keeping a playful attitude, you can turn any craft time into a joyful spring tradition.
Get Crafting This Easter!
Now it’s your turn: gather those materials and jump into spring crafting.
These projects are meant to be simple, screen-free fun for parents and kids to do together.
You’ll make colorful Easter decorations and cherished memories.
Remember, there’s no “wrong” way to craft with toddlers – encourage imagination and enjoy the giggles as they glue feathers and stamp paper.
Once you’ve tried a few crafts, we’d love to hear from you: Which project was your toddler’s favorite? Did they invent a new twist on the idea?
Share your stories and any cute photos in the comments below – we can’t wait to see your springtime creations!
Get the FREE Fruit of the Spirit Playdough Mats + Coloring Pages

Make your Fruit of the Spirit lesson hands-on with this FREE printable set that includes a playdough mat and a bonus coloring page—two activities in one.
Kids can build and color their way through love, joy, peace, patience, kindness, goodness, faithfulness, gentleness, and self-control from Galatians 5:22–23. For easy re-use, laminate the mat (or slide it into a page protector) and pull it out anytime for Bible time, Sunday School, or quiet time at home.
Click below to grab both printables.
FAQs
What if my toddler has a short attention span?
Toddlers often work in short bursts. Plan for quick projects and be flexible. You might do one simple step, then take a break, and come back later. Choose activities that yield instant results (like finger-paint carrots or sponge stamps) so your child sees something fun right away.
Use praise and excitement to keep them interested: “Look at the bright orange carrot you made!” If they start losing focus, it’s okay to put the craft aside and try again another time.
How can I keep the crafts mess-free?
Crafting with toddlers can be a bit messy – but you can tame it. Cover your table with old newspapers or a washable tablecloth. Use washable, non-toxic paints and glues (many craft stores label kids’ supplies as “washable”).
Dress your child in play clothes or a smock. You can also choose no-paint alternatives, like using stickers or pre-cut paper shapes instead of messy paints.
After crafting, have a cleanup routine: keep a bin nearby for scrap paper, and wet wipes on hand for sticky fingers. Emphasize the fun and creativity; a little paint on the clothes is usually worth the joy they had!
What can I use if I don’t have craft supplies like paint or glue?
Get creative with substitutions using household items! If you don’t have paint, kids can color with crayons, markers, or color on paper and do paper collage (snipping colored paper and gluing with school glue or even a flour-water paste). Instead of glue, try tape or stickers.
If egg cartons aren’t handy, use small cardboard boxes or recycled yogurt cups. In a pinch, natural materials can be “glued” by pressing them into the paint on paper (which acts as adhesive).
For example, wet leaves or flowers in a little water and press them onto construction paper. Even edible items like cereal loops (for wreaths) or veggie juices (as paint dyes) can be fun substitutes.
How can older siblings help with these toddler crafts?
Older children can be fantastic helpers and participants. Let big kids cut shapes, prepare materials, or demonstrate the steps (with supervision). They can work alongside younger siblings, perhaps making a more detailed version of the same craft.
For example, while a toddler glues cotton balls to a bunny, an older sibling could decorate a matching bunny with markers. Encourage teamwork: older kids can “teach” toddlers how to stomp the sponge or assemble the headband.
This not only keeps older children engaged, but also helps younger ones learn by example. Just be mindful to keep tasks age-appropriate (no small decorations for toddlers) and use this as a chance for family bonding.
How long does each craft take, and what ages are they for?
Most of these crafts are designed for preschool-age toddlers (around 2–5 years), but they’re flexible. A 2-year-old might need more help (you paint the sponge, then let them stamp), while a 4–5-year-old can do more independently.
Each project can take anywhere from 5 to 20 minutes of active work, plus drying time for paint. Fingerprint carrots or stamping eggs are very quick (10 minutes), whereas a full nature collage might take longer as kids gather materials.
It’s often best to spread crafts over a day or weekend, fitting them into your toddler’s mood and schedule. Don’t worry about exact timing – focus on fun, and you’ll know when it’s time to move on to the next adventure.
