I’ve always enjoyed baking from scratch, and cinnamon rolls are one of those recipes I keep coming back to.
They strike the right balance – soft dough, warm spice, and a sweet glaze that feels complete without being overdone.
What makes them even more rewarding is when they’re made with freshly milled hard white wheat flour.
The difference is noticeable: a golden crumb, a tender bite, and a depth of flavor that store-bought flour just can’t match.
That’s why these cinnamon rolls are a better version of a classic.
The process is straightforward, approachable for any home baker, and worth the time.
You’ll see below how it all comes together step by step.
What Makes Fresh Milled Flour Perfect for Cinnamon Rolls
Freshly milled flour changes how baked goods taste and feel.
Unlike refined flour, it contains the full grain (bran, germ, and endosperm) which means more flavor and better nutrition in every bite.
For cinnamon rolls, this makes a real difference.
- Flavor that supports the filling: Hard white wheat has a naturally mild, slightly sweet flavor. It complements the cinnamon-sugar filling without overpowering it.
- A soft yet hearty texture: Even with whole grain, the rolls bake up tender and golden. The crumb holds its shape while staying light enough to tear apart easily.
- Better rise, better bake: Fresh flour is alive with natural oils and nutrients, which helps the dough ferment and rise beautifully.
- Nutritional edge: More fiber, B vitamins, and minerals remain in the flour, so your cinnamon rolls are not only delicious but also more nourishing.
Choosing fresh milled flour simply elevates it.
The rolls keep everything you love about a classic cinnamon roll, with the added depth and wholesomeness of the whole grain.
And if you want to see how fresh milled flour works in something else sweet, check out my golden glazed donuts made with fresh milled flour.
Must-Have Tools for Baking Cinnamon Rolls at Home
Having these tools ready before you start makes the process straightforward and helps ensure your rolls bake evenly, rise properly, and look as good as they taste.
- Mixing bowls
- Stand mixer with dough hook (optional)
- Rolling pin
- 9×13-inch baking pan
- Serrated knife or unflavored dental floss
- Wire rack
Ingredients You’ll Need for Cinnamon Rolls With Fresh Milled Flour
This recipe uses simple, everyday ingredients that come together to create soft, golden rolls with a rich filling and smooth cream cheese glaze.
Dough
- 1 cup warm milk, 110–120°F (240 mL)
- 5 tablespoons granulated sugar (63 g)
- 2¼ teaspoons active dry yeast (0.25 oz / 7 g packet)
- 4⅔ cups freshly milled hard white wheat flour (560 g), plus more for dusting
- ⅓ cup packed light brown sugar (73 g)
- ½ cup unsalted butter, melted (113 g)
- 1 large egg, room temperature
- 1 tablespoon vanilla extract
- 1½ teaspoons salt
- ½ teaspoon cinnamon
Filling
- 6 tablespoons unsalted butter, very soft (85 g)
- ½ cup light brown sugar (110 g)
- 1½ tablespoons cinnamon
Cream Cheese Glaze
- 4 ounces cream cheese, room temperature (113 g)
- 2 tablespoons unsalted butter, room temperature
- 1 teaspoon vanilla extract
- Pinch of salt
- 2 cups powdered sugar (240 g)
- 1–2 tablespoons milk
If you enjoy seeing how fresh milled flour performs in sweet doughs, you might also love my guide on how to convert any recipe to freshly milled flour, especially if you bake often and like adapting favorites.
Step-by-Step Guide to Making Homemade Cinnamon Rolls
These steps take you from mixing the dough to spreading the glaze.
Step 1 – Activate the Yeast
Pour 1 cup warm milk (110–120°F / 240 mL) into a large mixing bowl or the bowl of your stand mixer.
Stir in 5 tablespoons granulated sugar (63 g) and 2¼ teaspoons active dry yeast (7 g). Whisk gently until the sugar dissolves.
Let the mixture stand for about 5 minutes.
During this time, the yeast begins to feed on the sugar and release carbon dioxide, which creates foam on the surface.
That bubbly foam is your signal that the yeast is alive and will give your dough the lift it needs.
If you’re newer to yeast baking, this same activation step is also used when making a starter.
I walk through that process in detail in how to make sourdough starter with freshly milled flour.
Step 2 – Mix and Knead the Dough
Add the rest of your dough ingredients directly to the yeast mixture: 4⅔ cups freshly milled hard white wheat flour (560 g), ⅓ cup packed light brown sugar (73 g), ½ cup melted butter (113 g), 1 large room-temperature egg, 1 tablespoon vanilla extract, 1½ teaspoons salt, and ½ teaspoon cinnamon.
If using a stand mixer, begin on low speed so the flour doesn’t scatter.
Once the dough begins to come together, increase to medium-low and let the dough hook knead for 8–10 minutes.
You’re looking for a dough that springs back when pressed but doesn’t stick to your hands.
If kneading by hand, turn the dough onto a floured surface.
Use the heel of your hand to push the dough away from you, then fold it back over itself, turn slightly, and repeat.
Continue this rhythm until the dough feels elastic and smooth.
This steady kneading builds gluten, giving your rolls the structure they need to rise high and stay soft.
This same dough texture cue applies to other enriched doughs, including sugar cookies made with fresh flour.
Step 3 – First Rise (Let Dough Double)
Lightly oil a large bowl and place your dough inside, turning it once so all sides get a thin coat of oil.
This prevents the surface from drying out.
Cover the bowl with a clean towel or plastic wrap and set it in a warm, draft-free spot.
Let the dough rise for 1½ to 2 hours, or until doubled in size.
When it’s ready, the dough should feel airy and leave a small indentation when pressed gently with your finger.
Step 4 – Roll Out the Dough
Dust your work surface with flour and turn out the risen dough.
Use a rolling pin to shape it into a 12×24-inch rectangle. Try to keep the thickness even – this ensures the rolls bake uniformly.
A rectangle that’s too thin may cause gaps in the filling, while one that’s too thick will make it harder to roll tightly.
If you enjoy baking pies, this technique carries over nicely to my best flaky pie crust recipe, which also benefits from gentle handling and even rolling.
Step 5 – Add the Cinnamon Filling and Roll Up
Spread 6 tablespoons of very soft butter (85 g) evenly over the surface of the dough, stopping ½ inch before one long edge.
This unbuttered strip will help seal the roll when you’re done.
If your butter isn’t soft enough, microwave it in short 5-second bursts until it’s spreadable.
In a small bowl, stir together ½ cup brown sugar (110 g) and 1½ tablespoons cinnamon.
Sprinkle this mixture evenly over the buttered surface.
The sugar should lightly coat every inch so each roll has consistent sweetness and spice.
Starting from the long edge opposite the unbuttered strip, roll the dough up tightly into a log.
Work slowly to keep the log firm and even – this helps create defined swirls in each roll.
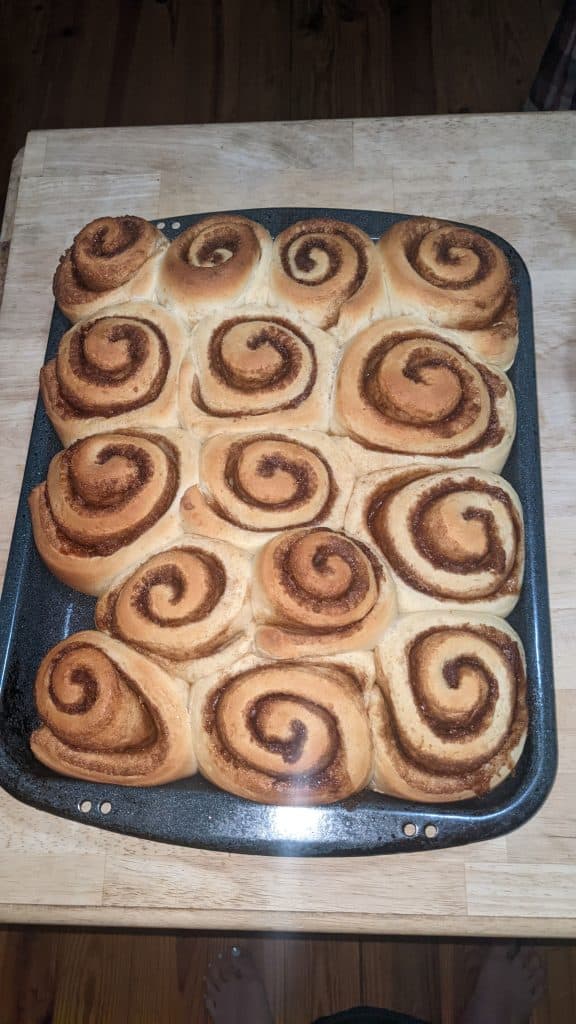
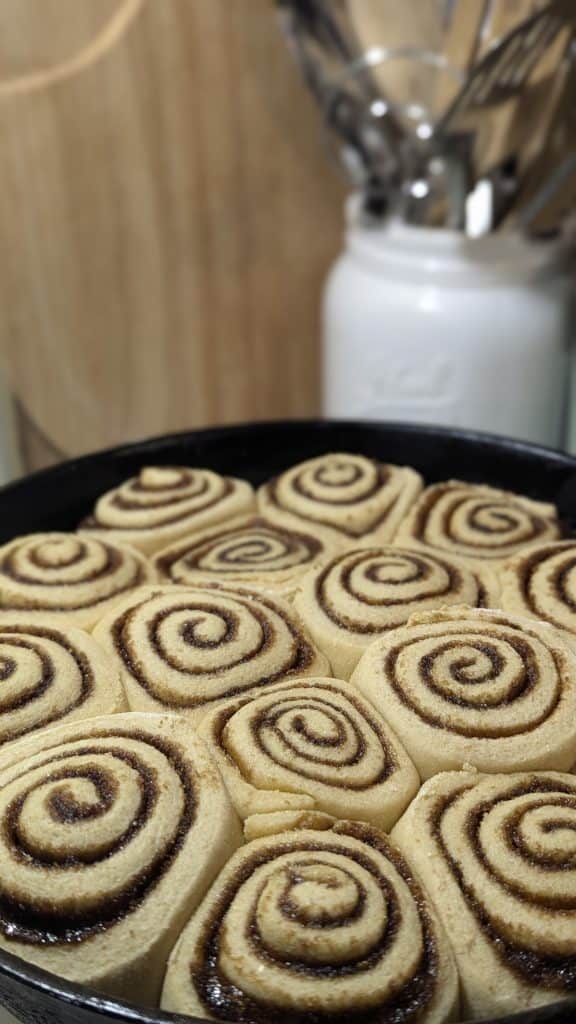
Step 6 – Slice Into Rolls
Use a sharp serrated knife or unflavored dental floss to cut the log into 12 equal pieces, about 2 inches wide each.
The floss trick works especially well: slide the floss under the log, cross the ends over the top, and pull.
It slices cleanly through the dough without flattening the spirals.
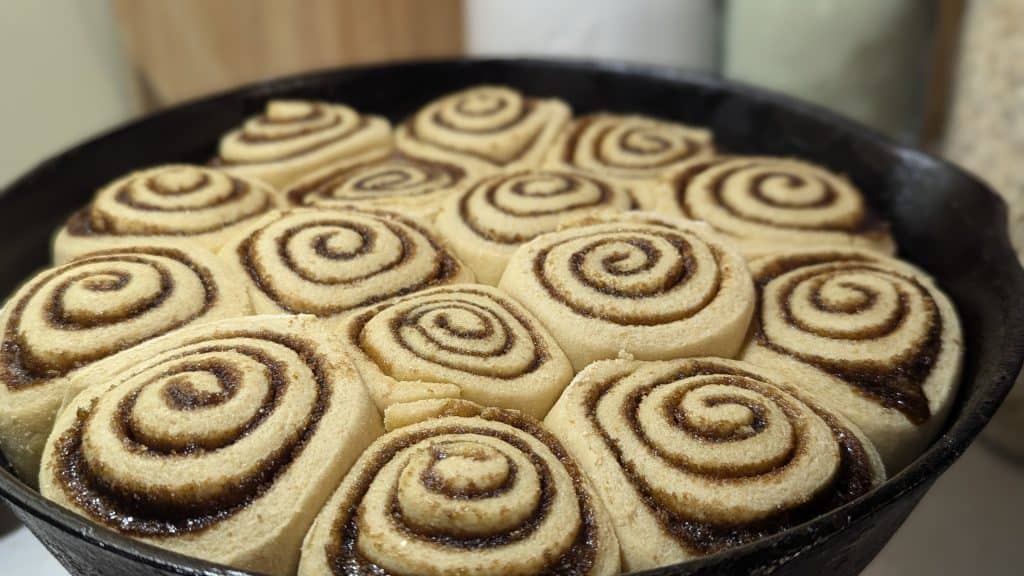
Place the rolls, cut side down, evenly spaced in a greased 9×13-inch baking pan.
Step 7 – Second Rise for Fluffy Texture
Cover the pan loosely with a towel or plastic wrap.
Let the rolls rise in a warm place until almost doubled in size, about 1 hour.
They should look noticeably fuller and feel soft and airy when gently pressed.
Meanwhile, preheat your oven to 350°F (175°C) so it’s ready when the rolls are.
Step 8 – Bake Until Golden
Remove the cover and place the rolls in the oven.
Bake for 20–25 minutes, or until the tops are golden brown and the centers are fully baked.
If you’re unsure, a thermometer inserted into the center of a roll should read around 190°F (88°C).
Transfer the pan to a wire rack to cool slightly before glazing.
Step 9 – Make the Cream Cheese Glaze
While the rolls are in the oven, prepare the glaze.
In a medium bowl, beat together 4 ounces cream cheese (113 g), 2 tablespoons softened butter, 1 teaspoon vanilla extract, and a pinch of salt until smooth and creamy.
Sift in 2 cups powdered sugar (240 g) and beat on low until incorporated.
Add 1–2 tablespoons milk, a little at a time, until the glaze is thick yet spreadable.
It should coat a spoon but still drip slowly when lifted.
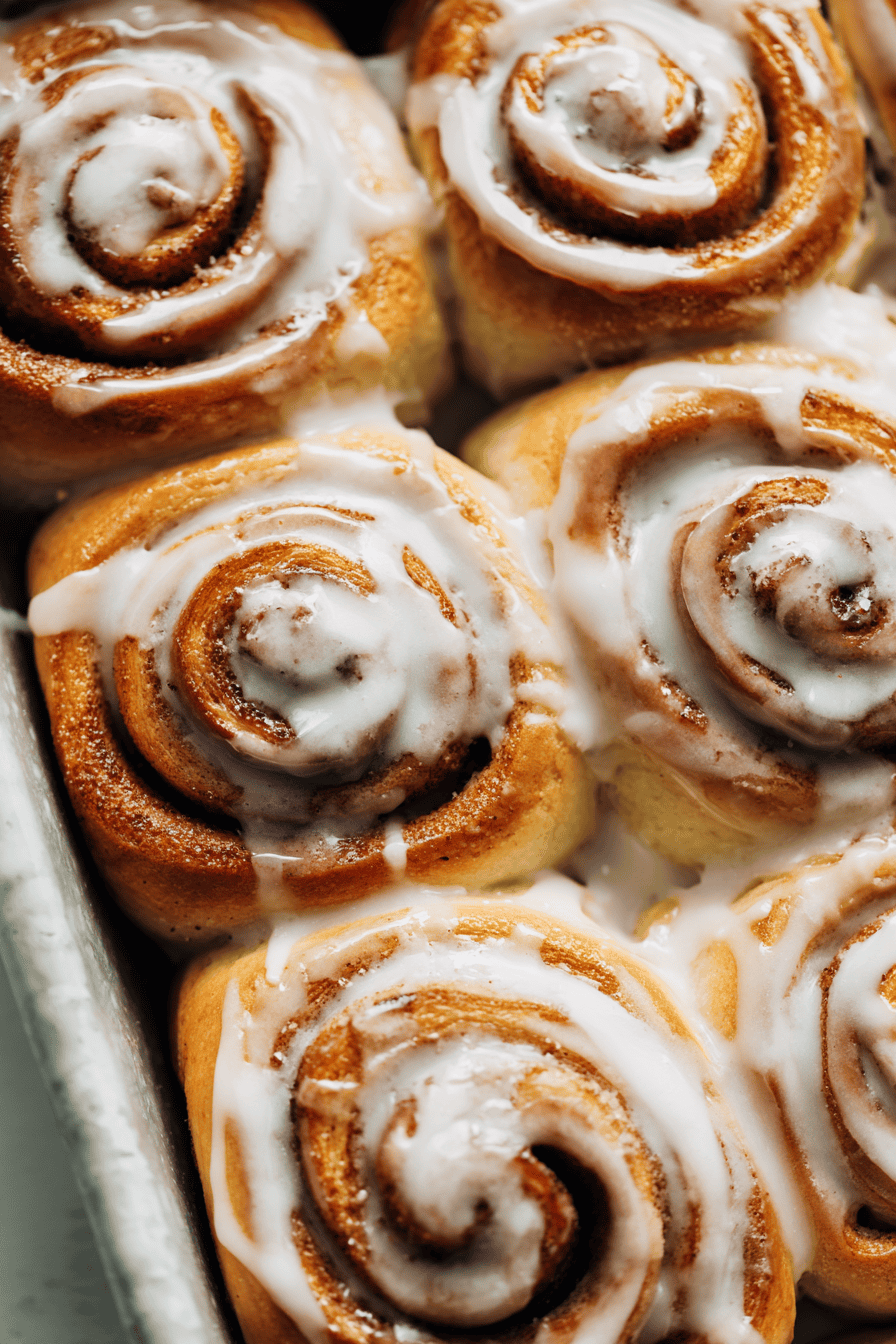
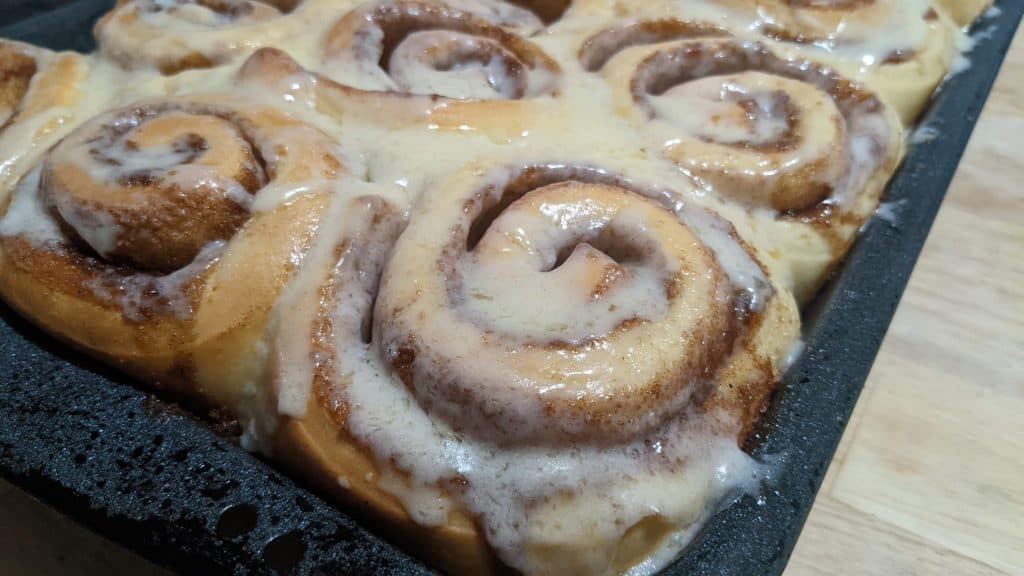
Step 10 – Glaze and Serve Warm
Once the rolls come out of the oven, spread about one-third of the glaze over them immediately.
The heat will melt it slightly, creating a glossy layer that seeps into the spirals.
Let the rolls cool for about 5 minutes, then spread the rest of the glaze evenly across the top.
Serve the rolls warm, when the dough is soft and the glaze is creamy.
They’re at their very best fresh from the oven, but still enjoyable later when stored properly.
Expert Tips for Making Cinnamon Rolls
Keep these tips in mind to ensure your rolls come out light, golden, and consistently delicious.
- Roll the dough evenly: Aim for a 12×24-inch rectangle with consistent thickness. If the dough is uneven, some rolls will bake faster than others.
- Leave a border for sealing: When spreading the butter and sugar filling, stop about ½ inch from one long edge. This bare strip helps the log seal tightly so the rolls don’t unravel in the oven.
- Tight but gentle rolling: Roll the dough log firmly to create clear spirals, but avoid pressing so hard that the filling squeezes out.
- Slice cleanly for even rolls: A serrated knife works, but dental floss is the best tool for cutting neat, round pieces without flattening the swirls.
- Check doneness in the center: The outer rolls may look golden before the middle is done. Insert a thermometer into the center roll – it should read 190°F (88°C) for a fully baked pan.
- Glaze in two stages: Spreading glaze over the hot rolls lets some melt into the layers. Adding the rest after a short cooling period creates a creamy top layer. This two-step method gives you the best flavor and texture.
- Plan ahead for morning baking: Make the rolls up to the slicing stage the night before. Cover the pan and refrigerate overnight, then let them rise at room temperature for about an hour in the morning before baking.
And if you’re in the mood for another classic comfort bake, don’t miss this best shoofly pie you’ll ever taste, which also shines with fresh flour.
Storing and Reheating Homemade Cinnamon Rolls
Cinnamon rolls are at their best when eaten warm out of the oven, but they can still be enjoyed later if stored and reheated correctly.
Here’s how to keep them soft and flavorful.
Short-Term Storage
- Keep leftover rolls in an airtight container at room temperature for up to 2 days.
- If your kitchen is warm, you can also refrigerate them to keep the glaze stable. Just let them come back to room temperature before serving, or reheat gently.
Refrigeration
- Place rolls in a sealed container and refrigerate for up to 4–5 days.
- To reheat, warm individual rolls in the microwave for 20–25 seconds, or cover a pan of rolls with foil and place in a 300°F oven for 10–12 minutes. This helps restore their softness without drying them out.
Freezing Options
- Before baking: After shaping and placing in the pan, cover tightly with plastic wrap and foil. Freeze for up to 2 months. When ready, thaw overnight in the fridge, let rise at room temperature until puffy, and bake as directed.
- After baking: Allow baked rolls to cool completely, then wrap each one individually in plastic wrap and place in a freezer-safe bag. Freeze for up to 2 months. To reheat, thaw at room temperature and warm in the oven before glazing.
Best Way to Refresh Rolls
- A short reheat in the microwave or oven helps soften the crumb and bring back the fresh-baked taste. Add a drizzle of leftover glaze or a dusting of powdered sugar to brighten them up if needed.
Nutrition Benefits of Baking With Fresh Milled Flour
Cinnamon rolls may be a sweet bake, but using freshly milled flour adds real value beyond taste.
Instead of working with refined flour that’s been stripped down, you’re baking with the grain in its complete form.
- More fiber in every roll: Because the bran and germ are intact, each serving provides more fiber to support digestion and satiety.
- Rich in natural vitamins and minerals: Freshly milled wheat retains B vitamins for energy, vitamin E for cell health, and minerals like iron, magnesium, and zinc.
- Sustained energy from complex carbs: Unlike refined flour, fresh milled flour releases energy more gradually, helping you feel satisfied longer after enjoying a roll.
- Better flavor and freshness: The natural oils in the grain give the dough a nutty sweetness that complements the cinnamon filling. This flavor fades in pre-milled flour, but stays vibrant when you grind and use it fresh.
While cinnamon rolls remain a treat, choosing fresh milled flour gives them a wholesome edge.
You get a classic recipe with added nourishment – and if you’d like to dive deeper into why fresh milling makes such a difference, check out the big benefits of freshly milled flour.
Bake Perfectly Sweet Cinnamon Rolls With Fresh Milled Flour Today
Cinnamon rolls made with freshly milled flour are soft, golden, and filled with flavor that goes deeper than sweetness.
The process is approachable, the results are consistent, and the difference in taste and nutrition is clear.
Whether you bake them for a weekend breakfast, a holiday treat, or just because you love baking from scratch, this recipe is one to keep close.
Bake a batch, enjoy the process, and share your results.
Have a question or your own tip? Comment down below – I’d love to hear how your cinnamon rolls turned out!
FAQs
Can I prepare the dough the night before?
Yes. After rolling and slicing, place the unbaked rolls in the pan, cover tightly, and refrigerate overnight. Let them sit at room temperature for about an hour the next morning before baking.
Can I make these cinnamon rolls without a stand mixer?
Absolutely. You can knead the dough by hand on a lightly floured surface. It will take about 10 minutes of steady kneading to build enough gluten for a smooth, elastic dough.
Can I use whole milk substitutes?
If you don’t have whole milk, you can use 2% milk or a non-dairy milk like oat or almond. Keep in mind the texture may be slightly different, but the recipe still works well.
How do I keep the filling from leaking out?
Make sure the butter is very soft but not melted, and leave a small border on one long edge of the dough when spreading the filling. Rolling tightly but gently also keeps the filling in place.
Can I use this recipe for mini cinnamon rolls?
Yes. Roll the dough into a smaller rectangle, slice into 24 thinner pieces, and reduce the baking time to about 15–18 minutes. They make a great bite-sized version for gatherings.

Absolutely fantastic! I was afraid my dough was too dense but it baked up perfectly!