
There’s a certain kind of trust little ones have when they take your hand and walk somewhere without knowing where you’re headed. They don’t ask for the whole plan. They just hold on and come along.
That quiet trust sits right at the heart of the story of Abraham and Isaac. It’s a big story, and a tender one, about a father who trusted God even when he didn’t understand, and a God who stepped in and provided just when it was needed most.
So when you’re teaching this story, a craft gives little hands something to do while the truth settles in. Whether you’re a Sunday school teacher, a homeschool mama, a grandparent, or a parent at the kitchen table, these eight ideas are simple to set up and gentle enough for the youngest crafters.
And every one of them comes back to the same sweet promise. God provides.
“And Abraham said, My son, God will provide himself a lamb for a burnt offering: so they went both of them together.” — Genesis 22:8
8 charming abraham and isaac crafts for kids
Here are eight simple crafts to make together, walking through the story from the son God promised all the way to the ram God provided. So pick one for a single lesson, or work through several as you tell the story over a few days.
1. Cotton ball ram craft
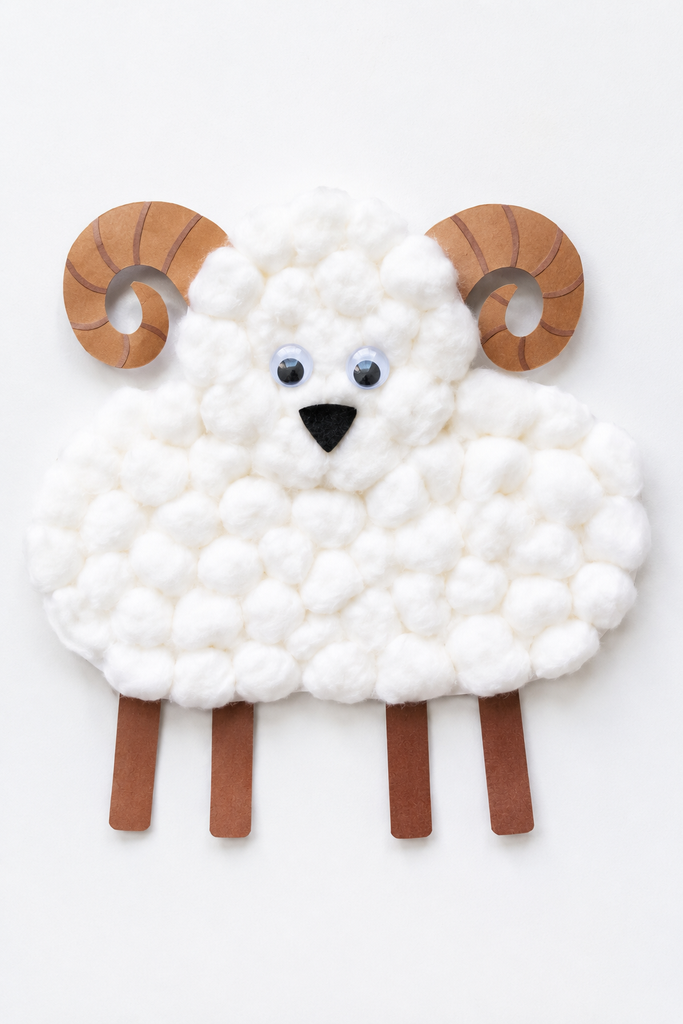
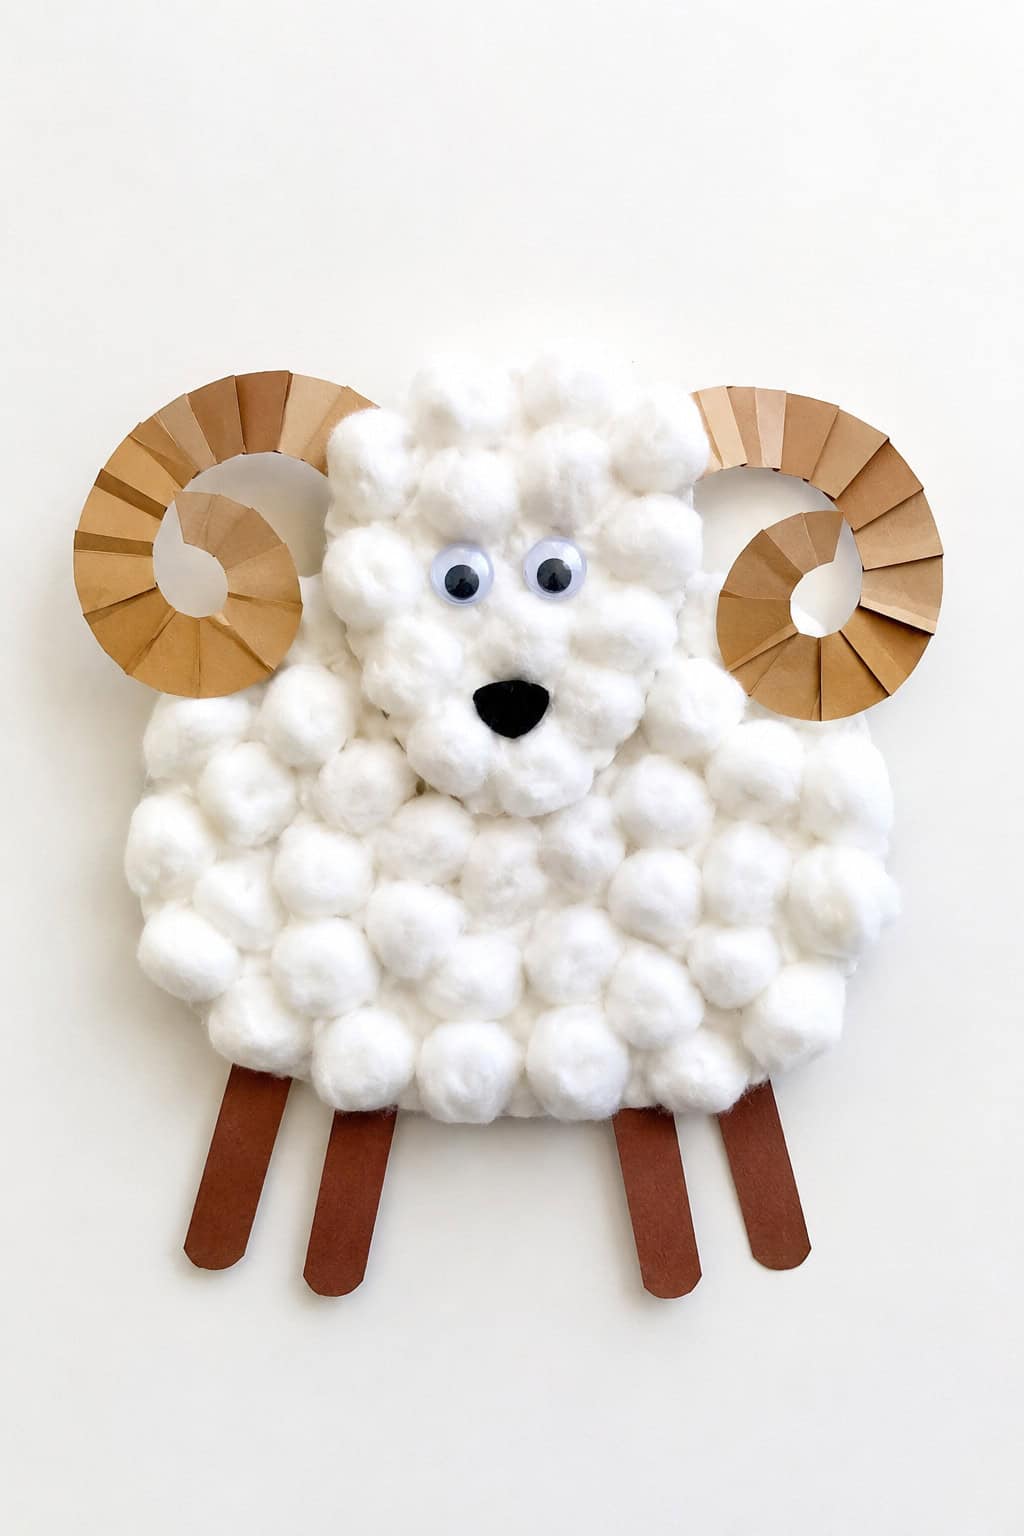
A soft, fluffy ram made from cotton balls is the sweetest way to picture the one God provided in the thicket. It comes together quickly, so it makes a gentle starting place for little hands.
- Start with a ram shape on cardstock, either printed from a template or drawn as a simple sheep body.
- Run a thin line of glue across the body and press cotton balls on one at a time, until the whole thing is soft and white.
- Cut two curled horns from tan or brown paper and glue one to each side of the head.
- Add a little face with two googly eyes and a small black nose, then glue four thin paper legs underneath.
- Let it dry flat so the cotton stays put.
This is the ram that took Isaac’s place on the altar, the whole heart of the story in one fluffy little craft. It pairs nicely with our cross crafts for kids if you want to carry that same idea a little further.
2. 3D Abraham and Isaac scene
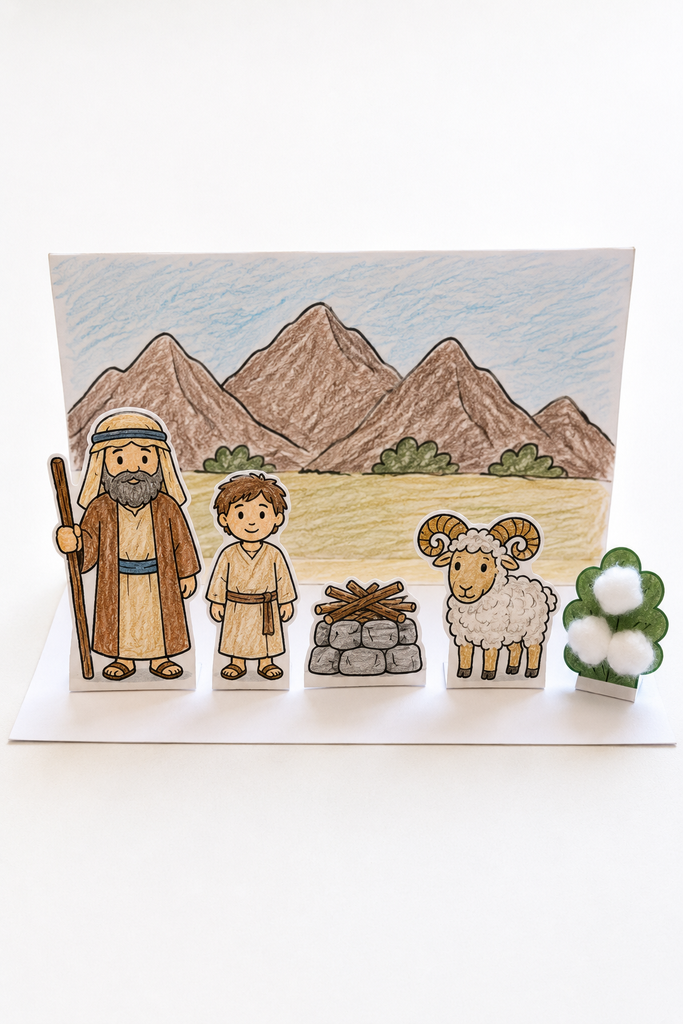
A little stand-up scene lets children build the mountain, the altar, and the figures, then move the pieces around as they tell the story back.
- Start with a folded piece of cardstock that stands up like a little card, and draw or print a mountain and an altar across the back.
- Color Abraham, Isaac, the altar, and the ram on a separate sheet.
- Cut each one out and fold a small tab at the bottom so the figures stand on their own.
- Glue the tabs onto the base in front of the mountain, spacing them out like a little scene.
- Tuck a scrap of green paper or a few cotton balls off to one side for the bush where the ram was caught.
Little ones love that they can reach in and move the pieces around. Once it’s built, the scene becomes a quiet way for them to tell the story back to you in their own words.
3. Popsicle-stick altar
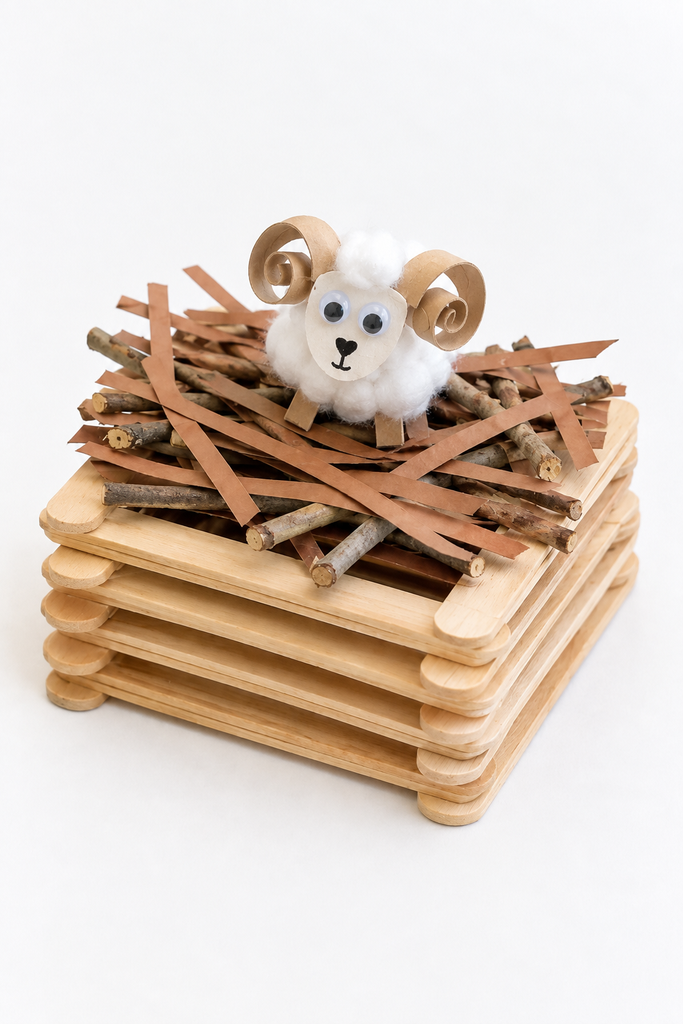
A small altar built from craft sticks gives children something solid to picture when you talk about the one Abraham built on the mountain.
- Lay two craft sticks down parallel to each other, then two more across them, building up in a square stack the way you’d build a little log cabin.
- Add a dab of glue at each corner as you go, and let each layer set before you add the next so it stays sturdy.
- Fill the top with a few small twigs or thin strips of brown paper for the wood.
- Set a little cotton-ball ram with curled paper horns on top, or tuck it in beside the altar.
- Let the whole thing dry flat before you stand it up.
This one is a good fit for slightly older hands, since the stacking and gluing take a bit of patience. It gives you a natural moment to talk about what an altar was and why Abraham built one.
4. “God provides” wheel
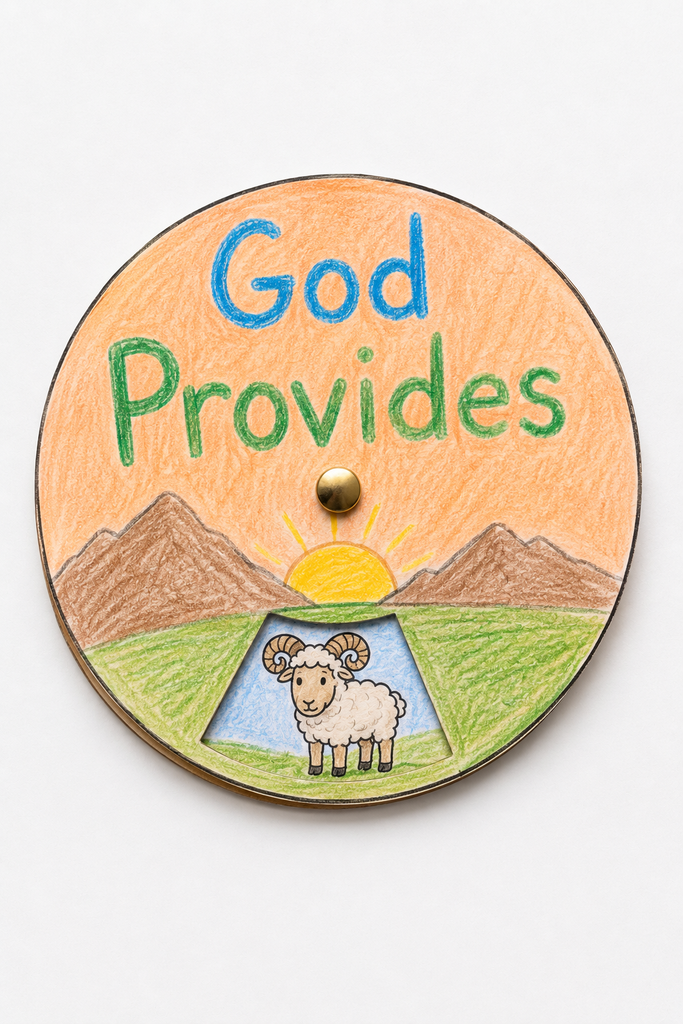
A spinning wheel with a little window reveals the story one picture at a time, so children can walk through it with their hands.
- Cut two paper circles the same size.
- On the bottom circle, divide it into four sections and draw a small picture in each, going around the story: Abraham, Isaac, the altar, and the ram.
- On the top circle, cut a small window near the edge, big enough to show one picture at a time.
- Write the words “God Provides” across the front of the top circle.
- Stack the top over the bottom and push a paper fastener through both centers so the top spins freely.
As the little ones turn the wheel, each picture appears in the window one at a time. It’s a simple way to let them walk through the story while they say each part out loud.
5. Abraham and Isaac spinner wheel
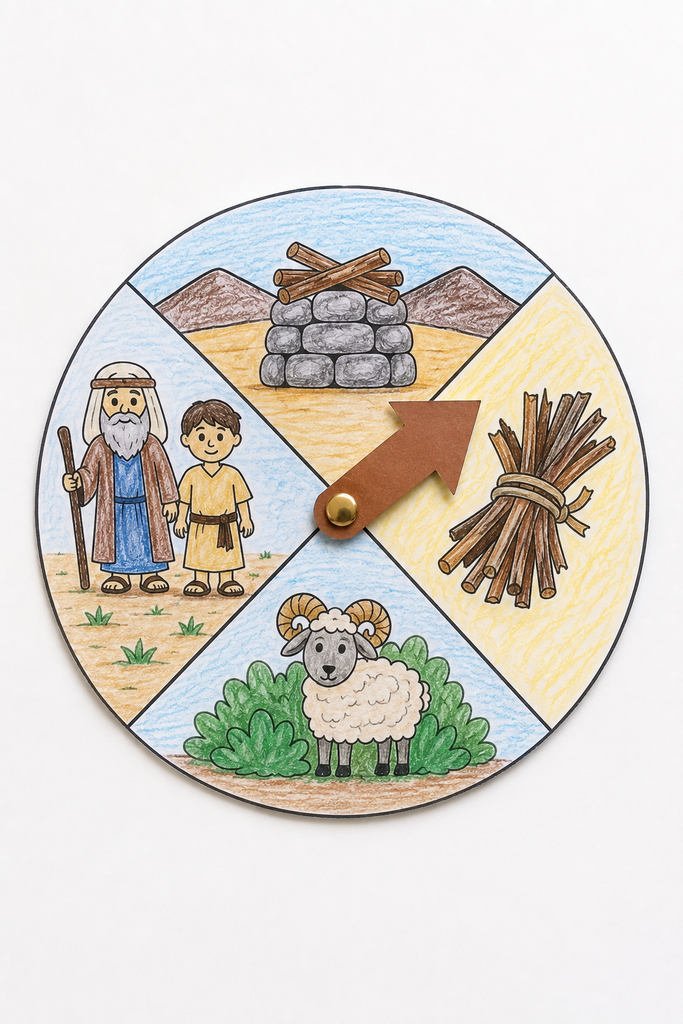
This wheel lays the whole story out in a circle with a pointer, so a gentle spin lands on one part for the child to tell.
- Start with one large paper circle and divide it into wedges, like slices of a pie.
- Color a piece of the story into each wedge, moving around in order: Abraham and Isaac walking together, the wood for the fire, the altar on the mountain, and the ram caught in the bush.
- Cut a small arrow from cardstock.
- Push a paper fastener through the arrow and the center of the circle so the arrow spins around freely.
- Give it a gentle spin and let the little one tell the part of the story it lands on.
Where the “God provides” wheel reveals one picture at a time through a window, this one lays the whole story out in a circle with a pointer. It works well as a review after you’ve read the story once through.
6. Abraham and Isaac coloring craft
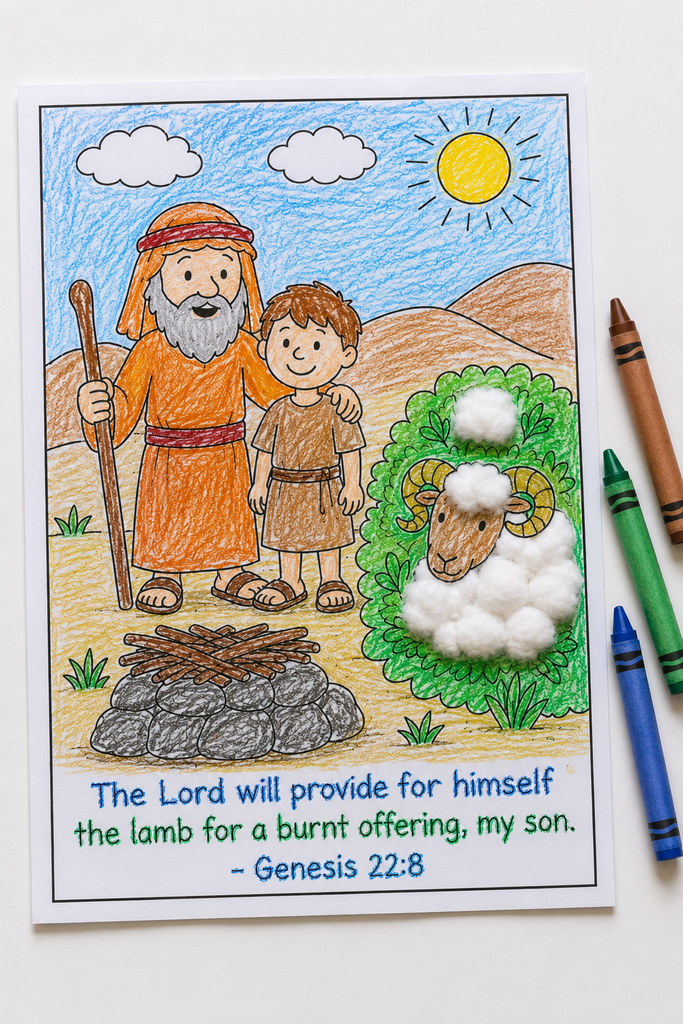
Coloring is often the gentlest way in for the very youngest crafters, and a few little add-ons turn a flat page into something they’ll want to keep.
- Start with a printed coloring page of Abraham, Isaac, and the ram.
- Let the little ones color the whole scene however they like, with no wrong way to do it.
- Glue a cotton ball or two onto the ram and the bush so they turn soft and fluffy.
- If there’s a verse printed along the bottom, have them trace over the letters with a crayon.
- Tape it up somewhere they’ll see it through the week.
Coloring gives you time to talk while their hands are busy. If your little ones like coloring the words as much as the pictures, our simple bible verse crafts are a lovely next stop.
7. Baby Isaac craft
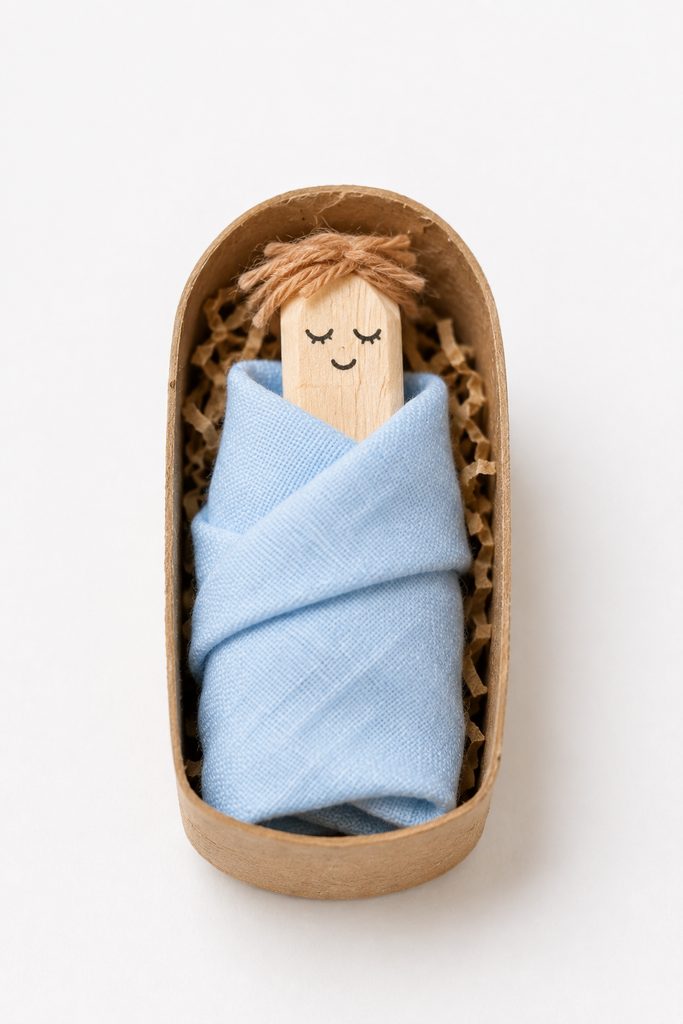
This craft goes right back to the beginning of the story, to the son God promised Abraham and Sarah long before the mountain.
- Start with a wooden clothespin or a small paper cutout for the baby.
- Draw a little sleeping face near the top with a marker.
- Wrap a scrap of soft fabric or a folded paper blanket around the body and tuck or glue it snug.
- Add a few wisps of yarn for hair.
- Rest baby Isaac in a little bed made from a folded strip of paper or half a cardboard tube.
It’s a sweet reminder that Isaac was a gift from the very start. And it leads naturally into the next chapter of the family with our jacob and esau crafts, since Isaac grew up to have sons of his own.
8. Isaac sacrifice craft for kids
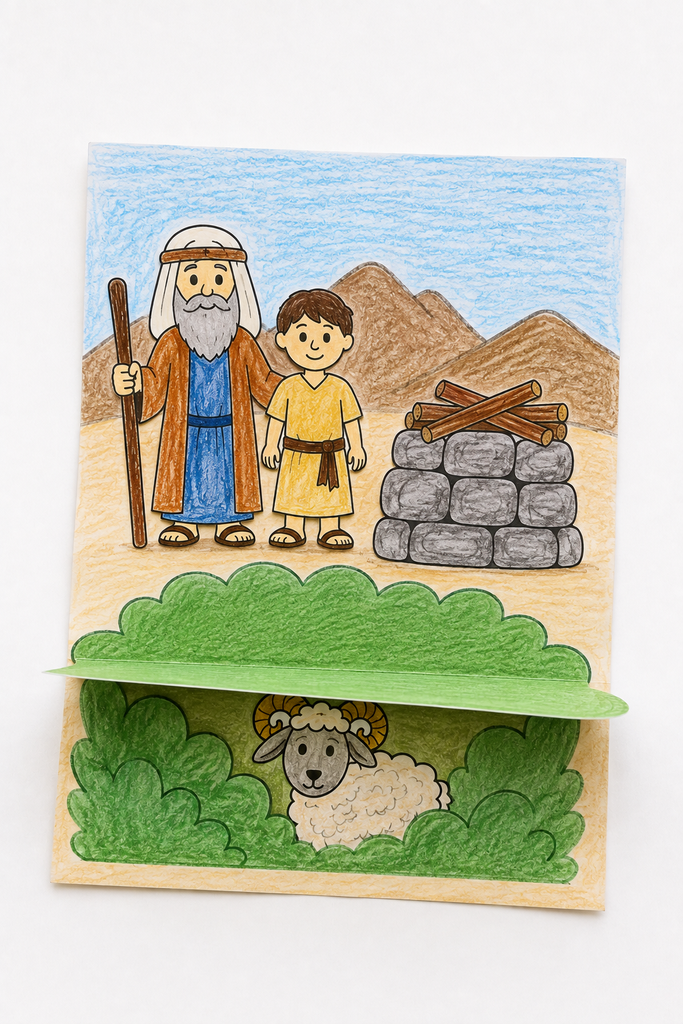
A gentle lift-the-flap craft keeps the tender turn of the story soft for young ones, letting them find the ram just as Abraham did.
- Start with a sheet showing Abraham, Isaac, and the altar, either printed or drawn.
- Let the little ones color the scene.
- Cut out a separate little bush shape, and on the page underneath where it will sit, draw a ram tucked into the branches.
- Glue only the top edge of the bush over the ram, so it lifts up like a flap.
- Let the little one lift the bush to find the ram hiding there, and say the part where God provides.
This is the tender turn in the story, the moment God stops Abraham and shows him the ram. The surprise lands the same way it did on the mountain, with relief and a provided way out.
the story behind these crafts
Long before this day on the mountain, God had promised Abraham and Sarah a son, and in their old age that promise came true in Isaac. So when God later asked Abraham to offer Isaac up on a mountain, He was asking him to trust with the very thing he loved most. Abraham obeyed, and he and Isaac walked up together, carrying the wood for the altar.
But just as Abraham raised his hand, God stopped him and pointed him to a ram caught nearby in the bushes. God provided the offering Himself, and Isaac was spared. It’s a story about trusting God even when we can’t see the whole plan, and it sits alongside other early stories your little ones may know, like our cain and abel crafts and our jonah and the whale crafts.
simple supplies to keep on hand
Most of these crafts lean on the same handful of things, so you won’t need much. Cardstock and plain paper do the heavy lifting, along with crayons or markers, safety scissors, and a good glue stick. A bag of cotton balls covers the ram and the fluffy bush, and a few paper fasteners take care of both spinning wheels.
From there, it’s little extras you likely already have. Craft sticks for the altar, a scrap of yarn or fabric for baby Isaac’s blanket, and a clothespin or two if you’ve got them in the laundry room. Googly eyes are a nice touch on the ram, though a dot of marker works just as well.
Most of it is probably already sitting in your craft drawer, and anything missing is easy to swap for something similar. The story matters far more than getting the supply list exactly right.
tips for crafting with little ones
Do a bit of prep before you gather the children. Print any templates ahead of time, cut the trickier shapes for the youngest hands, and set the supplies out where everyone can reach them. A little setup keeps the craft calm instead of hurried.
Then let the story lead. Tell it slowly as their hands work, and pause on the ram, since that’s where the whole thing turns. If a child wants to color Isaac’s coat purple or give the ram three horns, let them. The point isn’t a perfect craft. It’s the truth sinking in while they work, and the memory of making it with you.
And keep it gentle. This is a heavy story if you tell it the hard way, so lean into the trust and the rescue rather than the fear. If you’re gathering a few faith crafts for a lesson, our sweet ruth and naomi crafts make a warm companion for another day.
let this story settle in as they craft
So pick the one that fits your supplies and the ages around your table. You don’t need to do all eight. Just one good idea and a little glue is plenty for the truth to find its way in.
Let the little ones make something with their hands while you tell them how Abraham trusted God, and how God provided a ram in the thicket right when it was needed. That bit of truth tends to stay with them far longer than the craft itself, and years from now they may not remember the cotton balls, but they’ll remember that God provides.
And one more thing before you go. If you and your little ones make any of these, I’d love to see how they turned out. Leave a photo in the comments when you get a chance, or send one our way, and yours might be featured right here on the site to encourage other families teaching this story at home. There’s no pressure at all. Just a friendly little invitation to share if you’d like.
So glad you’re here.
Warmly,
Betty
Get the FREE 3D Turkey Craft
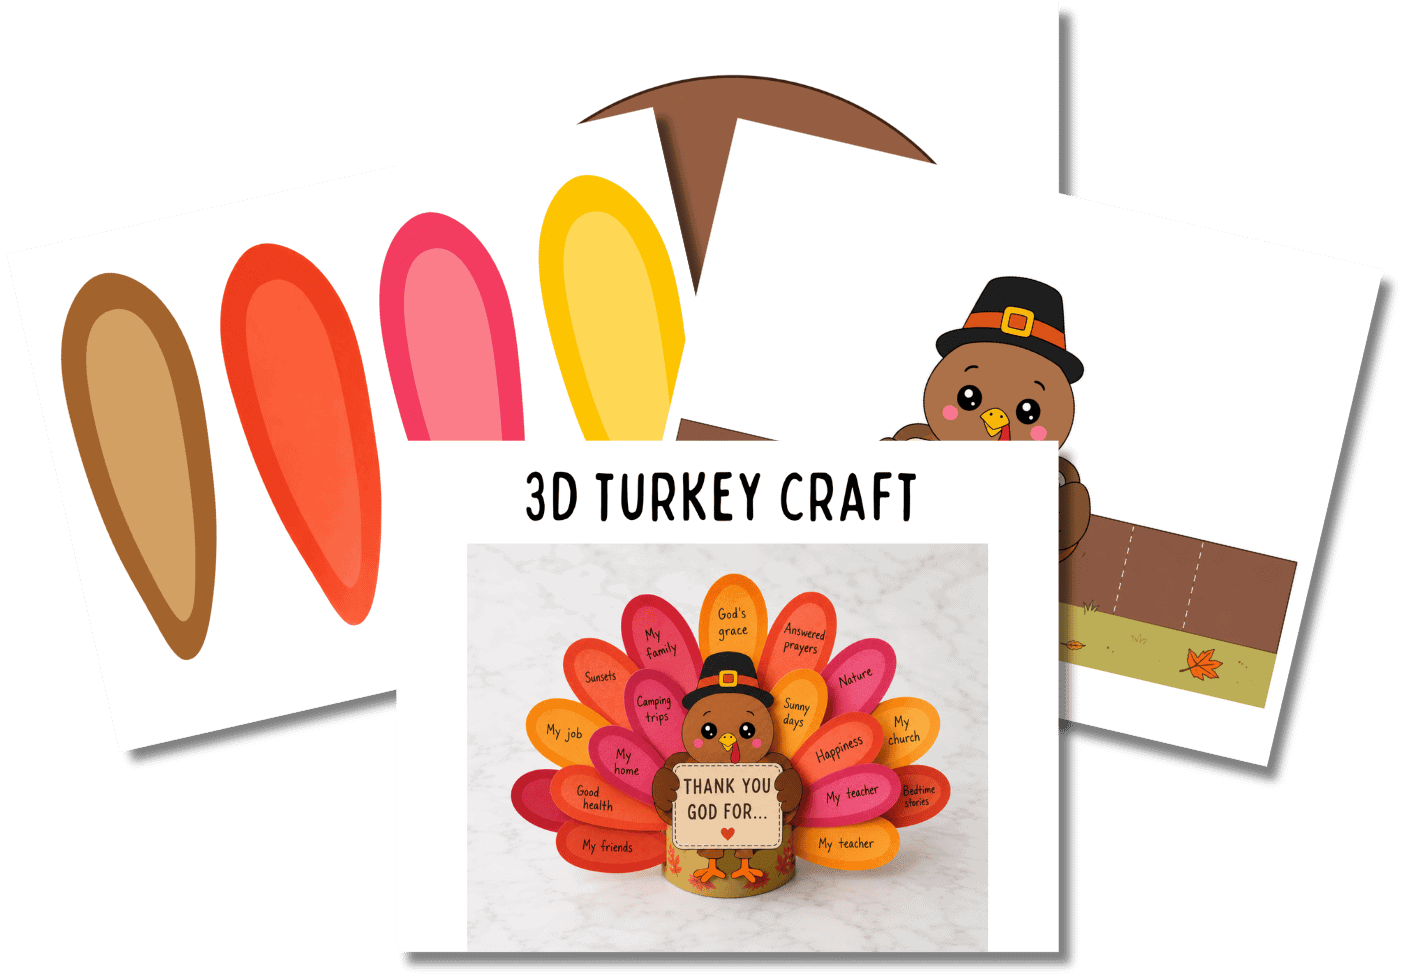
Don’t let your kids just hear that they’re blessed—help them name their blessings one by one.
With this free 3D turkey craft, kids color the turkey and his feathers, then write one thing they’re thankful to God for on each feather. The body wraps around into a base so the turkey stands up on his own, holding a sign that reads “Thank You God for…”
frequently asked questions
what age are abraham and isaac crafts best for?
Most of these work well for ages three through ten. The coloring craft, cotton ball ram, and baby Isaac are lovely for toddlers and preschoolers with a little help, while the popsicle-stick altar and the spinner wheels suit older children who can handle cutting and gluing on their own.
what is the main lesson of the abraham and isaac story?
The heart of it is trust. Abraham trusted God even when he didn’t understand what was being asked, and God provided a ram so Isaac was spared. The simplest way to say it to a child is that God provides, and we can trust Him even when we can’t see the whole plan.
which bible verse goes with these crafts?
Genesis 22:8 fits beautifully, where Abraham tells Isaac that God will provide the lamb. Genesis 22:14 works too, where Abraham names the place “The Lord Will Provide.” Either one can be printed small and traced onto the coloring craft.
what can i use instead of cotton balls for the ram?
If you’re out of cotton balls, small torn pieces of white paper, cotton rounds pulled apart, or even white pom-poms give the same soft, woolly look. A swirl of white paint or white crayon works in a pinch for the very youngest crafters.
how long do these crafts take?
Most come together in fifteen to twenty-five minutes, depending on the age of the child and how much coloring they want to do. The coloring craft and cotton ball ram are the quickest, while the altar and the wheels take a little longer with the extra cutting and assembling.