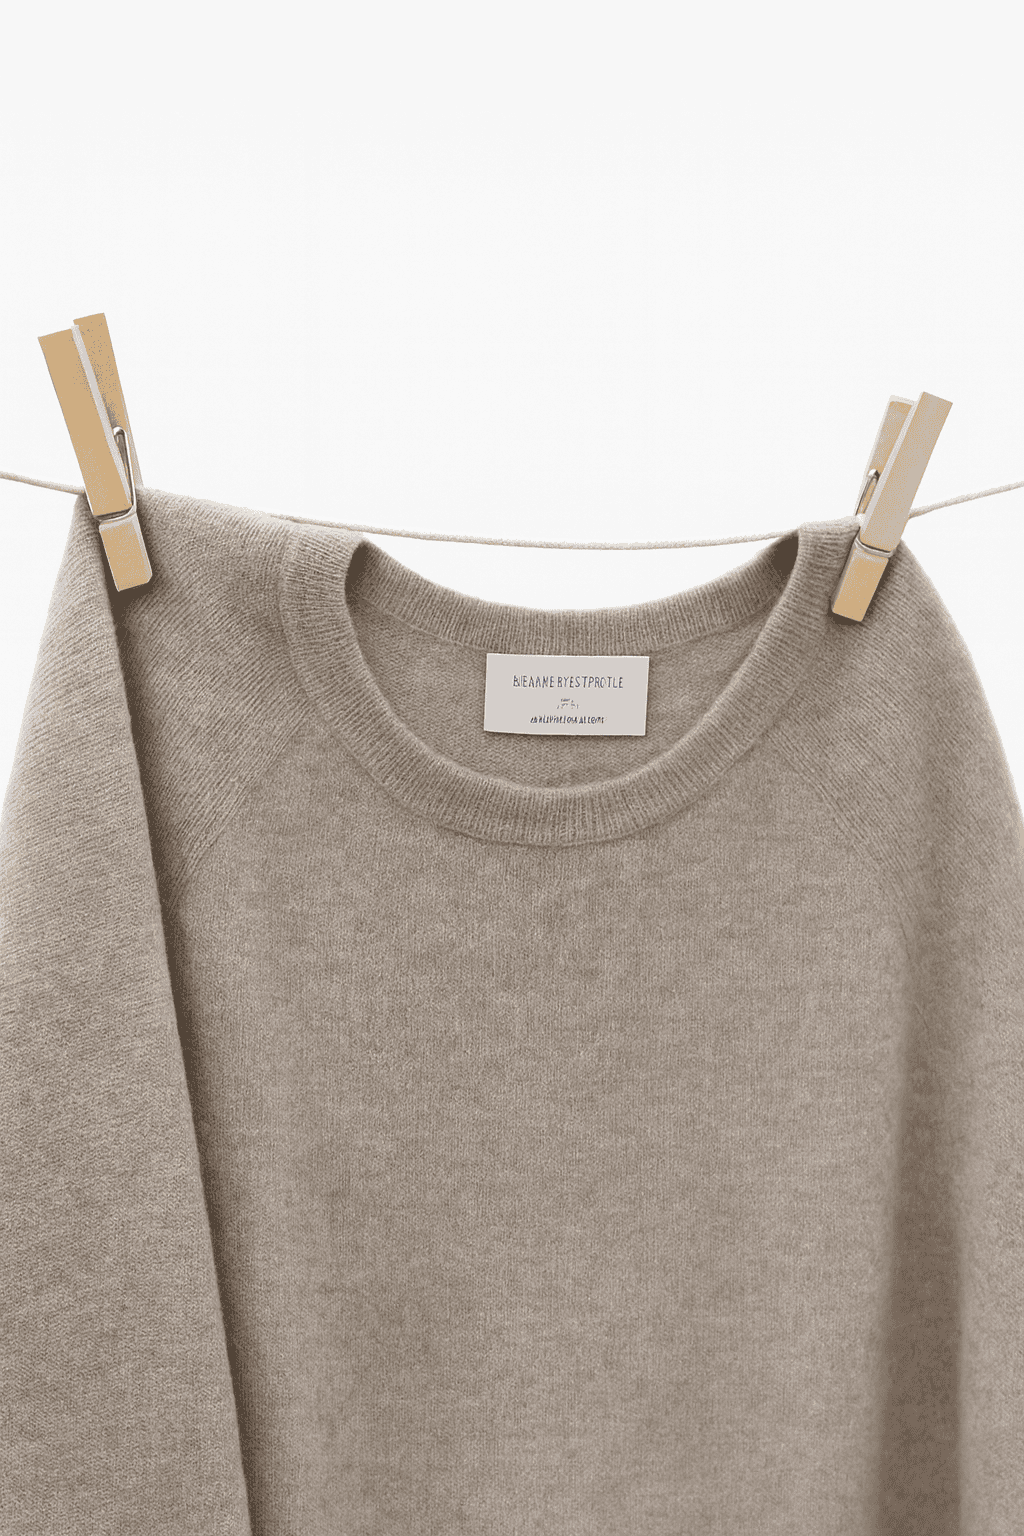
Wool has always been a trusted fabric – warm in winter, breathable in summer, and strong enough to last for years.
It’s one of the most versatile natural fibers you can work with, making it ideal for everything from tailored jackets to cozy skirts and everyday garments.
But if you’re new to sewing with wool, it can feel like stepping into unfamiliar territory.
The thing is, wool is far more approachable than many beginners expect.
In this article, I’ll cover step by step through the essential process of sewing with wool: choosing the right type of wool fabric, pre-washing to prepare it, cutting with confidence, and pressing for professional results.
By the end, you’ll not only know the “rules of wool,” but you’ll also feel capable of handling this beautiful fabric with ease.
If you’re brand new to sewing, you might also want to check out this guide on how to start sewing as a beginner.
Choosing Wool Fabric for Sewing Projects
Wool comes in many forms, and each one behaves differently under the needle.
Selecting the right type of wool at the start makes every other step (pre-washing, cutting, and pressing) more predictable and enjoyable.
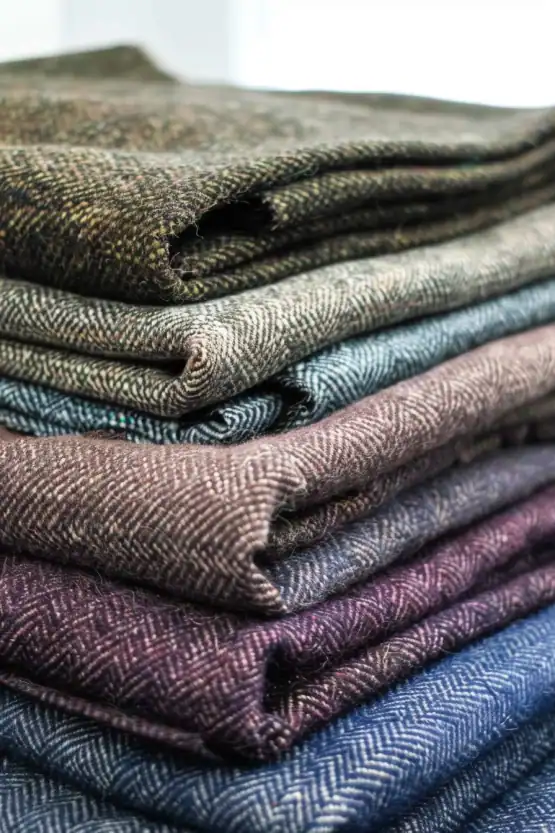
Types of Wool Fabrics (and Their Best Uses)
- Wool Flannel – Soft, brushed surface, medium weight. Perfect for skirts, shirts, and dresses with gentle drape.
- Tweed – Firm and textured with a rustic look. Ideal for structured jackets, vests, and skirts that hold their shape.
- Crepe Wool – Lightweight with a pebbled texture and excellent drape. Suited for blouses, dresses, or softly flowing garments.
- Boiled Wool – Thick, felted texture that resists fraying. Excellent for coats, capes, and simple outerwear without lining.
- Suiting Wool – Smooth finish, tightly woven, and versatile. Common in trousers, blazers, and tailored garments.
- Wool Felt – Dense and non-woven. Does not fray, making it useful for crafts, accessories, and appliqué.
How to Choose Wool as a Beginner
If you’re just starting, look for medium-weight wool fabrics like flannel or stable suiting wool.
These are easier to cut and press, and they won’t slip around on the cutting table.
Save delicate fabrics like crepe or heavy coatings like melton for later projects once you’re more comfortable.
What to Look For When Buying Wool
- Fiber Content – 100% wool is warm and breathable, but blends (with silk, cashmere, or polyester) can alter drape and reduce shrinkage.
- Weave Density – Hold the fabric up to the light; a tight weave resists fraying, while a looser weave needs extra care.
- Drape Test – Let the fabric fall over your arm. A stiffer wool suits coats and structured pieces, while softer drape works well for dresses or skirts.
- Nap Awareness – Run your hand across the fabric. If it looks or feels different in one direction, the fabric has nap. All pattern pieces must be cut in the same direction for a consistent finish.
Pro Tip: Wool fabrics with nap, plaids, or stripes may require more fabric to match patterns correctly. Adding a quarter to half a yard to your purchase ensures you won’t run short.
For more insight into understanding fiber content and fabric characteristics, check out my post on how to read fabric labels like a pro.
Pre-Washing and Preparing Wool Fabric Before Sewing
Before your scissors touch the fabric, wool needs a little preparation.
Pre-washing (or pre-shrinking) ensures your finished garment will keep its size, shape, and texture for years to come.
Wool fibers respond strongly to heat, moisture, and movement, so treating the fabric gently at this stage makes all the difference.
Why You Should Always Pre-Wash Wool
- Prevents Shrinkage – Wool can shrink significantly after its first exposure to heat or moisture. Preparing it now avoids surprises later.
- Removes Finishing Treatments – Many wools are treated with sizing, dust, or finishes that can alter drape. Pre-washing evens this out.
- Sets the Fabric for Sewing – Once pre-shrunk, wool holds stitches and pressing more consistently.
Methods for Pre-Washing Wool
The method you choose depends on the type of wool fabric, the final garment, and how you plan to care for it long-term. A tailored wool suit destined for dry cleaning should be prepared differently than a sturdy wool flannel skirt you’ll hand wash at home.
Here are the most reliable approaches:
1. Steam Shrinking (Best for Most Wools)
- Spread wool on your ironing board or a clean towel.
- Hover a steam iron or garment steamer over the fabric, releasing steam without pressing directly.
- Move across the fabric in sections, letting steam penetrate deeply.
- Allow the fabric to cool flat before folding.
Tips: Test a swatch first, never wring wool, measure before and after washing, and let fabric rest flat for 24 hours before cutting.
For more ways to identify and test fabrics, you might find my guide on how to do a burn test for natural fabrics useful.
2. Professional Dry Cleaning
- Ideal for suiting wool, delicate crepes, or expensive fabrics.
- Ask for “pre-shrinking” service when you drop off fabric.
- Useful if you plan to always dry clean the finished garment.
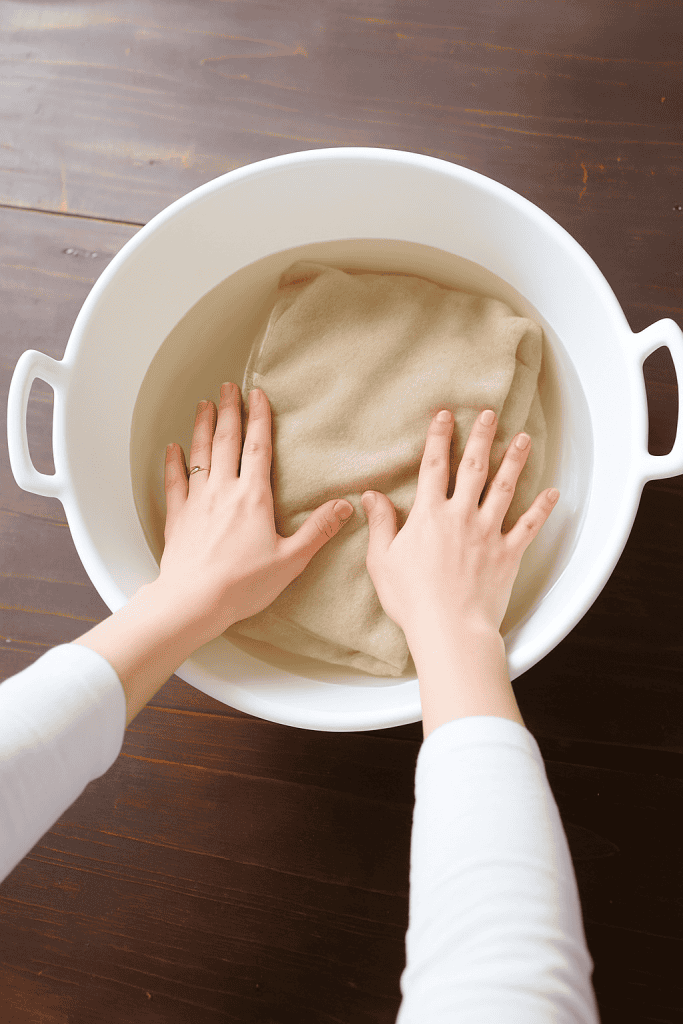
3. Gentle Hand Washing (For Sturdy Wools Only)
- Fill a basin with lukewarm water and add a mild wool detergent.
- Submerge fabric without agitation – do not twist or rub.
- After 10–15 minutes, drain water and press fabric gently between hands to remove excess.
- Roll fabric in a clean towel to absorb moisture.
- Lay flat on a drying rack or towel, reshaping fabric edges.
Essential Tips for Pre-Washing Wool
- Always test a swatch first to check shrinkage and colorfastness.
- Never wring or scrub wool – it weakens fibers and distorts shape.
- Measure before and after washing to track shrinkage; adjust your pattern if needed.
- Give fabric a rest: after drying, let wool relax flat for 24 hours before cutting.
How to Cut Wool Fabric the Right Way

Once your wool fabric has been pre-washed and rested, it’s time to cut.
Cutting wool requires care and precision because this natural fiber responds differently than cotton or synthetics.
Preparing Wool Before Cutting
- Rest the Fabric – After pre-washing, let wool lay flat for at least 24 hours. This allows fibers to relax back into place.
- Brush or Roll – Use a lint roller or soft fabric brush to remove loose fibers and surface fuzz.
- Check the Grain – Smooth fabric on a large table or cutting mat. Make sure the selvedge edges are aligned and fabric isn’t twisted.
Essential Cutting Tools for Wool
- Sharp Fabric Shears – Long blades give smooth, even cuts through dense fibers.
- Rotary Cutter and Mat – Particularly helpful for plaids or striped wool where precision matters.
- Pattern Weights – Prevent shifting without distorting the fabric (pins can stretch looser weaves).
- Tailor’s Chalk or Wax Pencil – Use light, clear markings that brush off easily.
Laying Out Wool for Cutting
- Consider the Nap – If your fabric has nap, lay all pattern pieces in the same direction to keep the finished garment consistent.
- Plaids and Stripes – Align horizontal lines at key points (waist, hem, shoulder) before pinning or weighting. This creates a seamless look when stitched together.
- Single-Layer Cutting – For thick or bulky wools, cut in a single layer instead of folding. This prevents uneven edges.
Cutting Techniques That Work Best
When cutting wool, think of every movement as purposeful. Use long, confident strokes with your fabric shears instead of short snips.
This creates smooth edges and prevents the jagged look that can happen when blades chew through the fibers.
If you’re using a rotary cutter, keep steady pressure and follow your ruler or pattern edge carefully for crisp, straight lines.
As you cut, stabilize the fabric with your free hand. Wool can shift slightly, especially softer or looser weaves, so keeping one hand flat against the cloth helps it stay in place.
This simple habit reduces errors and keeps pattern pieces true to size.
And finally, pause before the first cut to double-check everything: the grainline, nap direction, and any plaid or stripe alignment.
Wool is an investment fabric, and even small mistakes can be difficult to fix once cut.
Taking a few extra minutes to confirm placement ensures you’ll get the professional finish you want.
Pressing Wool Fabric for Professional Results
Pressing is where wool truly shines.
Unlike many fabrics, wool fibers respond beautifully to heat and steam – they can be shaped, molded, and set into crisp seams that give your project a professional finish.
The key is to press with intention, not rush with the iron.
The Importance of Pressing When Sewing Wool
Pressing does more than flatten seams.
With wool, it sets the structure of your garment, helps seams lie smoothly, and allows you to shape curves like darts and collars.
Skipping this step leaves projects looking bulky or unfinished, while proper pressing makes them look tailored and polished.
Tools You’ll Need for Pressing Wool
- Steam iron with a wool setting – Provides the right balance of heat and moisture.
- Pressing cloth (cotton muslin or silk organza) – Prevents shiny marks and protects delicate weaves.
- Tailor’s ham and sleeve roll – Support curved areas like bust darts, collars, and sleeves.
- Wooden clapper – Holds heat and steam in the fibers, creating crisp seams.
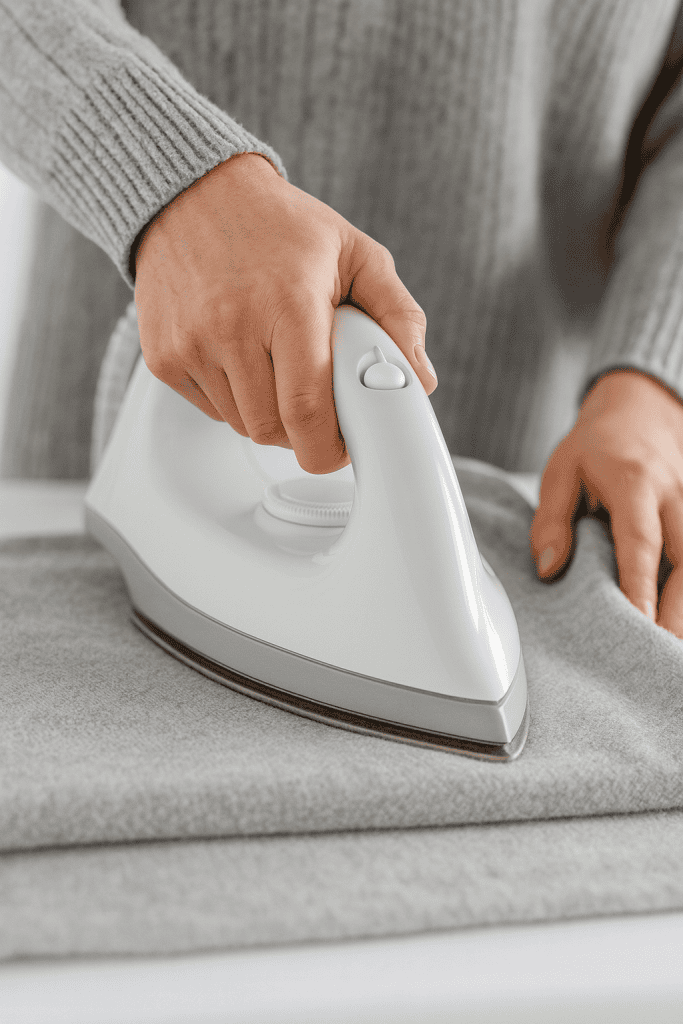
Pressing Techniques for Wool
Always press and lift rather than sliding the iron. Sliding can stretch the fabric out of shape.
For flat seams, press gently with steam, then apply the clapper to lock in the crease.
When working with darts or curved seams, position the fabric over a tailor’s ham or sleeve roll to keep the natural curve intact.
Use a pressing cloth for every step. Wool can develop shine when in direct contact with an iron, especially darker colors.
A light cloth shields the fibers while still letting steam penetrate. And once you’ve pressed a section, allow it to rest flat until completely cool.
This helps the wool “remember” the shape.
Common Pressing Mistakes to Avoid
- Pressing without a cloth – Causes permanent shine.
- Dragging the iron – Stretches and distorts fabric.
- Skipping cooling time – Seams may spring back or lose shape.
- Over-pressing – Excessive heat or steam can flatten wool’s natural loft.
Sewing Tips for Success with Wool
With your wool fabric chosen, prepared, cut, and pressed, you’re ready to sew.
Wool is surprisingly forgiving under the needle, but a few thoughtful adjustments will help you achieve smooth seams and a professional finish.
Choosing the Right Needle and Thread
- Needles – A universal or sharp machine needle works best. For light to medium-weight wool, use size 70/10 or 80/12. For heavier fabrics like tweed or coating, step up to 90/14. Change your needle regularly to avoid snags.
- Thread – Polyester thread is a strong all-purpose choice, while silk thread glides beautifully for hand-sewing or delicate wools. Cotton thread may not provide the durability needed for heavier wool garments.
Handling Wool While Sewing
When sewing with wool, gentle handling makes all the difference.
Stabilize curves with stay-stitching or twill tape on necklines and armholes to keep them from stretching.
Guide the fabric lightly under the presser foot rather than pulling, since too much handling can affect its shape.
Instead of relying on many pins, which may distort the weave, try using pattern weights or clips, which work especially well with thicker wool fabrics.
Seam Finishes for Wool
Wool frays differently depending on the weave. Choose a finish that matches your project:
- Zigzag or Overlock (Serge) – Quick and effective for everyday wear.
- Hong Kong Finish (Bias Binding) – Adds durability and a neat inside look, perfect for unlined jackets.
- Pinked Edges – Suitable for thicker boiled wool or felt that resists fraying.
Press as You Sew
Sewing wool is a press-heavy process.
Every seam benefits from a quick press to set stitches before you move to the next step.
This habit reduces bulk and helps each stage of construction feel polished.
Troubleshooting Wool Sewing Problems
Even with careful preparation, working with wool can bring small challenges.
Here’s how to solve the most common problems so your project stays on track.
Wool Fabric Puckers While Sewing
If your seams look rippled or puckered, it usually means the tension is too tight or the fabric isn’t feeding evenly.
Try loosening your machine’s tension a little and, if possible, switch to a walking foot.
This type of presser foot moves the top and bottom layers together, helping wool glide smoothly under the needle without distortion.
Fabric Edges Fray Excessively
Certain wool fabrics, such as tweed or crepe, tend to unravel quickly once cut.
To stay ahead of this, finish the raw edges immediately after cutting.
A serger works beautifully, but if you don’t have one, a zigzag stitch along the edges or binding them with bias tape (a Hong Kong finish) will protect the seams and keep everything neat.
Shine Marks from Pressing
Wool is sensitive to heat and pressure, which means shiny patches can appear if the iron is used directly on the fabric.
Always place a pressing cloth between the iron and your wool to avoid this problem.
If shine does appear, don’t panic – re-steam the area gently and use a soft brush to lift the fibers back into place.
Shrinkage After the Project is Finished
One of the biggest frustrations is when a finished garment shrinks after its first wash or cleaning.
This happens if the wool wasn’t pre-shrunk properly.
The best prevention is always to test a swatch before starting and account for shrinkage in your pattern.
If shrinkage still occurs, you may be able to carefully re-block the garment with steam to ease it back into shape, but prevention remains the most reliable approach.
Distorted Seams or Curves
Because wool can stretch, especially along bias edges, curves like necklines and armholes may shift during construction.
To avoid this, stay-stitch curved areas as soon as you cut them, and press seams over a tailor’s ham rather than a flat board.
This helps the fabric hold its intended curve without pulling out of place.
Caring for Wool Garments After Sewing
Finishing your project isn’t the end of the journey – wool rewards proper care with a long life.
Because it’s a natural fiber, wool can breathe, recover, and resist dirt better than many fabrics.
With a little attention, your handmade wool pieces can remain wardrobe staples for decades.
Storing Wool the Right Way
Wool needs to breathe, so avoid sealing it in plastic bags or containers.
Instead, use breathable cotton garment bags or simple cloth covers to protect it from dust.
Always store wool in a cool, dry place, and if you’re putting pieces away for a season, consider adding cedar blocks or lavender sachets to discourage moths.
Cleaning Wool Garments
Not every wool item needs frequent washing.
Often, a gentle airing out between wears is enough to refresh the fabric.
For pieces that do need deeper cleaning, follow the method that matches your fabric choice:
- Dry cleaning works best for tailored garments like jackets or trousers.
- Hand washing is suitable for sturdier wools such as flannel or boiled wool – use lukewarm water and a mild detergent, then lay flat to dry.
- Spot cleaning can take care of small marks or stains without the need for a full wash.
Refreshing Between Wears
A simple steam refresh can do wonders.
Hang the garment in a steamy bathroom or use a garment steamer to release wrinkles and lift odors.
A soft fabric brush is also helpful for removing surface lint and keeping the fibers fresh.
Long-Term Care Habits
Rotate your wool garments rather than wearing them multiple days in a row – this gives the fibers time to recover their shape.
Avoid hanging heavy wool sweaters, which can stretch; fold them instead.
With coats, trousers, and skirts, sturdy hangers that support the garment’s shape will keep them looking sharp.
For ideas on layering and keeping warm, see my post on how to layer clothes in winter and wool for winter garments.
Start Your Next Wool Sewing Project with Confidence
Sewing with wool can feel approachable and enjoyable when you have the right steps in place.
By learning how to choose the right wool, prepare it carefully, cut it with precision, and press it with care, you’ve already built the foundation for success.
Add in good sewing habits and mindful care, and you’ll discover that wool is one of the most rewarding fabrics to work with.
Choose a wool fabric that excites you, try these steps, and enjoy the satisfaction of creating something timeless and beautiful.
Have you ever sewn with wool, or are you planning to start soon? Comment down below and share your experience!
FAQs
How do I stop wool from stretching while sewing?
Stay-stitch curved areas like necklines and armholes right after cutting. Using a walking foot also helps prevent stretching as the fabric moves under the presser foot.
Can I machine wash wool fabric before sewing?
It depends on the type of wool. Sturdy flannels or boiled wool can often handle gentle machine washing on a wool cycle, but most wools should be either steam-shrunk, hand washed carefully, or dry cleaned. Always test a swatch first.
What’s the best way to mark wool fabric?
Tailor’s chalk, wax pencils, or a washable fabric marker work well. For thick wool, tailor’s tacks with contrasting thread are reliable since marks can brush off easily.
How do I prevent itchy seams in wool garments?
Use a lightweight lining fabric or finish seams with bias binding. This adds comfort against the skin and gives the inside of your garment a clean, professional finish.
Do I need to line all wool garments?
Not always. Heavy boiled wool and felt don’t fray and often don’t need lining. However, tailored jackets, trousers, and skirts usually benefit from lining – it adds comfort, reduces friction, and helps the garment keep its shape.
