
Sewing is a skill that pays off quickly!
With a few tools and an hour or two of focus, you can make something that’s genuinely useful – a napkin, a bag, a pillowcase.
It’s straightforward work that teaches you how to handle fabric, thread, and a sewing machine with confidence.
When you complete one simple project, you learn how seams come together and how fabric behaves under the needle.
Those small wins build the skills that make larger projects easier later on.
You can start sewing with just a flat surface, some cotton fabric, and a basic sewing machine.
The five projects in this post are beginner-friendly and practical.
Each one can be finished in an afternoon, giving you something you can actually use by the end of the day.
What Makes a Good Beginner Sewing Project
A good beginner sewing project does three things: it teaches a basic skill, it builds confidence, and it gives you a finished item you can actually use.
The best projects are simple in shape, forgiving if your lines aren’t perfectly straight, and quick enough to complete in one sitting.
Look for projects that use straight seams and rectangular pieces – these are easier to measure, cut, and align.
Natural fabrics like cotton or linen are great to start with because they don’t slip around and press neatly with an iron.
They’re also sturdy, so you’ll see solid results right away.
Keep your setup simple. You’ll need:
- A basic sewing machine
- Fabric scissors or sharp shears
- Straight pins or clips
- Measuring tape
- Iron and ironing board
Starting with these essentials helps you focus on learning the process instead of managing clutter or tools you don’t need yet.
And if you’re still getting your space ready, you might also like our guide on how to set up your sewing machine.
Top 5 Easy Sewing Projects to Start Today
Each of these projects can be completed in an afternoon with basic tools and fabric you might already have on hand.
They teach different foundational sewing skills while giving you something useful and good-looking at the end.
1. Reusable Fabric Napkins
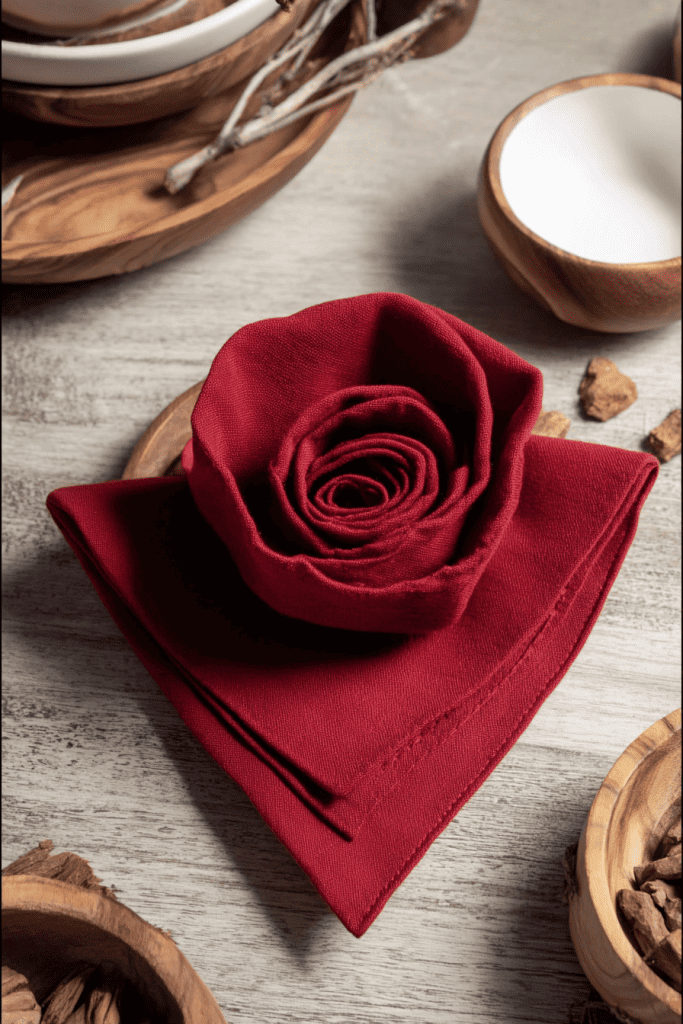
A fabric napkin is one of the simplest sewing projects you can start with – just four hems and you’re done!
- Cut your fabric into 12×12 or 18×18 inch squares (cotton or linen works best).
- Fold each edge over ¼ inch, press with an iron, then fold again to hide the raw edge.
- Pin and sew close to the inner fold all the way around.
You’ll learn how to control straight seams and guide fabric evenly through your machine – two essential beginner skills.
These napkins wash beautifully, reduce paper waste, and make every meal feel a little more intentional.
Make a set of four or six to start; it’s great practice and you’ll use them every day.
2. Simple Drawstring Bag
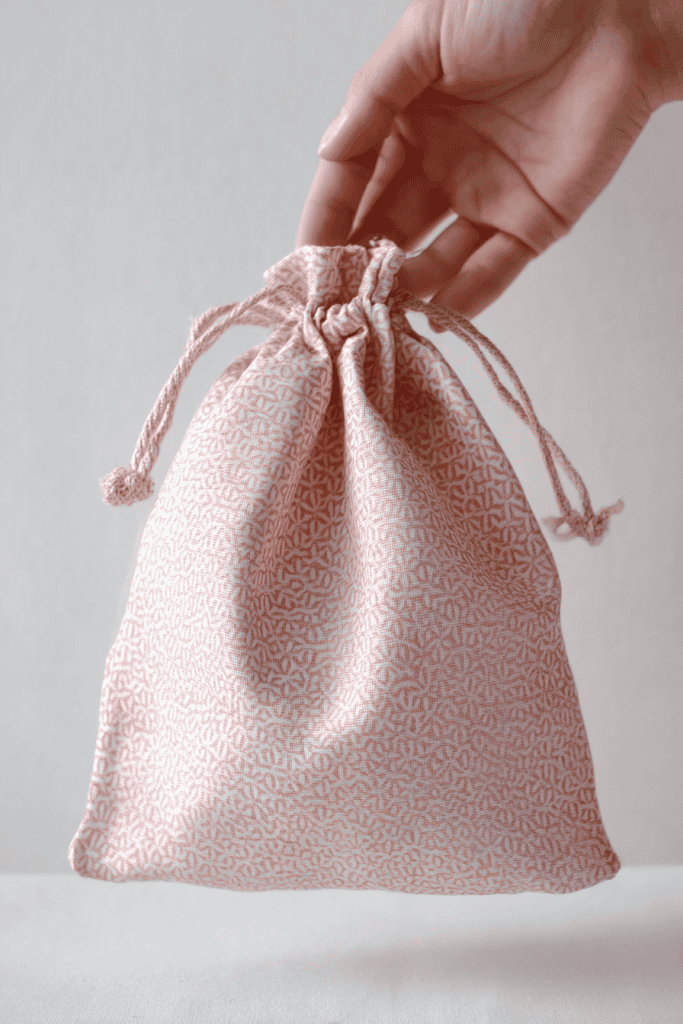
This small bag introduces you to sewing seams and creating a casing – the fold-over channel that holds the drawstring.
- Cut two fabric rectangles, roughly 12×14 inches each.
- Place them right sides together and sew along the sides and bottom, leaving the top open.
- Press the top edge down ¼ inch, then another inch to create a casing.
- Sew around the folded edge, leaving a small opening to thread your cord through.
- Turn the bag right side out, insert a string or ribbon using a safety pin, and knot the ends.
You’ll practice sewing straight seams, turning fabric, and creating structure – useful steps you’ll see in nearly every future project.
Once you make one, it’s easy to size up or down: smaller for gift bags, larger for laundry or toy storage.
3. Classic Pillowcase
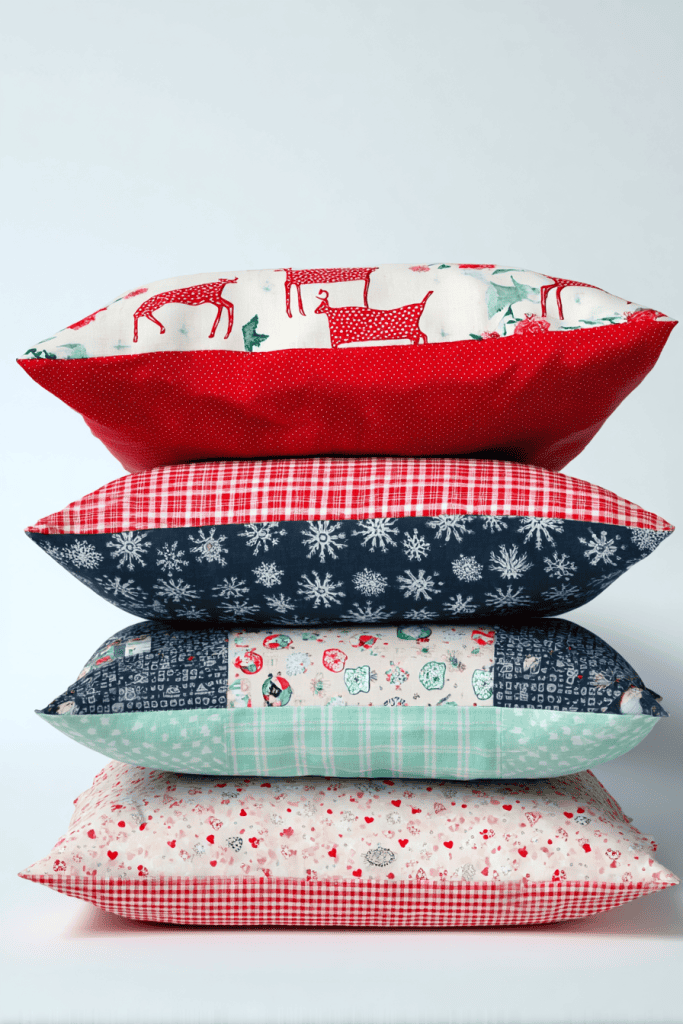
A pillowcase helps you practice accurate cutting, consistent seam allowance, and neat finishing.
- For a standard bed pillow, cut one piece of cotton fabric 21×32 inches.
- Fold it in half lengthwise (right sides together), and sew the two long sides and one short side with a ½ inch seam allowance.
- Press the open edge down ¼ inch, then 4 inches to form the cuff. Stitch close to the inner fold.
- For extra neatness, finish seams with a zigzag stitch or pinking shears to prevent fraying.
This project builds your understanding of how fabric grain affects sewing and teaches clean edges – both essential for garment making later.
You’ll end up with something polished and practical you’ll actually use every day.
4. Everyday Tote Bag

This is the project that makes most beginners feel capable – a sturdy, reusable tote for groceries, books, or errands.
- Cut two rectangles of canvas or medium-weight linen, about 16×18 inches each.
- Sew along the sides and bottom with a ½ inch seam allowance, keeping the top open.
- To create a flat bottom, pinch each bottom corner into a triangle and sew across 2 inches from the tip – this forms a boxed corner.
- For handles, cut two strips about 24 inches long and 2 inches wide from sturdy fabric or webbing.
- Press under ½ inch on each long side, fold in half, and sew down the length to reinforce.
- Attach each handle to the inside of the bag with a square and X stitch for strength.
This project teaches alignment, reinforcement, and managing thicker layers – all valuable skills for sewing garments or home items.
5. Cozy Rice Pack

A rice pack is quick to make and surprisingly useful.
- Cut two rectangles of cotton fabric about 6×12 inches each.
- Place right sides together, sew around the edges with a ½ inch seam allowance, and leave a 2-inch opening on one short side.
- Turn it right side out, fill two-thirds full with uncooked rice (about 2 cups for this size), and stitch the opening closed.
You can use it as-is or slip it inside a washable fabric sleeve for easy cleaning.
To use: heat in the microwave for 1–2 minutes for warmth, or keep in the freezer for a cooling pack.
You’ll practice sewing closed seams and handling small openings precisely – useful when making pillows, bags, or stuffed toys.
Each of these projects teaches something specific: how to measure accurately, guide fabric, press seams, and finish edges neatly. They’re practical, quick to complete, and set you up for bigger projects with less frustration.
Once you’ve finished these, you’ll have five useful items and the confidence to take on more.
If you want even more starter-friendly ideas, check out my list of easy things to sew as a beginner.
Setting Up Your Sewing Space (for Focus and Flow)
A comfortable sewing space can be as simple as a steady, well-lit table where everything is easy to reach.
A small spot by a window or a cozy corner of your dining area can work beautifully when it’s arranged with intention.
Here’s how to create a space that supports focus and flow:
1. Choose a Stable Work Surface
Start with a flat, sturdy table that stays steady while your machine runs.
If the surface shakes, place a folded towel or non-slip mat underneath to absorb vibration.
Keep your foot pedal in place with a rubber mat or a small textured rug – it makes sewing smoother and more controlled.
The goal is comfort and consistency, not size.
2. Prioritize Good Lighting
Good lighting makes all the difference.
Natural light is ideal, so place your setup near a window if you can.
If you sew in the evening or in low light, use a bright desk lamp with a daylight bulb to mimic natural brightness.
Angle the light toward your work area, not directly at your eyes, to reduce glare and shadows.
Clear lighting helps you sew straighter seams and reduces fatigue.
3. Keep Tools Within Reach
Keep your most-used tools – scissors, pins, measuring tape, seam ripper, and fabric marker – close at hand.
A small container, tray, or divided basket is all you need. A magnetic pin dish or pincushion keeps sharp items from rolling away.
If you want a quick roundup of the basics, check out our list of essential sewing tools every beginner needs.
4. Organize for Small Spaces
Even if you’re working in a shared or small space, you can keep things tidy and efficient.
Store your machine, fabric, and notions in a tote or bin that you can easily move when you’re done.
Use small jars or boxes for thread, buttons, and needles, and label them clearly.
Fold your fabric by project instead of by color – that way, when you return to a work-in-progress, you can pick up right where you left off.
5. Set Up Your Ironing Station
Pressing seams is one of the simplest ways to make your sewing look neat and finished.
Keep an ironing board or a heat-safe pressing mat near your sewing area so you don’t have to stop mid-project.
A small tabletop iron works just as well as a full-size one for most tasks.
Press as you go – it helps your fabric lay flat and improves accuracy as you sew.
6. Maintain a Clean Work Zone
Keep a small bowl or bin for threads, fabric trimmings, and scraps.
When you finish sewing, take a moment to clear your surface and return tools to their spots.
A tidy space makes it easier to sit down and start again later – and builds the habit of working with intention rather than clutter.
How to Build Confidence as You Sew
Confidence grows from finishing what you start.
Each small project teaches something – how to handle fabric, guide a seam, or adjust your machine.
The more you complete, the more familiar sewing feels. Start with simple projects, press your seams, and take your time.
Every clean corner and straight line is proof that your hands are learning the skill.
Focus on progress. Keep notes or photos of what you’ve made – it’s an easy way to see improvement over time.
With each finished piece, you’ll gain steadiness, accuracy, and trust in your own ability.
That’s how real confidence builds – quietly, one project at a time.
And if you ever want to take your growing skills even further, you might enjoy exploring profitable sewing projects you can sell.
Start Sewing Today – One Project, One Afternoon
Start with what you have, choose one small project from this list, and give yourself an afternoon to complete it.
Finishing just one piece builds momentum – and once you’ve seen how practical and rewarding sewing can be, you’ll want to keep going.
The confidence, skill, and satisfaction grow with every project. So pick a fabric, thread your machine, and make something useful today.
What’s your first project going to be? Share it in the comments below – I’d love to hear what you’re starting with and how it goes.
FAQs
1. What’s the best type of fabric for beginners?
Start with 100% cotton or cotton-linen blends.
They’re stable, easy to cut, and hold their shape while you sew.
Avoid stretchy or slippery fabrics like jersey or satin until you’re more confident – they require more control.
2. How can I fix uneven seams or crooked stitches?
Most uneven stitches come from rushing or pulling the fabric.
Slow down, let the feed dogs guide the fabric, and keep your eyes on the seam guide, not the needle.
If needed, practice on scraps first – even ten minutes of repetition makes a big difference.
3. Do I need a special sewing machine as a beginner?
No. A basic, reliable machine with straight and zigzag stitches is enough for all the projects in this guide.
Focus on learning how to thread it properly, adjust tension, and clean it regularly – those habits matter more than extra features.
4. How do I finish fabric edges to prevent fraying?
If your machine has a zigzag stitch, sew along the raw edge after seaming.
You can also use pinking shears to trim edges in a zigzag pattern. Both methods help fabrics last longer and keep your projects neat.
5. What should I do with leftover fabric scraps?
Keep a small bin or jar for scraps.
Larger pieces can be turned into patchwork napkins or small pouches, while smaller bits make great stuffing for pin cushions or draft stoppers.
Nothing has to go to waste – small pieces often become your next practice material.