
Knitting is something anyone can learn. It’s a calm, hands-on skill that’s both useful and enjoyable.
You can make simple things for yourself, your home, or as gifts for people you care about.
In this guide, we’ll go over everything step by step – choosing your needles and yarn, understanding patterns, fixing little mistakes, and working your way up to more advanced projects.
By the end, you’ll feel ready to pick up your knitting needles and start. It doesn’t matter if it’s your first try or you’ve done it before – we’ll take it slow, and you’ll get the hang of it.
The Fascinating History of Knitting
Knitting has been around for hundreds of years. The oldest known knitted items are socks found in Egypt, made around the 11th century.
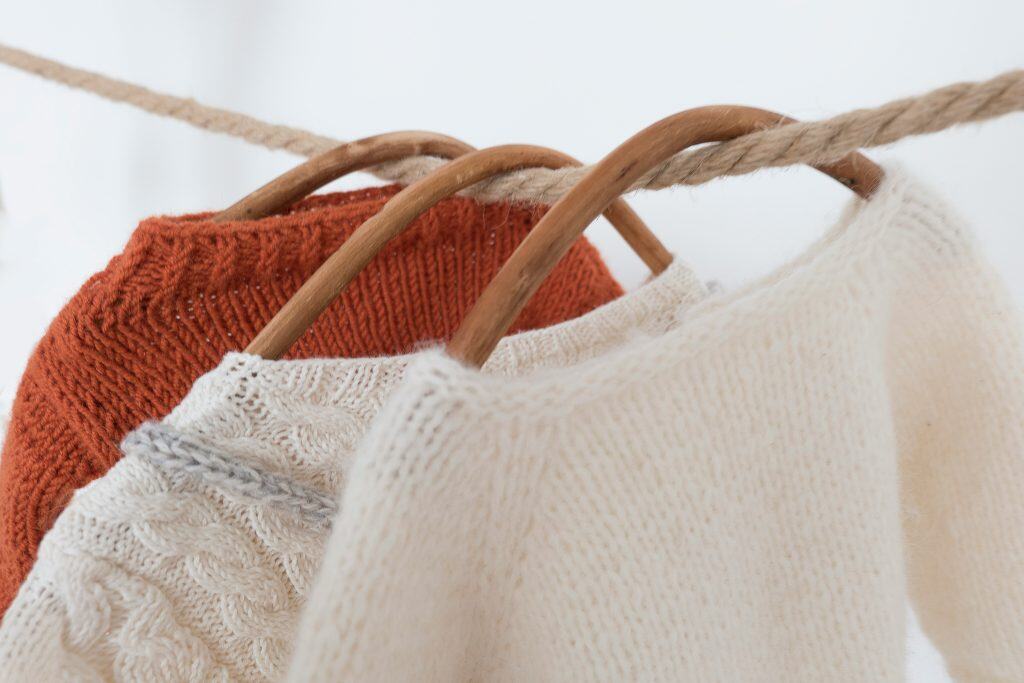
Over time, knitting spread to many parts of the world. In the North Atlantic, fishermen’s wives made thick Aran sweaters with cable patterns that often had family meanings. In the Shetland Islands, people made lace shawls so fine they could fit through a wedding ring.
Knitting has always been about more than clothing. It’s a skill passed down through families, used to keep loved ones warm and to create something with your own hands.
Even now, knitting brings people together – whether in local groups or online communities.
Every time you knit, you’re part of a long tradition of making things for comfort, warmth, and care.
Knitting Supplies You’ll Need to Get Started

To start knitting, the two main things you need are knitting needles and yarn.
A few extra tools can make things easier, but you can always add those later. The goal is to keep it simple so you can start right away without feeling overwhelmed.
Essential Tools and Materials
1. Knitting Needles – Your first big choice. Straight needles are perfect for flat projects like scarves and dishcloths, while circular needles (two needle tips connected by a flexible cord) allow you to knit in the round or hold larger projects like blankets.
Double-pointed needles are handy for small circular items like socks and mittens.
2. Needle Materials – Bamboo or wooden needles feel warm in the hand and have a gentle grip on yarn, which is great for beginners. Metal needles are smooth and fast, while plastic needles are lightweight and budget-friendly.
3. Yarn – The soul of your project. For beginners, a smooth, medium-weight yarn (like worsted) in a light color is easiest to see and work with. Natural fibers like wool and cotton are lovely to use, while blends can offer durability and softness.
4. Helpful Extras – A small pair of sharp scissors, a measuring tape, stitch markers to keep your place, and a tapestry needle for weaving in ends. These aren’t strictly necessary to start, but they’ll quickly become your best friends.
Choosing Yarn and Needles for Your First Project
The yarn and needle size you use will affect how your knitting looks and feels.
Most yarn labels tell you which needle size works best, so that’s a good place to start.
For beginners, a medium-weight yarn (called worsted weight) with size US 8 (5 mm) needles is a good match. It’s easy to work with and not too thin or thick.
Try to avoid yarns with unusual textures or very dark colors at first, since they can make it harder to see your stitches.
Pick yarn and needles you enjoy holding in your hands – it makes each knitting session much more enjoyable.
Knitting Vocabulary You Need to Know
When you first look at a knitting pattern, it might seem confusing. But once you learn a few common terms and abbreviations, it will start to make sense.
Knitting has its own short words that tell you what to do:
Common Abbreviations
- k – Knit stitch
- p – Purl stitch
- CO – Cast on (how you start your stitches)
- BO – Bind off (how you finish your stitches)
- YO – Yarn over (used to create a new stitch or decorative hole)
- st(s) – Stitch(es)
- rep – Repeat
You’ll also see the word gauge often. Gauge means how many stitches and rows fit into a set measurement, usually 4 inches (10 cm). This is important, especially for clothing, because it helps make sure your finished project is the right size.
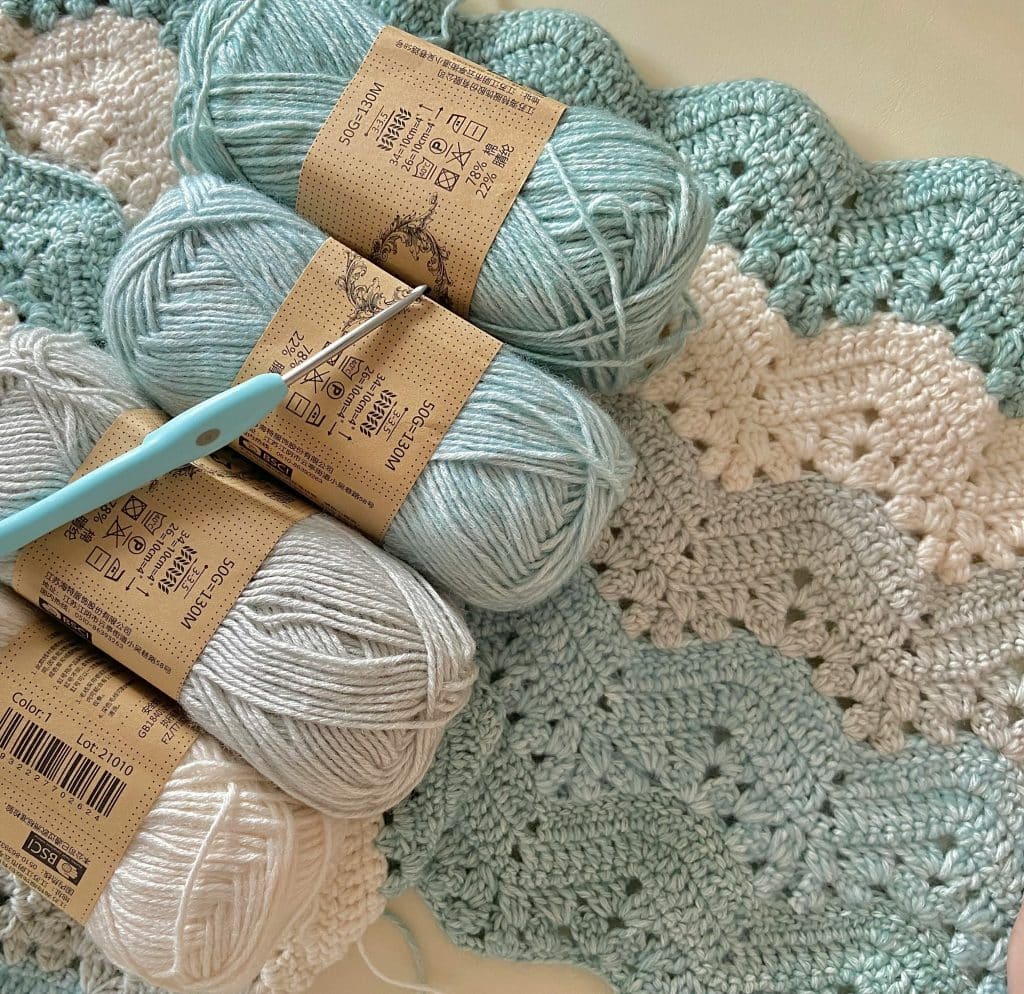
Another thing to check is the yarn label – the small tag wrapped around your skein. It tells you what the yarn is made of (like wool or cotton), the weight (such as worsted or DK), the needle size that works best, and how to wash it.
Once you understand these basics, reading patterns becomes much easier. You’ll feel more confident following instructions and talking with other knitters.
Basic Knitting Stitches for Beginners

The two main stitches in knitting are the knit stitch and the purl stitch. Once you learn these, you can make many different patterns.
Most projects combine these stitches in different ways, so learning them gives you a solid foundation.
Go at your own pace and don’t rush. The more you practice, the easier it will feel, and soon you’ll start seeing your progress with each row.
Foundation Skills
- Casting On – This is how you start any knitting project. The long-tail cast-on is a favorite for beginners because it’s stretchy, neat, and versatile. The knit cast-on is also a good choice for its simplicity.
- Knit Stitch (k) – The foundation of most knitting patterns. You’ll insert your needle into the stitch from front to back, wrap the yarn, and pull it through. Once you find your rhythm, it’s wonderfully meditative.
- Purl Stitch (p) – The knit stitch’s partner. It’s worked with the yarn in front, inserting the needle from back to front. Purling creates texture and works with knitting to form patterns like ribbing or stockinette.
Beginner Stitch Patterns
- Stockinette Stitch – Alternate rows of knit and purl stitches for a smooth front and a bumpy back.
- Garter Stitch – Knit every row for a squishy, textured fabric that lies flat.
- Ribbing – Alternate knit and purl stitches within the same row (like k2, p2) for stretchy edges on hats, cuffs, and hems.
- Seed Stitch – Alternate knit and purl stitches every stitch and every row for a nubby, elegant texture.
Once you’ve practiced these, you’ll have the skills to make scarves, dishcloths, blankets, and even the beginnings of sweaters.
How to Read Knitting Patterns
A knitting pattern is a set of instructions that shows you how to make a project from start to finish. At first, the numbers, abbreviations, and symbols can feel confusing, but once you understand the layout, it becomes much easier to follow.
Understanding the Basics
Most patterns start with key information: the finished size, yarn weight and amount, recommended needle size, and gauge. This helps you plan ahead so you don’t run into problems halfway through your project.
Pattern Abbreviations and Keys
Patterns include a list of abbreviations, like k2tog for “knit two together.” They often also show a skill level, so you can pick projects that match your experience.
Written Instructions vs. Charts
Patterns are usually written row by row, or round by round if you’re knitting in the round.
Some also include charts, which are visual grids where each square represents a stitch. Charts are useful for lace, cables, or colorwork.
If you’re new, it can help to follow the written instructions alongside the chart to see how they match.
The most important tip is to go step by step. Read the whole pattern before you start, mark any special stitches you need to learn, and keep track of your progress with a sticky note or row counter.
Fixing Knitting Mistakes
Every knitter makes mistakes. Dropped stitches, twisted stitches, or extra loops happen to everyone.
Mistakes are normal and part of learning.
The key isn’t to avoid mistakes completely – it’s to notice them early and fix them calmly.
Common Knitting Mistakes
- Dropped Stitches – A stitch has slipped off your needle and started to unravel down the fabric.
- Twisted Stitches – The stitch is sitting the wrong way on your needle, which can change the look of your work.
- Extra or Missing Stitches – Often caused by accidentally knitting into the same stitch twice or skipping one.
- Uneven Tension – Some rows look tighter or looser than others, especially when starting out.
How to Fix Them
- For a dropped stitch, use a crochet hook to gently pull the loop back up through each row until it meets your needles again.
- For a twisted stitch, simply knit or purl into the stitch through the correct leg to untwist it.
- If you’ve gained or lost stitches, you can either increase or decrease discreetly in the next row or, for a perfect fix, unravel (or “frog”) back to the mistake.
- Uneven tension usually improves naturally with practice, but you can block your finished piece to help even things out.
The more you knit, the easier it becomes to spot and fix mistakes. Sometimes small flaws even add character to your handmade project.
Intermediate & Advanced Knitting Techniques
Once you’re comfortable with the basics, it’s exciting to explore techniques that add shape, texture, and complexity to your knitting.
These skills help you make garments that fit well, patterns that stand out, and pieces that feel truly personal.
Shaping Your Knits
- Increases – Add stitches to shape your work. Make one (M1) creates a nearly invisible increase, while yarn overs (YO) add decorative holes, perfect for lace.
- Decreases – Reduce stitches to taper a piece. Knit two together (k2tog) leans right, while slip, slip, knit (ssk) leans left, giving a balanced look in garments.
Knitting in the Round
Using circular or double-pointed needles, you can make seamless tubes for hats, cowls, socks, and sweaters. The magic loop method lets you knit small circles without switching to double-pointed needles.
Exploring Color and Texture
- Stripes: Change yarn colors at the start of a row or round to create stripes.
- Fair Isle: Use two colors per row to make repeating patterns, carrying the unused yarn along the back.
- Intarsia: Great for large color blocks or pictures in your knitting.
- Cables: Twist stitches to make rope-like patterns that add texture.
- Lace: Use yarn overs and decreases to create light, open patterns.
Learning even one or two of these techniques can give you the confidence to try patterns you thought were too difficult before.
Fun Knitting Project Ideas

The best way to improve your knitting is to put your skills into practice.
Pick projects that match your skill level so you can enjoy knitting without feeling frustrated, and build confidence as you go.
Beginner Projects
- Scarves – Simple rectangles that let you practice stitches without worrying about shaping.
- Dishcloths – Quick to make, perfect for trying new stitch patterns.
- Chunky Hats – Use bulky yarn and large needles for a fast, cozy finish.
Intermediate Projects
- Socks – Learn knitting in the round and shaping with heel turns.
- Mittens or Gloves – Practice increases, decreases, and thumb gussets.
- Simple Sweaters – Introduce yourself to garment construction.
Advanced Projects
- Lace Shawls – Delicate patterns for special occasions.
- Detailed Cardigans – Combine shaping, button bands, and possibly cables or lace.
- Colorwork Sweaters – Experiment with Fair Isle or intarsia designs.
Keep your first pieces as reminders of how far you’ve come. They’ll motivate you as you move on to more challenging projects.
Caring for Your Knitted Creations
Your knitted projects are the result of time and hard work, so a little attention will help them last for years.
Washing and Blocking
- Handwashing – Most natural fibers, like wool and alpaca, prefer a gentle soak in cool water with a mild, wool-safe detergent.
- Machine Washing – Only for yarns labeled “machine washable” or “superwash wool,” using a delicate cycle and mesh bag.
- Blocking – After washing, shape your project and let it dry flat. This evens out stitches, sets the size, and gives your work a professional finish.
Storage Tips
- Store knits folded in a cool, dry place – hanging them can stretch the fabric.
- Protect from moths with lavender sachets or cedar blocks.
- Keep them clean before storage, as food or body oils can attract pests.
Knitting Sustainably and Ethically
Knitting is naturally a slower, more mindful craft, and with a few thoughtful choices, it can also be sustainable and ethical.
If you choose materials and habits that respect people and the planet, you add even more meaning to your work.
Choose Yarn Wisely
- Pick natural fibers like organic cotton, wool, alpaca, or linen whenever you can. These fibers last longer, are renewable, and break down naturally.
- If using wool, look for options that prioritize animal welfare, such as mulesing-free yarn or yarn from small, local farms.
- Recycled yarns are also a great choice – they give old fibers a new life.
Use What You Have
- Check your stash before buying new yarn. A leftover skein might be perfect for a striped hat or cozy mug cozy.
- You can also unravel old projects and reuse the yarn in something new.
Support Ethical Businesses
- When you buy new materials, consider small, independent yarn producers, dyers, and local shops. You get quality products while supporting people who care about their craft.
Make With Intention
- Knit projects you’ll actually use or gift with care. Knitting just because it’s trendy can lead to items that go unused, while making things for need – your own use, a loved one, or charity – gives your work purpose.
Finding Your Knitting Community
Knitting can be relaxing on your own, but it’s also a great way to connect with others.
Being part of a knitting community, whether in person or online, gives you support, ideas, and a place to share both successes and learning moments.
Local Groups and Classes
- Many yarn shops host knit nights or beginner classes where you can meet other crafters.
- Libraries, community centers, and craft fairs often have knitting circles that welcome newcomers.
Online Communities
- Ravelry – A huge online database of patterns, yarn reviews, and forums.
- Social Media – Instagram hashtags like #knittersofinstagram or #handknitlove, Facebook knitting groups, and TikTok craft creators can offer both learning and inspiration.
- YouTube Tutorials – Channels where knitters share tips, techniques, and free patterns.
Fellow knitters are usually happy to answer questions, cheer you on, and share helpful resources.
Knit With Confidence and Joy
Now that you’ve explored the tools, stitches, techniques, and even the history of knitting, the next step is simple: pick up your needles and start.
Choose a project that excites you, gather your supplies, and carve out a little time each day or week to knit.
The more you practice, the more natural it will feel – and soon, you’ll be amazed at what your hands can create.
I’d love to hear from you – share your favorite knitting tips, first-project stories, or community recommendations in the comments below. Your experience might be just the encouragement someone else needs to start their own knitting adventure!
