Dry, chapped lips can be a year-round frustration. If you’re tired of constantly reapplying store-bought chapsticks that never seem to heal your lips, it might be time to try something different.
This ultra-nourishing tallow lip balm is a DIY recipe that uses only clean, natural ingredients – like grass-fed tallow and beeswax – to deeply moisturize and protect your lips.
By making your own lip balm at home, you’ll know exactly what’s going into it (no petroleum or synthetic chemicals!), and you can even customize a light natural scent with a drop of essential oil or vanilla-infused oil. The result is a gentle, long-lasting balm that’s perfect for dry, sensitive lips and harsh weather.
In this post, I’ll cover why tallow is a superstar ingredient for lip care, the benefits of using beeswax and other organic ingredients, and a step-by-step recipe to craft your own lip balm.
Let’s dive into this fun and easy DIY project for healthier, happier lips!
Why Choose a Tallow Lip Balm for Dry Lips?

Commercial lip balms may provide quick relief, but many contain ingredients that can actually make dry lips worse over time.
For example, a lot of store-bought balms include petroleum-based oils that only coat the lips without truly nourishing them – and can even dry your lips out, creating a cycle of constant reapplication.
They often use synthetic fragrances and flavorings that irritate sensitive skin (and even disrupt hormones). Some formulas sneak in alcohols or menthol for a cooling sensation, but these ultimately strip moisture and cause further chapping.
In short, many mainstream lip balms don’t heal your lips; they just mask the problem and keep you coming back for more.
Tallow lip balm, on the other hand, is a game-changer for dry, chapped lips. Tallow is a rendered form of beef (or lamb) fat that has been used for skincare for centuries. High-quality grass-fed tallow is rich in skin-loving nutrients like vitamins A, D, E, and K, which are essential for skin repair and health.
(You can read more about the best benefits of beef tallow to see why it’s such a powerful ingredient.)
Unlike many plant oils, the fatty acid profile of tallow closely resembles the natural oils in human skin, allowing it to absorb easily and actually nourish the deeper layers of your lips.
It doesn’t just sit on top as a barrier – tallow penetrates to feed and repair the skin, helping restore the protective lipid barrier and soothe inflammation.
A recent analysis even found that applying tallow may increase the fatty acid content in skin, leading to better hydration. All of this makes tallow an all-star ingredient for healing dry, cracked lips and keeping them soft.
Another key ingredient in this recipe is beeswax, and it plays an important supporting role. Beeswax creates a protective barrier on the lips that locks in moisture and gives the balm a firm, stable structure.
This means your lip balm won’t melt easily in your pocket and it will protect your lips from environmental irritants (wind, cold, dry air) by sealing in all that tallow goodness. Beeswax also provides a smooth texture and a bit of shine, without any stickiness.
In a natural lip balm, finding the right balance of beeswax is important – too little and the balm may be too soft; too much and it can feel waxy. I’ve balanced the ratio just right for a balm that glides on comfortably and stays on your lips to hydrate for hours.
Benefits of this DIY Tallow Lip Balm

- Deeply moisturizes and heals – Grass-fed tallow delivers long-lasting moisture and nutrients that can actually repair dry, cracked lips.
- No harsh chemicals – Free of petroleum, synthetic fragrances, dyes, or preservatives, making it perfect for sensitive skin. You get nourishment without any hidden irritants.
- Rich in vitamins – Natural fats like tallow (and added shea butter) are packed with vitamins A, D, E, and K, which support skin regeneration and softness.
- Protective barrier – Beeswax forms a shield on the lips to lock in moisture and guard against harsh weather, while avoiding the waxy feel of many commercial balms.
- Long-lasting relief – Because this balm actually nourishes instead of just coating, you won’t need to reapply every 10 minutes. It provides long-term comfort without the addictive cycle.
- Customizable and natural scent – You have total control over the (light) scent and flavor. I’ll suggest a few lip-safe essential oils (or a gentle vanilla-infused oil) you can use – or you can leave it completely unscented. No artificial flavor oils needed!
In short, making your own tallow lip balm is an easy, rewarding way to ensure your lips get truly nourished with wholesome, non-toxic ingredients. Your lips will feel softer and healthier, without any questionable chemicals near your mouth.
If you love the nourishing benefits of tallow for your lips, you’ll also enjoy my hydrating tallow lotion bar for full-body hydration that’s just as natural and skin-loving.
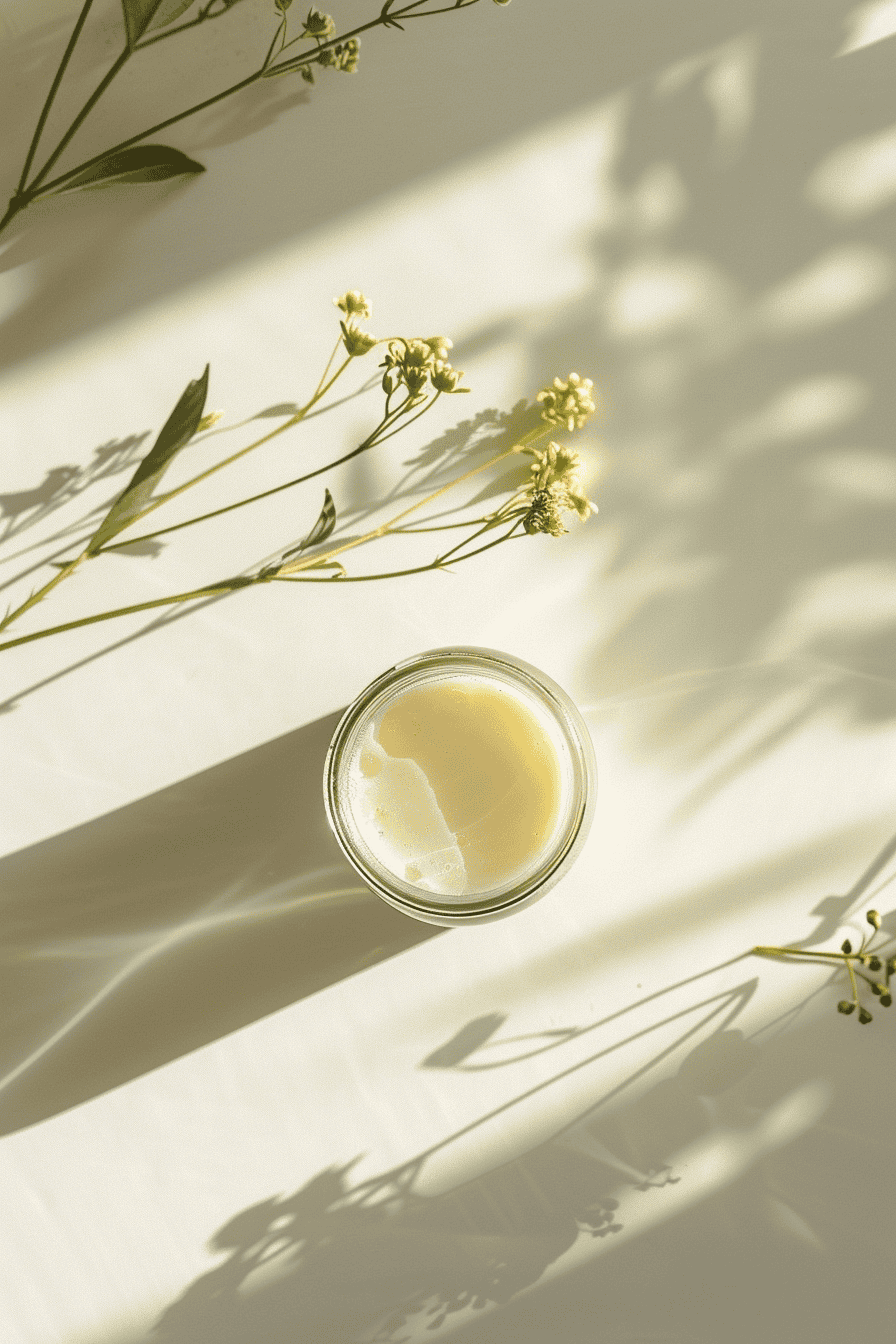
Clean, Natural Ingredients for Ultra-Nourished Lips
Only a few simple ingredients are needed: grass-fed tallow (top), beeswax (left), and a nourishing carrier oil (right) form the core of this ultra-moisturizing lip balm. Each ingredient in this recipe is chosen for a specific benefit it brings to dry or sensitive lips.
Here’s what you’ll need, and why each component is so great:
Grass-Fed Tallow (2 tablespoons)
This is the star ingredient and primary moisturizer. Tallow from grass-fed cattle is preferred because it’s pure and rich in nutrients – plus, properly rendered tallow has very little odor (so don’t worry, your lip balm won’t smell like a steak!).
Tallow’s fatty acids (like oleic, palmitic, and stearic acid) closely mimic the fats in our skin, so it absorbs easily and helps restore the natural lipid barrier. It’s deeply nourishing, helping to heal cracks and dryness rather than just covering them up.
Tallow is also packed with vitamins A, D, E, and K, which support skin repair and softness.
Tip: If you don’t have tallow on hand, you can learn how to make tallow from beef fat at home with just a few simple steps.
Beeswax (2 tablespoons, pastilles or grated)
Beeswax is what turns the fats into a balm. It solidifies the mixture and creates a protective, moisture-locking layer on the lip. I use beeswax from natural honeycomb (yellow beeswax) because it’s less processed and contains beneficial propolis traces.
This ingredient ensures your lip balm stays firm (so it won’t leak in a pocket on a warm day) while still allowing a smooth, easy application. Beeswax also adds a subtle honey-like sweetness and shine.
By buffering the skin from wind and cold, it helps the nourishing ingredients stay on your lips longer. (If you are unable to use beeswax, see FAQs for alternatives, but note that beeswax is a key part of this recipe’s effectiveness.)
Shea Butter (1 tablespoon, ideally unrefined)
Shea butter is an optional but highly recommended addition for extra creaminess and nourishment. This plant butter is deeply moisturizing in its own right and is high in vitamins A and E, which promote skin healing and softness.
Shea butter soothes irritation and adds a silky, creamy texture to the balm that makes it glide on like a dream. It’s excellent for combating lip peeling and adding richness to the formula. (Make sure to use raw or unrefined shea for maximum nutrients, and avoid shea if you have a latex allergy.)
Coconut Oil (1 tablespoon, unrefined virgin)
I add a bit of coconut oil to achieve the perfect consistency and an extra moisture boost. Coconut oil is light and absorbs quickly, helping the balm spread easily on the lips.
It’s also naturally antibacterial and anti-fungal, thanks to its lauric acid content, which can be beneficial for lip health. Using coconut oil (or another liquid carrier oil) prevents the balm from feeling too hard or waxy, giving it a smoother application.
You can substitute sweet almond oil, jojoba oil, or olive oil here if you prefer – any skin-friendly oil will work to soften the balm. Just note that if you use a liquid oil at room temperature, you might need a touch more beeswax to keep the balm firm.
Vitamin E Oil (4–6 drops, optional)
Vitamin E is a powerful antioxidant that helps extend the shelf life of your balm by preventing oils from oxidizing. It’s also great for your skin – it adds extra healing and protective benefits (and some people find it helps preserve the balm’s texture too).
Use a high-quality, natural Vitamin E (or pierce a Vitamin E capsule). This ingredient is optional, but a few drops can be a nice boost for both longevity and lip softness.
Essential Oil or Natural Flavor (optional, for scent)
To keep this lip balm all-natural, I avoid artificial fragrances or flavor oils. If you’d like a light scent or flavor, you can add a few drops of a lip-safe essential oil OR an oil-based natural flavor.
Good choices are: peppermint or spearmint (cooling and refreshing), sweet orange (uplifting and gentle), lavender (calming), or a vanilla-infused oil for a sweet aroma. Make sure any essential oil is pure and safe for cosmetic use – do not use any that are not recommended for lips.
Many citrus oils (like lime, lemon) can cause sun sensitivity on skin, so stick to the ones known to be lip-safe. It’s best to use essential oils very sparingly in lip products; a good rule of thumb is to keep them around 1–2% of the total mixture (for example, ~10 drops of essential oil in a 1-ounce batch of lip balm is about a 2% dilution).
In the recipe below, I suggest ~5–10 drops for the whole batch, which will give a gentle scent. You can always leave your balm unscented, and it will still smell pleasant from the natural cocoa butter-like aroma of tallow and beeswax.
Note on ingredient quality: For the best lip balm, try to use organic and unrefined ingredients where possible. Grass-fed, organic tallow will be free of pesticides or hormones and higher in nutrients.
Similarly, look for organic beeswax, unrefined shea butter, and cold-pressed oils. This ensures your lip balm is truly non-toxic and safe enough to eat – which is important, since whatever you put on your lips will end up being ingested in small amounts!
DIY Tallow Lip Balm Recipe (Step-by-Step)
Ready to make your ultra-nourishing lip balm? Follow these simple steps.
This recipe makes about 8–10 standard lip balm tubes (or a few small tins). You can scale the quantities up or down as needed.
It’s a quick process – about 10–15 minutes to mix, then you’ll let the balms cool until solid.
Ingredients (Makes ~10 tubes):
- 2 tablespoons Grass-Fed Tallow (solid at room temp)
- 2 tablespoons Beeswax pastilles (or finely chopped beeswax)
- 1 tablespoon Shea Butter (optional but recommended)
- 1 tablespoon Coconut Oil (or sweet almond, jojoba, etc.)
- 4–6 drops Vitamin E Oil (optional)
- 5–10 drops Essential Oil of choice (optional, for scent – see notes above for suggestions)
Tools Needed
- A double-boiler setup (or a heat-safe bowl and a saucepan)
- Something to stir with (old spatula or spoon)
- Lip balm containers (empty tubes, tins, or small jars).
- Having a small funnel or pipette can make pouring into tubes easier, but it’s not required.
Instructions:
1. Melt the base ingredients
In a double boiler (or a heat-safe bowl set over a small pot of simmering water), combine the tallow, beeswax, shea butter, and coconut oil. Heat gently over low to medium-low heat, stirring occasionally, until everything is fully melted and combined.
Do not let the mixture boil.
Melting slowly over low heat helps preserve the nutrients in the tallow and shea. The beeswax will be the last to melt – make sure it’s completely liquefied with no solid bits. Your mixture should be a clear golden oil.
2. Remove from heat and cool slightly
Once melted, turn off the heat and carefully remove the bowl from the double boiler.
Let the mixture cool for a minute or two until it’s warm but not scalding hot. (If it’s too hot and you add cool essential oils, they might degrade or even cause spattering.) This pause also prevents nutrients (and essential oils) from overheating.
3. Add vitamin E and essential oils (if using)
Stir in the drops of vitamin E oil. If you want to scent/flavor your balm, add your chosen essential oil or infused oil now. For example, you might add 5 drops of peppermint + 5 drops of sweet orange for a mild citrus-mint scent, or just 5 drops of lavender for a subtle floral note.
Go slow – it’s best to start with only a few drops, stir, and maybe do a quick smell test. You can always add an extra drop or two, but you can’t remove it if you overdo it. Remember, less is more when it comes to flavoring lip balm.
Important: Ensure any essential oils are lip-safe and used in safe amounts. If you prefer unscented, you can skip this step entirely.
4. Pour into containers
While the mixture is still liquid, carefully pour it into your lip balm tubes or tins.
Tip: It’s easiest to pour from a spouted container (like a Pyrex measuring cup). Or you can use a small funnel or pipette to transfer the liquid into tubes.
Pour slowly and be mindful – this part can get a bit messy if spilled. Fill each tube nearly to the top, but leave a tiny bit of space. (If using tins or small jars, just fill them to near the rim.)
5. Let the balm cool and set
As the balm cools, it will turn opaque and solidify. It’s best to let the containers sit undisturbed at room temperature for a few minutes, then transfer them to the refrigerator to cool completely.
Rapid cooling helps prevent graininess (especially with shea butter) and gives a nice smooth finish. An optional pro-tip: Sometimes as lip balms cool, they can develop a slight dip or sink-hole in the center.
To get a flat top, you can reserve a tiny bit of the melted mixture and, after the balms have started to set and become opaque, re-melt that reserve and top off each tube. This “second pour” fills in any sinkage and makes the lip balm surface smooth.
6. Cap and label
Once completely cool and firm, cap your lip balm tubes or jars. If you made different scents, label them accordingly.
You now have your very own batch of ultra-nourishing tallow lip balms!
7. Cleanup tip
Cleaning beeswax off your cookware can be tricky. It helps to wipe out as much of the residue as possible with a paper towel while the container is still warm.
Then wash with hot soapy water. (Using a dedicated bowl or jar for DIY balms is handy, so you don’t mind if a bit of wax builds up over time.)
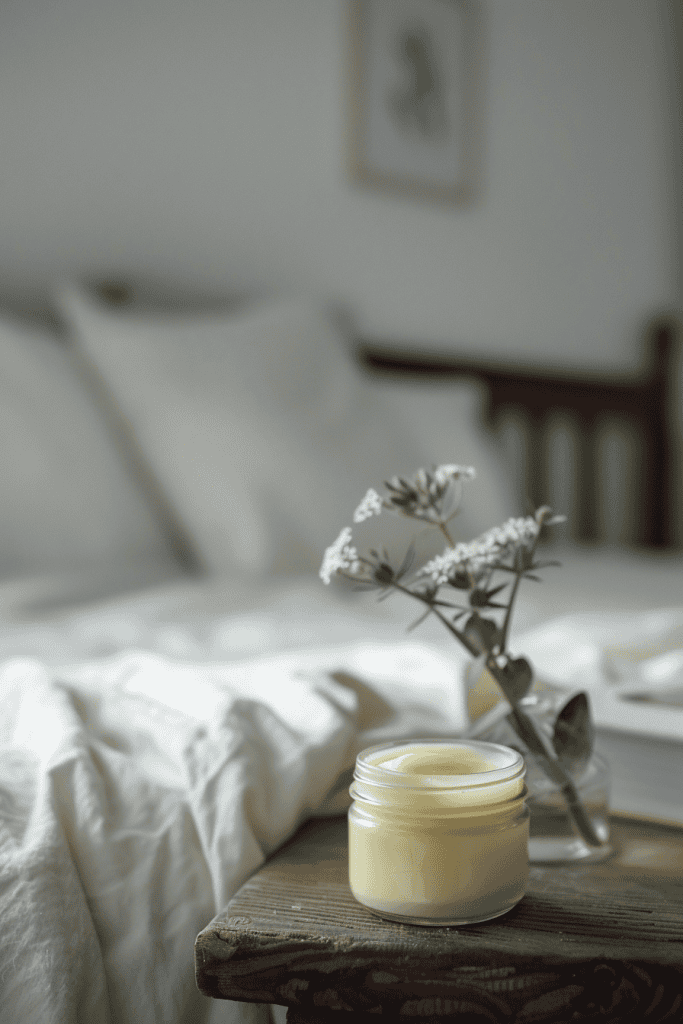
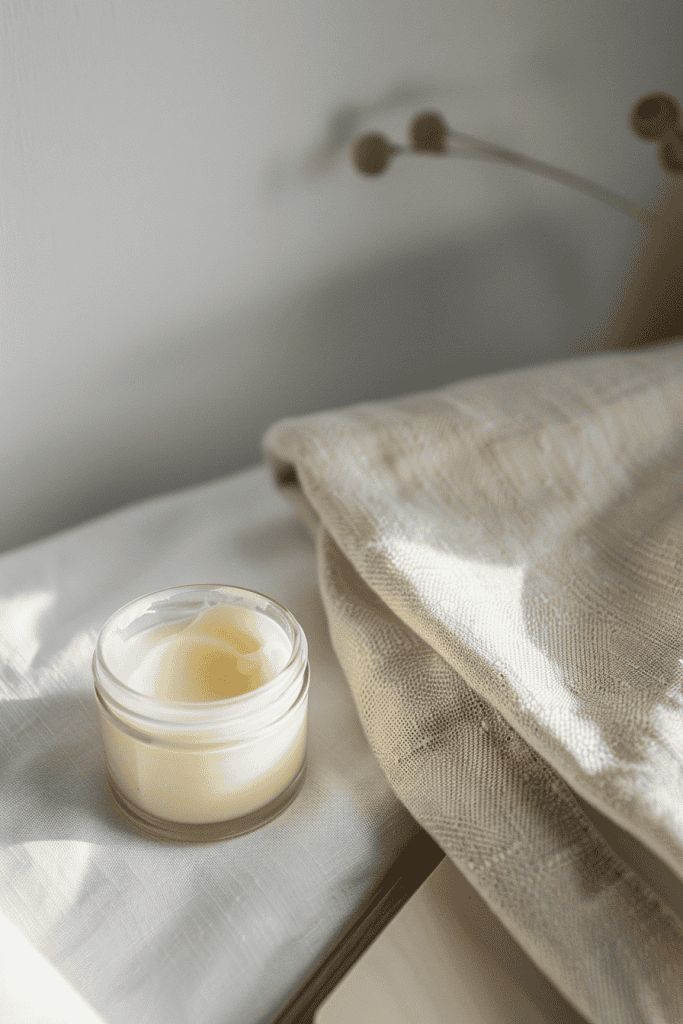
Now your lip balms are ready to use. Apply to your lips whenever they feel dry, or before heading out into cold or windy weather. A little goes a long way – you’ll likely find you don’t need to reapply as often as with commercial chapsticks, since this formula really hydrates.
Enjoy the silky, protective feel on your lips!
If you love making tallow-based skincare, you might also enjoy our whipped tallow body butter recipe for all-over hydration.
Tips for Customizing and Using Your Tallow Lip Balm
One of the great things about this DIY balm is how flexible it is. You can tweak the recipe to suit your preferences, as long as you keep the basic ratios in balance.
Here are some tips and variations to consider:
Adjusting the consistency
The recipe above yields a firm yet creamy balm that stays solid at room temperature. If you live in a very hot climate and find the balm is too soft, you can remelt it and add a bit more beeswax to firm it up.
Conversely, if you prefer a softer, glossier balm, try using a little less beeswax or a little more coconut (or other carrier oil) next time. The key is finding the right beeswax-to-oil ratio for your liking.
Feel free to experiment in small batches – just remember, too much beeswax can make it harder to apply, and too little can cause it to liquefy in warmer temps.
Essential oil suggestions
I’ve mentioned a few, but to reiterate – stick with lip-safe essential oils that won’t irritate or cause photosensitivity. Some popular options (used sparingly in combination or alone) are peppermint, spearmint, sweet orange (or tangerine), lavender, geranium, frankincense, or vanilla (in an oil infusion form).
Peppermint can give a mild tingle and cooling effect, which some people love for a lip balm – but use very little to avoid irritation.
If you want a sweeter flavor without essential oils, consider a vanilla-infused oil or even a tiny dab of raw honey (though honey is water-based and can be tricky to mix uniformly). Always add these after removing the mixture from heat to preserve their properties.
Allergies or substitutions
If you have a nut allergy and can’t use shea butter (shea comes from a nut) or sweet almond oil, you can substitute cocoa butter or mango butter for shea, and use a different carrier oil like jojoba or olive.
The balm texture may change slightly with different butters/oils, but it will remain nourishing. If you are avoiding coconut oil, you can replace it with another liquid oil (or just use more tallow and shea in equal parts).
The recipe is quite forgiving as long as the overall oil-to-wax balance stays similar.
Vegan alternative
This recipe is based on animal-derived ingredients (tallow and beeswax), so it’s not vegan. If you or someone you know wants a vegan lip balm, you would need to replace the tallow with a plant butter (like cocoa butter and extra shea butter) and use a plant-based wax like candelilla wax.
Keep in mind, candelilla is harder than beeswax, so you’d use about half the amount by weight and might need to experiment to get the right texture. (Of course, at that point you’ve created a different balm entirely – but it can be done!).
Shelf life and storage
One big advantage of this tallow lip balm is that it contains no water, so you don’t need any preservatives and it has a long shelf life. Stored in a cool, dry place, your lip balm can easily last 6–12 months (or more) without spoiling.
Tallow and beeswax are both very stable fats. Vitamin E will further prevent oxidation of the oils. Use clean hands when you apply (or just use the tube) to keep it sanitary.
If you notice any strange smell or mold (highly unlikely), then it’s time to toss it – but most users finish it well before that ever happens! Avoid leaving your balm in direct sun or a hot car, as it can melt and the ingredients might break down faster.
If it does melt, don’t worry – just pop it in the fridge until it solidifies again.
Multi-purpose use
You made this balm for your lips, but guess what – it’s essentially a skin salve and is safe to use on other dry areas too. You can dab a little on cuticles, knuckles, or any dry patches of skin that need extra moisture.
Tallow’s skin-repairing qualities and beeswax’s protective barrier work just as well on elbows or hands. Some people even use tallow balm on their face for dry spots (just ensure the essential oils you added, if any, are also facial-skin safe and not too strong).
It’s a wonderful all-around balm to have handy.
Where to get good tallow
If you don’t have tallow yet, check local sources. Often, a local butcher or farmer’s market will sell grass-fed beef fat (suet) which you can render into tallow at home.
You can also buy pre-rendered grass-fed tallow from various suppliers online (for example, some farms and natural product websites, or even Etsy sellers offer it). Just make sure it’s high-quality and ideally grass-fed/pasture-raised, so that it’s pure and nutrient-rich.
Rendering tallow at home is fairly easy (it involves slowly melting the fat and straining out solids) – there are guides online if you’re up for it. Once you have a jar of tallow, you’ll not only be set for this lip balm, but you can use it for all sorts of DIY skincare (or even cooking if it’s food-grade!).
And remember, rendered tallow keeps for months at room temperature, so it won’t go to waste.
By following these tips, you can tweak the lip balm to be just perfect for you. But even the basic recipe I’ve given is wonderfully nourishing as-is.
Many people find that once they switch to a tallow-based lip balm, their lips become softer and more resilient, and they don’t feel the constant need to reapply balm throughout the day.
Plus, it’s just fun and satisfying to make your own personal care products!
If you’re interested in more tallow-based DIY skincare, try our DIY anti-aging hand cream recipe for rich, nourishing moisture.
Nourish Your Lips Naturally – Time to Try It Out!
It’s time to pamper your lips with this healthy, homemade treat. Go ahead and give this ultra-nourishing tallow lip balm recipe a try! Your lips will thank you every time you swipe on this soothing balm.
If you’ve been fighting chapped or sensitive lips, this could be the game-changer you’ve been looking for – a simple, natural solution that provides lasting relief instead of temporary fixes.
Ready to get started? Gather your ingredients and enjoy the process of making your own lip balm. Once you experience the difference, you might never want to go back to store-bought chapsticks.
Feel free to get creative and make the recipe your own, and enjoy the confidence of knowing your lip care is totally toxin-free and cruelty-free (if using ethically sourced tallow).
Have you made this tallow lip balm, or do you have questions or tips to share? Let us know in the comments below!
Share your experience – how did your balm turn out, and how do your lips feel now? I am excited to hear your thoughts and help each other on the journey to natural, nourished lips!
FAQs
Can I add other ingredients for extra benefits, like cocoa butter, lanolin, or different oils?
Absolutely! This recipe is flexible. You can swap or add natural ingredients like cocoa butter, lanolin, jojoba oil, etc., to tailor the balm to your needs. For example, a bit of cocoa butter could add a chocolatey scent and a firmer texture, or a teaspoon of lanolin could boost the balm’s protective qualities.
However, keep the overall ratios of oils-to-wax in mind so you maintain a good consistency. If you add more liquid oils (which make the balm softer), consider increasing the beeswax slightly to compensate.
Likewise, if you add a lot more solid butter (like cocoa butter), you might reduce the beeswax a little so it doesn’t get too hard. The recipe is quite forgiving – just try small adjustments. Vitamin E is a great addition (a few drops as I included) for its antioxidant benefits.
As long as you avoid synthetic additives and keep the mixture roughly balanced, feel free to get creative with natural ingredients!
What essential oils are safe to use in lip balm, and how much should I use?
It’s important to use lip-safe, high-quality essential oils and not to overdo them. Great choices that are generally recognized as safe for lip products (in low concentrations) include peppermint, spearmint, sweet orange, tangerine, lavender, rose, geranium, frankincense, and patchouli.
You can also use food-grade flavor oils or natural extracts, like a drop of pure vanilla or almond extract, but ensure they are oil-based (water-based extracts won’t mix well). The total essential oil concentration should be kept low – around 1–2% of your formula.
In practical terms, that means about 6–12 drops of essential oil per ounce (~30 ml) of balm. In our recipe (~1.5 ounces total), I suggest ~5–10 drops total. This will give a pleasant but mild scent/flavor.
Avoid potentially irritating or phototoxic oils on lips – for example, citrus oils like lime or bergamot can cause sensitivity in sunlight unless they are specifically formulated to be sun-safe. Cinnamon or clove oil can be irritating too.
When in doubt, do a little research on the oil’s safety, or just leave the balm unscented. It will still work wonderfully.
Does tallow lip balm smell like beef or have an odd taste?
A well-rendered, high-quality tallow will have very minimal scent. Most people are surprised that tallow balm doesn’t smell meaty at all. If there is any scent, it’s typically a mild, neutral aroma – some describe it as similar to cocoa butter or just a clean fatty scent.
Using grass-fed tallow and rendering it properly (slowly, with any impurities removed) is key to avoiding any strong odor. Additionally, the beeswax in the recipe lends a lightly sweet, honey-like fragrance, and if you add an essential oil like orange or peppermint, that will mostly cover any hint of tallow.
As for taste, there isn’t really a noticeable taste, especially if you’ve added a touch of essential oil or vanilla. There are no artificial flavors in this balm, which is actually a good thing – it means you’re not tempted to lick your lips (which can dry them out more).
Overall, users of tallow lip balm find that it’s quite neutral in smell and taste, and any subtle natural scent it has is pleasant. If you do notice a strong beefy smell in your tallow, it might not have been rendered fully – you can try purifying it again (melting and straining) or use a bit more essential oil to mask it.
How long does a homemade tallow lip balm last, and should I worry about it going bad?
Your homemade tallow lip balm should last a long time – typically 6 to 12 months at minimum when stored properly. There is nothing in this recipe that spoils quickly (no water, no fresh plant material, etc.). Tallow and beeswax are both shelf-stable.
Over time (many months), the oils could slowly oxidize and lose a bit of potency, but using Vitamin E helps slow that process. To maximize shelf life, keep your lip balm in a cool, dry place out of direct sunlight.
Avoid leaving it in a hot car or on a windowsill, as heat can accelerate oil breakdown (and cause your balm to melt into a mess). If you make a bigger batch, you can store spare tubes in the refrigerator to keep them ultra-fresh, but it’s not required.
As always, use common sense: if you ever see mold (unlikely with no water content) or the smell/oil smells “off,” then err on the side of caution and discard it. In practice, it’s so lovely to use that you’ll likely use it up long before it would ever spoil!
Where can I find grass-fed tallow, or can I make it myself at home?
To get grass-fed tallow, you have a few options. Buying pre-made tallow: Many organic farms and online retailers sell rendered grass-fed beef tallow ready to use. You might find it in farmers markets, natural food stores, or websites of suppliers like US Wellness Meats, Azure Standard, etc.
Even some soap-making supply shops carry tallow. Make sure it’s labeled as cosmetic grade or food grade (either is fine for lip balm, since we want it pure). Making tallow yourself: If you’re up for a DIY adventure, you can render beef fat into tallow at home.
Ask your local butcher or farmer for beef suet (the hard fat around the kidneys) or any beef fat trimmings – these are often very inexpensive. To render, cut the fat into small pieces and heat it slowly in a pot on low heat (or use a slow-cooker) until the fat melts into a liquid and the connective tissues turn crispy. Then strain the liquid fat through a fine strainer or cheesecloth into a jar.
Let it cool and solidify – and voila, you have tallow! There are plenty of detailed tutorials online if you search “how to render tallow.” It may sound rustic, but it’s quite easy (just a bit time-consuming).
The benefit is you’ll have a large supply of tallow for not just lip balm, but also for making body balms, candles, or even cooking.
And it’s economical – often you can get the raw fat for free or cheap. However you obtain your tallow, remember to store rendered tallow in a sealed container; it can be kept at room temp for months, or longer in the fridge.
