
Spring is in the air, and it’s the perfect time to dust off your sewing machine and get creative. As the days grow warmer and brighter, many of us feel that burst of energy to refresh our homes and wardrobes with cheerful colors and new décor.
Whether you’re a beginner sewist just starting out, a homesteader sprucing up your living space, a busy mom looking for fun crafts, or a retiree with a passion for DIY, there’s something magical about spring sewing projects.
They’re often quick, budget-friendly, and oh-so-rewarding.
In this article, I’ve rounded up 11 small sewing projects that you can try this spring. Each project idea comes with a warm dose of inspiration and a quick how-to tutorial, so you can dive right in!
11 Easy Springtime Sewing Projects
Below are 11 simple sewing projects bursting with springtime charm.
Pick one or try them all – each project is beginner-friendly and can be completed in an afternoon or over a relaxed weekend.
1. Spring-Inspired Throw Pillow Covers
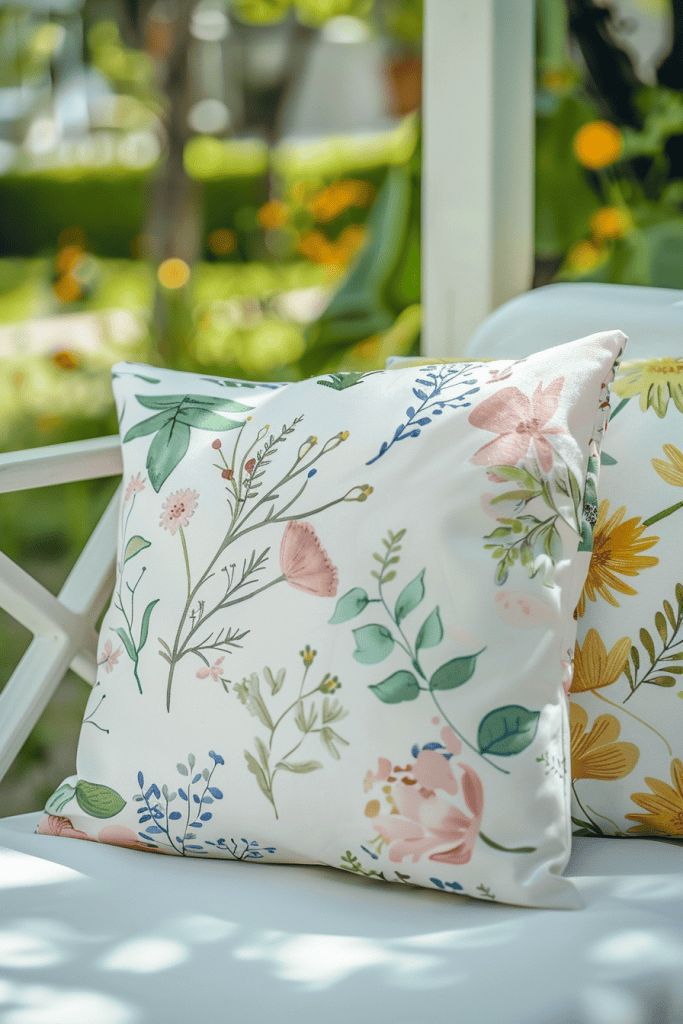
Nothing refreshes a living room for spring faster than some new throw pillow covers.
Choose floral prints, pastel colors, or farmhouse-inspired patterns – whatever puts you in a spring mood. Envelope-style pillowcases are super easy for beginners (no zippers required) and let you swap out seasonal looks in minutes.
How to Make It:
- Cut front and back pieces: Measure your pillow insert (say 18” square). Cut one front piece that size. For the back, cut two rectangles each about half the pillow’s height plus a few extra inches for overlap. Hem one long edge on each back piece.
- Sew the cover: Place the front piece right-side up. Lay the two back pieces on it right-side down, aligned to the edges (hemmed edges overlapping at the center). Pin and sew around all four sides with a 1/2” seam allowance.
- Finish and enjoy: Turn the cover right-side out through the back opening. Tuck your pillow form inside, and you’ve got an instant spring facelift for your couch!
For ways to use small fabric scraps creatively, see small sewing projects using leftover scrap fabrics.
2. Bright and Breezy Table Runner
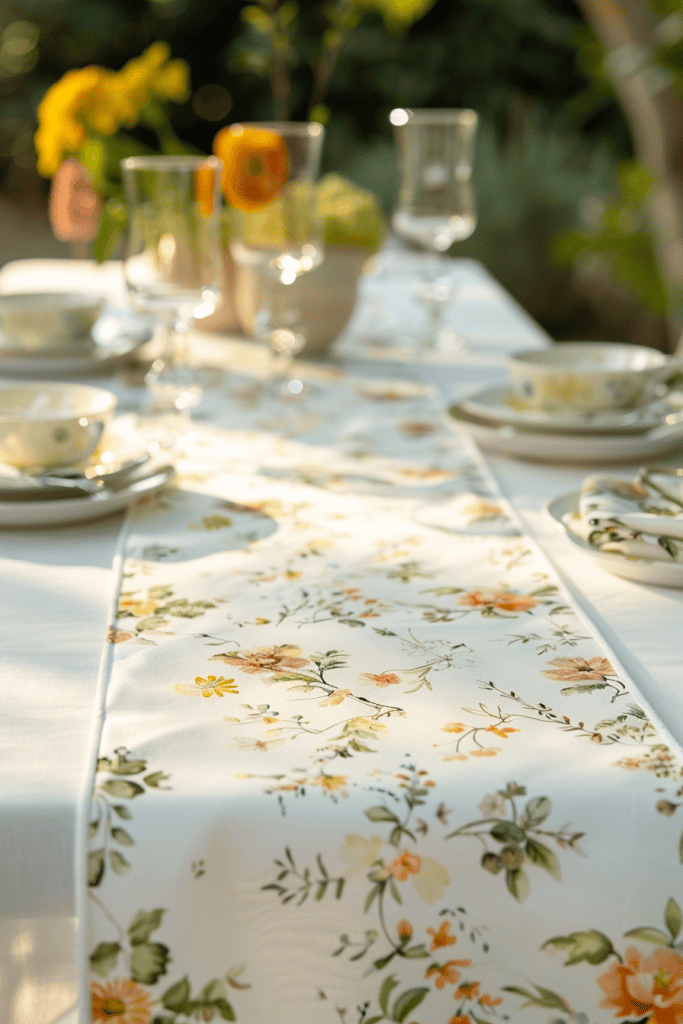
Add a pop of spring color to your dining table with a DIY table runner. Use a single vibrant fabric or piece together patchwork squares from spring-themed prints. Either way, a handmade runner brightens up mealtime and is a breeze to sew.
How to Make It:
- Measure and cut: Decide on the length of your runner (often the length of your table plus a bit of overhang) and the width (around 14” is standard). Cut your fabric to size. (If you prefer a patchwork style, sew together strips or squares first to create the desired length.)
- Sew and finish: Create a narrow hem on all sides by folding the edges under twice and stitching, or make it double-sided by sewing two fabric pieces right sides together (leave a small opening, turn right-side out, then sew the opening closed). Give it a good press. Optional: Add a decorative trim like lace or pom-poms to the short ends for extra charm (check my 6 easy steps to sew lace on fabric guide for tips).
3. Reusable Market Tote with Spring Flair

Lug your farmers’ market finds in style with a DIY fabric tote bag. It’s eco-friendly, practical, and a great way to show off a fun spring print – think florals, fruits, or cute farm patterns.
How to Make It:
- Cut your fabric: Cut two rectangles for the bag body (whatever size tote you want). Also cut two long strips for handles.
- Sew the bag: Place the rectangles right sides together and sew down the sides and across the bottom. (Optional: for a flat bottom, box the corners by sewing across each corner and trimming off the excess.) Turn the bag right-side out.
- Add handles: Fold each strip lengthwise and sew along the edge to make a strap, then turn it right-side out. Stitch the strap ends to the top of the bag. Fold the top edge of the bag down twice and sew around it to hem and secure the handles. Your spring tote is ready to use!
You might also enjoy profitable sewing projects you can sell if you’d like to make extra totes for gifts or a little side hustle.
4. Garden Kneeling Pad
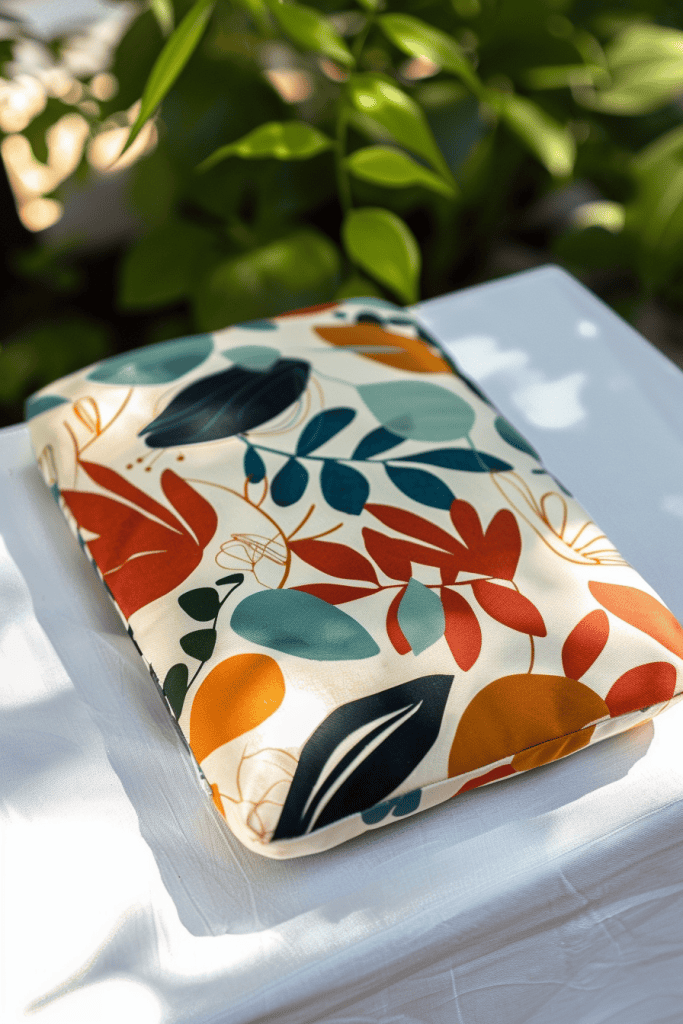
Spring means gardening season – give your knees a break with a homemade kneeling pad. This cushy mat is a gardener’s best friend for weeding and planting, and you can even repurpose materials (like an old foam cushion or camping pad) to make it on the cheap.
How to Make It:
- Cut materials: Cut two pieces of sturdy fabric (canvas, outdoor fabric, or vinyl) to your desired pad size (for example, 12” x 18”). Also cut a piece of thick foam (about 1” thick) slightly smaller than the fabric pieces so it will fit inside.
- Sew the cover: Place the two fabric pieces right sides together. Sew around the edges with a 1/2” seam, leaving a 4” opening on one side. Turn the cover right-side out.
- Insert padding: Push the foam piece into the cover, fitting it into the corners. Sew the opening closed (you can hand-stitch for a neat finish or carefully machine stitch it). Now you have a comfy kneeling pad ready for all your spring gardening chores!
5. Handy Gardening Apron (Tool Belt)
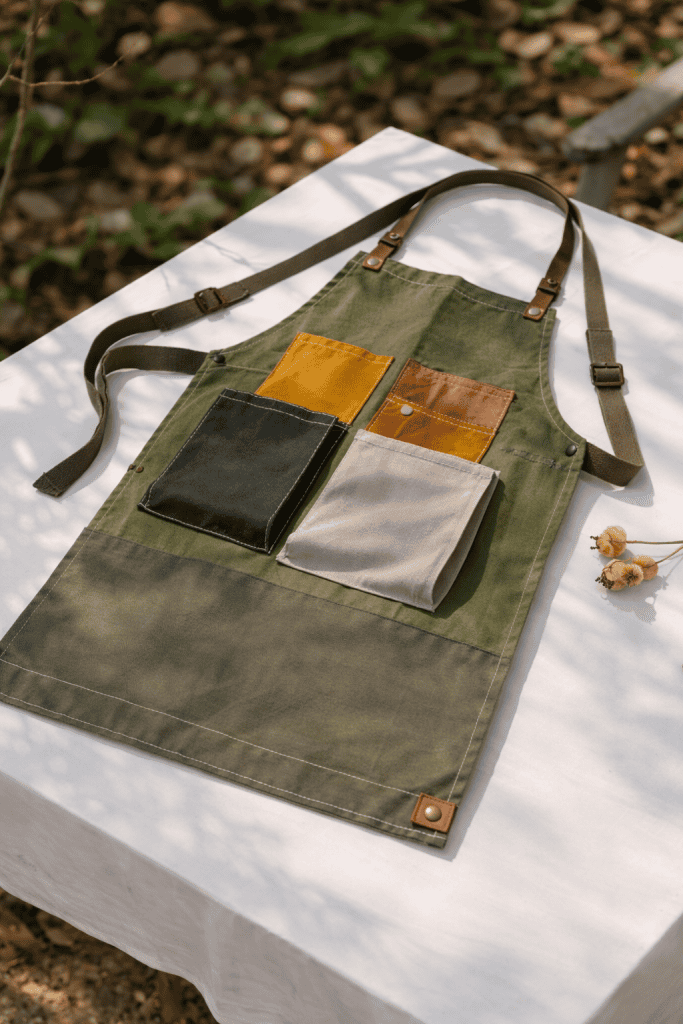
Keep your tools and seed packets within reach by sewing a simple gardening apron. A half-apron (just ties around your waist) with roomy pockets is perfect for spring yard work. Use a sturdy fabric like denim or canvas in a fun print so it’s both durable and cute.
How to Make It:
- Cut apron base: Cut a rectangle wide enough to cover your lap (for example, ~18” wide by 12” tall).
- Add pockets: Cut another piece the same width but about half as tall. Hem its top edge. Place it on the lower half of the apron base and sew it down along the sides and bottom. Then stitch one or two vertical seams through this pocket piece to divide it into smaller pockets for tools and gloves.
- Attach ties: Use two long strips or ribbons (about 30” each) for the waist ties. Sew one end of each to the top corners of the apron. Lastly, hem the apron’s raw edges. Tie it on and get gardening!
If you’re just starting out, you might also like my guide on easy sewing projects for beginners for more approachable ideas.
6. Cute Spring Scrunchies and Hair Bows

For a quick and satisfying project, sew some spring-themed hair accessories. Scrunchies have made a big comeback and they’re perfect for beginners – they use only a bit of fabric, so they’re great scrap-busters.
Choose bright floral or pastel prints to make scrunchies (and maybe matching hair bows) as fun gifts or accessories.
How to Make It (Scrunchie):
- Cut fabric & elastic: Cut a strip of fabric about 3” x 20” (longer strip = puffier scrunchie). Also cut a piece of 1/4” elastic about 6–8” long.
- Sew tube & finish: Fold the fabric strip in half lengthwise (right sides together) and sew along the long edge to make a tube. Turn the tube right-side out. Use a safety pin to thread the elastic through the tube (don’t let the other end pull in). Tie or sew the elastic ends together, then stitch the fabric tube’s ends closed around the elastic loop. Scrunchie done!
For seasonal and simple gift ideas, see my list on sweet valentines sewing projects.
7. Fabric Storage Baskets

Spring cleaning is in the air! As you organize, why not sew a few pretty fabric storage baskets to corral all those odds and ends? These bins are great for holding craft supplies, toys, or even Easter goodies. Pick some sturdy cotton in cheerful prints and make baskets in whatever sizes you need.
How to Make It:
- Cut pieces: Decide on your basket dimensions and cut fabric for the base and sides (cut an outer set and a lining set of pieces).
- Sew baskets: Sew the outer pieces together to form a box (attach sides to each other, then to the base). Do the same for the lining, leaving a few inches unsewn on one side (for turning).
- Finish: Place the outer basket inside the lining (right sides facing) and sew around the top edge. Turn everything right-side out through the opening in the lining. Stitch the opening closed and tuck the lining into the basket. All done!
8. Colorful Pot Holders for the Kitchen
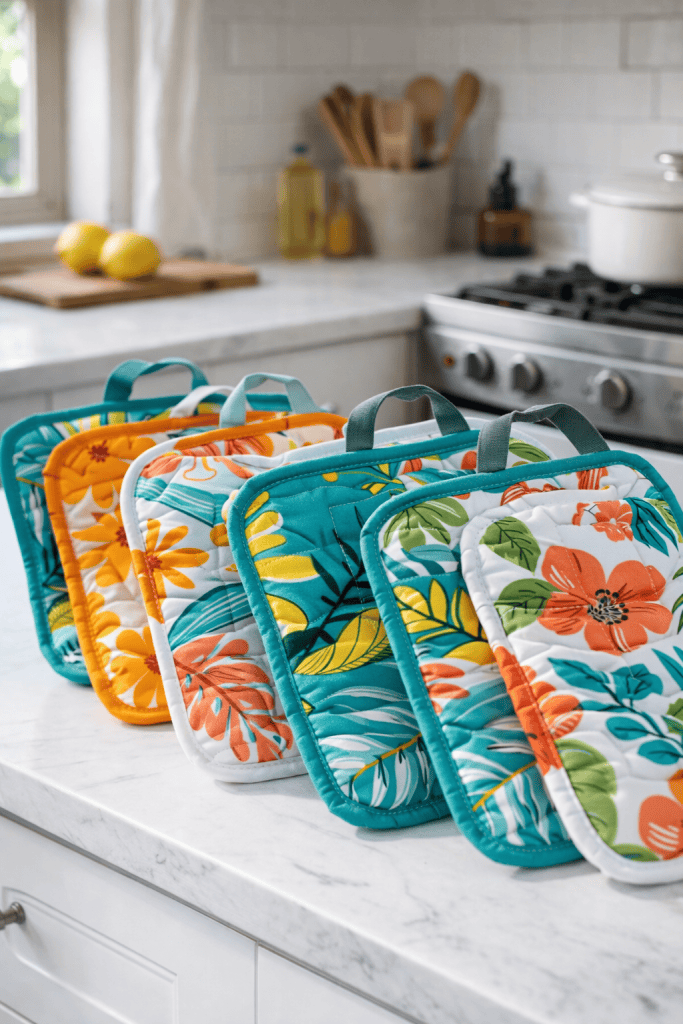
Don’t forget the kitchen – stitch up a pair of potholders or hot pads with bright spring fabrics. This quick project lets you practice basic quilting and adds a cheerful touch to your cooking space.
How to Make It:
- Prepare layers: For each potholder, cut two squares of cotton fabric (about 8” x 8”) and two squares of cotton batting or heat-safe padding. Stack them with one fabric square right-side down, then the two padding layers, then the other fabric square right-side up. If you want a hanging loop, insert a folded small ribbon at one corner between the layers (raw ends sticking out).
- Quilt the layers: Pin the stack. Sew a few lines through all layers (for example, an “X” from corner to corner or a simple grid) to hold everything together.
- Finish the edges: Trim the edges if needed. Sew double-fold bias tape around the edges to bind the potholder neatly (covering all raw edges). Now your cute spring potholders are ready to use!
9. Microwave Bowl Cozy

Tired of burning your fingers on hot bowls from the microwave? Sew a microwave bowl cozy to save your hands. This padded holder wraps around a bowl and is easy to make with scrap fabric. Plus, it looks adorable in spring prints!
How to Make It:
- Cut materials: Cut two squares of cotton fabric and two squares of cotton batting (about 10” each). Use 100% cotton for all materials so it’s microwave-safe.
- Shape the cozy: Stack each fabric square on a batting square and sew an “X” from corner to corner on them. Then sew small darts (folds) at the center of each side of both squares (this gives a rounded bowl shape).
- Sew it together: Place the two pieces right sides together and sew around the edges, leaving a 2” opening. Turn the cozy right-side out through the opening. Sew the opening closed (or topstitch around the edge). Now just pop a bowl in, and no more burnt fingers!
10. DIY Fabric Flowers Bouquet

Why buy faux flowers when you can sew your own that never wilt? Fabric flowers are a delightful spring craft that brings permanent blooms into your home. Use colorful scraps of cotton or felt to create roses, daisies, or any blossoms you like.
Arrange them in a vase or glue onto a wreath – they’ll stay fresh all season long!
How to Make It:
- Create the blooms: One easy way is to make a yo-yo flower. Cut a circle of fabric (about 4” across). Sew a loose running stitch around its edge, then pull the thread tight – the fabric will gather into a little puff (yo-yo). Flatten it; it now looks like a flower. Sew a button or bead in the center as a finishing touch. Make a bunch of these yo-yo flowers in various colors.
- Add stems & display: Attach each fabric flower to a “stem” (green pipe cleaner or floral wire) by hot glue or a few stitches. Then put your bouquet in a jar or vase. Alternatively, you can hot glue the fabric flowers onto a wreath form for a lovely spring wreath. Enjoy your everlasting blooms!
11. Soft Bunny Plush (Springtime Toy)
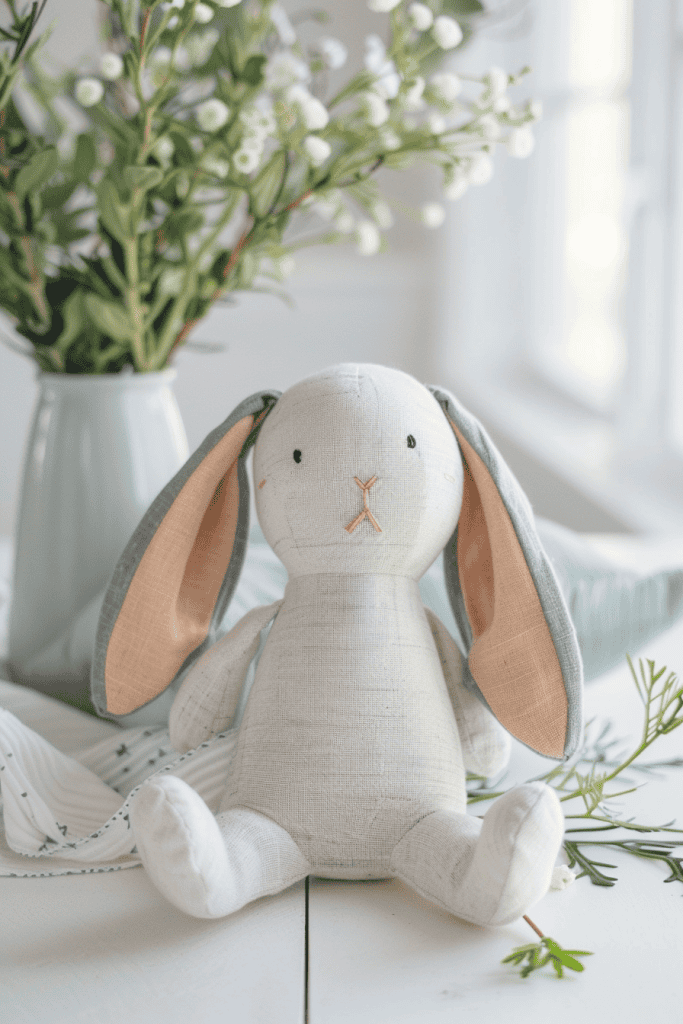
Sewing a small plush bunny is a heartwarming project and makes a lovely gift for kids. You just need a simple pattern, some fabric, and stuffing.
How to Make It:
- Cut the pattern: Draw a simple bunny outline (around 6–8 inches tall) on paper and cut it out. Use it to cut two identical bunny shapes from your fabric.
- Sew the bunny: Place the two fabric pieces right sides together. Sew around the edges, leaving a 2” opening for turning (at the bottom or side). Turn the bunny right-side out through the opening.
- Stuff and finish: Stuff the bunny with fiberfill until it’s nice and plush. Sew the opening closed with a needle and thread. For a finishing touch, you can stitch on eyes and a little nose with embroidery floss or add a tiny pom-pom tail. A ribbon bow around the neck makes it extra adorable. Your spring bunny is ready for cuddles!
Start Your Spring Sewing Adventure Today
Spring is all about new beginnings, so why not begin a new sewing adventure?
These 11 easy projects are just the tip of the iceberg – once you get started, you might find yourself brimming with even more ideas (spring tends to have that effect!).
The key is to pick something that excites you and just give it a go. Even if you’re new to sewing, you can create something beautiful and useful with just a little time and practice.
So, grab some pretty fabric, thread that machine (or needle), and let the spring sunshine boost your creativity. Have fun, don’t worry about little imperfections (they add character!), and celebrate each finished project – big or small.
Which project will you try first this spring? Let us know in the comments below!
FAQs
What are the best fabrics to use for spring sewing projects?
Spring calls for fabrics that are lightweight, breathable, and easy to work with. Cotton is a classic spring favorite because it’s airy and simple to sew. Linen is another great option for warmer weather (it keeps you cool and has a nice natural look). In general, stick to light natural fabrics like cotton, linen, or chambray for spring projects, and save the heavy wools and fleeces for winter.
I don’t have a sewing machine. Can I sew these projects by hand?
Absolutely! While a machine makes sewing faster, you can hand-sew many of these projects if you’re patient. Smaller items like the fabric flowers or the bunny plush are very hand-sewing friendly. For things like pillow covers or tote bags, use sturdy hand stitches (like backstitch) to ensure the seams hold. It will take longer than using a machine, but hand sewing can be quite relaxing. Put on some music, take your time, and enjoy the process. Remember, many people stitched beautiful projects by hand long before sewing machines existed!
How can I repurpose old clothes or materials for these spring projects?
Upcycling old textiles is a fantastic idea. For example, a pretty old bedsheet can be cut and sewn into pillow covers or a table runner. Worn-out jeans can be transformed into a durable gardening apron or kneeling pad. Even an old cotton shirt could become scrunchies or quilt squares. Spring is all about renewal, so give new life to those fabrics you already have!
How can I get my kids or grandkids involved in spring sewing?
Definitely! For little kids, keep things simple and fun. Let them choose colorful fabrics or have them help stuffing a plush toy or yo-yo flower (while you do the sewing). Older kids can learn basic stitching on felt or try simple projects with large needles and yarn. The key is to be patient and make it enjoyable – celebrate their creations, even if it’s just a wonky first stitch. You might inspire a lifelong love of crafting!
I’m new to sewing – any tips to make these projects easier?
Welcome to the wonderful world of sewing! Here are a few beginner-friendly tips to help you out:
- Start simple: Choose a project that doesn’t overwhelm you. Something like a scrunchie or pillow cover is a good first project because it uses straight lines and basic techniques.
- Prepare and practice: Make sure you have the right tools – sharp fabric scissors, proper needles, matching thread, and a measuring tape. Practice a few stitches on scrap fabric first to get comfortable with your machine (or with hand sewing).
- Take your time: Don’t rush the process. Sewing is as much about the journey as the destination. If you make a mistake (we all do!), use a seam ripper to gently undo the stitches and try again. It’s completely okay.
- Enjoy the process: Put on some happy music or an audiobook while you sew to stay relaxed. Celebrate small victories – every seam you finish is one step closer to a completed project. With each project, you’ll gain more skills and confidence. Happy sewing!
