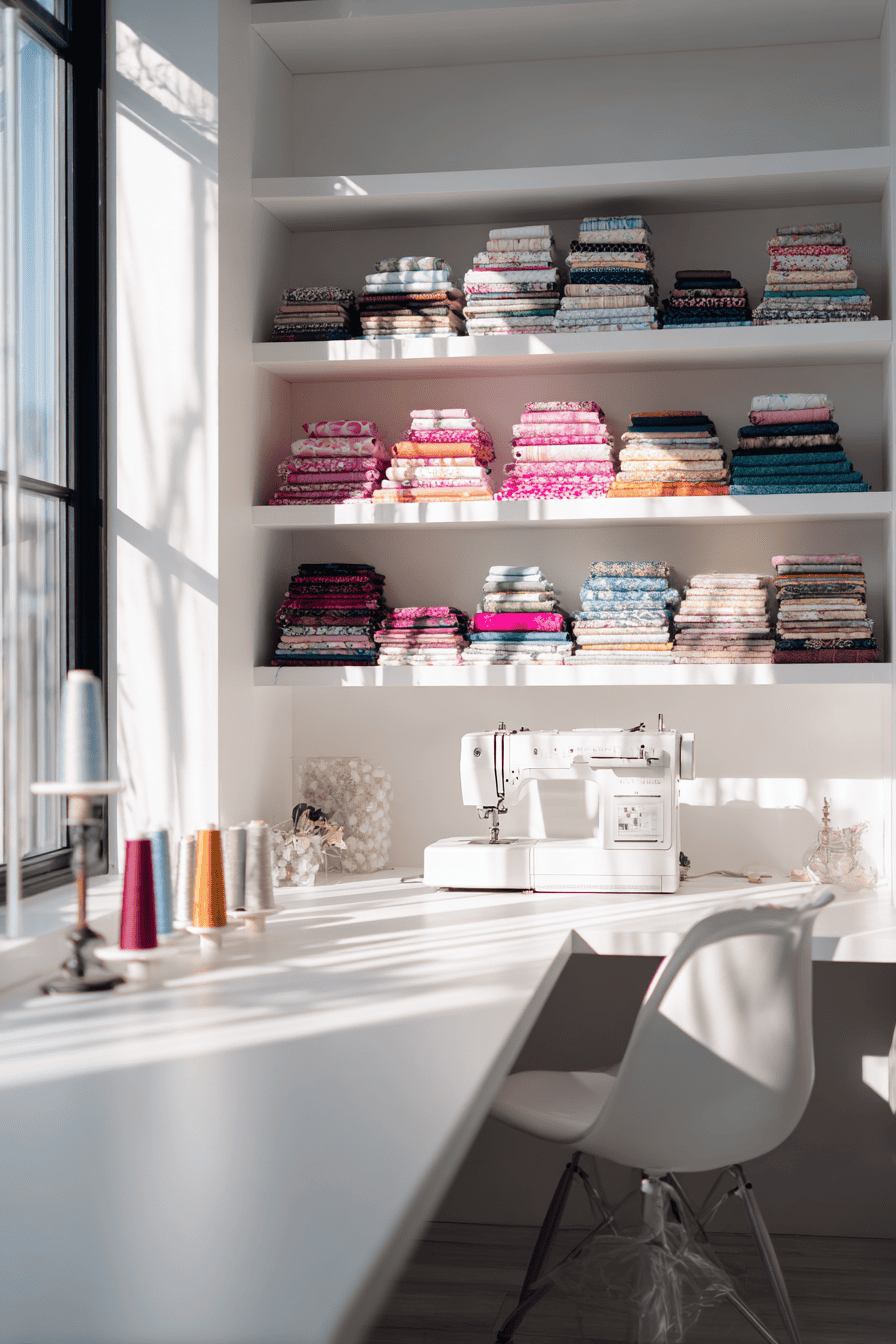
Starting something new is exciting, and sewing is no different!
One of the best ways to feel steady and confident as a beginner is to get familiar with the words you’ll hear again and again.
Sewing has its own vocabulary, but the good news is: once you know these terms, everything else begins to feel simpler.
This list of 28 sewing words is here to support you.
You’ll find clear explanations for the fabric, stitches, and tools you’ll use most often.
With each new project, these terms will become second nature, giving you more freedom to enjoy the creative side of sewing.
Think of this as your starter glossary – a practical foundation you can always lean on as you grow in skill and confidence.
If you’ve explored other crafts before, you may notice some overlap in language. For example, many of these ideas connect closely with basic knitting terminologies and must-know quilting terms, which can make learning new skills feel less overwhelming.
28 Essential Sewing Terms Every Beginner Should Learn
Before you begin sewing, it’s helpful to understand the common words that appear in patterns, instructions, and sewing guides.
These 28 terms form the basic language of sewing.
Once you know them, you’ll be able to follow directions more easily and feel confident at your sewing table.
1. Grainline
The grainline is the direction of the threads in your fabric.
Fabrics are woven with lengthwise threads (warp) and crosswise threads (weft), and the grainline runs parallel to the lengthwise threads.
When a pattern piece has a grainline marking, you align it with the fabric’s grain to make sure the garment hangs correctly and doesn’t twist after washing or wearing.
2. Selvage
The selvage is the tightly woven edge that runs along both sides of fabric.
It is created during manufacturing and doesn’t fray the way cut edges do.
Beginners often use the selvage as a guide because it tells you where the fabric’s straight grain lies.
Knowing how to spot the selvage also helps you measure the true width of your fabric.
3. Bias
The bias is the diagonal direction across fabric, running at a 45-degree angle to the grain. Unlike the straight grain, the bias has stretch and flexibility.
This is why you’ll see instructions to “cut on the bias” when making bias tape, curved hems, or garments that need more drape.
It’s a simple concept that makes a big difference in how fabric behaves.
4. Right Side / Wrong Side
Most fabrics have a right side, which is meant to face outward, and a wrong side, which stays inside the garment or project.
On printed cottons, the right side is the brighter, clearer print, while the wrong side is usually lighter or duller.
Identifying these sides before you cut or sew helps you keep your project consistent and professional.
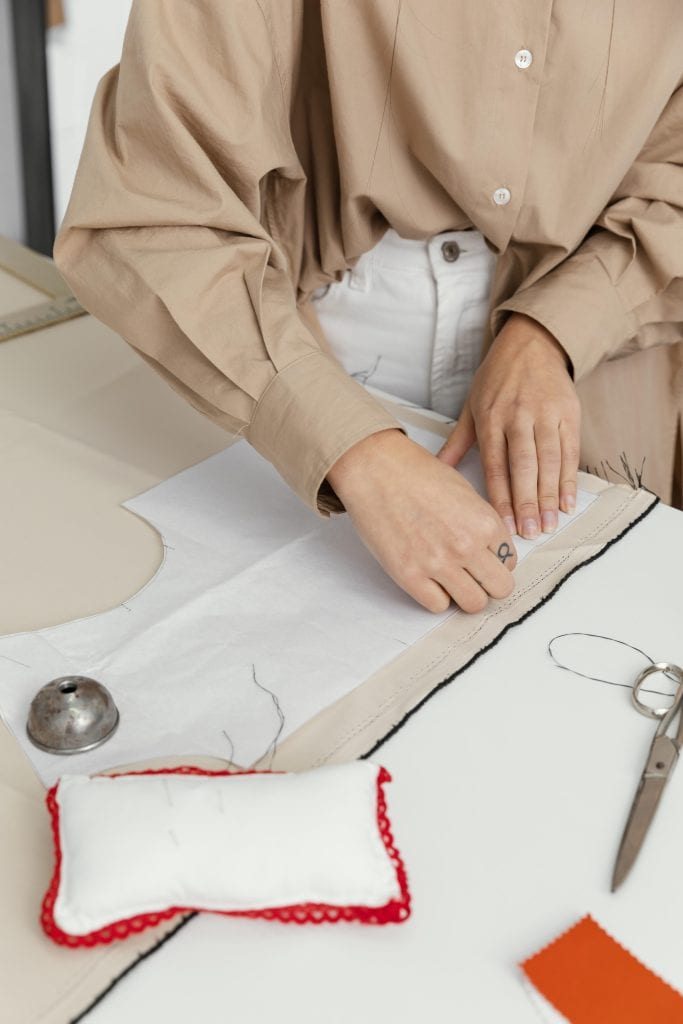
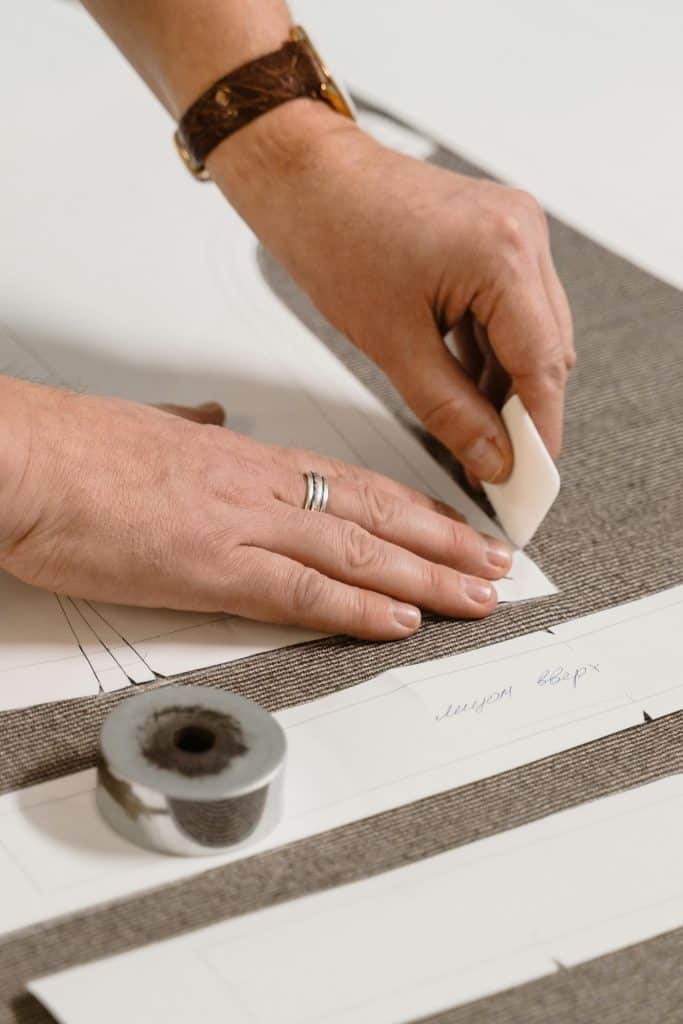
5. Pattern Piece
A pattern piece is a paper template that shows the exact shape and markings you need to cut from fabric.
Each piece includes important guides such as grainlines, fold indicators, darts, and seam allowances.
These instructions tell you how to place the piece on the fabric and how it will later connect to other pieces, making construction much easier to follow.
If you’re just getting started and don’t want to invest in paid patterns yet, there are plenty of free sewing patterns available that are perfect for practicing with pattern pieces, grainlines, and seam allowances.
6. Notches
Notches are small marks or symbols printed on pattern pieces that help you line up fabric accurately when sewing.
They often look like little triangles or lines along the cutting edge.
By cutting or marking these notches, you can easily match seams, darts, or pleats so the project comes together smoothly.
They are small details, but they prevent frustration later on.
7. Seam Allowance
A seam allowance is the space between the edge of the fabric and the line of stitches.
Patterns usually include this extra width – often ⅝ inch (1.5 cm) – so the seam is strong and durable without fraying.
Paying attention to seam allowances ensures your garment will fit properly, since sewing too close or too far from the edge can change the size of your finished piece.
8. Cut on Fold
“Cut on fold” means placing a pattern piece against the folded edge of your fabric so that when it’s cut and opened, it forms a symmetrical shape.
This is often used for larger pieces like the front of a shirt or a skirt panel.
Following this instruction saves time and ensures your fabric pieces are even and balanced.
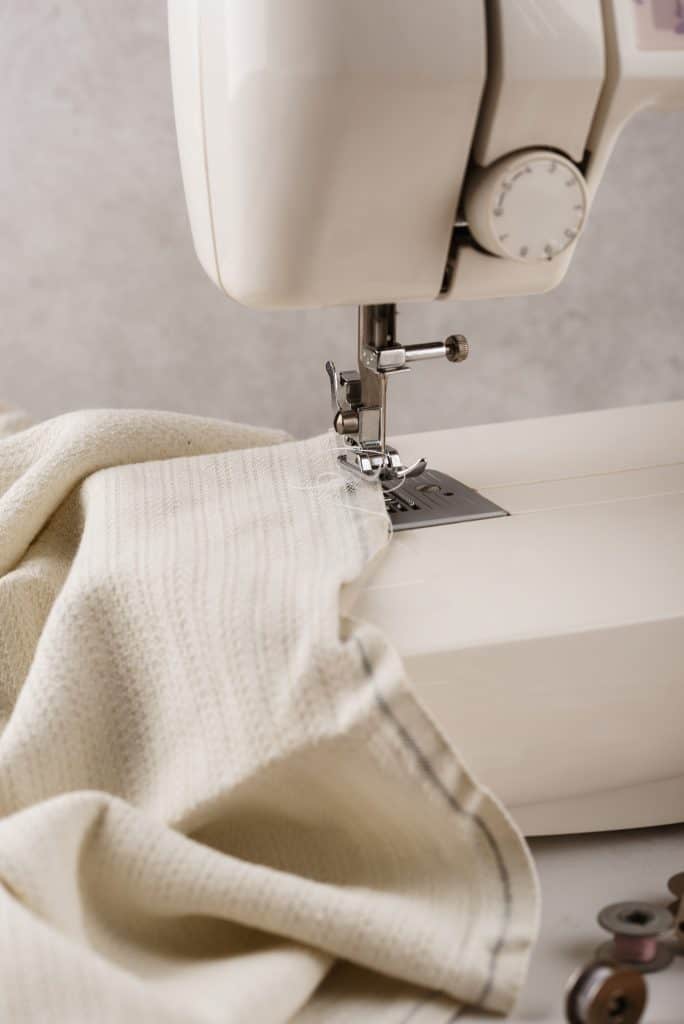
9. Presser Foot
The presser foot is a part of the sewing machine that holds fabric flat against the feed dogs while you sew.
It keeps the fabric stable so stitches form evenly.
Different presser feet are designed for specific tasks (like zippers, buttonholes, or quilting) but the standard presser foot is used for most straight and zigzag stitching.
Learning how to attach and change it is an early step in machine sewing.
10. Bobbin

The bobbin is a small spool that sits inside your sewing machine and holds the lower thread.
While the needle carries the top thread, the bobbin supplies the bottom thread, and together they form a secure stitch.
Winding, inserting, and threading the bobbin correctly is one of the first practical skills beginners practice, since every seam depends on it.
11. Feed Dogs
Feed dogs are the small, metal teeth located under the presser foot of a sewing machine.
As you sew, they move in a steady back-and-forth motion, gently pulling the fabric through at the right pace.
This allows your stitches to stay even without you having to push or tug the fabric.
Understanding how feed dogs work helps you trust the machine to do its job smoothly.
12. Tension
Tension refers to how tightly the sewing machine controls the upper and lower threads.
Proper tension ensures stitches are balanced – neither too loose nor too tight.
If tension is off, your stitches may look uneven, but when it’s set correctly, both sides of the fabric will look neat.
Beginners quickly learn that adjusting tension is key to professional-looking results.
13. Backstitch

A backstitch is a short row of stitches sewn backward at the beginning and end of a seam.
This reinforces the seam and prevents stitches from unraveling over time.
It only takes a second to do, but it gives your projects strength and durability.
Nearly every seam starts and ends with a backstitch, making it one of the most essential techniques to know.
14. Basting Stitch
A basting stitch is a long, temporary stitch used to hold fabric pieces together before final sewing.
Because the stitches are loose, they can easily be removed later.
Basting is especially helpful when checking the fit of a garment or keeping gathers in place.
Beginners often use it as a “practice run” to make sure everything lines up before committing to permanent stitches.
15. Zigzag Stitch
The zigzag stitch moves the needle from side to side, creating a flexible line of stitches.
This stitch is often used to finish raw fabric edges, sew stretch fabrics, or create decorative effects.
It’s one of the most versatile stitches on a sewing machine and a favorite among beginners because it helps prevent fraying while adding flexibility to seams.
16. Seam Finish
A seam finish is the method used to treat the raw edges of fabric after a seam is sewn.
Without a finish, fabric edges may fray with wear and washing.
Common finishes include zigzag stitching, pinking shears, or serging.
Using the right finish not only makes your project last longer but also keeps the inside looking neat and professional.
17. Running Stitch

The running stitch is the most basic hand-sewing stitch.
It’s made by weaving the needle in and out of the fabric at even intervals, creating a dashed-line effect.
This stitch is simple but versatile – it can be used for gathering fabric, temporary seams, or decorative stitching.
Many beginners start here when first learning to handle needle and thread.
You can also check out my guide on essential stitches for beginners to practice alongside this one.
18. Slip Stitch (Ladder Stitch)
The slip stitch, also called the ladder stitch, is a nearly invisible hand stitch used to close openings or finish hems.
The needle “catches” only a few threads of fabric at a time, making the stitches blend into the seam.
This is the technique often used to neatly close a pillow after stuffing or to give hems a clean, hand-finished look.
19. Whipstitch
A whipstitch is a hand stitch that wraps thread around the edge of fabric.
It’s often used for sewing two edges together, attaching appliqué, or finishing raw edges.
The stitches are visible but can be neat and even when practiced. For beginners, it’s an easy way to secure fabric and learn basic hand-finishing skills.
20. Seam Ripper
A seam ripper is a small, pointed tool designed to remove stitches.
It has a sharp tip and a tiny blade that slips under threads, making it easy to undo mistakes or take apart seams.
While it may feel discouraging to use at first, every sewist relies on it regularly – it’s a practical tool that helps you correct errors and keep projects moving forward.
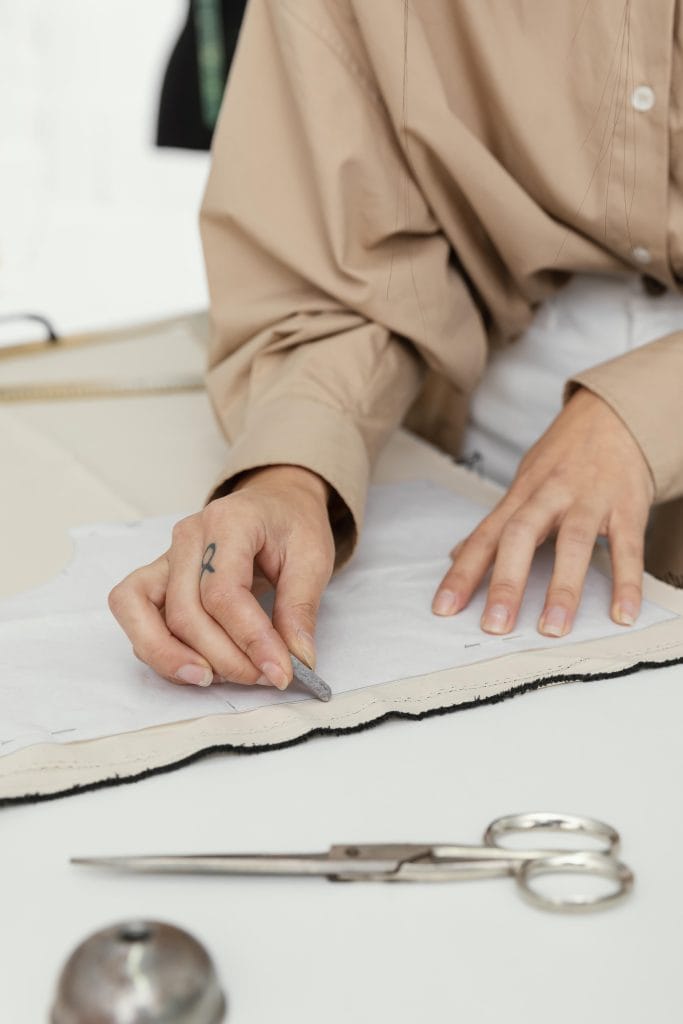
21. Tailor’s Chalk / Fabric Marker
Tailor’s chalk and fabric markers are tools used to make temporary marks on fabric.
These marks guide you when cutting, stitching, or aligning pattern pieces.
The lines wash out or fade over time, so they won’t affect the final project.
Beginners often find them helpful for drawing seam allowances, darts, or button placements with accuracy.
22. Pins and Clips
Pins and clips are small tools that hold fabric layers together before sewing.
Pins are sharp and slide easily into most fabrics, while clips work well for thicker materials like denim or leather.
Using them keeps fabric from shifting and ensures your seams line up neatly.
For beginners, this extra step makes sewing much smoother and more accurate.
If pinning feels awkward at first, you’re not alone. Learning how to pin fabric the right way can improve accuracy and prevent shifting, especially when working with slippery or layered materials.
23. Iron and Pressing Tools
An iron is one of the most valuable tools in sewing.
Pressing fabric as you go (flattening seams, setting folds, and shaping darts) helps projects look polished.
Pressing is different from ironing clothes; it’s about carefully applying heat and pressure to guide fabric into place.
Beginners quickly see how pressing makes seams sharper and garments more professional.
24. Hem
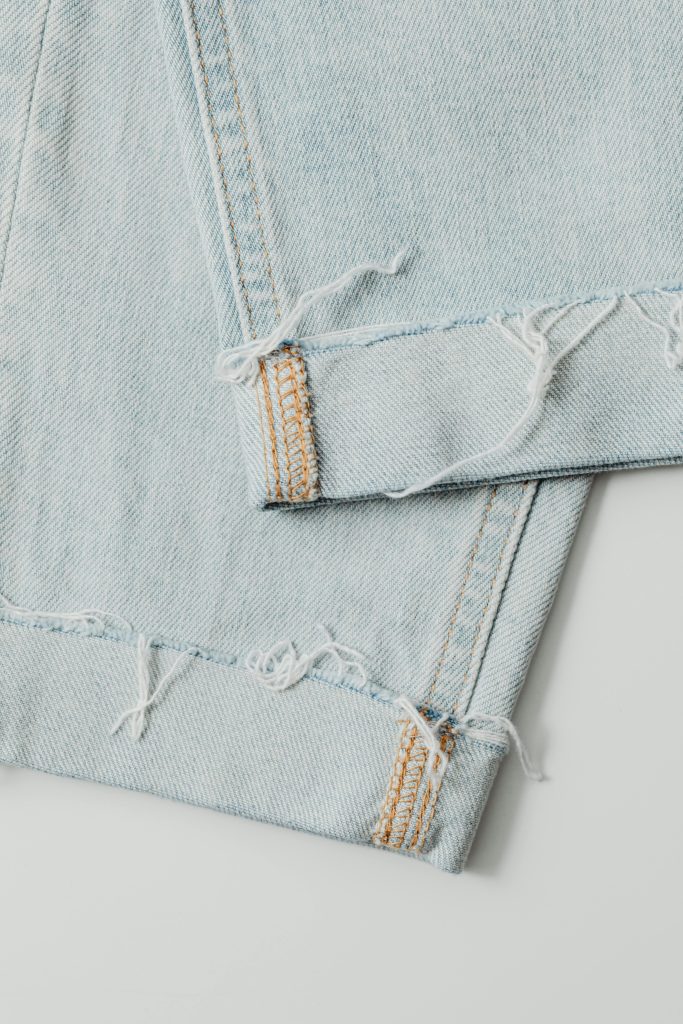
A hem is the folded edge at the bottom of a garment, curtain, or other project.
Folding the raw edge under and stitching it down prevents fraying and gives a clean finish.
Hems can be wide, narrow, invisible, or decorative, depending on the style.
They are one of the most common finishing techniques, and every beginner will practice them often.
25. Dart
A dart is a stitched fold that shapes fabric to fit the curves of the body.
They are most often found in garments like dresses, blouses, and trousers.
By folding and sewing a wedge of fabric, darts give clothing structure and a more tailored fit.
For beginners, they may seem intimidating at first, but they are simply a clever way to turn flat fabric into a three-dimensional shape.
26. Gathering
Gathering is a technique where long stitches are sewn in fabric and then pulled to create soft folds or ruffles.
It adds fullness to skirts, sleeves, and decorative details.
Beginners often practice gathering when making simple projects like aprons or pillow covers, as it’s both easy to learn and visually rewarding.
27. Ease
Ease is the extra room built into a garment to allow for comfort and movement.
It’s the difference between your body measurements and the garment’s finished measurements.
For example, a fitted shirt may have little ease, while a loose dress has more.
Understanding ease helps beginners choose the right size and anticipate how a garment will fit.
28. Overcast / Serge
Overcasting and serging are methods used to finish fabric edges and prevent fraying.
An overcast stitch can be sewn on a regular machine, while a serger (a specialized machine) trims and finishes the edge in one step.
Beginners can start with a zigzag stitch for the same purpose before moving on to a serger.
These finishes keep projects durable and neat inside and out.
Learning These 28 Words Matters

Knowing the right words gives you clarity and confidence.
Sewing patterns, tutorials, and instructions all rely on these terms, and once you understand them, you can focus on the actual steps without hesitation.
Instead of guessing, you’ll recognize what’s being asked and move forward with ease.
These words also create a shared language. When you talk with other sewists, ask for advice, or follow along with a class, having the right vocabulary allows you to communicate clearly and learn more effectively.
It turns sewing from something that feels uncertain into a skill you can approach with assurance.
Most importantly, these 28 terms lay a strong foundation. With them, each project becomes less overwhelming and more enjoyable.
As you practice, the words will feel natural – tools you can rely on to guide your progress and open the door to more creative sewing projects.
Practical Sewing Tips for Beginners
Learning new terms is helpful, but putting them into practice is what makes them stick.
Here are a few simple ways to make these words part of your everyday sewing routine:
- Keep a glossary nearby: Print this list or write the terms in a small notebook you can keep at your sewing table. When a pattern mentions a word you’re not fully comfortable with, you’ll have a quick reference at hand.
- Practice as you learn: As you encounter a new term, apply it right away. For example, when a pattern calls for a “seam allowance,” pause and measure it on your fabric. This small habit turns definitions into real skills.
- Start with manageable projects: Choose projects that naturally introduce several of these terms, like a pillow cover, tote bag, or apron. These allow you to practice cutting on the fold, sewing seams, and pressing hems without feeling rushed.
- Observe while sewing: Pay attention to how your machine works – watch the feed dogs pull fabric, notice the role of the presser foot, and see how tension changes affect stitches. Observing reinforces what you’ve learned.
- Build confidence gradually: Don’t pressure yourself to memorize everything at once. Instead, focus on a handful of terms per project. Over time, the vocabulary will become second nature, giving you more freedom to explore creative designs.
If you’re completely new, you might also like my step-by-step guide on how to start sewing as a beginner.
Put These 28 Sewing Terms Into Practice Now
Understanding sewing terminology is one of the simplest ways to make progress as a beginner.
These 28 words give you the foundation to follow patterns, use your tools correctly, and approach each project with clarity.
The more you use them, the more natural they’ll feel.
Learning to sew is a step-by-step process, and knowing the language makes every step smoother.
Keep this list nearby, practice as you go, and you’ll see your skills and confidence grow with every project.
Which sewing term did you find most helpful from this list? Comment below and share your experience so we can learn together.
FAQs
1. What sewing terms should I learn first as a complete beginner?
Start with seam allowance, grainline, hem, bobbin, and backstitch. These appear in almost every project, so learning them first helps you get comfortable quickly.
2. How do I remember sewing terms without memorizing a long list?
Apply each term in context. For example, when your pattern mentions “cut on fold,” actually practice cutting that way. Using the words while sewing is the best way to make them stick.
3. Do sewing machines come with their own terminology?
Yes. Words like presser foot, feed dogs, bobbin, and tension are specific to sewing machines. Once you know them, operating your machine feels much easier.
4. Are hand-sewing terms still important if I plan to use only a machine?
Absolutely. Stitches like running stitch, whipstitch, and slip stitch are useful for finishing details, quick fixes, or sewing in places a machine can’t reach.
5. How does knowing sewing terminology improve my projects?
It saves time and reduces mistakes. When you understand the words in patterns and tutorials, you can focus on sewing instead of guessing what instructions mean. That clarity leads to cleaner seams, better fits, and more enjoyment.
