Sewing your own clothes becomes much easier once you understand how your machine works with different fabrics.
The truth is, sewing machine settings are simply helpful adjustments that make your seams stronger, your hems smoother, and your garments more comfortable to wear.
Instead of guessing or struggling through trial and error, you can rely on a few simple guidelines that apply to most fabrics and clothing projects.
With the right stitch length, width, and tension, your sewing feels more steady, and your finished pieces look polished and professional.
This cheat sheet is here to give you clear, quick references you can use right at your machine.
Whether you’re working on a cotton dress, a knit t-shirt, or a sturdy pair of denim jeans, you’ll know exactly where to start.
Why Machine Settings Matter for Clothing
Every stitch you make on a garment does more than hold fabric together – it shapes how that piece feels, moves, and lasts over time.
The settings on your sewing machine are the quiet details that decide whether your seams feel sturdy, your hems sit smoothly, or your fabric stretches comfortably when worn.
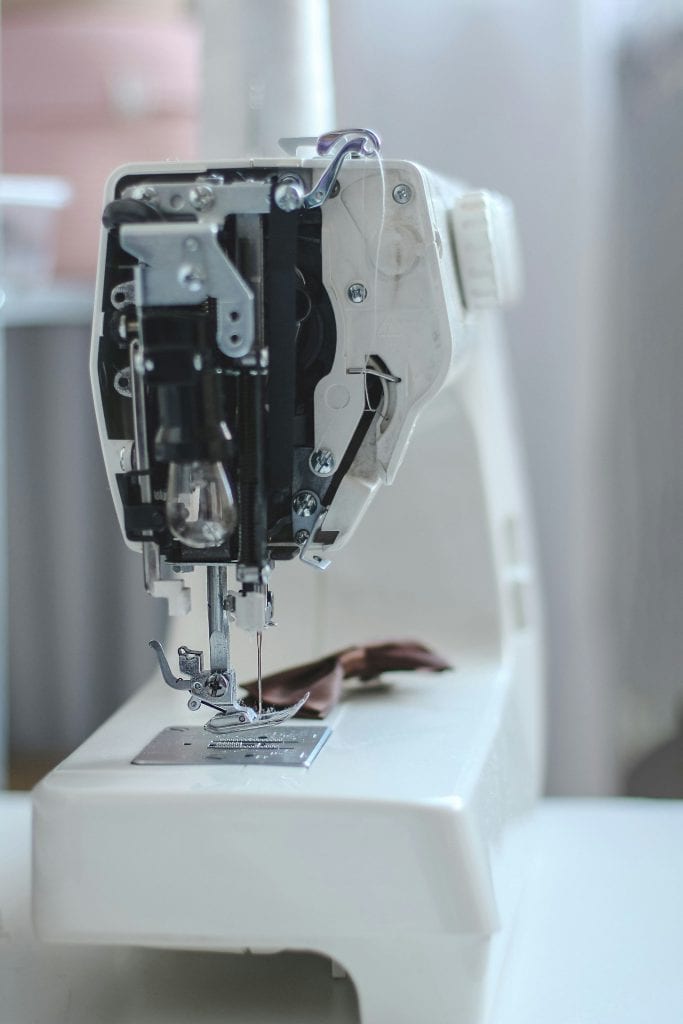
Understanding the anatomy of your sewing machine helps these adjustments make a lot more sense, because you’ll know exactly which parts are doing the work.
When you choose the right stitch length, width, and tension, you set yourself up for clothes that don’t just fit but also hold up beautifully through everyday wear.
A blouse can drape more naturally, jeans can stay strong at the seams, and knit shirts can stretch without popping stitches.
The encouraging part is this: adjusting your settings is surprisingly simple! With a few simple tweaks, you can achieve professional-looking results at home.
Once you see how much difference these small adjustments make, sewing becomes more enjoyable – and your clothes reflect that confidence.
The Three Core Settings to Understand
Before diving into fabric-specific details, it helps to get comfortable with the three settings that shape nearly every stitch you’ll sew.
Once you understand how these work, you’ll feel more confident adjusting them for any garment.
1. Stitch Length
This simply measures how long each stitch is. Short stitches (around 2.0 mm) work well for delicate fabrics and seams that need strength.
Medium stitches (2.5–3.0 mm) are the everyday standard for most clothing seams.
Longer stitches (3.5 mm or more) are perfect for topstitching or basting, where you want neat lines that are easy to remove if needed.
Rule of thumb: shorter for strength, longer for style.
2. Stitch Width
Width applies when you’re using stitches beyond the straight stitch, like zigzag or stretch stitches.
A narrow zigzag can secure raw edges, while a wider one allows knit fabrics to stretch naturally.
Adjusting width is especially useful when sewing hems or finishing edges without a serger.
If you do use one, understanding the anatomy of a serger helps you achieve clean, professional finishes.
Rule of thumb: narrow for stability, wider for flexibility.
3. Tension
Tension balances how the upper thread and bobbin thread pull against each other.
Too loose, and stitches look messy; too tight, and fabric puckers. For most clothing, a middle setting (around 4 on many machines) keeps stitches balanced.
If you’re unsure what your dial should be set to, learning how to adjust tension on a sewing machine takes the guesswork out of troubleshooting.
Rule of thumb: balanced tension makes seams both neat and flexible.
Fabric-Specific Sewing Machine Settings Cheat Sheet
Every fabric behaves a little differently under the presser foot. Instead of memorizing complicated rules, you can rely on a few steady guidelines that make sewing clothes much smoother. Use these as starting points, then fine-tune as you sew.
| Fabric Type | Stitch Type | Stitch Length | Stitch Width | Tension | Why It Works |
|---|---|---|---|---|---|
| Cotton & Linen (woven basics) | Straight stitch | 2.5–3.0 mm | N/A (zigzag for finishing) | 4 (medium) | Neat, durable seams for everyday garments like shirts, skirts, and dresses. |
| Knits (t-shirts, leggings, baby clothes) | Stretch stitch or narrow zigzag | 2.5–3.0 mm | 0.5–1.5 mm (seams), up to 3.0 mm (hems) | 3–4 (relaxed) | Allows fabric to stretch without breaking stitches; keeps clothes flexible. |
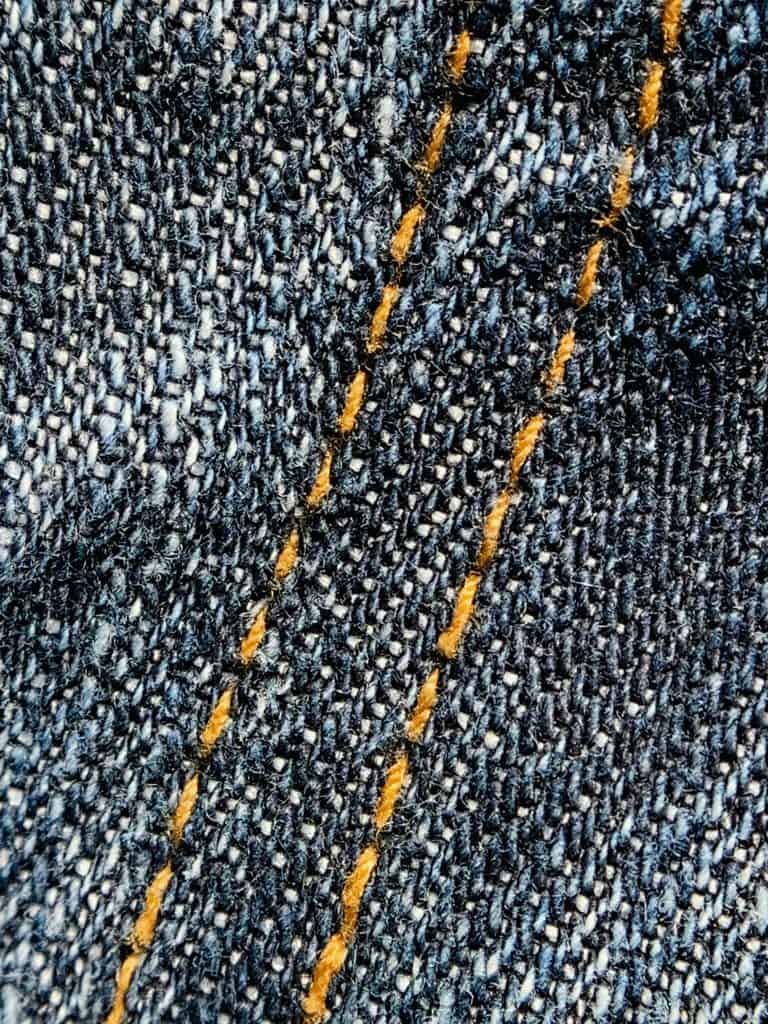
| Denim & Heavy Fabrics (jeans, jackets, aprons) | Straight stitch + topstitching | 3.0–3.5 mm | N/A (zigzag optional for finishing) | 4–5 (slightly stronger) | Handles thick layers without bunching; stronger tension secures seams. |
| Silk & Lightweight Fabrics (blouses, dresses) | Straight stitch | 2.0–2.5 mm | Narrow zigzag for edges | 3–4 (slightly relaxed) | Protects delicate fabric, prevents fraying, avoids puckering. |
| Wool & Blends (skirts, coats, trousers) | Straight stitch | 2.5–3.0 mm | Zigzag or overcast for edges | 4 (balanced) | Holds structure while allowing natural drape without pulling. |
Clothing Applications: Common Garment Areas
Different parts of clothing often call for slightly different machine settings. Think of it as tailoring your stitches to the task at hand.
These quick references will help you choose the right approach for seams, hems, topstitching, and finishing edges.
Seams
For most woven fabrics, a straight stitch at 2.5–3.0 mm with medium tension (around 4) creates sturdy seams that hold up well.
On knits, switch to a stretch stitch or narrow zigzag with slightly relaxed tension so the seam can move with the fabric.
Hems
Hems finish off a garment and affect how it hangs.
A blind hem stitch works beautifully for dress pants or skirts, while a narrow zigzag or twin needle hem is best for knits like t-shirts.
Use a medium stitch length (2.5–3.0 mm) and test on a scrap for a smooth finish.
Topstitching
Topstitching is both practical and decorative.
Use a longer stitch length (3.0–3.5 mm) for a neat, polished line that stands out.
This works especially well on jeans, jackets, or anywhere you want a durable accent.
Edge Finishes
Raw fabric edges can fray or curl without the right finish.
A zigzag stitch, overcast stitch, or serger-like setting helps secure those edges.
For lightweight fabrics, keep the width narrow; for heavier fabrics, widen the stitch for full coverage.
How to Fix Common Sewing Machine Problems Easily

Even with the right settings, fabric sometimes behaves in surprising ways.
Instead of getting frustrated, use these quick fixes – many of which come straight from the most common sewing machine mistakes sewists make:
- Fabric bunching under the presser foot → Lower the thread tension slightly or lengthen the stitch to let the fabric glide smoothly.
- Stitches skipping on knits → Switch to a stretch stitch or use a ballpoint needle so the machine catches the loops consistently.
- Puckered seams on lightweight fabrics → Lighten the tension and shorten the stitch length for a smoother finish.
- Uneven stitches on heavy fabrics → Increase stitch length and check that you’re using a needle made for denim or thick materials.
- Wavy hems on knits → Try using a twin needle with a stretch stitch or add a strip of stabilizer to keep the hem flat.
Each adjustment is a small step that makes your sewing process feel easier and more reliable.
Over time, these little corrections become second nature, and your finished clothes show the care you put into them.
Create Your Own Personal Cheat Sheet
Every sewing machine (and every sewist) has its own rhythm.
While general settings are a reliable starting point, nothing replaces the value of your own notes.
Creating a personal cheat sheet helps you capture what works best for you, fabric by fabric.
An easy way to do this is by keeping a fabric swatch book. Cut a small square from your project fabric, sew a test line, and tape or pin it into a notebook.
Beside it, jot down the stitch length, width, tension, and any helpful observations.
Over time, you’ll build a custom reference that’s perfectly tuned to your machine and your style of sewing.
This small habit saves you from guessing each time you sit down to sew.
It turns trial-and-error into a record of success – and before long, your cheat sheet becomes as useful as the manual that came with your machine, but written in your own words.
Try Out Your Sewing Machine Settings
The beauty of sewing is that even imperfect stitches can still create clothes you love to wear.
With reliable settings and a solid understanding of your machine, sewing becomes less intimidating and more enjoyable.
Over time, your machine feels less like a puzzle and more like a creative partner especially once you’ve followed an ultimate guide to picking a sewing machine that suits your needs.
Have you experimented with different machine settings for fabrics or garments?
Share your experience – your tips might help another sewist find their perfect stitch.
FAQs
What stitch should I use for sewing elastic into clothing?
Use a zigzag stitch set to medium width (around 2–3 mm) and a medium stitch length (2.5–3.0 mm). This allows the elastic to stretch without breaking the thread.
Do I need to change my settings when switching to a twin needle?
Yes. Lengthen the stitch slightly (around 3.0 mm) and loosen the tension a touch. This prevents tunneling between the two stitch lines and gives a smooth hem finish.
How often should I adjust tension when sewing clothes?
Most of the time, a middle setting works well. Adjust tension only when you notice puckering, loose stitches, or uneven seams. Small turns of the dial are usually enough.
Can I sew knit fabric with a straight stitch?
You can, but it may snap under stress. A narrow zigzag or stretch stitch is better because it allows the seam to move with the fabric without breaking.
What settings work best for topstitching with thick thread?
Increase stitch length to 3.5–4.0 mm and use a heavier needle. Keep tension balanced, but test on a scrap since thick thread may need slight adjustments.
