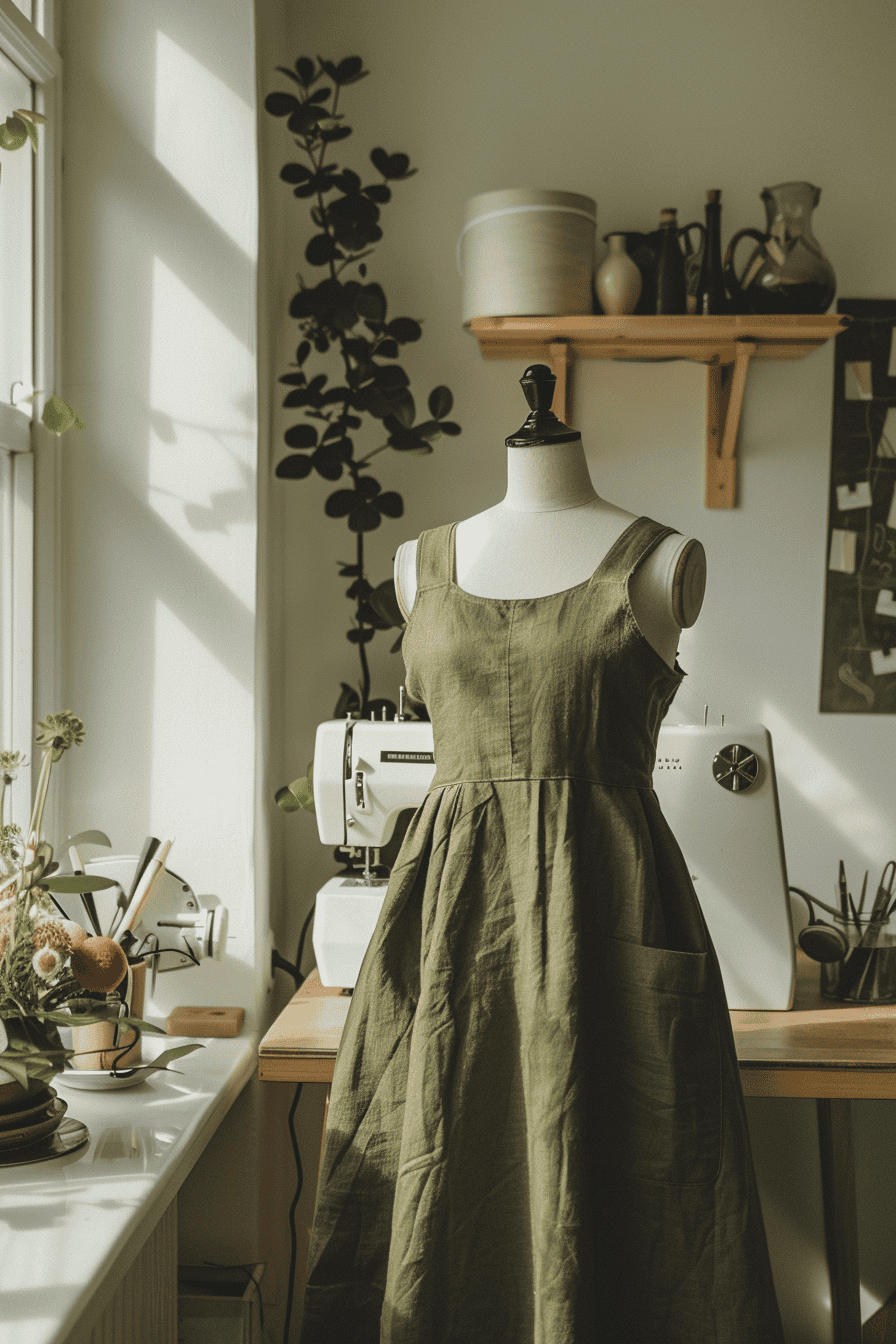
Sewing your own clothes is a beautiful act of creativity.
But like any new skill, sewing has its learning curves. Every beginner makes small missteps – and that’s perfectly natural.
The good news is, most of these slip-ups are easy to avoid once you know what to watch for.
With a few thoughtful adjustments, your handmade clothes can shift from looking “just sewn” to polished, professional, and full of personality.
Here’s a look at 21 common rookie sewing mistakes and how to sidestep them.
Consider it as a friendly nudge to help your projects shine, build your confidence, and remind you that every stitch is a step forward.
The Beauty of Learning to Sew
Sewing is a skill that grows steadily with practice.
Every project builds on the last, and progress often shows up in the details – straighter seams, better fabric choices, cleaner finishes.
What feels challenging at first becomes second nature as your hands and eyes learn to work together.
The real advantage of sewing for yourself is control.
You choose fabrics that feel good, adjust patterns to fit your body, and finish pieces in a way that matches your standards.
Over time, you begin to see how much difference small improvements make in the final look of a garment.
If you’re feeling frustrated, learning how to overcome beginner sewing frustrations can help you push through those first tricky projects.
This is the path from beginner to confident maker: learning what to focus on, applying those lessons consistently, and enjoying the satisfaction of clothes that look polished and intentional.
21 Rookie Sewing Mistakes Every Beginner Makes (And How to Fix Them)
No one starts out sewing with perfect results.
Most of the time, the difference between “I made this at home” and “I could wear this anywhere with confidence” comes down to details that are easy to overlook.
Once you start spotting these small habits, you’ll see why they matter – and how fixing them transforms the look of your clothes.
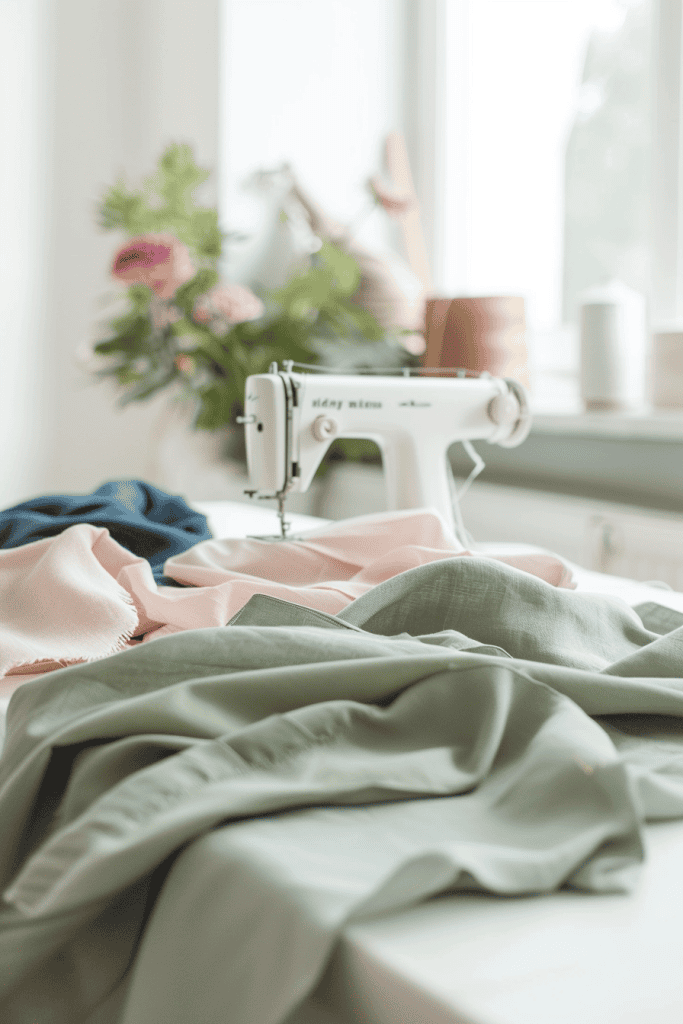
1. Choosing Fabric That Doesn’t Match the Pattern
Patterns aren’t as flexible as we sometimes want them to be.
That wrap dress you fell in love with? It’s designed for fabric that drapes and moves – if you use stiff quilting cotton, the dress will hang like cardboard.
A fitted button-up made for crisp shirting fabric won’t sit right if you try it with slippery jersey knit.
Every fabric has its own personality – weight, stretch, and drape – and the wrong match makes the garment look “off” before you even start sewing.
The easiest fix is paying attention to the fabric recommendations on the pattern. They’re not suggestions; they’re shortcuts to success.
Handle the fabric in the store, too – hold it up, let it fall, notice how it moves. If the fabric fights the design, it will show in the final piece.
If you’re unsure about what fabric works best, learning how to do a burn test for natural fabrics can help you identify fiber content and predict how it will behave. Combine that with knowing how to buy affordable linen and you’ll be confident in choosing materials that match your pattern.
2. Skipping Pre-Washing Fabric

It’s tempting to skip straight to cutting because you want to see progress. But fabric changes after it hits water.
Cotton shrinks. Linen softens. Some dyes bleed.
If you sew before washing, the first laundry cycle will do its own “alterations,” and suddenly your carefully matched seams won’t line up anymore.
Pre-washing is protection. You’re treating the fabric exactly the way you’ll treat the finished garment, so there are no surprises later.
Toss it in the wash, dry it how you plan to dry your clothes, and only then cut.
This one step locks in the size and texture of your fabric before you put in all that effort.
3. Not Testing Stitch Tension First
A sewing machine doesn’t know what fabric you’ve just put under the presser foot.
Denim, chiffon, and knits all behave differently, and the same tension setting won’t work for all of them.
If you dive right into your project, you may notice seams that pucker, thread that loops underneath, or stitches that look uneven.
By then, fixing it means ripping out seams and starting again. Spending one minute on a scrap piece of your project fabric saves hours later.
Stitch a few lines, flip the fabric, and check both sides. The goal is even, balanced stitches that lie flat without pulling.
Once the tension is set, you can sew with confidence knowing the foundation of your seams is solid.
For more details, you can read my guide on how to adjust tension on your sewing machine – it saves a lot of headaches early on.
4. Measuring with Guesswork Instead of Tools
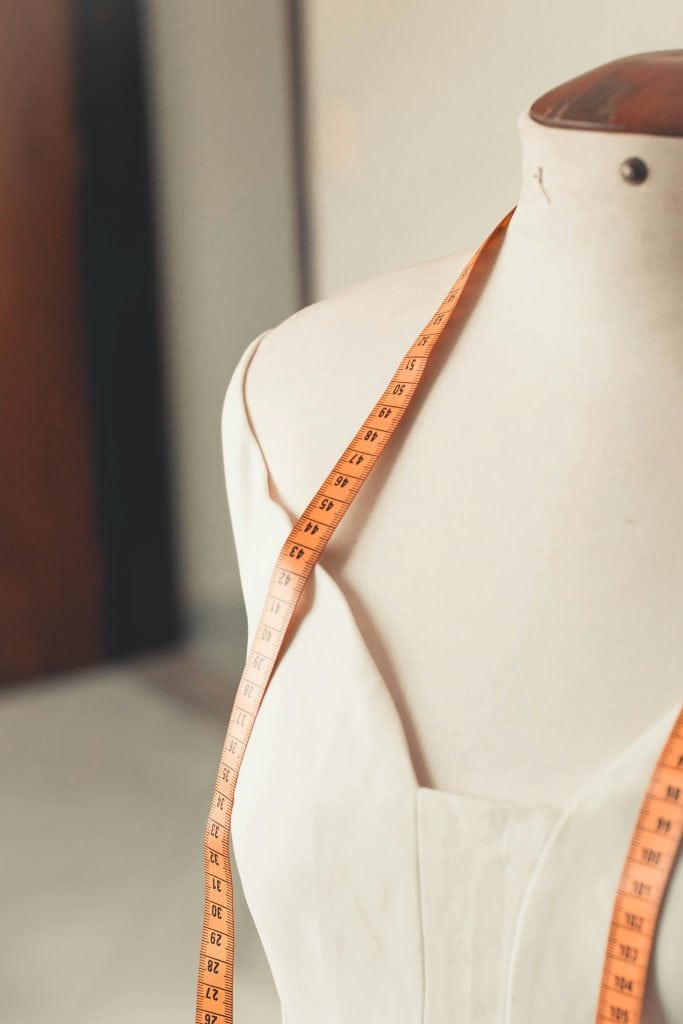
One of the quickest ways a project goes sideways is sloppy measuring.
Holding fabric up to yourself in the mirror or “eyeballing” seam allowances might feel faster, but clothes are unforgiving when it comes to precision.
A half-inch off at the waist can throw the whole fit, and uneven seam allowances can leave you fighting to match pieces that should line up easily.
A simple investment in tools (a clear ruler, a measuring tape, and a seam gauge) pays off immediately.
Accurate measurements keep your pattern pieces consistent and make the sewing process smoother.
It’s the difference between a garment that feels made for your body and one that looks like it missed the mark.
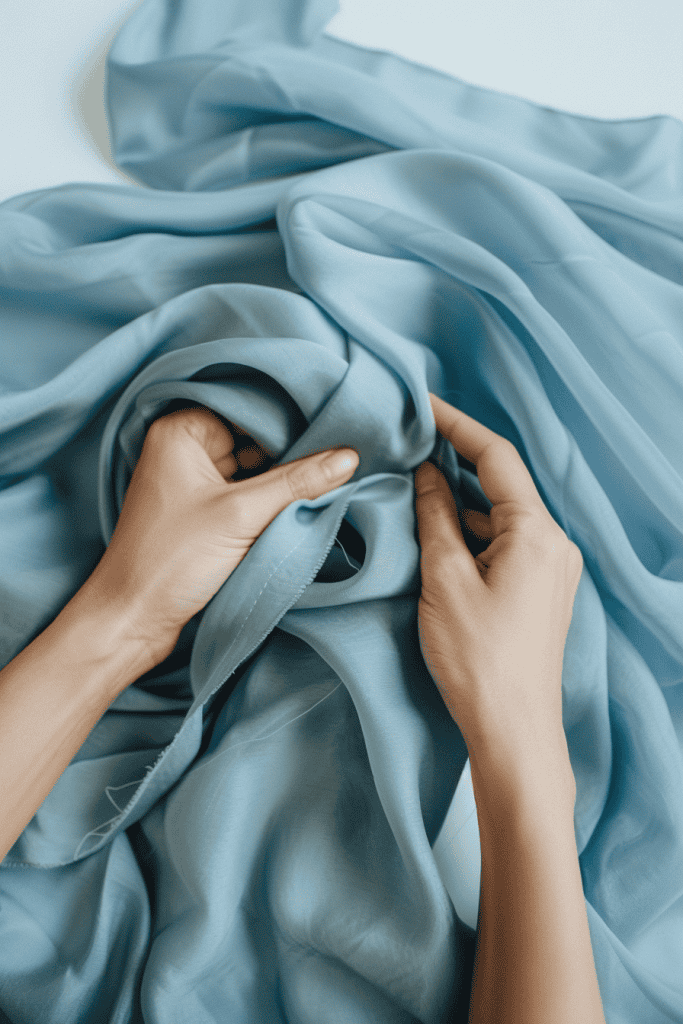
5. Ignoring Fabric Grainlines
Every woven fabric has a grain: the direction of its threads.
Patterns are drafted with this in mind, and those little arrows printed on the pieces are there for a reason.
If you cut off-grain, your fabric will twist and pull in ways you can’t correct later.
That’s why skirts sometimes hang with an odd ripple or pant legs twist around the calf – it’s a grainline issue, not your sewing skills.
Taking the extra minute to line up the grainline arrow with the fabric’s straight edge prevents this problem entirely.
A fabric that’s cut on-grain hangs cleanly, moves as intended, and keeps its shape through wear and wash.
It’s one of those invisible details that quietly makes your clothes look professional.
6. Cutting with Dull Scissors or the Wrong Tool
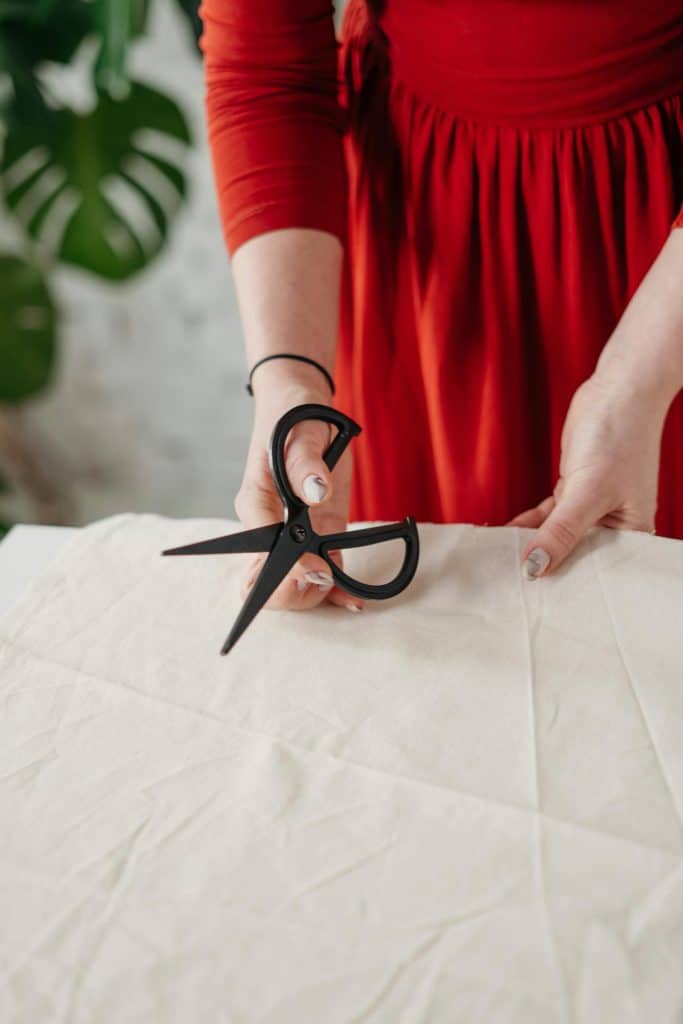
Fabric deserves a clean cut.
If your scissors are dull, the fabric edges will fray and shift as you cut, which means your pieces won’t match up perfectly when you sew.
Even a small amount of drag can change the shape of a curve or shorten a seam allowance, and those small shifts show up in the final fit.
Sharp fabric shears or a rotary cutter on a cutting mat give you crisp, accurate edges.
And it’s worth keeping scissors separate: one pair for fabric only, another for paper.
Protecting that sharp edge is protecting the precision of every project.
Clean cuts set you up for smooth seams and garments that come together the way they’re supposed to.
7. Forgetting to Mark Fabric Pieces Clearly
It’s easy to think you’ll remember which side is the front, where the darts go, or which sleeve belongs to which arm.
But once all the pieces are cut, fabric can look surprisingly similar.
Skipping markings often leads to confusion mid-project – flipped seams, darts in the wrong place, or pieces that just don’t match up.
Taking a few extra minutes to transfer pattern marks onto your fabric pays off the whole way through.
Use tailor’s chalk, washable pens, or small snips in the seam allowance to keep things clear.
When every notch and dart is marked, construction flows smoothly, and your garment looks intentional instead of improvised.
8. Using the Wrong Needle for the Fabric
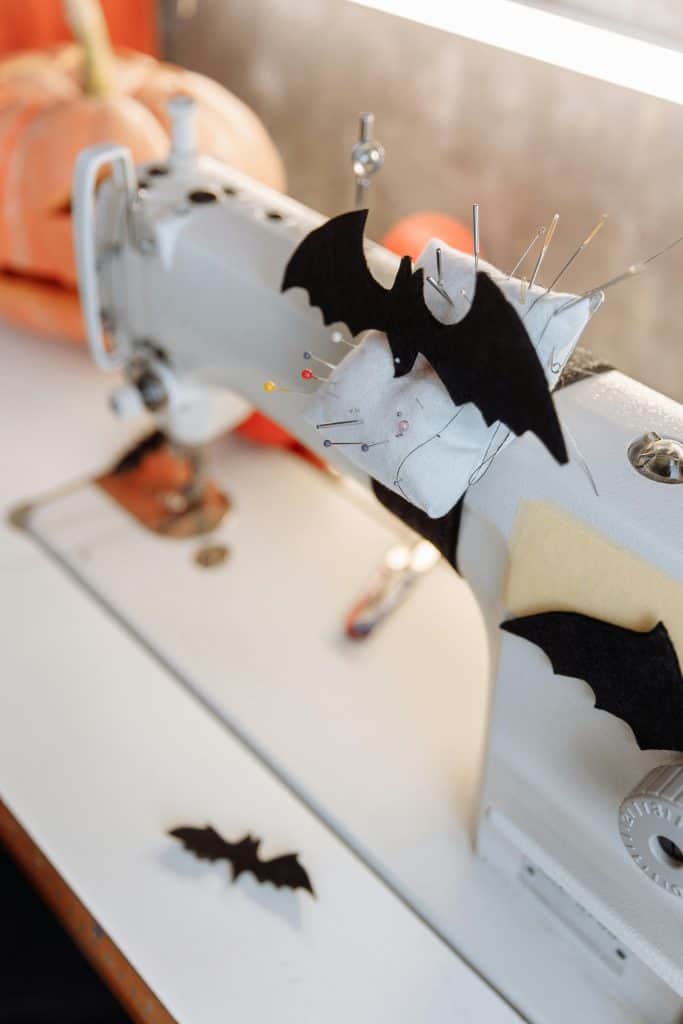
Not all needles are created equal.
A universal needle may get you through cotton, but try it on knits and you’ll get skipped stitches; on denim, you’ll snap the needle.
Each fabric type needs a needle that matches its thickness and weave.
Using the wrong one leaves visible damage – tiny holes in delicate fabrics or uneven stitching on stretchy ones.
Checking your fabric first and switching needles accordingly solves this instantly.
A ballpoint needle glides between knit fibers, a denim needle powers through heavy layers, and a sharp needle gives clean results on tightly woven fabric.
The right needle is a small choice with a huge impact on how professional your stitches look.
9. Leaving Seams Unfinished
Raw fabric edges don’t stay tidy on their own. They fray, unravel, and weaken with every wash and wear.
Leaving seams unfinished might save time up front, but it shortens the life of your garment and makes the inside look messy.
Finishing seams doesn’t have to mean owning a serger – zigzag stitches, pinking shears, or French seams all do the job.
The goal is simple: protect the edges and keep the inside as neat as the outside.
Finished seams add strength, give the garment durability, and make the inside look polished every time you turn it inside out.
10. Sewing Uneven Seam Allowances
Patterns are drafted with exact seam allowances, and straying even a little throws off the fit and balance of the garment.
A quarter inch too narrow can make clothes tighter than intended; a quarter inch too wide can shift proportions or cause seams not to line up.
Uneven seams also show on the outside as wavy or lopsided stitching.
A simple way to stay consistent is by using the seam guides etched onto your machine’s throat plate or adding a magnetic seam guide if you need extra help.
When seam allowances are steady, the garment lays flat, the seams align cleanly, and the finished look is crisp.
11. Skipping the Step of Pressing Seams
Pressing is essential. Sewing stitches locks fabric together, but pressing sets those stitches and shapes the garment.
Without pressing, seams stay bulky, darts look puffy, and hems refuse to sit flat.
Pressing as you go makes each stage of the project sharper and easier to handle.
A warm iron with a bit of steam flattens layers, blends stitches into the fabric, and helps the garment take its final form.
It’s about shaping and refining at every step so the final press simply brings it all together.
12. Skipping a Muslin or Test Garment

Jumping straight into your final fabric without testing the pattern can be risky.
Body shapes vary, and commercial patterns are drafted to standard measurements that don’t reflect everyone’s proportions.
A muslin – a test version made with inexpensive fabric – reveals fit issues before you cut into fabric you love.
It shows whether darts hit the right spot, whether the waist sits comfortably, and whether the overall shape flatters your body.
Taking the time to sew a quick muslin may feel like an extra step, but it saves you from frustration later.
More importantly, it builds confidence – by the time you sew with your final fabric, you already know it will fit.
13. Not Adjusting Patterns for Personal Fit
Patterns are based on “average” body measurements, but no two bodies are the same.
Sewing a pattern straight out of the envelope without adjustments often leads to clothes that don’t sit quite right – gaping at the bust, tight across the shoulders, or bunching at the waist.
The beauty of sewing your own clothes is the freedom to tailor them to your body.
Taking time to measure yourself accurately, compare those numbers to the pattern, and make small adjustments (like lengthening a bodice or blending between sizes) ensures the garment looks like it was made for you – because it was.
Learning how to read a sewing pattern and comparing it to your measurements helps you make these adjustments with confidence.
14. Overlooking Ease in Garments

Ease is the extra space built into a pattern that lets you move, sit, and breathe comfortably.
Beginners often confuse body measurements with finished garment measurements and end up with clothes that are either too tight or unintentionally oversized.
Ignoring ease makes garments feel stiff or shapeless.
Reading the pattern carefully and paying attention to both body and finished measurements helps you understand how the garment is supposed to fit.
Once you get comfortable with ease, you can even adjust it – adding more for comfort or reducing it for a sleeker look.
That awareness turns sewing into true customization.
15. Rushing Through Hemming
A hem is the last step, and it shows.
If it’s uneven, puckered, or wavy, the whole garment can look less polished, no matter how good the rest of the construction is.
Hemming takes patience – pressing the fold carefully, measuring consistently, and choosing the right stitch for the fabric.
On lightweight fabrics, a narrow hem looks clean; on heavier fabrics, a deeper hem gives stability.
Taking your time here is worth it, because a smooth, even hem signals a garment that’s been sewn with care.
16. Attempting Buttonholes Without Practice
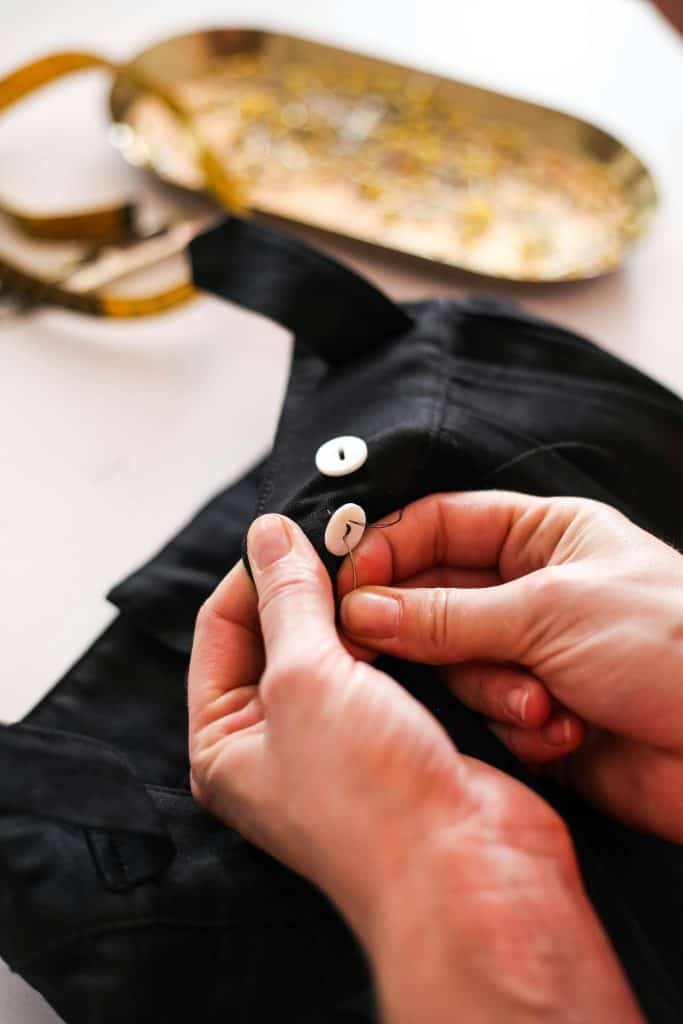
Buttonholes look simple on a finished garment, but sewing them cleanly requires control.
If you dive straight into buttonholes on your project fabric, the result can be uneven, frayed, or misaligned.
Practicing on scraps of the same fabric first helps you get the size right and adjust your machine’s settings.
Marking placement carefully also ensures buttons line up where they should, which makes a huge difference in how the garment hangs when worn.
Well-placed, even buttonholes disappear into the design; uneven ones stand out immediately.
A few minutes of practice makes them one of the most professional details on a handmade garment.
17. Wobbly or Uneven Topstitching
Topstitching is meant to be seen, so it highlights both precision and mistakes.
Wavy lines or stitches that drift too close or too far from the edge can make the garment look less refined.
Controlling topstitching comes down to steady guidance and choosing the right stitch length.
A slightly longer stitch often looks neater and more intentional, while going slowly helps keep lines straight.
Using an edge-stitch foot or marking a guideline can also provide consistency.
Clean topstitching frames the garment and adds polish that instantly elevates the look.
18. Using Mismatched or Low-Quality Thread
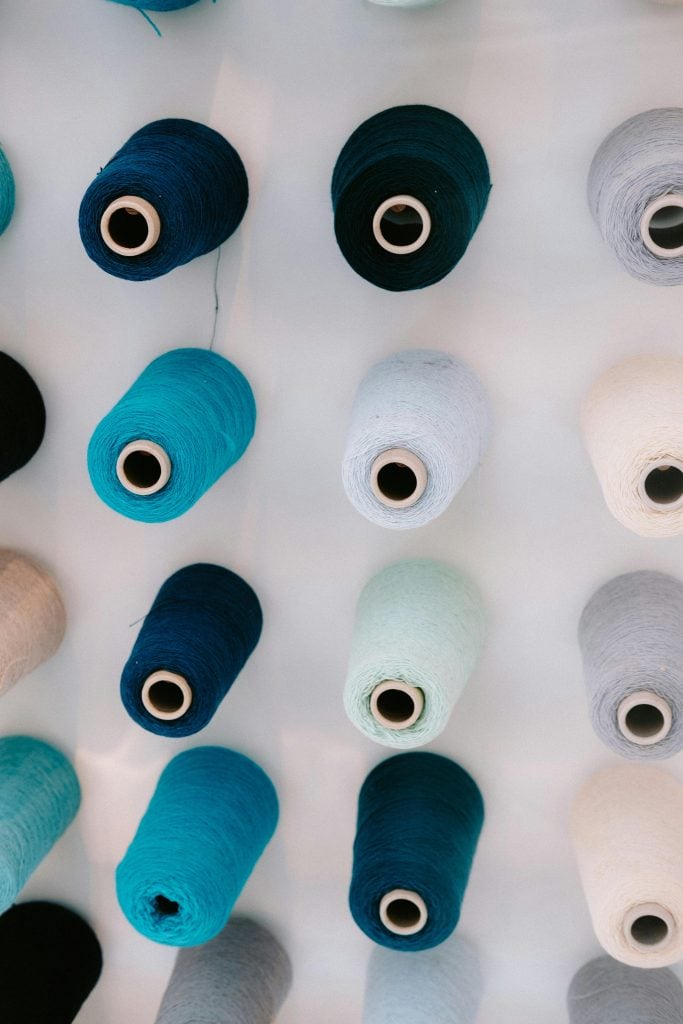
Thread might seem like a small detail, but it plays a big role in the overall appearance.
A color that’s too stark against the fabric or thread that breaks easily can undermine your hard work.
Cheap thread often tangles, frays, or sheds, which also causes tension issues on your machine.
Choosing a quality thread in a shade that blends well (or contrasts deliberately) gives seams strength and balance.
Strong, smooth thread not only holds up through wear and washing but also disappears into the garment the way it should, letting the fabric and design stand out.
19. Leaving Threads Dangling
Stray threads can undo an otherwise clean project.
Even if the garment is well-constructed, loose ends hanging from seams or hems give it an unfinished look.
They also risk unraveling stitches over time.
Trimming threads as you go – or setting aside a few minutes at the end to snip them close – instantly sharpens the garment’s appearance.
A tidy finish signals intention and care, and it’s one of the quickest ways to make a piece look polished.
20. Skipping the Final Press of the Garment

Pressing as you sew is important, but so is pressing when you’re done.
Without that last pass of the iron, seams can look rumpled, hems may curl, and the garment won’t have the structure it deserves.
A final press smooths everything into place and gives the fabric a crisp, finished surface.
It’s a small act that makes a big difference – transforming a garment from looking just completed to looking ready to wear.
21. Forgetting Labels or Personal Finishing Touches
The inside of a garment tells the story of how it was made.
Adding a label, a neat hand-stitched detail, or even a simple note of your initials elevates the piece from “done” to “complete.”
It adds more than polish – it gives you a sense of ownership.
These small touches bring character and pride to your work, and they remind you, each time you put the garment on, that it was made with care from start to finish.
Moving from “Homemade” to “Handmade with Pride”
Clothes that look intentional come from paying attention to the process.
When fabric matches the design, seams are consistent, and the finishing is neat, the whole garment reads as polished.
They’re simple habits that build skill with every project.
The shift happens when those habits become routine.
You mark pieces without skipping, press seams automatically, and reach for the right needle without thinking twice.
At that point, you’re no longer wrestling with the basics – you’re refining your craft.
Handmade clothing has an advantage store-bought pieces can’t match: it reflects your body, your taste, and the care you put into it.
That’s the difference between “I tried to make this” and “I’m proud to wear this.”
Take Your Sewing Further, One Project at a Time
The most polished garments come from learning to notice them and making steady improvements along the way.
Start with one habit at a time: pre-wash your fabric, press every seam, or take an extra minute to measure carefully.
Those small changes compound, and soon your clothes will show the kind of finish you’re aiming for.
What’s the rookie mistake you’ve caught yourself making most often?
Comment below and share your experience – your insight might be the encouragement another beginner needs.
Keep Your Sewing Patterns Neat and Easy to Find

As the seasons pass and projects add up, those little paper patterns have a way of piling into drawers and baskets.
And when you go to remake something, you end up searching instead of sewing.
So I created these Free Sewing Pattern Labels to make things easier.
They’re simple.
They’re pretty.
And they help you store your patterns in a way that feels calm and intentional.
Print them, fill them out, and tuck them onto your pattern envelopes. That’s it.
A small step that keeps your creative space feeling peaceful and ready for the next project.
FAQs
1. How do I know if my fabric choice is really right for the pattern?
Check the pattern envelope for fabric suggestions first. Then, handle the fabric – drape it over your arm or hold it up to see how it hangs. If it behaves the way the design shows in the pattern photos or illustrations, it’s a good match.
2. Do I need a serger to finish seams neatly?
Not at all. A zigzag stitch on a standard sewing machine, pinking shears, or French seams can all keep fabric edges tidy and durable. A serger is helpful but not required.
3. What’s the fastest way to improve topstitching?
Slow down and lengthen your stitch slightly. Using an edge-stitch foot or marking a guide line also helps keep your line straight. Practicing on scraps first can make a big difference.
4. How do I prevent hems from looking wavy on stretchy fabrics?
Use a stretch or twin needle, and don’t stretch the fabric as you sew. Adding a strip of lightweight fusible interfacing along the hemline can also stabilize the edge for a smoother finish.
5. When should I invest in better sewing tools?
Upgrade tools gradually as you sew more often. A good pair of fabric scissors, a reliable iron, and sharp machine needles are great starting points. From there, add tools that solve recurring frustrations in your projects.
