If you’ve ever baked with freshly milled flour, you already know it brings this cozy, old-fashioned flavor that you just can’t get from store-bought.
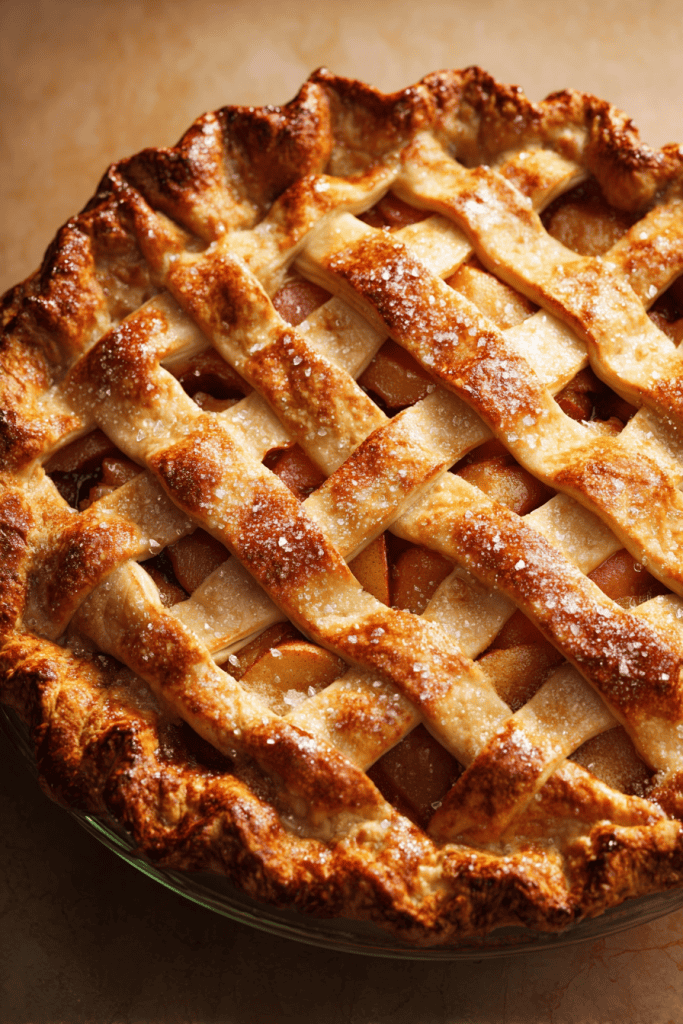
And when you use it in a pie crust, you get a buttery, flaky crust with just the right amount of tenderness!
This recipe keeps things simple, even if you’re new to milling at home.
Once you try it, it’s hard to go back to the pre-made stuff.
Fresh flour makes the crust feel like part of the pie, not just a container for the filling – rich, wholesome, and packed with real flavor in every bite.
The Secret Ingredient – Freshly Milled Flour

If you’ve never baked with freshly milled flour before, this is the perfect recipe to start with.
It’s the same ingredient you already know – just closer to its natural form.
When you grind whole grains right before baking, you keep all the oils, flavor, and nutrients that store-bought flour leaves behind.
That freshness makes a real difference.
(You might enjoy reading about the big benefits of freshly milled flour at home to see how it boosts flavor, texture, and nutrition in everything you bake.)
Freshly milled flour gives your crust a subtle nuttiness and a gentle richness that pairs beautifully with butter.
It’s soft to the touch yet strong enough to hold shape, which means your crust won’t crumble or taste heavy.
It bakes up golden, crisp, and full of flavor – the kind that actually enhances whatever filling you use.
If you’re still getting used to baking with fresh flour, you can check out how to convert any recipe to freshly milled flour so you know exactly how it behaves in different doughs and batters.
Must-Have Equipment for Homemade Pie Crust
You can make this crust with whatever tools you have on hand.
Here’s what helps most:
- Food processor
- Large bowl and pastry cutter (or your fingers) – Perfect if you prefer the hands-on method.
- Pastry mat
- Rolling pin and pie dish
- Plastic wrap or beeswax wrap
- Parchment paper, foil, and pie weights or dried beans
Ingredients for the Best Freshly Milled Pie Crust
- 3¼ cups freshly milled flour (375–380g) – Use a fine or medium grind from hard white or soft white wheat.
- 1 tablespoon granulated sugar
- 1 teaspoon salt
- 1 cup cold unsalted butter, cut into cubes (227g)
- 5 to 7 tablespoons ice water (75–105ml) – Freshly milled flour drinks up more water, so I just add a little extra as needed.
How to Make the Perfect Pie Crust Using Freshly Milled Flour
Making pie crust with freshly milled flour feels different from using store-bought flour – softer, more aromatic, and a little more alive.
This step-by-step method keeps things simple and practical so your crust turns out tender, flaky, and full of real flavor every time.
Step 1: Mix the Dry Ingredients
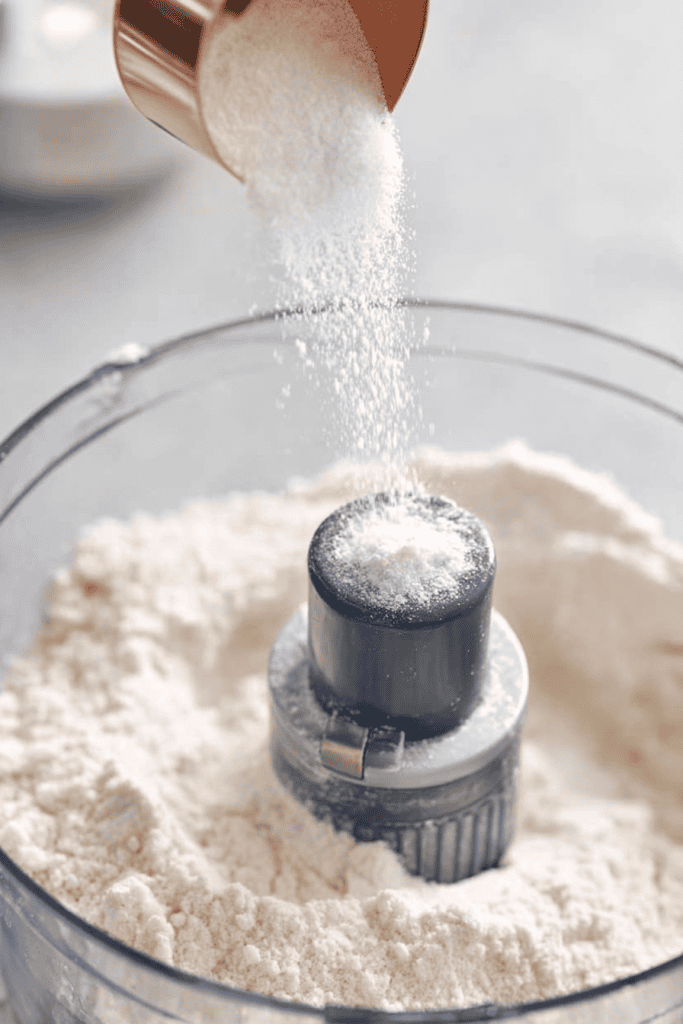
Start by combining 1½ cups of your freshly milled flour, the sugar, and salt in a large bowl or food processor.
Give it a quick stir or pulse – just enough to mix everything evenly.
Freshly milled flour tends to be lighter and a bit more airy, so it blends quickly.
This first mix builds your crust’s structure.
Step 2: Cut in the Butter

Add ½ cup of the cold butter cubes. Pulse or cut it in until the mixture looks like coarse crumbs.
You want small visible pieces of butter (about pea-sized) distributed throughout.
Next, add the remaining 1¾ cups of flour and the last ½ cup of butter.
Pulse or mix briefly, just twice or three times.
The mixture should look uneven, with both fine crumbs and larger butter bits – that’s exactly what gives you those flaky, layered results once baked.
Tip: Freshly milled flour can warm faster than store-bought flour, so if your kitchen is warm, chill your butter cubes in the freezer for 5 minutes before you start.
Step 3: Add the Ice Water (Adjust for Fresh Flour)
Drizzle in ¼ cup (60ml) of ice water and pulse or stir lightly after each addition.
Then add more water, a tablespoon at a time, up to 7 tablespoons total (about 105ml) if needed.
Freshly milled flour absorbs more water because of its natural oils and bran content.
The goal is a dough that just holds together when you press it between your fingers – slightly crumbly, never sticky.
If it feels dry, add another teaspoon of water and test again.
The dough should feel cool, moist, and a bit uneven.
You should still see tiny butter streaks – those are what make your crust tender and flaky.
Step 4: Shape and Chill the Dough
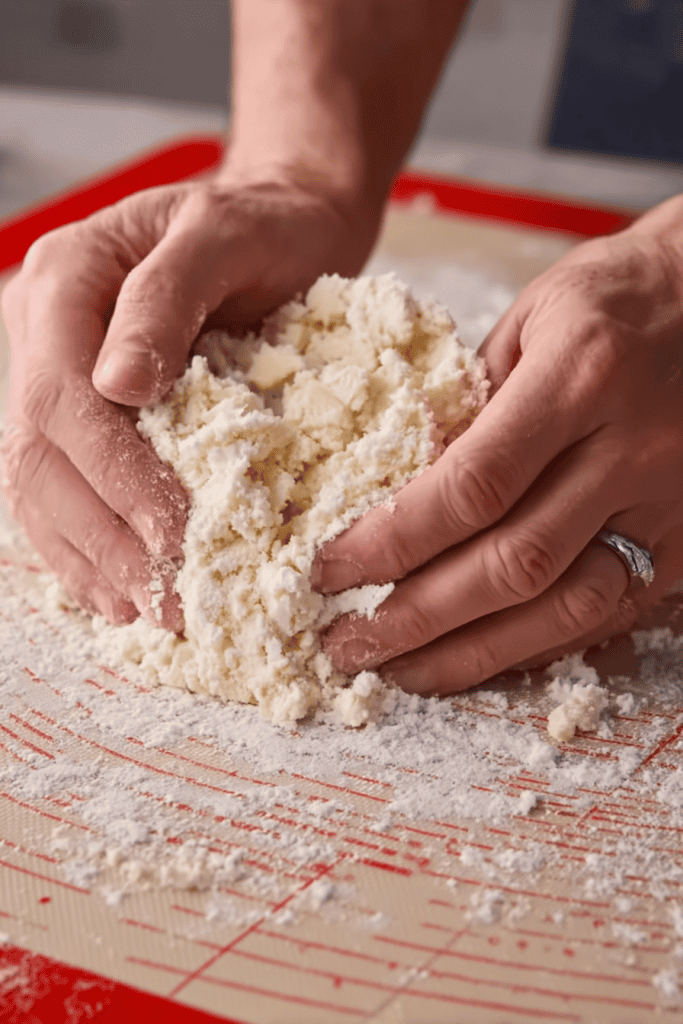
Turn the dough onto a lightly floured pastry mat.
With the heel of your hand, gently press and fold until it just comes together into a loose, shaggy mass.
Divide the dough into two equal discs, flatten slightly, and wrap each tightly in plastic wrap or beeswax wrap.
Chill in the refrigerator for 45 to 60 minutes.
That extra chill time helps freshly milled flour settle and lets the butter firm up again.
Make-ahead tip: The wrapped discs keep well in the fridge for up to two days or in the freezer for up to two weeks. Just thaw overnight in the fridge before rolling.
And if you’re getting more confident working with fresh flour, you might enjoy learning how to make a sourdough starter with freshly milled flour too since the process uses many of the same feel-for-the-dough instincts.
Step 5: Roll Out and Fit the Dough
Let one disc sit at room temperature for 10 to 12 minutes to soften slightly.
Freshly milled flour crusts tend to be more elastic when cold, so this short rest keeps the dough from cracking.
Lightly flour your surface and rolling pin.
Roll from the center outward into a 12-inch circle, turning the dough often to prevent sticking.
If you notice it getting warm, place it back in the fridge for a few minutes – keeping the butter cold ensures those distinct, flaky layers later.

Gently roll the dough over your rolling pin and transfer it into your pie dish.
Let it fall naturally into place without stretching.
Trim any overhang, tuck the edges under, and crimp as you like – simple fork marks, pinched edges, or thumb-pressed waves.
Step 6: Freeze Before Baking
Place the shaped crust in the freezer for at least one hour, or until solid.
Freezing keeps the butter cold and helps the crust hold its shape as it bakes.
With freshly milled flour, this extra step prevents shrinkage and ensures even browning.
Step 7: Blind Bake for the Perfect Finish

Preheat your oven to 425°F (220°C).
Line the frozen crust with parchment paper, add a layer of foil, and fill with pie weights or dried beans.
Bake for 15 minutes, then carefully remove the liners and weights.
- For a partially baked crust (ideal for custard or fruit pies): Brush lightly with an egg wash (1 egg + 1 tablespoon milk or water). Return to the oven and bake for another 15 minutes at 425°F, then reduce the temperature to 375°F (190°C) and bake 12–20 minutes, until golden and dry to the touch.
- For a fully baked crust, continue baking until it’s evenly browned and crisp all over.
Dock the base (poke gently with a fork) after the egg wash to release steam.
If the edges brown faster than the center, cover them loosely with foil shields.
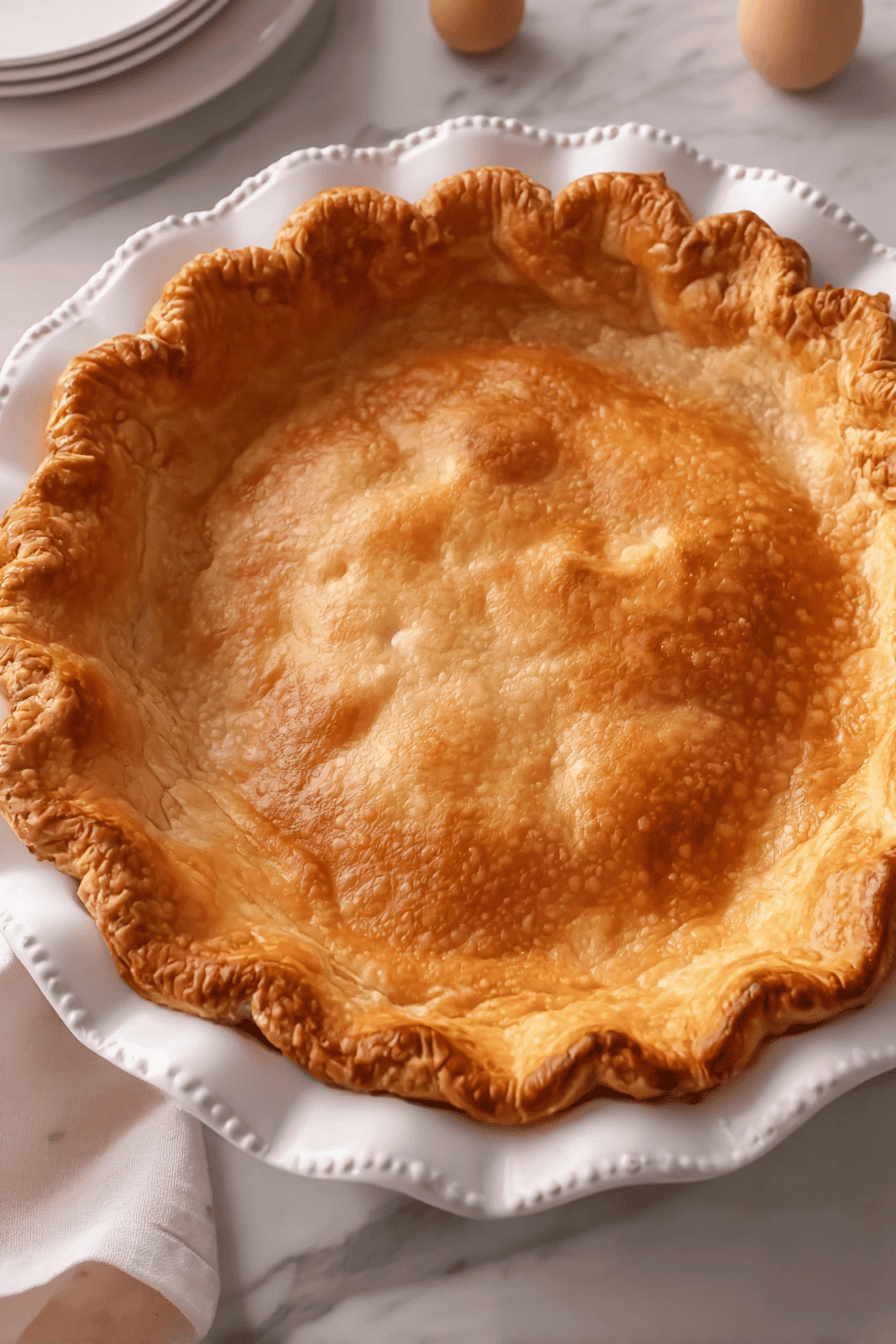
Step 8: Let It Cool
Set your crust on a cooling rack for at least 30 minutes before filling.
This helps the texture settle and keeps the bottom from softening.
When cooled, the crust should be crisp, buttery, and beautifully golden – ready for any filling, from a silky chocolate pie to a seasonal fruit tart!
If you want a truly classic treat to pair with this homemade crust, you can try it with our best shoofly pie recipe for a rich and cozy finish.
How to Make Pie Dough by Hand (No Food Processor Needed)
Don’t have a food processor? No problem at all. You can make this buttery pie crust entirely by hand!
Here’s how to do it:
1. Combine the dry ingredients.
In a large mixing bowl, whisk together the freshly milled flour, sugar, and salt until evenly mixed.
This helps the salt and sugar distribute before you add the butter.
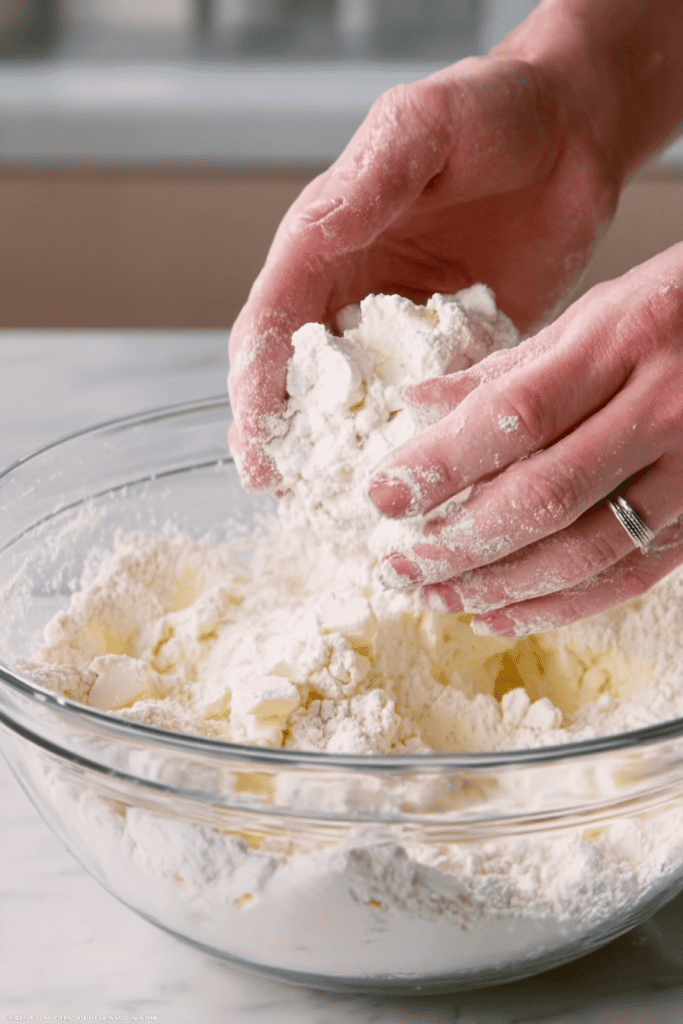
2. Cut in the butter.
Add your cold butter cubes and toss them lightly in the flour so they’re coated.
Using a pastry cutter, two butter knives, or your fingertips, work the butter into the flour until the pieces range from the size of small peas to almonds.
You’ll see bits of butter still visible – that’s what creates those flaky layers later.
3. Add the water.
Drizzle in ¼ cup of ice-cold water and stir gently with a fork or spatula.
Add more water, one tablespoon at a time, just until the dough starts to come together.
It should look shaggy and feel slightly crumbly but hold together when pressed.
4. Bring the dough together.
Once the water is evenly distributed, use your hands to gently press the dough into a ball – no kneading, just gather it until it holds.
Divide it into two equal discs, flatten slightly, and wrap tightly in plastic wrap or beeswax wrap. Chill for at least 45 minutes before rolling.
This hand-mixed method gives you full control over the texture.
You’ll feel exactly when the butter softens, when the dough comes together, and when it’s ready to rest.
It takes just a few minutes longer, but the results – crisp edges, tender layers, and buttery flavor – are absolutely worth it.
How to Store and Serve Homemade Pie Crust
Once your buttery crust is baked, it’s worth taking a few small steps to keep that perfect texture and flavor intact.
Freshly milled flour adds richness and depth, and with the right storage, you can enjoy that freshness days (or even weeks) later.
Storing Unbaked Pie Dough
If you’re not baking right away, wrap each dough disc tightly in plastic wrap or beeswax wrap and store it in the refrigerator for up to 2 days.
For longer storage, freeze the discs in an airtight container or freezer bag for up to 2 weeks.
When you’re ready to bake, thaw the dough overnight in the refrigerator.
Tip: Label your discs with the date and type of flour used – freshly milled flours can vary slightly, and this helps you track what you liked best.
Storing a Baked Pie Crust
If you’ve blind-baked your crust, let it cool completely on a rack before covering.
Store it at room temperature for up to 2 days, loosely covered with foil or a clean kitchen towel to prevent sogginess.
For longer storage, freeze the baked crust. Once cooled, wrap it well in foil and place in a freezer-safe bag. It keeps beautifully for up to 1 month.
When ready to use, thaw at room temperature – no need to re-bake before filling.
Serving Your Pie Crust
This crust works beautifully with just about any filling – fruit pies, quiches, custards, or cream pies.
Because of the freshly milled flour, it has a fuller, slightly nutty flavor that enhances both sweet and savory combinations.
- For fruit pies, brush the top crust lightly with cream before baking for a glossy finish.
- For custard or cream pies, use a fully baked shell for the best texture.
- For savory pies or quiches, reduce the sugar to ½ tablespoon if you prefer a more neutral flavor.
Reusing Scraps and Extras
Don’t toss your dough scraps – they’re just as good.
Gather them gently, chill for 10 minutes, and re-roll once.
Use them to make hand pies, pie crust cookies, or even savory cheese twists.
They bake up beautifully crisp and buttery.
And if you need a cozy fall idea to use up those scraps or your extra crust, try pairing this dough with a healthy pumpkin pie recipe for a lighter twist on a classic.
Master Your Homemade Buttery Pie Crust (and Share How It Went!)
Once you’ve made this pie crust from scratch with freshly milled flour, you’ll see just how reliable and rewarding it can be.
Every time you mix, roll, and bake, you’ll get a little more comfortable.
You’ll start recognizing the perfect dough texture, the right chill time, and the smell of golden butter just as it finishes baking.
That’s the beauty of learning it once – you can trust it forever.
Try it, bake it, and taste that rich, flaky goodness for yourself.
When you do, I’d love to hear how it turned out – share your experience in the comments below!
FAQs
1. What’s the best grain to mill for pie crust?
For pie crust, use hard white wheat or soft white wheat. Hard white gives structure and flakiness, while soft white adds tenderness. You can also blend the two for a balanced texture that rolls smoothly and bakes up crisp.
2. Can I use this crust for savory pies or quiches?
Absolutely. This buttery crust works perfectly for savory fillings too. Just reduce the sugar to ½ tablespoon and, if you like, add a pinch of herbs like thyme or cracked pepper to complement savory flavors.
3. Why is my crust tough?
A tough crust usually comes from overworking the dough or adding too much water. Freshly milled flour hydrates quickly, so stop adding water as soon as the dough holds together when pressed. Keep your butter cold, handle the dough gently, and chill it whenever it starts to soften.
4. Can I freeze this dough?
Yes. This dough freezes very well. Wrap each disc tightly and freeze for up to 2 weeks. When you’re ready to use it, thaw it in the refrigerator overnight so it stays cold and easy to roll.
5. Can I use hard vs soft wheat?
Both work. Hard white wheat makes a flakier, slightly stronger crust, while soft white wheat creates a more tender bite. You can also blend them for a balanced crust that’s easy to roll and bakes up perfectly golden.
