Quilting is a craft that takes patience, practice, and attention to detail.
For beginners, one of the most encouraging steps is learning the language that quilters use every day.
Patterns, tutorials, and even casual conversations in a quilting group are filled with words that might feel unfamiliar at first.
Once you know them, the process becomes smoother, instructions make sense, and your confidence grows.
In this article, I’ll bring together 25 quilting terms every beginner should learn.
These words will help you read patterns with clarity, follow lessons with ease, and speak the language of quilting from the very beginning.
Quilting Terminology Is Important for Beginners
Learning quilting terms is the foundation for growing skill.
When you understand the vocabulary, you gain confidence to follow patterns, ask questions, and explore techniques without hesitation.
- Builds Confidence: Knowing the words used in instructions helps you move through each step with clarity.
- Saves Time: Clear understanding means less second-guessing and more focused sewing.
- Connects You with Community: Quilters share a common language, and learning it helps you feel included and engaged.
- Supports Skill Growth: A strong foundation of vocabulary allows you to move smoothly into advanced projects later on.
With these benefits in place, you will not only recognize the words but also use them naturally as you begin your quilting journey.
If you’re brand new to the craft, you may also enjoy quilting essential basics for complete beginners.
25 Quilting Terms to Help You Start Confidently
Learning quilting terms is a small step that makes a big difference.
Once you know the basics, patterns are easier to read, tutorials make more sense, and quilting feels less overwhelming.
Here are 25 terms to help you start with confidence.
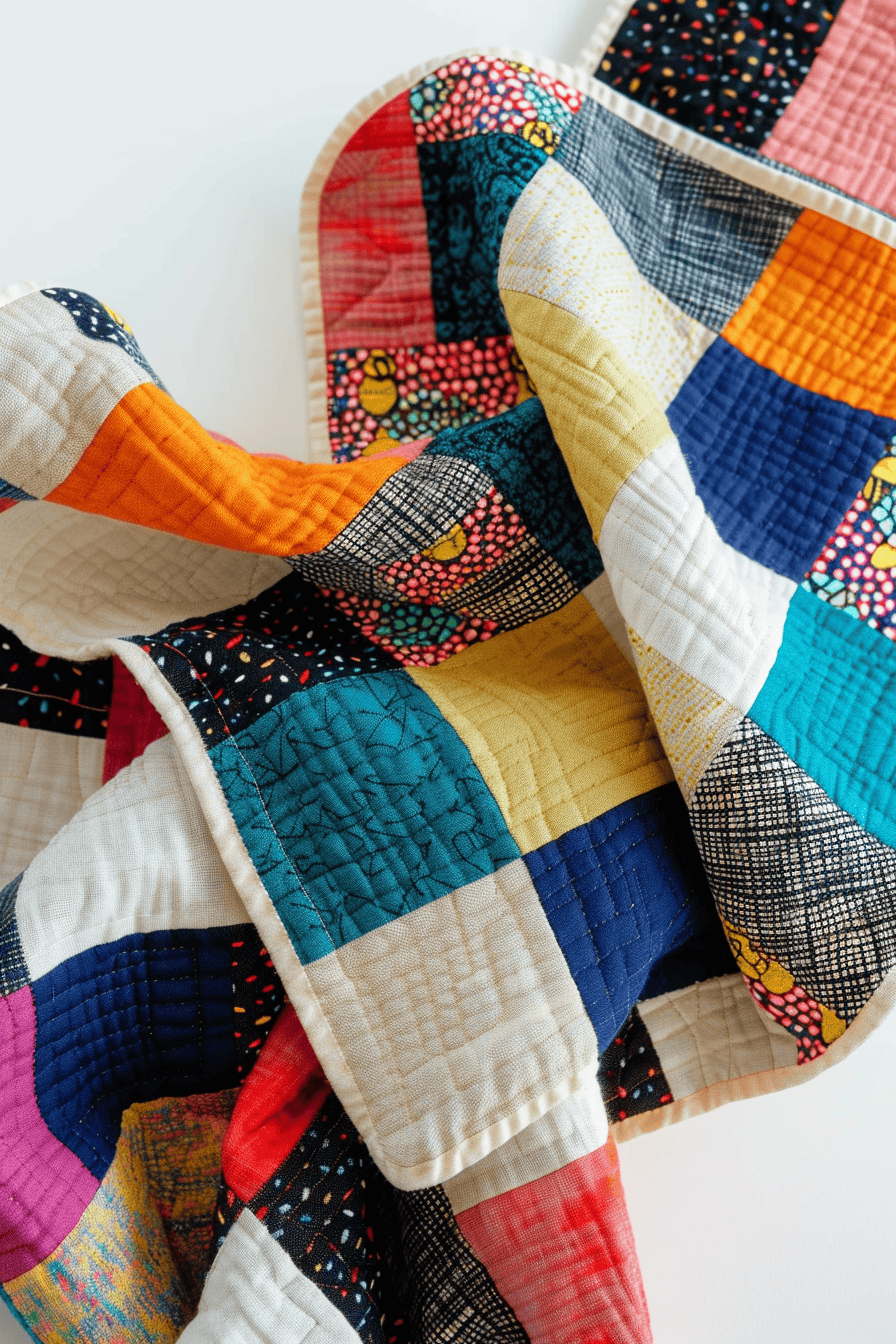
1. Quilt Top
The quilt top is the front and most visible part of your quilt.
It is made up of fabric pieces arranged in a design – whether simple squares, triangles, or more complex patterns.
This is the creative layer where your color choices, fabric textures, and overall vision come to life.
While it might look like the entire quilt at first, the quilt top is just one of three essential layers that make up the whole project.
2. Batting
Batting is the middle layer of the quilt. It is what gives a quilt its warmth, thickness, and cozy feel.
Batting can be made from cotton, wool, polyester, or blends, and it comes in different weights to suit the project.
Thicker batting produces a warmer quilt, while thinner batting makes a lighter finish.
Understanding batting helps you choose the right type for your project and ensures your quilt feels the way you want it to – whether light and breathable or soft and warm.
3. Backing
Backing is the fabric layer that sits on the underside of the quilt.
It is often one large piece of fabric, but it can also be pieced together if needed.
While the backing isn’t always the focus of a quilt, it is important for stability and overall quality.
Many quilters choose a fabric that complements the quilt top so that both sides look intentional.
Knowing this term helps you recognize that every quilt is supported by this essential foundation.
4. Binding
Binding is the fabric strip that wraps around the outer edges of the quilt to give it a finished look.
It acts like a frame, holding the layers together and protecting the edges from wear.
Binding can be cut from the same fabric as the quilt top for a subtle effect or chosen in a contrasting color for a bold statement.
For beginners, binding can feel like a final triumph – it’s the moment your quilt is truly complete and ready to be admired.
5. Quilt Sandwich
A quilt sandwich is the layered combination of the quilt top, batting, and backing.
These three layers are carefully stacked and then secured before quilting begins.
The process of making a quilt sandwich ensures the quilt stays even and smooth while being stitched.
Beginners often find this step eye-opening because it transforms separate fabrics into something that feels like a real quilt.
Once you understand this term, you’ll recognize it as a turning point in bringing your project together.
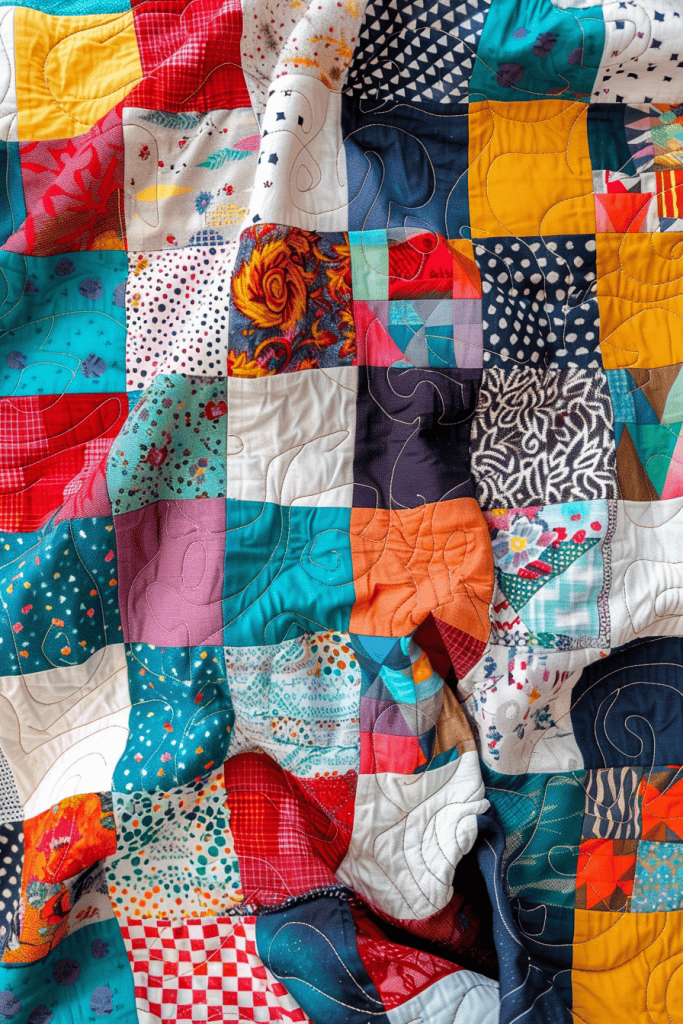
6. Block
A block is the basic building unit of most quilts.
Think of it as a small design square that repeats to form the larger quilt top.
Blocks can be as simple as a nine-patch (made of nine smaller squares) or as complex as stars, flowers, or geometric shapes.
For beginners, learning how to construct a block is the first step toward creating larger quilt patterns.
Once you understand blocks, you’ll see how small pieces join together to create big designs.
7. Patch (or Piece)

A patch, sometimes called a piece, is a single cut of fabric that is sewn together with others to form a block.
Patches are the building bricks of quilting. They can be cut into squares, rectangles, triangles, or more intricate shapes.
Understanding this term helps you see how quilts are assembled step by step, with each small patch playing a role in the bigger design.
Even the simplest patch carries importance because accuracy here ensures a quilt fits together beautifully.
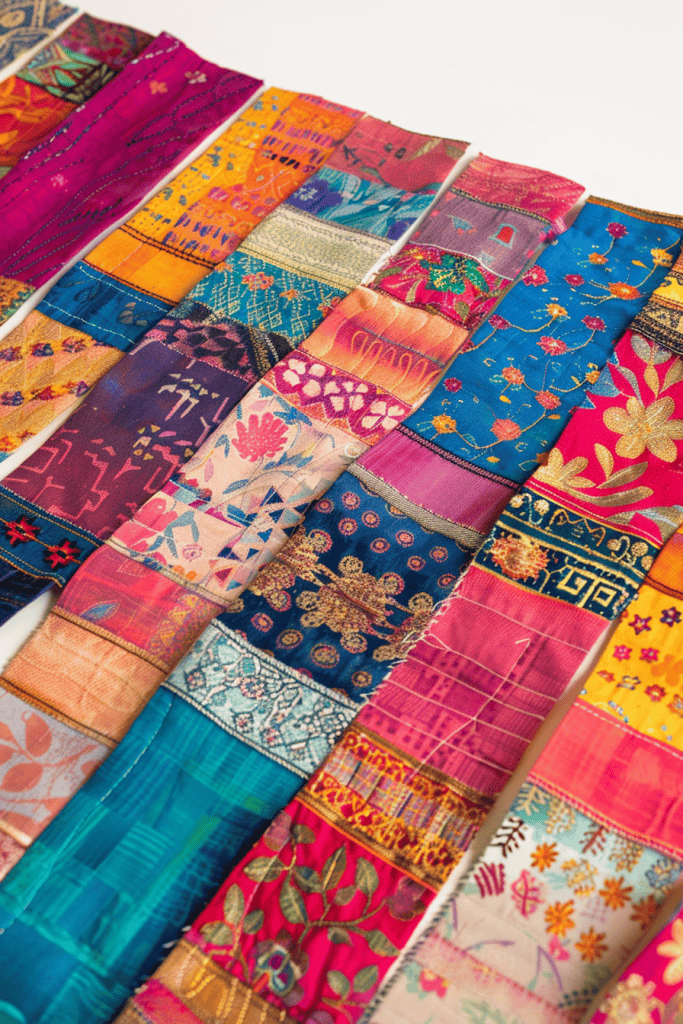
8. Sashing
Sashing is the fabric strip placed between quilt blocks to separate them.
It acts like a border between blocks, giving the quilt more space and structure.
Sashing can make designs easier to see by framing each block individually.
Beginners often appreciate sashing because it creates breathing room in busy quilts and can help disguise small differences in block size.
Knowing this term will help you follow patterns that use sashing for balance and clarity.
9. Border
A border is a strip of fabric that frames the entire quilt top.
It is usually added around the outside edges, much like a picture frame.
Borders can be narrow and subtle or wide and dramatic, depending on the design.
They help stabilize the quilt and add visual weight to the edges.
Borders are often the finishing touch that makes a quilt look polished and complete.
10. Piecing

Piecing is the process of sewing fabric patches together to form blocks and, eventually, the quilt top.
It is one of the core skills in quilting, and accuracy matters here. Straight seams and careful alignment make piecing successful.
Beginners will spend a lot of time practicing this technique because it lays the groundwork for every quilt project.
Once you’re comfortable with piecing, you’ll feel equipped to take on almost any quilt design.
11. Appliqué
Appliqué is a technique where shapes of fabric are sewn onto a larger background fabric to create a design.
Instead of piecing together smaller sections, you add these shapes directly on top, almost like layering decorations.
Appliqué can be done by hand or with a sewing machine, and it allows endless creativity – from simple circles and flowers to detailed motifs.
Learning this term opens up a new way to design quilts beyond patchwork.
12. Pressing
Pressing is the act of using an iron to flatten seams and fabric pieces as you sew.
Unlike ironing clothes, where you glide the iron back and forth, pressing in quilting means placing the iron down and lifting it up without sliding.
This technique prevents stretching or distorting fabric.
Pressing helps seams lay flat, blocks fit together accurately, and the quilt look professional.
Beginners quickly see that pressing is as important as stitching – it keeps everything neat and precise.
13. Chain Piecing
Chain piecing is a time-saving method of sewing fabric pieces together.
Instead of starting and stopping with each seam, you feed one piece of fabric after another through the machine in a continuous line.
The pieces stay connected by a thin thread chain until you snip them apart.
This technique not only saves thread but also speeds up the piecing process and helps keep fabrics organized.
Beginners love this approach because it makes repetitive tasks faster and more efficient.
14. Rotary Cutter
A rotary cutter is a circular-bladed tool that rolls across fabric to create straight, clean cuts.
Used with a quilting ruler and self-healing cutting mat, it allows quilters to cut multiple layers at once with accuracy that scissors can’t match.
The sharp blade requires care, but it quickly becomes one of the most valued tools in quilting.
Mastering the rotary cutter means fabric pieces are cut precisely, which makes sewing them together much smoother.
15. Cutting Mat
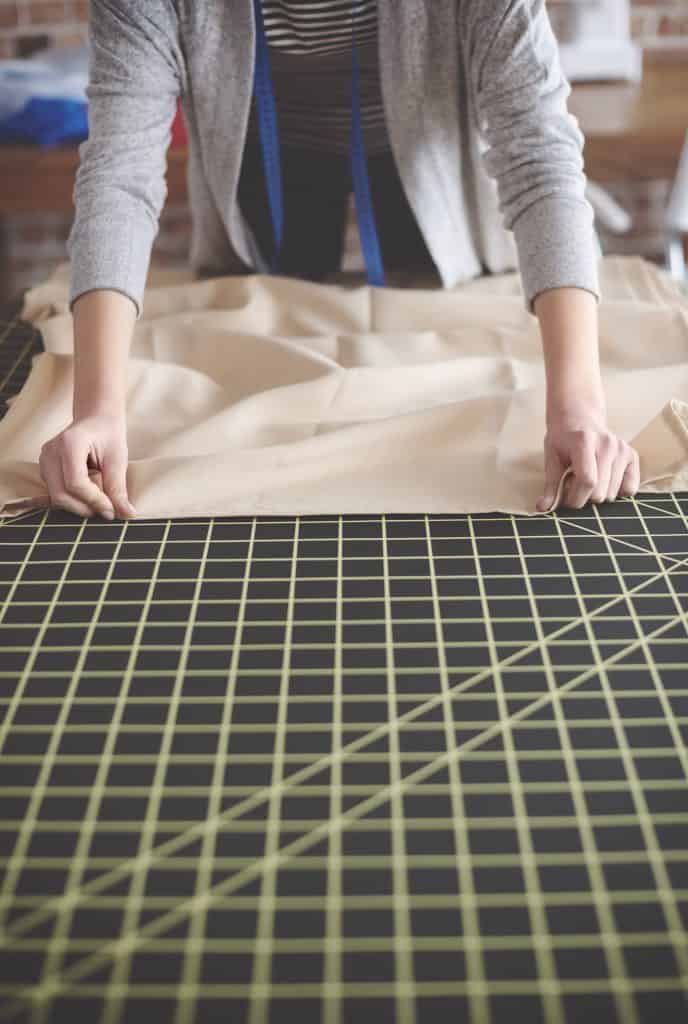
A cutting mat is the protective surface used under your rotary cutter.
It prevents the blade from damaging your table and also keeps the blade sharp for longer.
Most cutting mats are self-healing, meaning they close up slightly after being cut into.
They are marked with grid lines that guide measurement and cutting.
A cutting mat is essential – it’s both a workspace and a tool that ensures accuracy and safety while cutting fabric.
16. Quilting Ruler
A quilting ruler is a sturdy, transparent ruler designed for use with a rotary cutter and cutting mat.
Unlike standard rulers, quilting rulers are thicker and marked with precise measurements, angles, and grid lines to guide cutting.
They come in different sizes, but a long rectangular ruler is usually the first one beginners purchase.
Using a quilting ruler helps ensure every patch or strip is cut accurately, which makes sewing and piecing much easier.
17. Fat Quarter
A fat quarter is a popular way fabric is cut and sold for quilting.
Instead of a long, narrow strip from a bolt, a fat quarter is a half-yard of fabric cut in half again, creating a piece roughly 18 by 22 inches.
This shape is more versatile than a traditional quarter yard because it can be cut into larger squares or smaller shapes with less waste.
Beginners often find fat quarters an easy, affordable way to collect a variety of fabrics for projects.
18. Basting
Basting in quilting means temporarily securing the three quilt layers — top, batting, and backing — together before the final quilting stitches are made.
This can be done with large hand stitches, safety pins, or temporary spray adhesive.
Basting prevents the layers from shifting and ensures the quilt stays smooth and even.
For beginners, learning to baste is an important step because it prepares the quilt for stitching and makes the quilting process more manageable.
19. Straight-Line Quilting

Straight-line quilting is exactly what it sounds like – stitching in straight lines across the quilt surface.
It is one of the simplest quilting methods and is often recommended for beginners.
Straight lines can be stitched horizontally, vertically, diagonally, or in patterns like grids or diamonds.
This technique gives a quilt a clean, modern look while securely holding all the layers together.
Knowing this term gives beginners an easy entry point into the art of quilting designs.
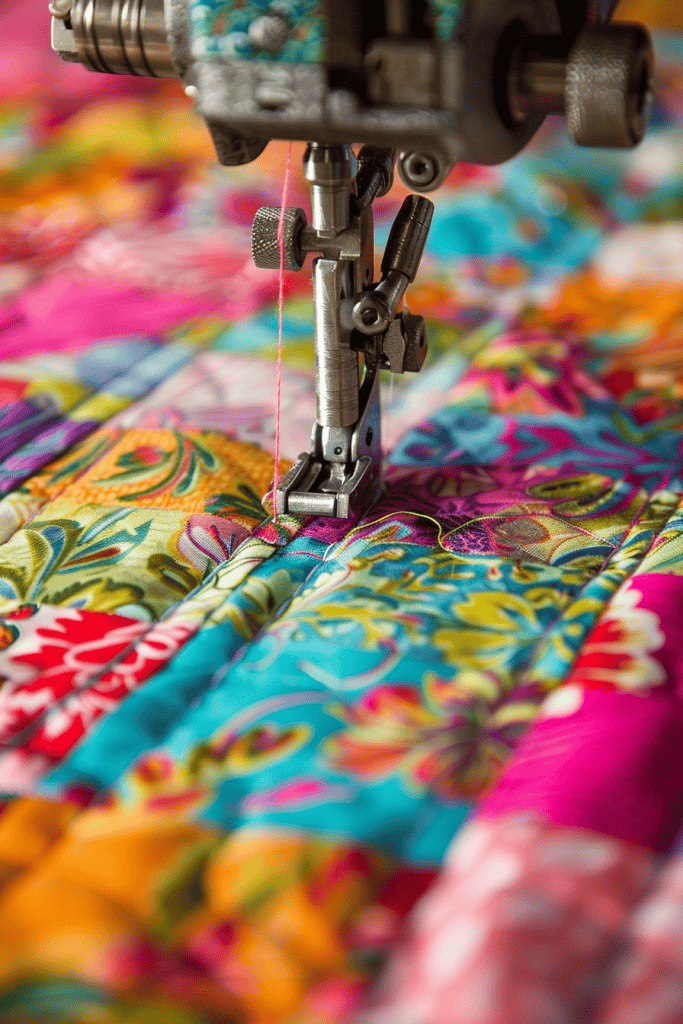
20. Free-Motion Quilting
Free-motion quilting is a technique where you guide the quilt freely under the sewing needle to create flowing, curving, or intricate stitched designs.
It allows for creativity – from loops and swirls to flowers and custom patterns.
Unlike straight-line quilting, free-motion requires lowering the feed dogs (the metal teeth that move fabric) so you can move the fabric in any direction.
While it takes practice, free-motion quilting gives beginners a way to experiment with personal style and turn a quilt into a truly unique piece.
21. Stitch in the Ditch
Stitch in the ditch is a quilting technique where you sew directly along the seams of your quilt blocks.
The stitches sink into the “ditch” created by the seam, making them less visible.
This method secures the quilt layers without drawing attention away from the design on the quilt top.
Beginners often find it a practical way to finish a quilt neatly while still keeping the focus on their patchwork.
22. Echo Quilting
Echo quilting involves stitching parallel lines that “echo” around a shape or design.
For example, you might quilt a line around a star block, then add another line outside the first, repeating the effect.
This technique highlights the shape and adds texture to the quilt surface.
Beginners can use echo quilting to emphasize certain parts of their quilt while keeping the stitching simple and rhythmic.
23. Seam Ripper
A seam ripper is a small, pointed tool designed to remove stitches.
It has a sharp tip and a curved blade that slides under threads to cut them without damaging fabric.
Every quilter uses a seam ripper, not only to fix mistakes but also to make adjustments when seams need realignment.
This tool is a reminder that quilting is a process- and making corrections is simply part of learning.
24. Label
A quilt label is a piece of fabric, usually sewn onto the back of a quilt, that includes information such as the maker’s name, the date, and sometimes the occasion for the quilt.
Labels turn a quilt into a documented piece of history.
Adding a label may feel like a small detail, but it is a meaningful way to honor your effort and preserve your story for future generations.
25. Sleeve

A quilt sleeve is a fabric tube sewn onto the back of a quilt that allows it to be hung on a rod.
This is especially useful for display quilts, whether in a show, an exhibit, or simply at home.
Sleeves are usually added after the quilt is finished, and they make it easy to showcase your work.
Knowing this term highlights that quilts can be more than bed coverings – they can also be works of art meant to be seen and appreciated.
After Learning Quilting Terms
Now that you have a strong foundation in quilting terminology, you can approach patterns, tutorials, and conversations with confidence.
- Practice with Purpose: Keep this list nearby as you begin your first projects. Seeing these terms in action will help you remember them.
- Start Small: Try a simple quilt block, a pillow cover, or a table runner. These smaller projects give you a chance to practice new vocabulary and techniques without feeling overwhelmed.
- Notice the Language in Patterns: As you read instructions, highlight or circle the terms you recognize. This will connect the words directly to the steps you are taking.
- Stay Encouraged: Every stitch and every new word you learn builds your skills. Progress in quilting is steady and rewarding, and with time, you’ll be using these terms as naturally as any experienced quilter.
Quilting is a craft that welcomes learners at every stage.
With these 25 terms in your vocabulary, you’re equipped to step into projects with clarity, confidence, and the joy of building something with your own hands.
How to Make These Terms Stick

Now that you know the essentials, you can read instructions with clarity, follow tutorials without hesitation, and feel ready to join the quilting community.
The best way to remember these terms is to use them: choose a small project, practice as you go, and watch how quickly the vocabulary becomes second nature.
Have you started using any of these quilting terms in your projects yet? Comment down below and share which word felt most useful to you as a beginner.
FAQs
1. How many quilting terms do I really need to memorize before starting?
You don’t need to memorize everything at once. Start with the basics – like quilt top, batting, backing, and binding – since these come up in nearly every project. As you work through more patterns, the other terms will naturally become familiar.
2. What’s the difference between patchwork and appliqué?
Patchwork is piecing together small shapes of fabric to form a larger design, while appliqué is placing fabric shapes on top of another fabric and stitching them down. Both are creative techniques, but patchwork builds from many parts, and appliqué adds decoration onto a base.
3. Do I need every tool mentioned, like a rotary cutter and quilting ruler, to begin quilting?
Not right away. You can begin with basic tools such as scissors, thread, and fabric. As you gain confidence, adding a rotary cutter, ruler, and mat will make your cutting more precise and efficient, but they’re not mandatory for your very first project.
4. How do I know which batting is best for my quilt?
Choose batting based on how the quilt will be used. Cotton batting is lightweight and breathable, wool is warmer, polyester is fluffy and durable, and blends offer a balance. For practice, start with a cotton batting – it’s easy to sew and lies flat.
5. What’s the easiest quilting technique for a beginner to try first?
Straight-line quilting is the simplest starting point. Sewing evenly spaced lines across your quilt will hold the layers together neatly and give your project a polished look without requiring advanced skills.
