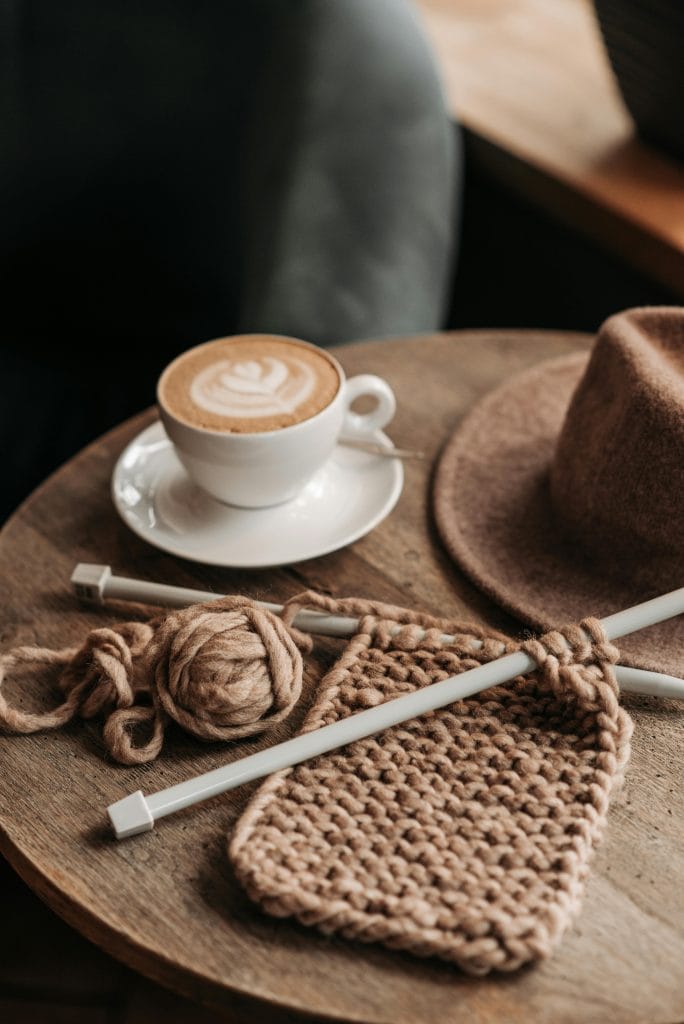
Every craft has its own language, and knitting is no different.
At first, the abbreviations and short terms may seem unfamiliar, but once you learn them, everything falls into place. What once looked like a puzzle becomes clarity.
These words are the keys that unlock patterns, tutorials, and conversations with knitters everywhere.
As a beginner, learning this terminology makes each project smoother and your confidence stronger.
Instead of second-guessing, you’ll know exactly what each step requires.
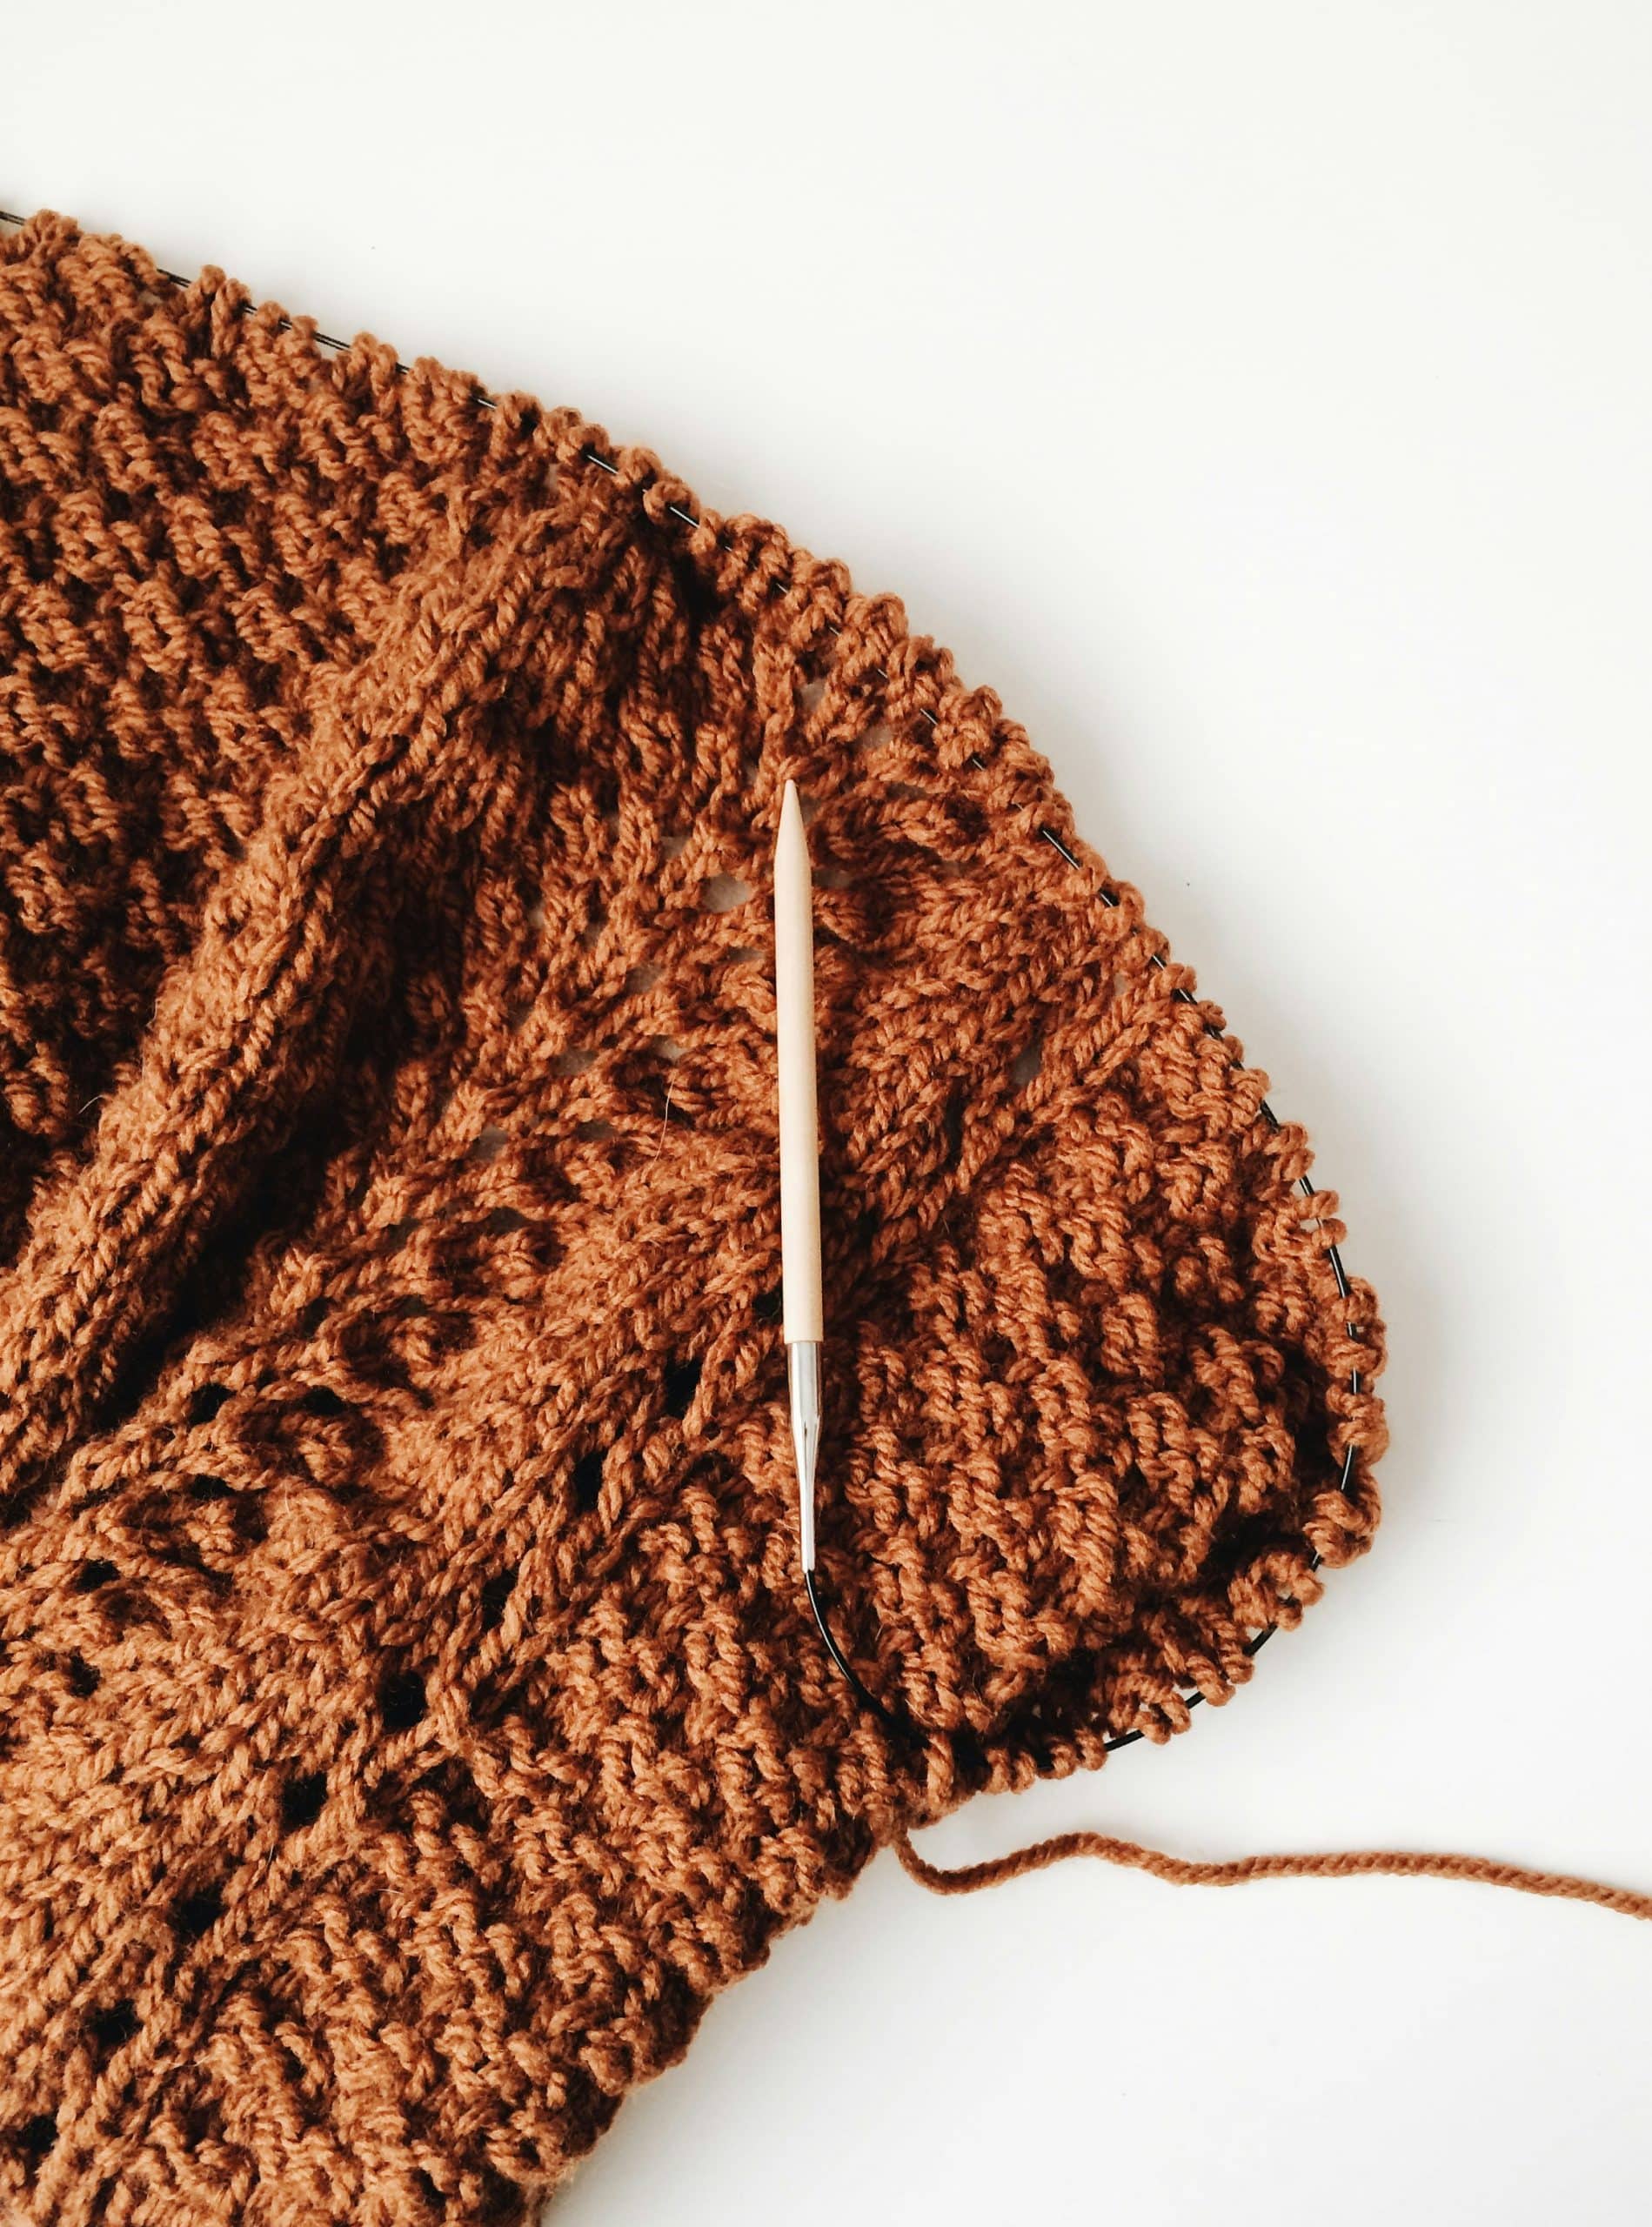
Here’s a rundown of 20 essential knitting terms you need right from the start – so you can pick up your needles with assurance and enjoy the steady rhythm of creating something with your own hands.
Why Bother with Knitting Terms? Here’s Why
When you’re new to knitting, the terms can feel like another hurdle to get over.
But once you learn them, everything gets easier.
Patterns start to make sense, you don’t have to guess what comes next, and you can follow along without stopping to figure things out every few minutes.
Knowing the terms also helps you connect with other knitters.
If someone explains a project or shares a tip, you’ll understand what they mean and be able to jump into the conversation.
Having the right words makes patterns clearer and the whole process a lot more fun.
And if you’re just starting out, my ultimate guide to knitting will walk you through the basics step by step.
20 Knitting Terms Beginners Always Ask About
Learning the language of knitting is like picking up a set of helpful tools – you may not need all of them at once, but each one will make your journey smoother.
Below are the the essential terms that form the foundation of nearly every knitting project.
1. Knit (K)
The knit stitch is the building block of knitting.
It creates a smooth, “V”-shaped texture on the fabric, often called the stockinette side.
Patterns use the abbreviation K for knit, and you’ll see it appear everywhere.
Mastering this stitch gives you the backbone for scarves, blankets, sweaters, and even simple projects you can gift later on (like the ones shared in my simple knitting gift ideas for Christmas post).
2. Purl (P)

The purl stitch is the counterpart to knit – it creates a bump on the surface of the fabric.
When combined with knit stitches, purling allows you to form patterns like ribbing or seed stitch.
Abbreviated as P, it balances your work and adds texture, giving you endless design possibilities.
3. Cast On (CO)
Every project begins with a cast on.
This is the method of placing the first row of stitches onto your needle, creating the foundation row you’ll build from.
There are several cast-on techniques, but the long-tail cast on is a popular and versatile choice.
Patterns use CO to signal how many stitches to start with.
4. Bind Off (BO)
When your project is finished, you’ll need to bind off to secure the stitches so they don’t unravel.
Abbreviated as BO, this process closes your fabric neatly.
There are different ways to bind off depending on whether you want a firm or stretchy edge, but the concept is always about finishing strong and keeping your work intact.
5. Gauge
Gauge refers to the number of stitches and rows per inch in your knitting.
It ensures that your project comes out the right size, especially when following a pattern for clothing or fitted items.
A gauge swatch (knitting a small sample before beginning) lets you measure and adjust with the right needle size or yarn.
Understanding gauge is one of the most empowering steps for consistency in your projects.
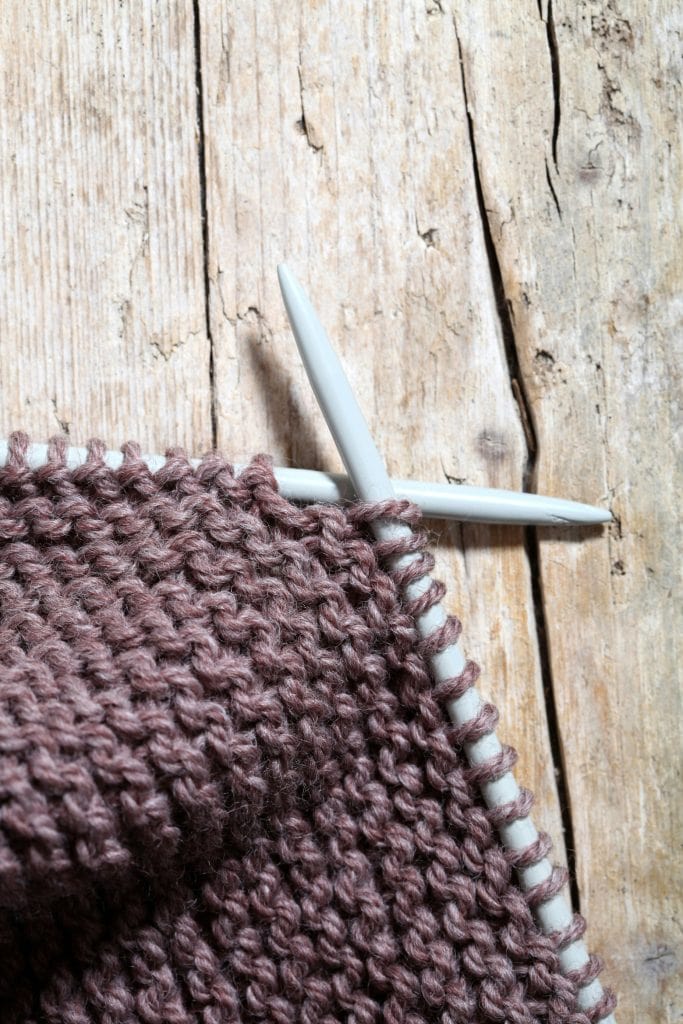
6. Row vs. Round
A row is a single line of stitches worked back and forth on straight needles.
A round is a continuous circle of stitches, worked on circular needles or double-pointed needles.
Knowing the difference helps you follow instructions correctly, whether you’re making a flat scarf or a seamless hat.
7. Stitch (St / Sts)
A stitch is the individual loop of yarn that forms the fabric.
Patterns will often use st for one stitch or sts for more than one.
Each stitch is like a small building block, and the way you combine them – through knits, purls, increases, or decreases – shapes the entire look of your project.
8. Right Side (RS) / Wrong Side (WS)
The right side (RS) is the public-facing side of your knitting, the one usually meant to be seen when the item is worn or displayed.
The wrong side (WS) is the back, where the opposite texture shows.
Patterns will often tell you which side you’re working on, and learning to recognize RS and WS ensures your project looks intentional and polished.
9. Repeat (Rep)
Knitting often involves rhythm and repetition.
When a pattern says rep, it means to repeat a set of instructions.
For example, “K2, P2, rep” means you’ll keep alternating knit two and purl two across the row.
Repeats create patterns like ribbing, lace, and cables, turning simple stitches into beautiful designs.
10. Yarn Over (YO)

A yarn over is a technique where you bring the yarn over your needle to create an extra loop, which becomes a new stitch on the next row.
It’s a common way to make decorative holes in lace patterns or add increases to your work.
While simple, the yarn over is one of the most versatile tools in a knitter’s vocabulary.
11. Knit Two Together (K2tog)
This is one of the most common decreases in knitting.
To K2tog, you knit two stitches at the same time as if they were one.
This reduces your stitch count by one and slants the fabric neatly to the right.
It’s often used in shaping garments, creating lace patterns, or forming smooth angles in your work.
12. Purl Two Together (P2tog)
Similar to K2tog, the P2tog decrease is worked on the purl side.
By purling two stitches together, you reduce the stitch count while maintaining the purl texture.
It creates a subtle slant to the left and pairs well with knit decreases when you need symmetry in shaping.
13. Increase

An increase adds an extra stitch to your row or round, helping to shape your project.
There are several ways to increase – like knitting into the front and back of a stitch (KFB) or making one (M1) – and each creates a slightly different look.
Increases allow your knitting to expand, whether for sleeves, hats, or decorative shaping.
14. Decrease
A decrease reduces the number of stitches, narrowing the fabric.
Beyond K2tog and P2tog, there are other decreases like slip-slip-knit (SSK), which lean to the left.
Decreases are essential for shaping everything from sweater necklines to the crown of a hat, giving your projects their form.
15. Slip Stitch (Sl St)
To slip a stitch means to move it from one needle to the other without knitting or purling it.
This creates decorative effects, neat edges, or sets up more complex techniques like cables or colorwork.
Patterns often abbreviate this as Sl St, and while simple, it’s a powerful tool for texture and design.
16. Selvedge Edge
The selvedge edge is the border stitch or edge of your knitting, created naturally as you work rows.
It’s the clean finish on the sides of flat projects like scarves or blankets.
Some knitters slip the first stitch of every row to create a clean, easy-to-sew edge.
A concept you’ll also see echoed in basic sewing terminologies when working with fabric edges.
17. Blocking
Blocking is the process of shaping and setting your finished piece using moisture – usually by lightly washing, steaming, or pinning it into place while it dries.
This step smooths stitches, evens out tension, and ensures your project holds the right size and shape.
Blocking transforms a handmade piece from “just off the needles” into polished, professional-looking fabric.
18. Frogging
“Frogging” is the playful knitting term for ripping out stitches to fix mistakes or restart a project.
The name comes from the phrase “rip it, rip it,” which sounds like a frog’s croak.
While it may feel daunting at first, frogging is actually empowering – it means you have the skill and confidence to correct your work.
19. Tinking

The word tink is “knit” spelled backward, and it describes carefully undoing stitches one at a time in reverse.
Unlike frogging, which unravels rows quickly, tinking is slower and more precise – ideal for fixing a small error without undoing too much progress.
It teaches patience and gives you control over your fabric.
20. Yarn Weight
Yarn weight refers to the thickness of the yarn strand.
It ranges from delicate lace weight to chunky, bulky yarns.
Each weight creates a different fabric feel and works best with specific needle sizes.
Understanding yarn weight helps you choose the right yarn for a pattern and match it with the correct needle size.
This concept overlaps closely with fabric weights you’ll encounter in must-know quilting terms, making it useful across fiber crafts.
Tips for Remembering and Using These Terms

Learning knitting terminology is a gradual process that strengthens as you practice.
Here are a few ways to keep these words fresh and useful as you grow in your craft.
1. Keep a Handy Reference. Create a small glossary in your project notebook or on an index card that you can tuck into your knitting bag. Having the abbreviations and definitions close by makes it easy to glance at them whenever you need a quick reminder.
2. Learn by Doing. The best way to make the words stick is to use them in real projects. Follow a simple pattern, pausing to check the terms as you encounter them. The repetition of seeing, reading, and practicing builds fluency faster than memorization alone.
If you need a place to start, check out my collection of free knitting patterns online.
3. Celebrate Your Progress. Every project teaches you something new – sometimes a stitch, sometimes a technique, and often a bit of language.
Notice the words you no longer have to look up and let that mark your growth. Over time, the terminology will become second nature, and you’ll read patterns as smoothly as a favorite recipe.
Start Practicing Your Knitting Vocabulary Today
With the essentials in hand, the best way to reinforce your learning is to practice.
Choose a simple pattern, such as a dishcloth or scarf, and follow it with your glossary nearby.
As you knit, the terms will become more familiar, and you’ll begin to recognize them without needing to check as often.
You might also join a local knitting circle or an online community. Using the terminology in conversation makes it stick even faster, and you’ll pick up new tips from others along the way.
As your projects grow more advanced, so will your vocabulary – and each new term will feel like another step toward mastery.
What term do you wish you had learned first as a beginner? Share it in the comments below – I’d love to hear your thoughts!
FAQs
1. Do I need to memorize all knitting terms before starting a project?
Not at all. Begin with the basics (knit, purl, cast on, and bind off) and learn the rest as you encounter them in patterns. Over time, the terms will stick naturally through practice.
2. Why are abbreviations used instead of writing words out in patterns?
Abbreviations keep knitting patterns concise and easier to follow. Once you learn the shorthand, reading a pattern becomes quicker and less overwhelming.
3. How do I know if I’m reading a pattern in U.S. or U.K. terminology?
Most knitting patterns will specify their origin. U.S. and U.K. knitting terms are largely the same, but crochet has more differences. When in doubt, check the pattern notes at the beginning.
4. What’s the easiest way to practice new terminology?
Work on a small, repetitive project such as a dishcloth or swatch. Keep your glossary beside you and match each abbreviation to the action as you knit – it reinforces both the term and the technique.
5. Where can I find more knitting terms as I advance?
Pattern books, knitting websites, and online communities often provide extended glossaries. As you try more complex stitches – like cables or lace – you’ll naturally add new terms to your vocabulary.
