
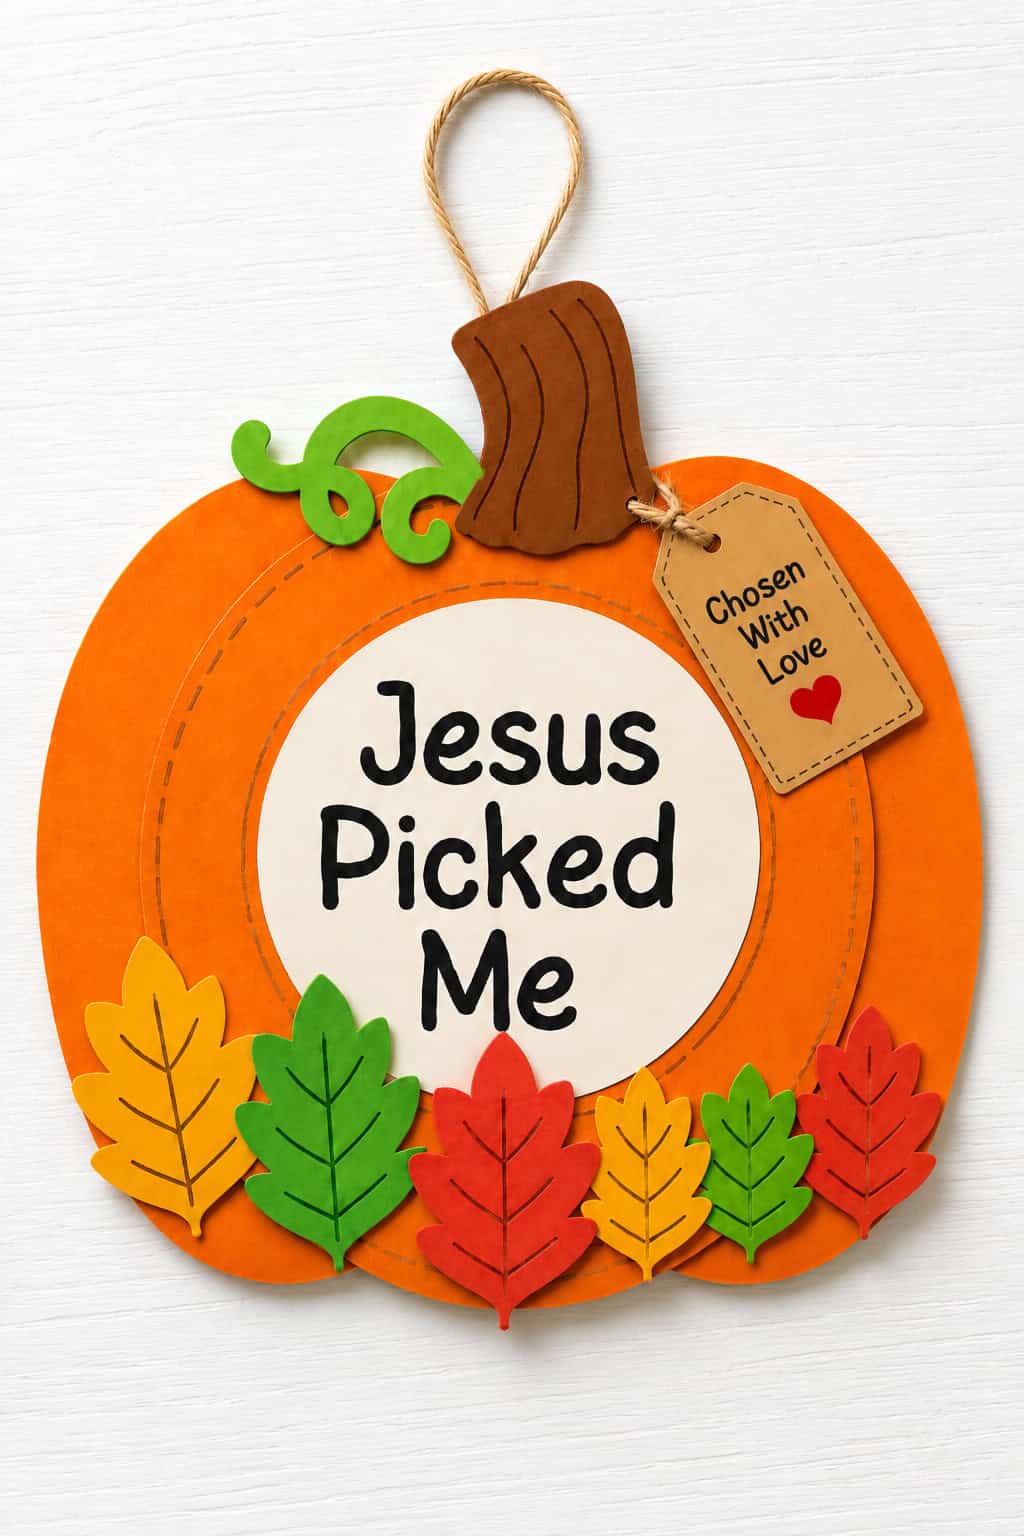
Half the fun of the pumpkin patch is watching the little ones pick their pumpkin. They walk right past the big pretty ones, turn a few over, and settle on some lumpy little thing that nobody else would have chosen. That one, they say. That’s mine.
This craft turns that idea around in the sweetest way. Instead of the child picking the pumpkin, the pumpkin is the child, and Jesus is the one who picked them.
It’s a simple paper plate craft on the outside, but the message stays with them. Each little one is chosen, and loved, and wanted.
a little about this craft
Children make a round pumpkin from a paper plate, with a cream circle in the middle that reads “Jesus Picked Me.” Fall leaves tuck around the bottom, a brown stem and a curly green vine sit up top, and a little tag hangs off the side that reads “Chosen With Love.”
Add a loop of twine to the back, and it becomes a decoration they can hang on the wall, the door, or the classroom bulletin board all season long.
The whole craft says the same thing Jesus says in Matthew 19:14.
Let the little children come to me, and do not hinder them, for the kingdom of heaven belongs to such as these. (Matthew 19:14)
That’s the heart of it. Long before a child can do anything to earn it, Jesus welcomes them and calls them his own.
what you’ll need
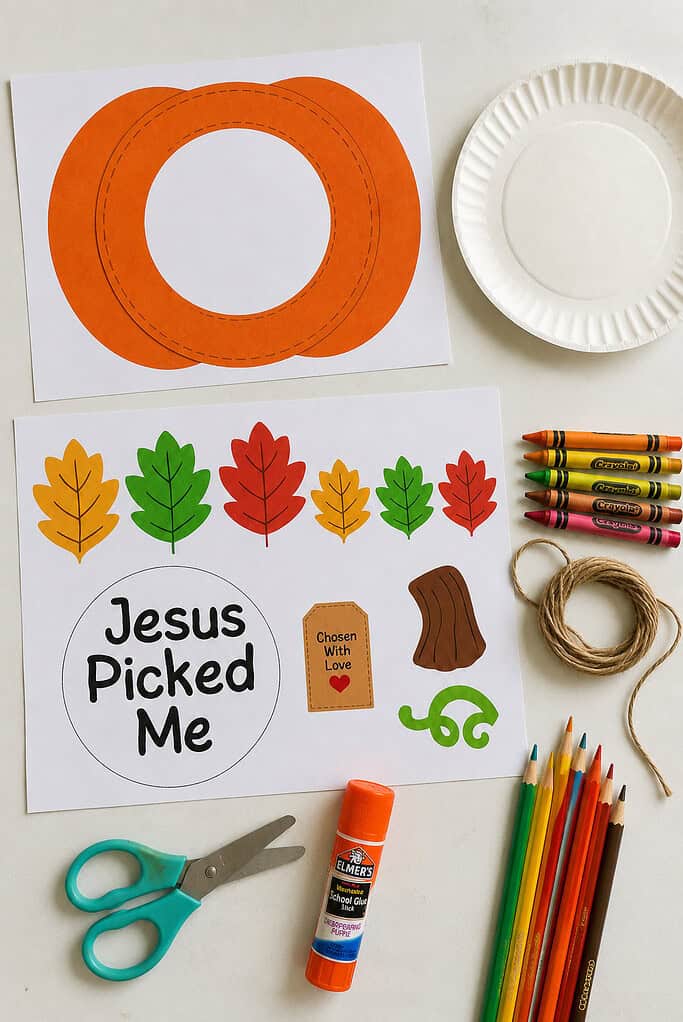
There’s nothing fancy here, and you probably have most of it already.
- The free printable (you’ll find it near the end of this post)
- A paper plate for the pumpkin base
- Cardstock or regular paper for the printable pieces
- Crayons, colored pencils, markers, or orange paint
- Scissors
- A glue stick
- A short length of twine or yarn for hanging
The printable comes in two versions, one already colored and one in black and white. If you’re short on time or working with the littlest ones, print the color set and go straight to cutting. The black and white set gives them more to do, since the coloring becomes part of the afternoon.
Since this one uses a paper plate, you might like these other easy paper plate crafts for kids for another quiet afternoon.
how to make the jesus picked me pumpkin craft
The steps are simple enough for a child to follow with a little help.
1. print and color the pieces
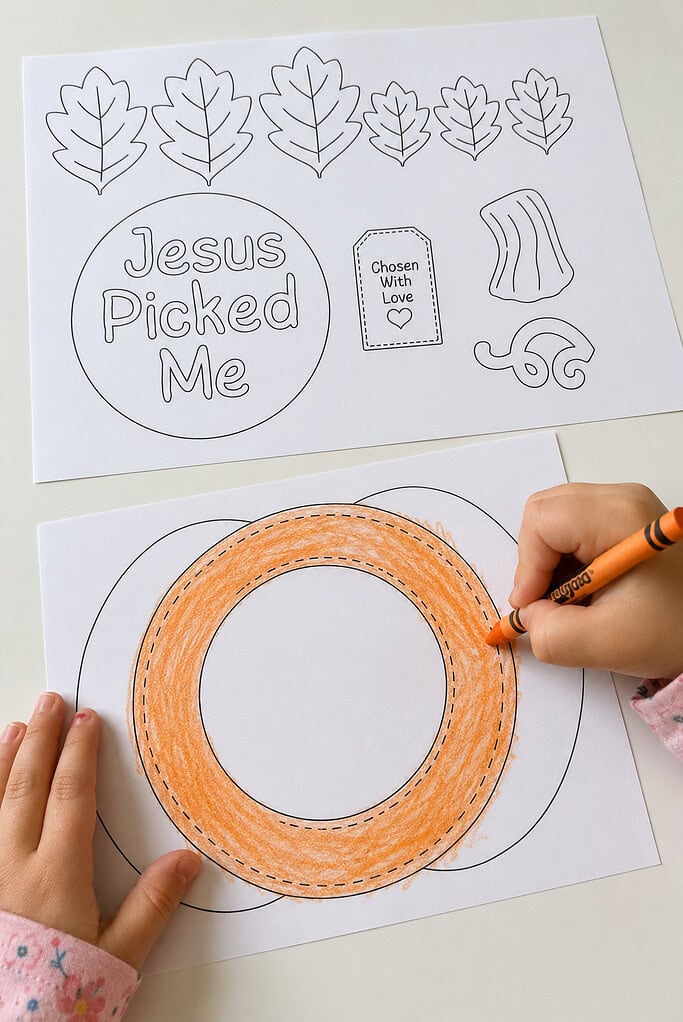
Print the pumpkin pieces along with the leaves, stem, vine, center circle, and tag. If you’re using the black and white version, let the little ones color everything however they like.
The pumpkin turns out sweet in the classic orange, but I’ve seen plenty of purple and blue ones too, and that’s just fine.
2. cut everything out
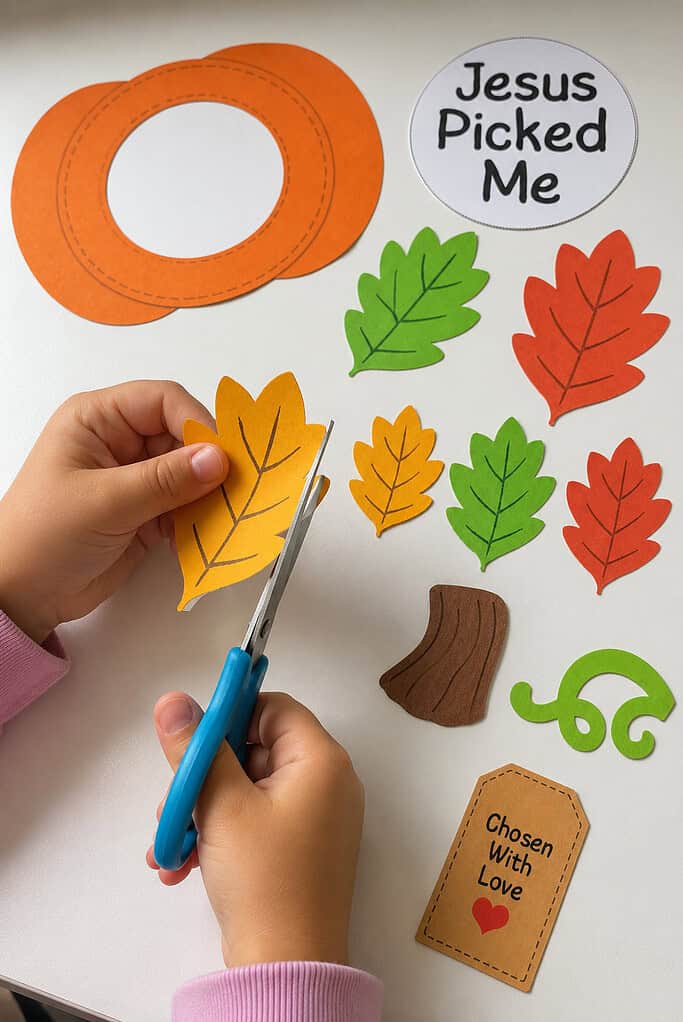
Cut out the pumpkin shape, the “Jesus Picked Me” center circle, the six leaves, the stem, the vine, and the “Chosen With Love” tag.
There are a few small pieces here, so it helps to cut the stem, vine, and tag ahead of time for younger children.
3. make the pumpkin base
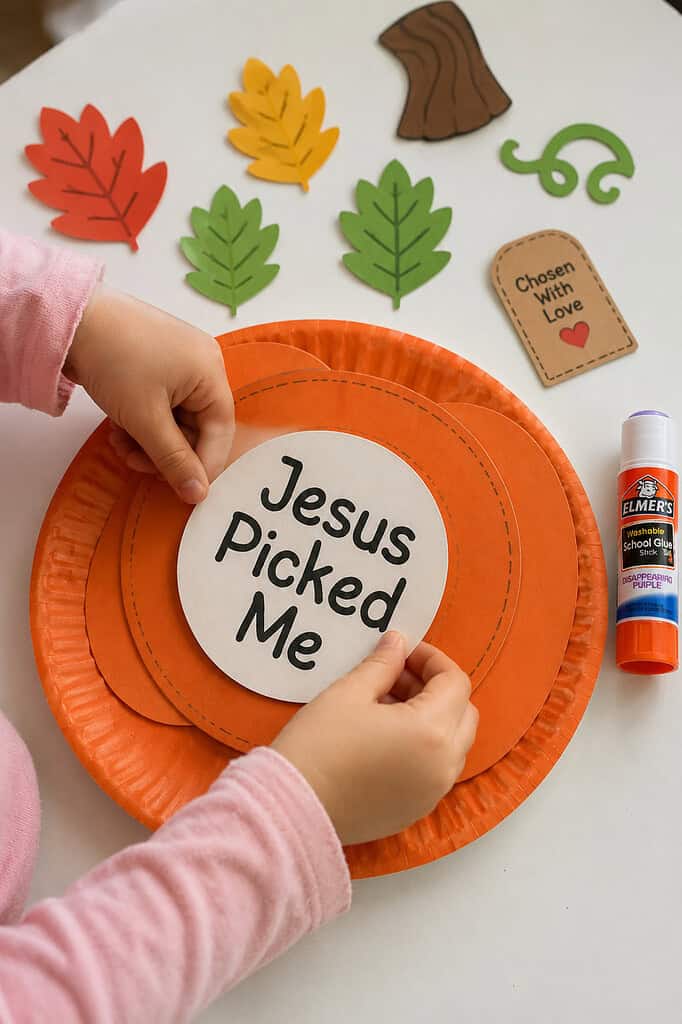
Glue the printed pumpkin pieces onto a paper plate, or color the plate orange and use it as the pumpkin itself. Either way, the plate gives the craft a nice sturdy backing. Then glue the “Jesus Picked Me” circle right in the center.
This is a good moment to talk about what the words mean, that Jesus chose each of them on purpose, the same way they picked their favorite pumpkin at the patch.
4. add the leaves, stem, and vine
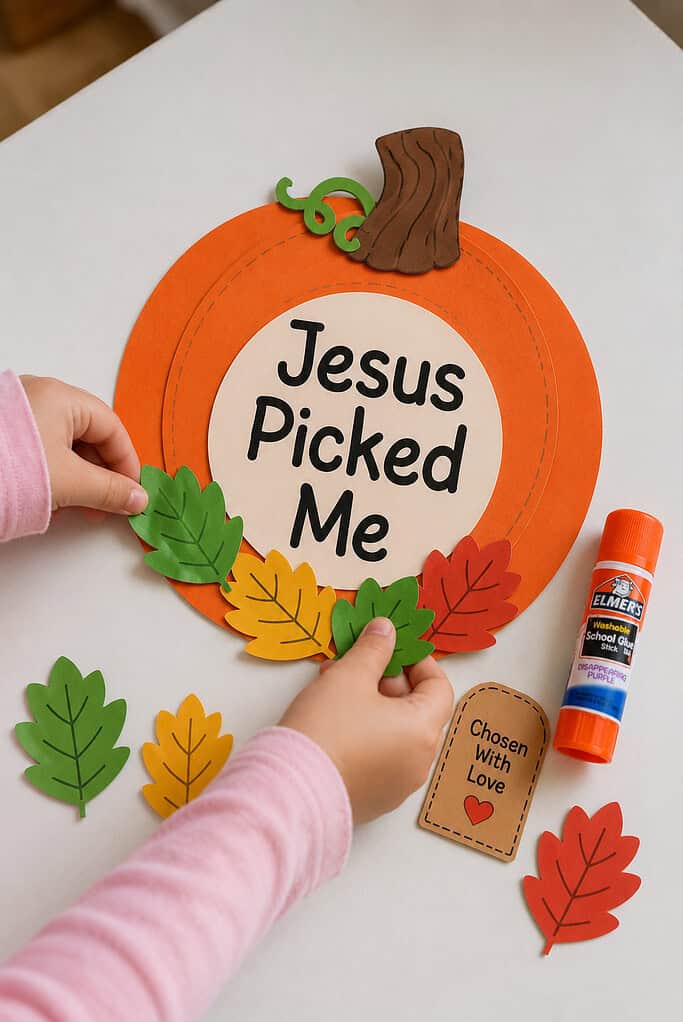
Glue the brown stem to the top of the pumpkin, then add the curly green vine beside it. Next, tuck the fall leaves around the bottom of the center circle, layering the colors however looks pretty to them.
There’s no wrong way to arrange the leaves, so let them place these themselves. A few of these fun leaf crafts for kids make a nice follow-up if they enjoy this part.
5. add the tag and a hanger
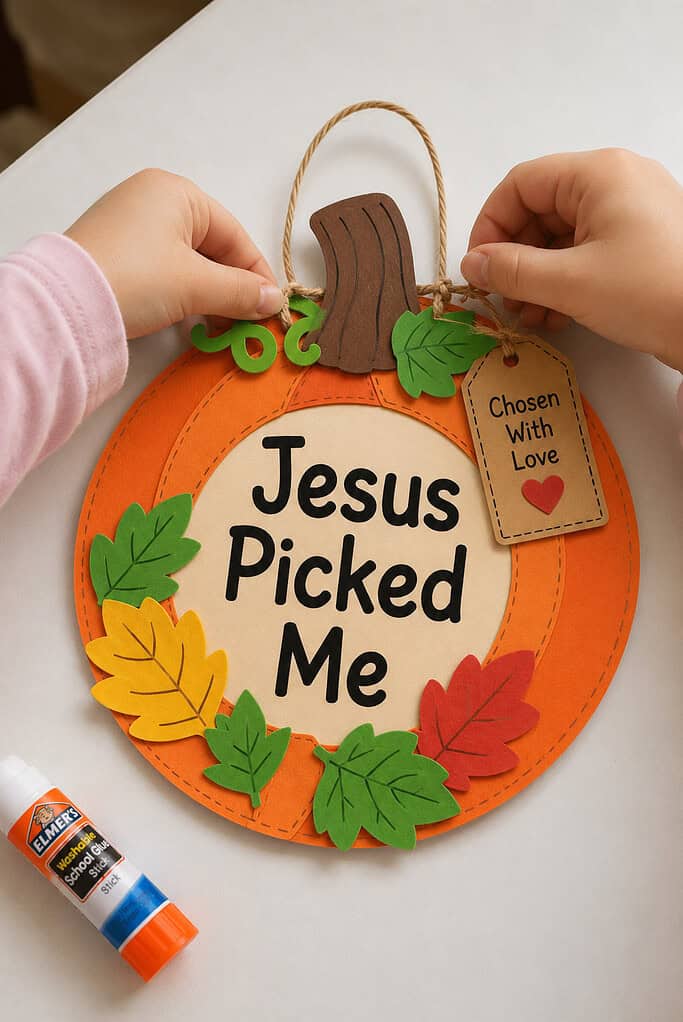
Finally, glue or tie the “Chosen With Love” tag near the stem so it hangs off to the side. Then tape a loop of twine or yarn to the back so it’s ready to hang.
Stand back and let them see it finished. Then read the words out loud together one more time before you hang it up.
simple ways to use this craft
One of the nice things about this craft is how many places it fits.
- In Sunday school or children’s church, as a hands-on way to talk about being chosen and loved by Jesus
- At home or in your homeschool, as a quiet fall afternoon with a gentle truth folded in
- On a bedroom door or wall, where a child can see the words every day
- As a fall decoration for the classroom or a bulletin board
If you’d like more crafts that carry a bit of scripture, these sweet Jesus crafts for kids pair nicely with it. And for more of the season, take a look at these cute pumpkin crafts for kids.
a gentle thought before you go
There’s a lot we want our children to know as they grow. But the one that matters most is the simplest. They are loved, and they are chosen, not for anything they’ve done, but by a God who wanted them.
A paper plate pumpkin won’t teach all of that on its own. But it gives a child something to hold, and a set of words to hang where they’ll see them, and a reason to hear you say it out loud. Jesus picked you.
If you make this one at home, in a classroom, or with a little group, I’d love to hear how it went. Leave a comment below and tell me how your pumpkins turned out.
With love,
Betty
Get the FREE Jesus Picked Me Pumpkin Craft
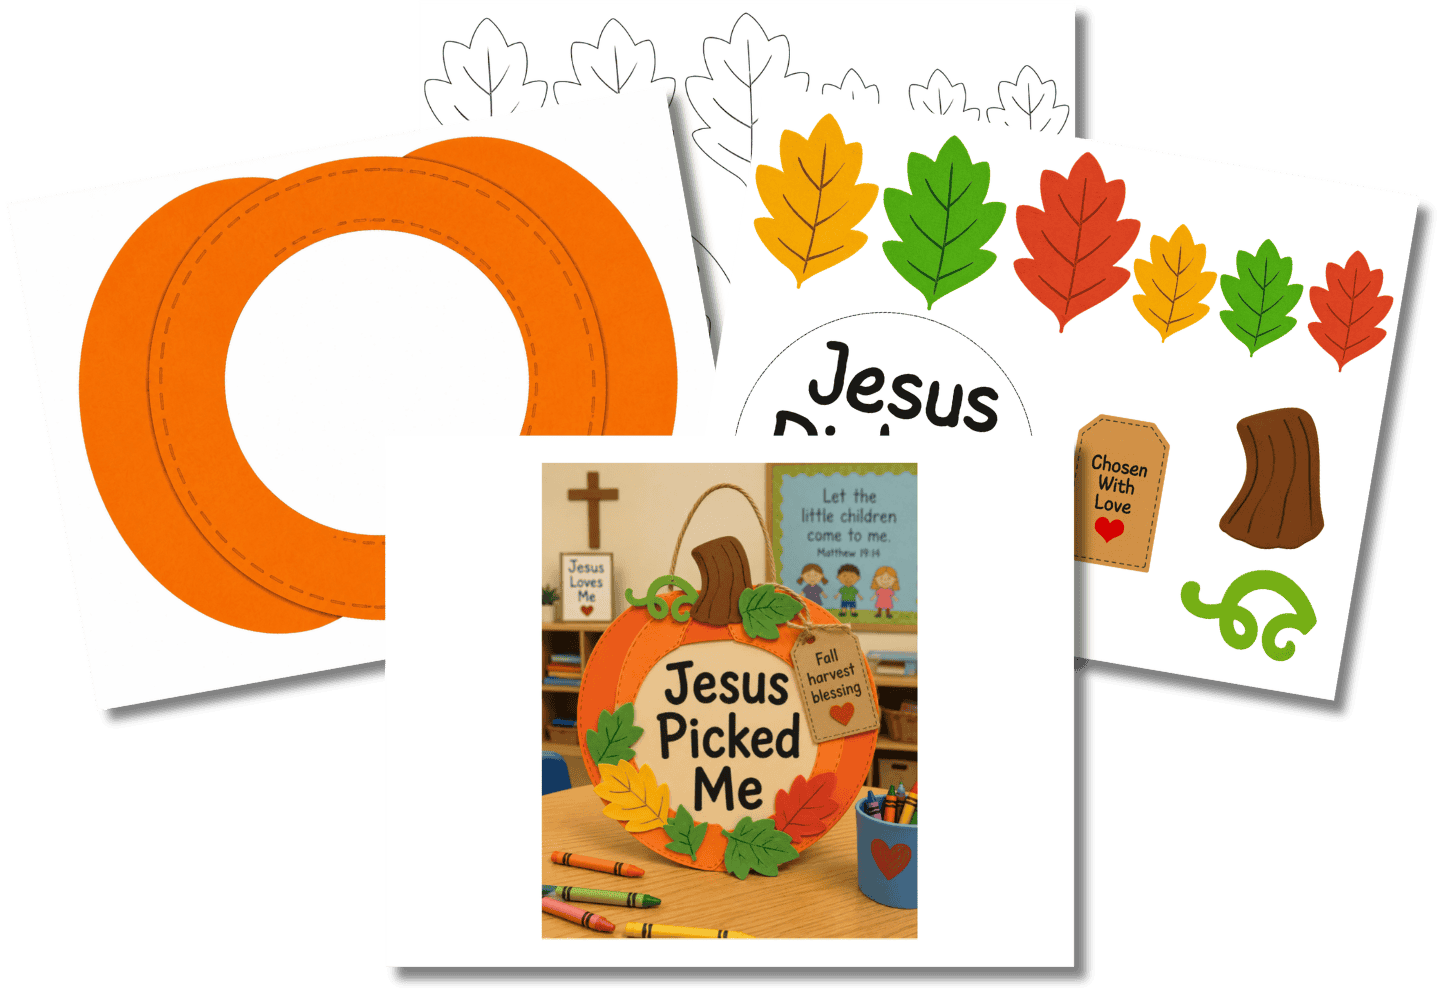
Don’t let fall go by without your kids knowing they were chosen—help them see that Jesus picked them.
With this free Jesus Picked Me pumpkin craft, kids color and cut the pumpkin, leaves, and stem, then build it into a fall keepsake with a “Chosen With Love” tag they can hang on a wall or door.
frequently asked questions
what age is this craft best for?
It works well for children around three and up. It’s mostly cutting and gluing with no tricky folding, so it suits little hands nicely. For the youngest ones, do the cutting yourself and let them color, glue, and arrange the pieces.
do I need a paper plate, or can I just use the printable?
Either works. A paper plate gives the pumpkin a sturdy backing that holds up well for hanging, but you can also print the pumpkin pieces on cardstock and skip the plate. Use whatever you have on hand.
what if my child can’t cut the small pieces?
That’s perfectly okay. Cut out the stem, vine, tag, and leaves ahead of time, and let them handle the coloring, gluing, and arranging. Those are the parts little ones enjoy most anyway.
how do I hang it up?
Tape or glue a loop of twine or yarn to the back near the top, or punch a small hole and thread it through. It’s light enough to hang with a bit of tape on a door or wall.
can I use this for a Sunday school class or co-op group?
Yes, and it’s a lovely one for a group. Print as many as you need, cut the small pieces ahead of time, and let each child make their own to take home. It’s a sweet reminder to hang in their room of just how loved they are.