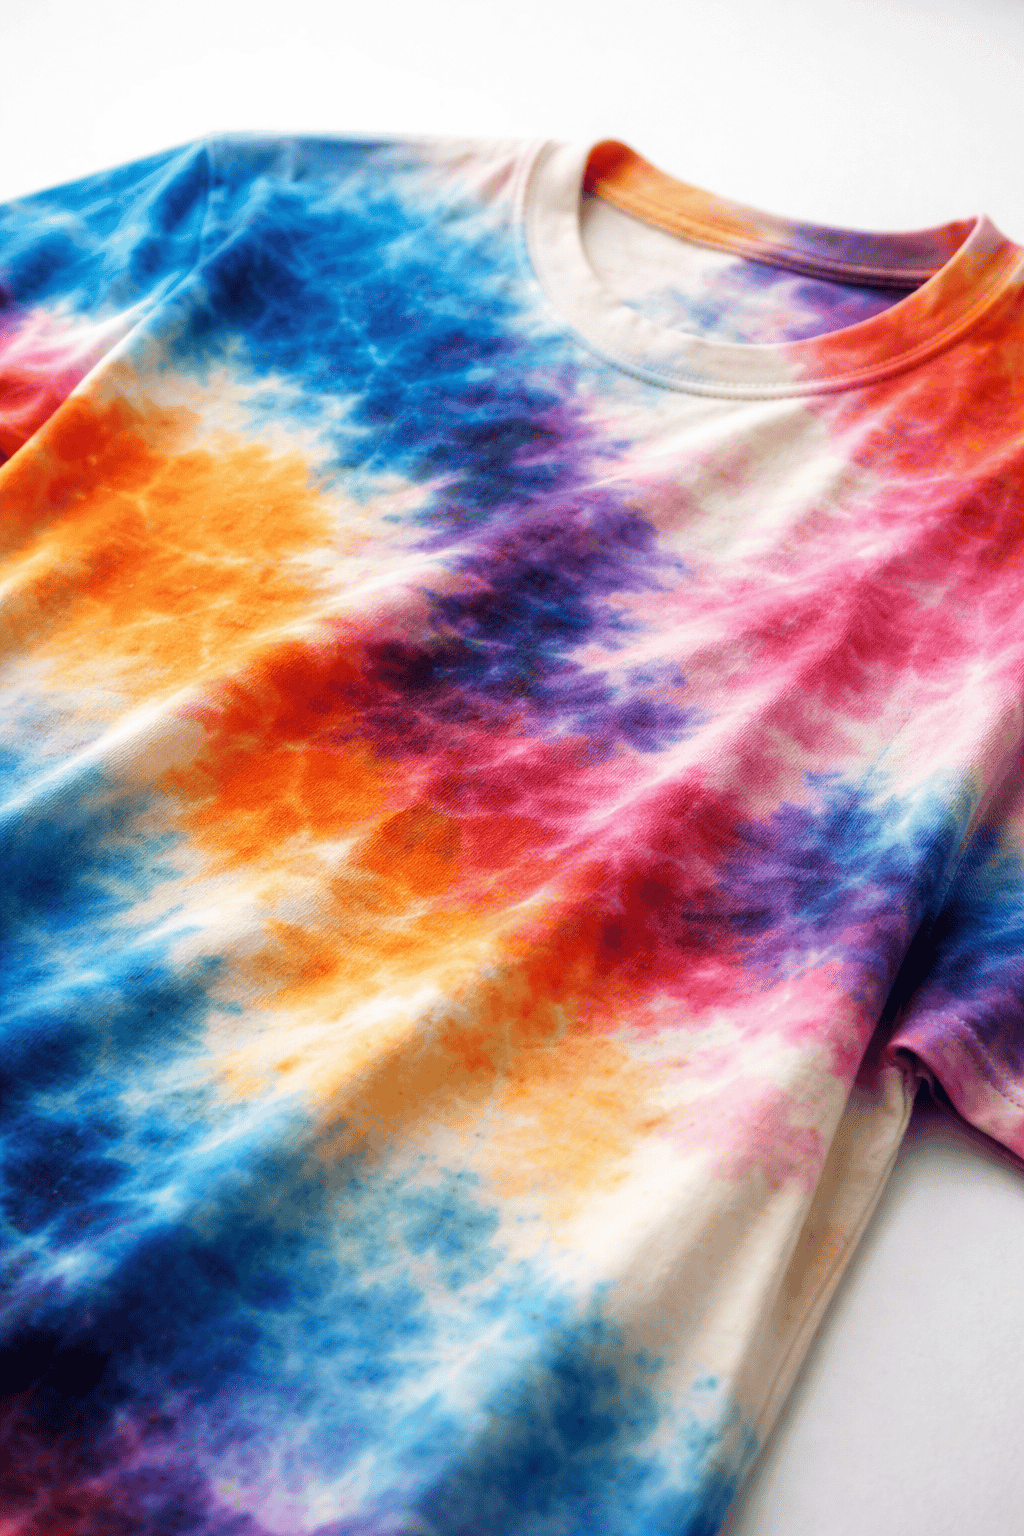
Ready to refresh faded fabrics or create custom colors for your next project?
RIT dye makes it easy to transform natural fabrics like cotton, linen, and silk into vibrant pieces you’ll love.
Natural fibers absorb dye beautifully, but getting professional-looking results requires the right technique.
In this step-by-step guide, I’ll show you exactly how to dye natural fabrics with RIT dye (from prep work to finishing touches)so you can achieve rich, lasting color every time.
Let’s get started!
Why RIT Dye Works Best on Natural Fabrics
Natural fabrics absorb dye with clarity – they take in color fully, creating results that feel rich and true.
When you use RIT dye on materials like cotton, linen, silk, or wool, the color bonds directly with the fibers.
If you’re not sure what kind of fabric you’re working with, check out our guide on how to read fabric labels like a pro before you start dyeing.
RIT’s all-purpose formula is designed for these natural fibers. Cotton and linen hold bold, true color; silk and wool take on soft, dimensional tones.
Each material interacts with dye a little differently, but all share one strength: they welcome color deeply, without resistance.
This makes natural fabrics the most reliable choice for home dyeing.
They’re breathable, durable, and easy to work with – qualities that keep projects simple and results consistent.
Whether you’re refreshing faded towels, matching household linens, or experimenting with seasonal tones, natural fibers give you control and clarity at every step.
When your foundation fabric is strong, the process stays easy and the finish looks refined.
That’s why RIT dye performs best on what’s already natural – fibers that respond to care, and color that lasts beautifully through everyday use.
Supplies You’ll Need for Dyeing Natural Fabrics

A good dye project starts with the right setup.
Everything on this list has a job to do – helping the dye spread evenly and stick around for the long haul.
Gather it all in one spot before you start so you’re not hunting things down mid-process.
Essential Materials
- RIT All-Purpose Dye
- Natural Fabric Item (Pre-Washed)
- Large Stainless Steel Pot or Plastic Bin
- Hot Water
- Rubber Gloves
- Stainless Steel Spoon or Stirring Stick
- Salt or White Vinegar
- Mild Detergent
- Towel or Drying Rack
Optional but Helpful
- RIT ColorStay Dye Fixative – Locks in color and minimizes bleeding during future washes.
- Measuring Cup and Timer – For accuracy in proportions and timing each step confidently.
4 Must-Do Steps to Get Fabric Ready for Dyeing
Preparation sets the tone for the entire dyeing process.
Clean, well-prepared fabric allows color to absorb evenly and hold beautifully over time.
When fabric is properly prepped, the results stay true – smooth, balanced, and consistent.
1. Wash Your Fabric Thoroughly
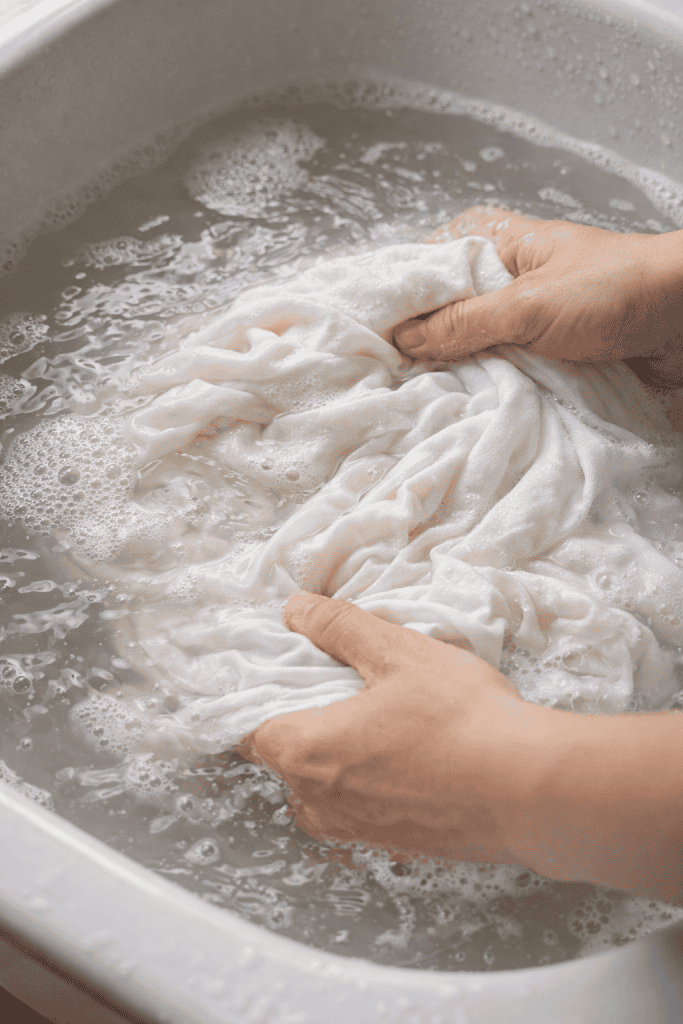
Start by washing the fabric with a mild detergent in warm water.
This removes any oils, dirt, or manufacturing finishes that can block dye absorption.
A clean surface gives the dye room to bond directly with the natural fibers, resulting in richer and longer-lasting color.
2. Skip the Fabric Softener
Softener leaves a light coating on fabric that can interfere with dye penetration.
After washing, rinse thoroughly and let the fabric stay free of any additives.
3. Test a Small Swatch
If possible, cut a small piece of the same fabric and test it in a bit of diluted dye solution.
This helps you see how the fabric reacts to color and how deep you’d like the final shade to be.
Adjust the dye concentration or soaking time as needed.
4. Keep the Fabric Damp
Before placing the fabric in the dye bath, make sure it’s damp – not dripping, but evenly moistened.
Damp fibers absorb dye more smoothly, helping prevent uneven patches or harsh lines.
When you take the prep seriously, everything else falls into place.
This simple groundwork means your fabric will absorb color evenly and beautifully – the kind of finish that makes the whole project feel worth it.
How to Mix a RIT Dye Bath (The Right Way)
Mixing the dye bath is where the process begins to feel hands-on.
This step controls how evenly your color turns out, so getting it right makes everything else easier.
The goal is straightforward: dissolve the dye completely, keep the heat consistent, and give your fabric room to soak up color evenly.
1. Fill Your Container with Hot Water
Use enough water for the fabric to move easily – about three gallons for every pound of fabric.
The water should be hot but comfortable to work beside, around 140°F if possible.
Heat activates the dye and helps it cling evenly to each fiber.
2. Add the RIT Dye
Shake the bottle well, then pour the measured amount into the water.
Stir slowly until the liquid looks fully blended. A stainless-steel spoon or wooden stick keeps the mixture consistent.
Even color starts here, so give this step a full minute of stirring attention.
3. Add a Color Enhancer
Include ½ cup of salt for cotton or linen fabrics, or 1 cup of white vinegar for silk and wool.
These natural boosters help the dye bond tightly with the fibers, producing stronger, longer-lasting color.
4. Stir for Uniform Color
Before adding the fabric, make one last gentle stir.
You’re checking that no undissolved dye lingers at the bottom or along the sides.
A smooth, even bath ensures smooth, even fabric.
5. Keep the Temperature Steady
If your workspace cools quickly, place the pot over low heat or pour in a small amount of fresh hot water occasionally.
Consistent warmth keeps the dye active and prevents uneven tones.
When your dye bath is ready, the water should look totally uniform – rich, even, and good to go.
Spending a few focused minutes here pays off big time, turning a simple project into something that looks clean and professional.
If you’re looking for another simple way to refresh your clothes at home, check out my guide on how to dye fabric at home using the immersion method.
Step-by-Step: How to Dye Natural Fabric with RIT Dye
This is the stage where color meets fabric – where careful preparation turns into visible transformation.
1. Submerge the Fabric Slowly
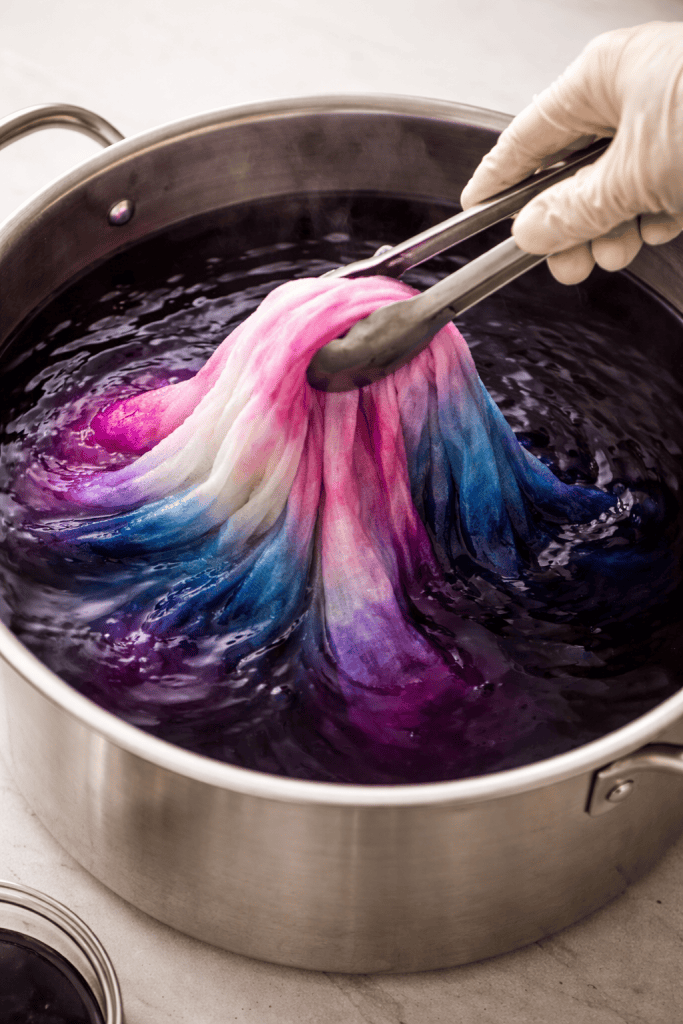
Start with your fabric damp and unfolded.
Lower it into the dye bath a section at a time, using a stirring spoon or tongs to help guide it below the surface.
This prevents air pockets, which can cause lighter areas, and ensures that every part of the material touches the dye from the beginning.
Once fully submerged, spread it gently so it floats freely in the water without tight folds or wrinkles.
Tip: For larger items, like bedsheets or dresses, use a pot or bin big enough that the fabric can move easily. Tight space makes color uneven.
2. Stir Consistently
Stirring is what gets you even color.
Use a long spoon and move the fabric in slow circles every few minutes.
Lift and reposition it now and then so the dye reaches every fold and seam.
Keep this up for 10 to 30 minutes – lighter shades take about 10, while deeper tones need closer to 30.
Keep it gentle and steady. You’re not wrestling with it – just guiding it around so the dye can do its thing.
3. Check the Color Under Good Light
After the fabric has soaked for a while, lift a small section out using tongs or your gloved hand.
Hold it near a window or bright indoor light to assess the shade.
Remember, the fabric always appears darker when wet – it will dry one to two shades lighter.
If you want a deeper tone, return the fabric to the bath for another 5 to 10 minutes, stirring as before. If the color feels right, move on to the next step.
Tip: For multi-piece projects like napkins or pillowcases, check one item at a time to ensure uniform results.
4. Maintain Warmth and Movement
Color bonds best when the dye bath stays warm and active.
If the water cools too quickly, the color may lose intensity.
To prevent this, keep your pot on the stove at a gentle simmer or add a small amount of hot water every 10 minutes for bin setups.
Keep stirring occasionally to maintain even heat and color distribution. Steady warmth means smooth, even results from edge to edge.
Tip: If you notice steam rising, that’s a good sign; just avoid letting the water reach a rolling boil. You want steady heat, not rapid movement.
5. Remove the Fabric
Once you’re happy with the shade, lift the fabric from the dye bath slowly and let the excess liquid drip back into the container.
Hold it above the pot for a few seconds to minimize dripping mess.
Lay the fabric flat on an old towel or hang it briefly over the container before rinsing.
This allows the color to settle slightly before it meets running water.
Handle the fabric gently – wringing or twisting at this stage can shift the color before it sets.
The goal is to keep the fibers calm and evenly saturated until you begin rinsing in the next step.
Add delicate, handmade detail to your sewing projects with this easy guide to hand smocking for beginners.
How to Rinse and Set RIT Dye for Long-Lasting Color
Rinsing and setting are what make your effort last.
This stage seals the color into the fibers, removes any loose dye, and ensures your fabric looks vibrant wash after wash.
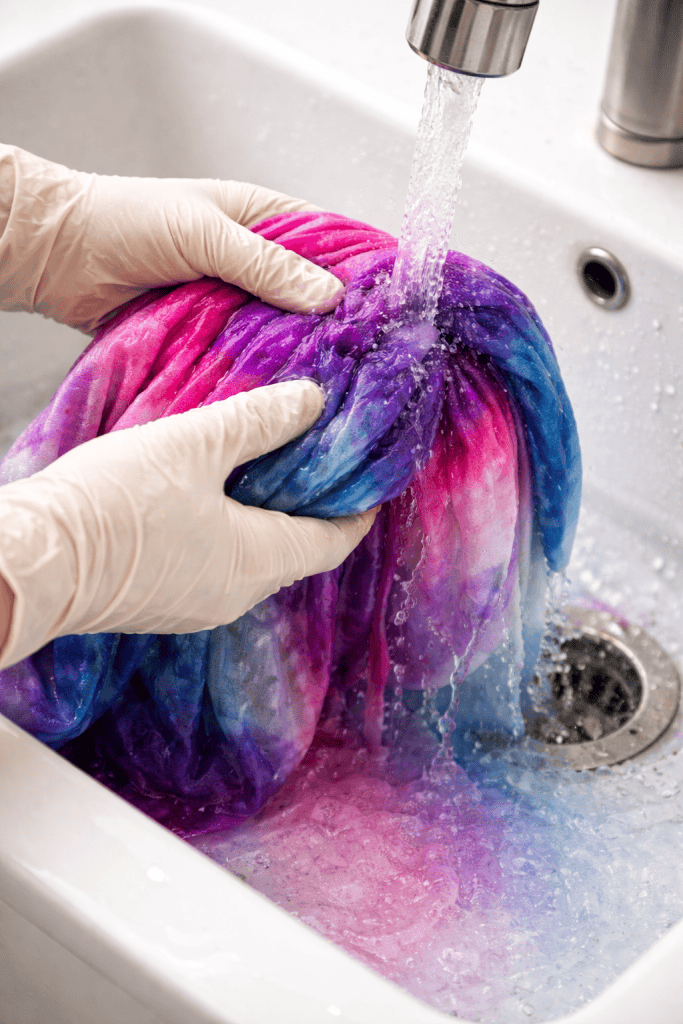
1. Rinse with Warm, Then Cool Water
Keep your gloves on and transfer the dyed fabric into a sink or large tub.
Begin rinsing with warm water first, gently moving the fabric under the flow. This helps release any excess dye while keeping the fibers relaxed.
Gradually shift to cool water as the runoff lightens. You’ll notice the water turning from deep color to pale tint to clear.
Continue rinsing until the water runs completely clear – that’s your sign the loose dye has washed away.
Tip: Avoid wringing or twisting. Instead, press the fabric lightly between your hands or against the sink wall to remove extra water. This keeps the fiber structure smooth and the color even.
2. Wash Gently with Mild Detergent
Once the rinse water is clear, give the fabric a gentle wash. Use a mild, dye-friendly detergent and cool water.
This removes any remaining surface dye and helps the color set firmly within the fibers.
For machine-safe fabrics, use a delicate or hand-wash cycle.
For delicate materials like silk or wool, hand wash softly and let the water move through the fibers instead of scrubbing.
Tip: Avoid detergents labeled “color-safe bleach” or “brightening.” They can dull new dye. A simple, low-suds soap works best.
3. Use RIT ColorStay Fixative (Optional but Recommended)
RIT’s ColorStay Dye Fixative is a helpful final step if you want to lock in color for long-term use – especially for items that will be washed frequently, like linens or cotton garments.
To use it:
- Mix the fixative in warm water according to the label directions.
- Submerge the freshly dyed, rinsed fabric for about 20 minutes, stirring occasionally.
- Rinse again in cool water until clear.
The fixative strengthens the bond between dye and fabric, reducing color bleeding and keeping shades crisp over time.
4. Air-Dry Completely
Lay the fabric flat on a towel or hang it in a shaded, well-ventilated area.
Direct sunlight may lighten new dye, so choose an indoor spot or a shaded line outdoors. Let it dry completely before use or ironing.
Drying slowly and evenly gives the color a stable finish and keeps texture soft and natural.
Once dry, your fabric will feel refreshed, strong, and ready for use.
With the color fully set, it’s ready to use, sew, or wear without worry.
You’ve given natural fabric a fresh start, one that feels renewed and built to last through real, everyday life.
Looking for quality fabric without breaking the bank? Learn how to buy affordable linen fabric and make smart choices for your sewing projects.
6 Care Tips for Long-Lasting Dyed Natural Fabrics
Good care protects your effort.
Once your fabric is freshly dyed, smart washing and storage habits keep the color strong, the texture soft, and the piece looking as good as it did when it first dried.
These small routines make a big difference – they turn a one-time project into something that actually lasts.
1. Wash Separately for the First Few Loads
Newly dyed fabric might release a little extra color in the first few washes.
To keep that from rubbing off on other stuff, wash dyed pieces on their own or with similar colors.
Stick with cool water and a gentle cycle to help the color stay bright and stable.
If you’re hand washing, let it soak for a few minutes in cool water with a bit of mild detergent, then rinse well.
The color settles more firmly into the fibers with each wash.
Tip: Toss a cup of white vinegar into the rinse water every few washes. It keeps the color fresh and naturally softens the fabric.
2. Use Mild, Dye-Safe Detergents
Go with detergents made for delicate or colored fabrics.
Harsh formulas and stain removers can strip the dye off the surface and dull the tone. Mild soap cleans gently and keeps everything intact.
Skip bleach or optical brighteners – not because they’ll wreck it right away, but because they slowly weaken the color bond over time.
Gentle care keeps your work looking good.
3. Wash in Cool or Lukewarm Water
Hot water makes natural fibers release color faster.
Cool or lukewarm water hits the sweet spot between getting things clean and keeping the color locked in.
It also keeps fabrics soft and cuts down on wear.
If you’re washing by hand, swirl gently instead of scrubbing. For the machine, use the delicate or low-spin setting.
You want to clean it without stressing the fibers.
4. Dry Away from Direct Sunlight
Sunlight fades natural dye over time, even on tough fabrics like cotton or linen.
Air-dry your stuff indoors or in a shaded spot outside.
If you use a dryer, pick the lowest heat or tumble it briefly, then hang it to finish.
Tip: Lay delicate fabrics flat on a towel so they don’t stretch or lose their shape.
5. Store Thoughtfully
Keep dyed fabrics in a cool, dry spot. Avoid clear bins or open shelves where sunlight hits.
For clothes, hang or fold neatly. For linens or napkins, store them in breathable cotton bags or drawers lined with tissue paper.
Good storage protects the color and keeps the texture natural – soft, smooth, and ready whenever you need it.
6. Refresh as Needed
If your fabric starts to look a little faded after a lot of use, you can refresh the color with a quick, lighter version of the dye process.
Natural fibers take to RIT dye so well that one light touch-up can bring them right back.
Not sure if your fabric is natural or synthetic? Learn how to do a burn test for natural fabrics to identify materials quickly and safely.
Easy Project Ideas for Dyeing Natural Fabrics
Once you’ve learned the rhythm of dyeing, you’ll start seeing new possibilities everywhere – a faded towel, an old cotton dress, a set of plain napkins waiting for color.
Here are a few simple, rewarding projects that work beautifully with RIT dye and natural fabrics:
Everyday Linens
Plain white linens take on beautiful, subtle tones with just a hint of dye.
Try soft earthy shades for table napkins, tea towels, or placemats.
These pieces bring warmth and color to your kitchen while keeping a clean, natural look.
Tip: Mix warm neutrals like sandstone or taupe for an understated, timeless finish that fits any season.
Pillow Covers and Throws
Dyeing cotton or linen pillow covers is an easy way to refresh a living space.
Use one consistent shade for a calm look, or try dipping edges for a soft ombré effect.
The texture of natural fibers helps the color appear dimensional rather than flat.
Bonus: Use leftover dye to tint a matching throw or cushion to create a cohesive look without buying new fabric.
Reusable Totes and Produce Bags
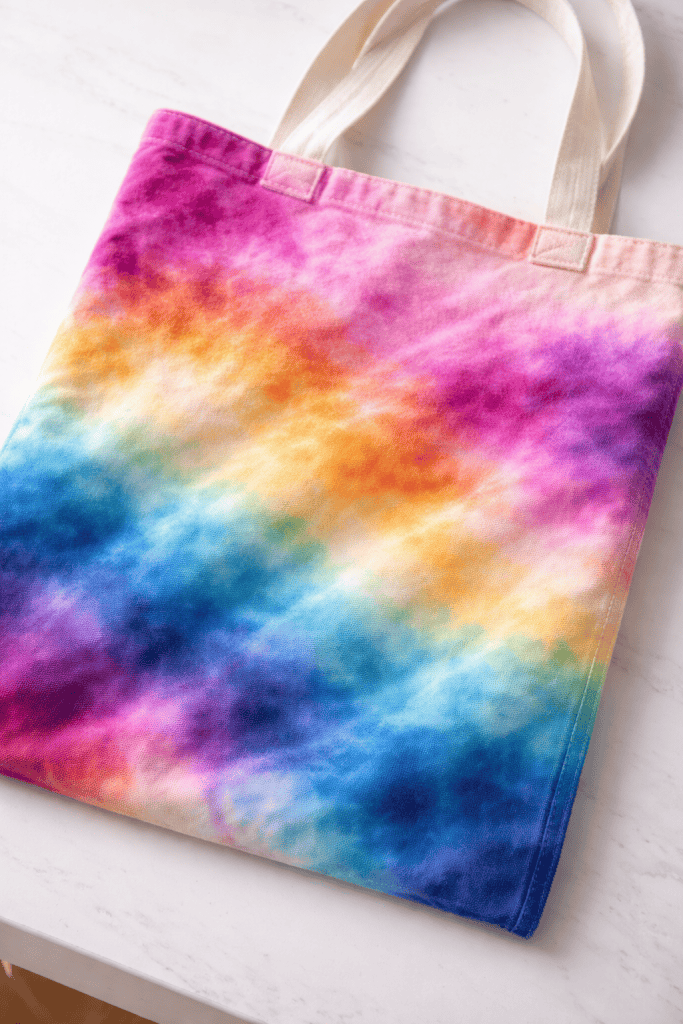
Cotton canvas or muslin bags absorb RIT dye beautifully.
Choose rich colors for shopping totes or soft tones for produce bags.
They’re functional, washable, and help reduce waste – a small but satisfying sustainability swap.
Tip: Dye multiple bags in coordinating shades for an organized, color-coded pantry or market kit.
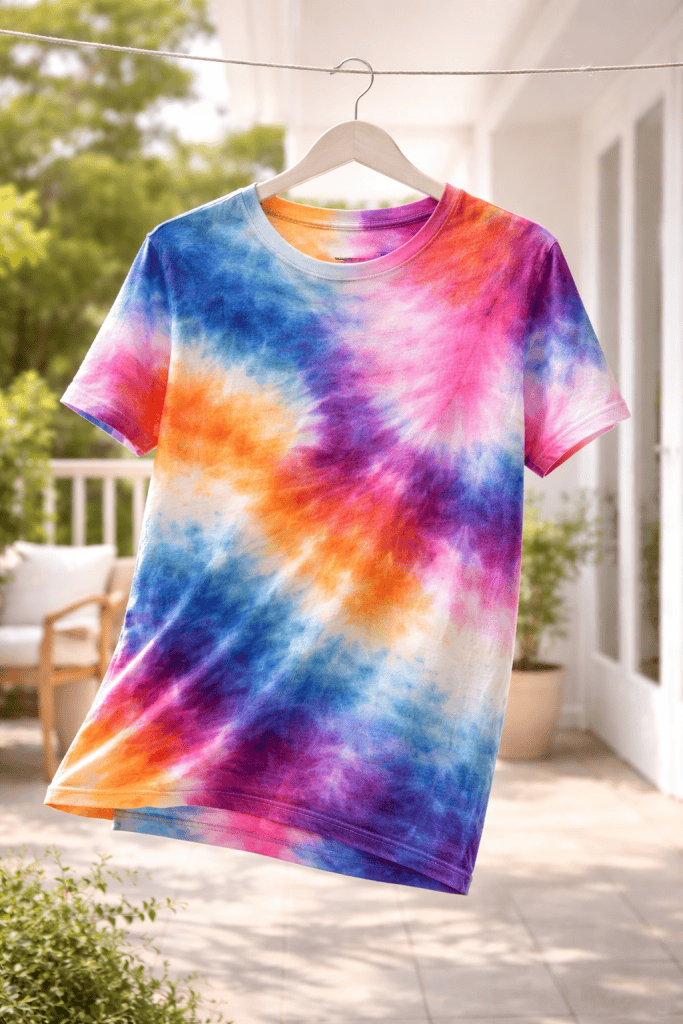
Worn Clothing Revivals
Old cotton T-shirts, skirts, or dresses often have life left in them.
A simple dye bath restores their vibrancy and gives them a fresh identity.
Deep indigo, olive, or terracotta tones work especially well for wardrobe basics.
Tip: For a softer look, try washing the dyed piece once before wearing – it relaxes the tone and sets the color.
Wool or Silk Accessories
Small silk scarves or wool mittens take dye gently, producing soft gradients that feel refined and handmade.
Because natural fibers respond differently, silk tends to show a slight sheen, while wool develops a cozy matte finish.
Tip: Use vinegar in your dye bath for these fibers, as it helps deepen the tone and keep the texture supple.
Quilting or Sewing Projects
If you sew or quilt, dyeing your own fabric adds a layer of personal expression.
Create color-coordinated pieces for patchwork, trim, or handmade gifts.
The process feels satisfying – the materials you color become a reflection of your own hands and choices.
Dyeing natural fabrics opens endless ways to renew what you already own.
Whether you start with one napkin or a whole bundle of linens, every piece becomes more meaningful when you’ve shaped its color yourself.
Want your sewing projects to look neat and professional? Check out how to pin fabric the right way.
Start Your First RIT Dye Project Today
Using RIT dye on natural fabrics simply takes attention, patience, and care – qualities that already define homemaking at its best.
If you’ve never tried fabric dyeing before, start with one small piece.
Gather your supplies, mix your color, and follow each step with intention.
You’ll discover how easy it is to turn an ordinary material into something you’ll reach for again and again.
Have you tried dyeing fabric before, or are you planning your first project soon?
Share your experience or ask questions in the comments below – your insight might be exactly what helps someone else begin with confidence.
FAQs
1. Can I use RIT dye in my washing machine?
Yes, you can. RIT dye works well in most top-load and front-load machines. The process is similar to a hand dye bath but easier to manage for large items. Set the water to the hottest temperature your fabric allows, add the dye, then run a full cycle. Afterward, clean your machine by running one cycle with hot water, detergent, and a small amount of bleach.
2. How can I create lighter or custom shades?
To create lighter colors, simply use less dye or reduce soaking time. For custom shades, mix two or more RIT colors in a separate container before adding them to your dye bath. Always test your mix on a small fabric swatch first to see how it reacts.
3. Will RIT dye work on fabric blends?
RIT All-Purpose Dye works best on fabrics made of at least 60% natural fibers like cotton, linen, silk, or wool. If your fabric has more than 40% synthetic content (like polyester), use RIT DyeMore for Synthetics, which is designed for blended or synthetic materials.
4. How can I fix uneven dye spots?
Uneven color usually comes from limited stirring or folds in the fabric. You can fix this by re-dyeing the fabric in a diluted bath and stirring continuously for even coverage. In some cases, over-dyeing with a slightly darker shade blends imperfections beautifully.
5. How long should I wait before washing dyed fabric again?
Allow the fabric to rest and fully dry for at least 24 hours before its first wash. This gives the color time to settle and bond with the fibers. After that, wash it separately in cool water using mild detergent to maintain the tone.
