Lace has a way of making anything feel special, doesn’t it?
A plain fabric suddenly looks refined, a simple project turns into something worth keeping.
The best part is, anyone can sew lace beautifully. All you need are a few tools, a calm pace, and a steady hand.
In this article, I’ll go step by step through how to sew lace on fabric.
From setting up your sewing machine to finishing those clean edges, each step builds your confidence and brings a little more polish to your work.
Once you’ve tried it, you’ll see how simple it can be to add that soft, elegant touch to your handmade pieces.
Tools & Materials You’ll Need
Before you start, gather your tools so everything’s within reach.
It makes the process smoother and helps you stay focused on the fun part – sewing.
- Sewing machine – Any standard machine works fine for lace.
- Fine sewing needle – A size 70/10 or 80/12 helps prevent snags. If you want to learn more about choosing the right needle, this guide on sewing machine needle types and sizes breaks it down simply.
- Sharp scissors – Clean cuts make a big difference with delicate lace.
- Lace trim – Choose a style that suits your project: scalloped, flat, or stretch.
- Fabric – Light to medium weights like cotton, linen, or muslin pair beautifully with lace.
- Matching thread – Blend it with your lace or fabric for a seamless look.
- Straight pins or fabric clips – To hold everything in place while sewing.
- Measuring tape – Accuracy keeps your lace even.
- Iron and ironing board – Pressing between steps keeps your work neat.
Tip: Take a minute to test your thread and needle on a fabric scrap before you begin. It’s a small step that sets you up for a smooth, confident sewing session.
Picking the Best Lace and Fabric
Lace and fabric work best when they complement each other. The goal is balance – your lace should enhance the fabric, not overpower it.
If you’re new to lace, start with something simple like cotton lace trim. It’s sturdy, easy to sew, and lays flat against most fabrics.
Scalloped lace adds a classic edge, while flat lace works well for straight hems or layering.
If you’re sewing something stretchy, like a knit top, stretch lace will move with your fabric and keep the shape looking natural.
When it comes to fabric, think light to medium weights – cotton, linen, and muslin are all friendly to work with.
If you are unsure about fiber content, learning how to do a burn test for natural fabrics can help you confidently identify what you are working with.
Heavy fabrics can weigh lace down, while very sheer ones may need a light stabilizer.
Before you dive in, take a moment to test your lace and fabric together.
Press them gently with your iron and sew a short sample.
It’s a simple check that helps you see how they behave as a pair – and it saves you from surprises later on.
6 Easy Steps to Sew Lace on Fabric
Sewing lace might look delicate, but the process is simple once you understand the rhythm.
Take it one step at a time, and you’ll end up with a finish that looks graceful and well-made.
Step 1: Set Up Your Sewing Machine
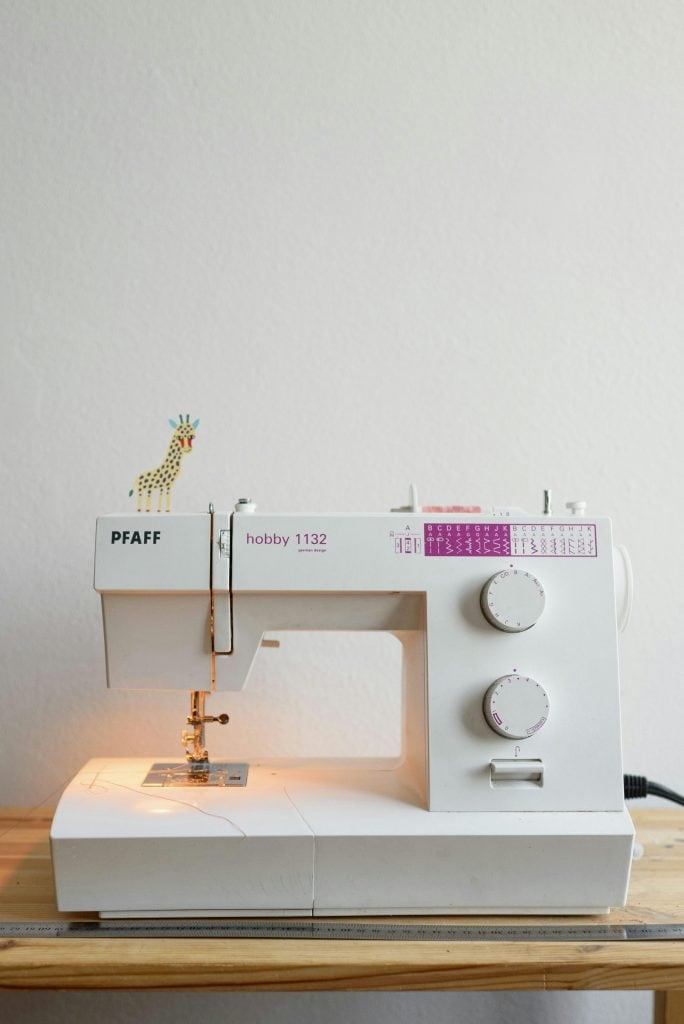
Your setup makes all the difference.
Start by inserting a fine sewing needle – something in the range of 70/10 or 80/12 works beautifully for lace.
Next, choose a straight stitch for classic lace or a narrow zigzag stitch if your lace has more give.
If you need a refresher on the basics, this guide on how to set up your sewing machine can help make sure everything is adjusted correctly before you start stitching.
If your machine allows it, slightly loosen the thread tension to keep stitches smooth and even.
Lace doesn’t need force – it behaves best when handled gently.
Once everything looks neat and even, you’re ready to move on.
Step 2: Prepare the Lace and Fabric
Before you begin stitching, take a few minutes to get your materials ready.
Start by giving your fabric a light press with an iron to remove any creases.
Flat fabric helps your lace sit neatly, and you’ll see the difference once you start sewing.
Then, trim the lace ends so they’re even and clean – no frayed edges or uneven lines.
If you’re using stretch lace, let it rest naturally; don’t pull or tug as you measure.
The same goes for your fabric – lay it flat without tension so both materials match in ease when you sew.
Choose a thread color that blends in with your lace or fabric.
Matching thread gives you a professional finish and helps your stitches disappear into the design.
Once everything is prepped, you’re ready to place the lace exactly where you want it.
Step 3: Pin the Lace Where You Want It

Now comes the part where your project starts to take shape.
Lay your fabric flat on your workspace, then position the lace exactly where you want it – along an edge, across the middle, or wherever your design calls for it.
- If you’re adding lace to an edge, line it up evenly and make sure both ends meet cleanly.
- For a centered placement, use your measuring tape to check that the lace is straight from one end to the other.
A small adjustment here saves you from uneven results later.
Use straight pins or fabric clips to hold everything in place.
Pins should sit perpendicular to your sewing line and spaced just enough to keep the lace from shifting.
If you’re working with delicate lace, fabric clips are a gentler choice and help avoid snags.
And if you want a quick refresher on proper pinning technique, you can check out my guide on how to pin fabric the right way for extra support.
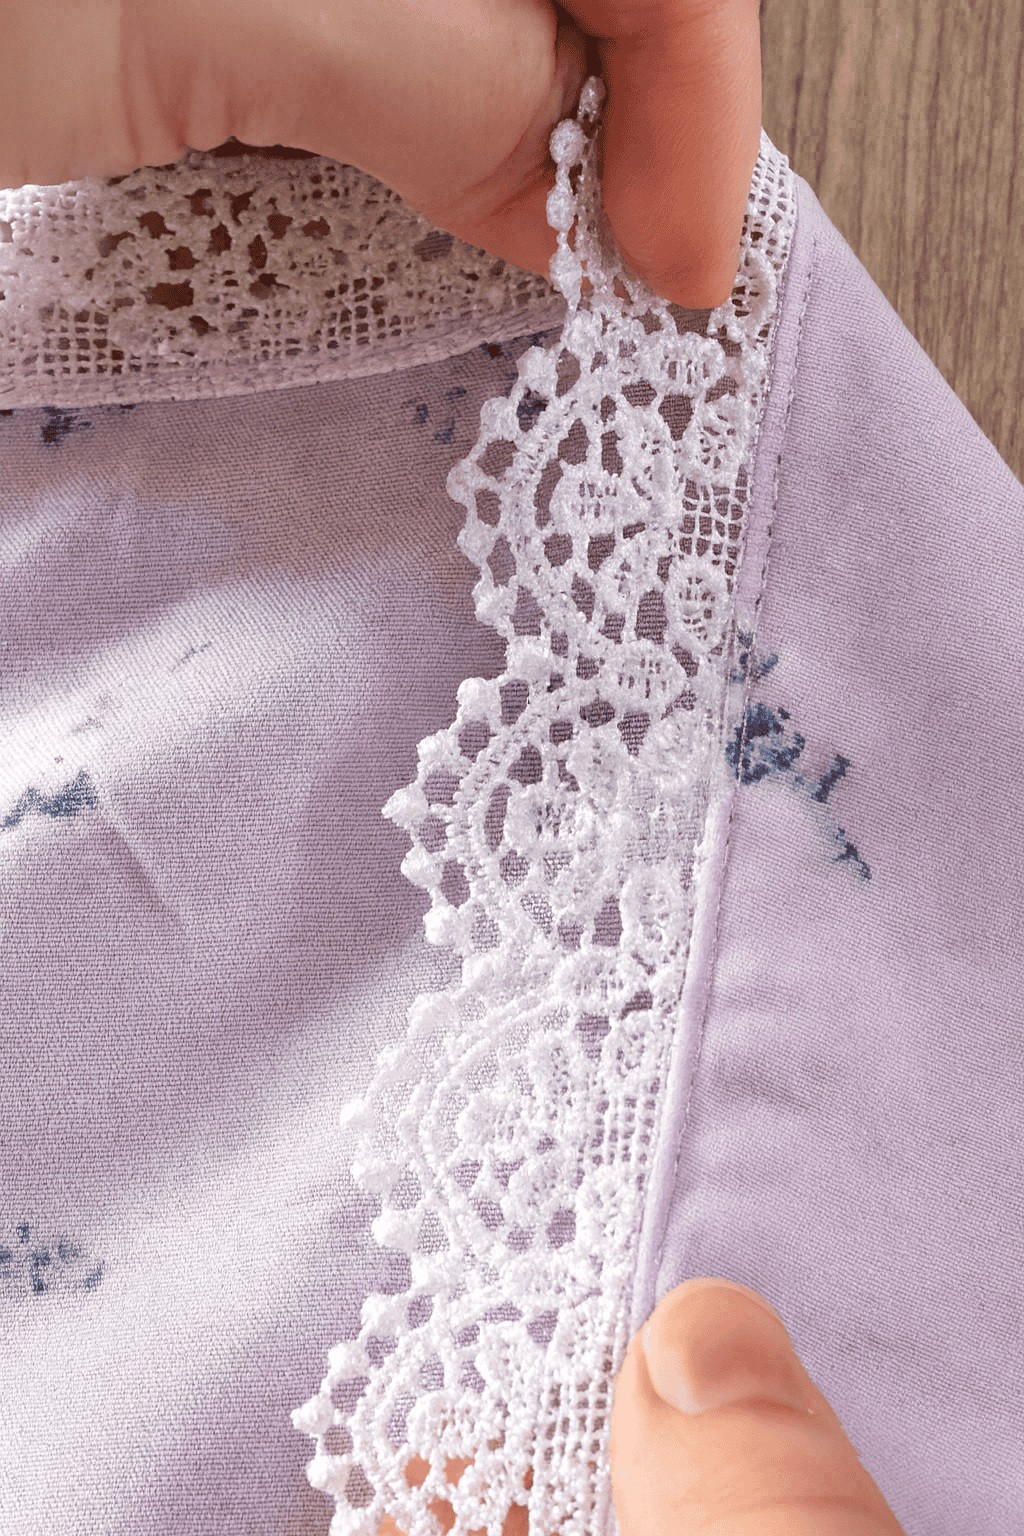
Before moving on, lightly run your fingers along the lace to feel for ripples or tension.
Step 4: Sew the First Edge of the Lace
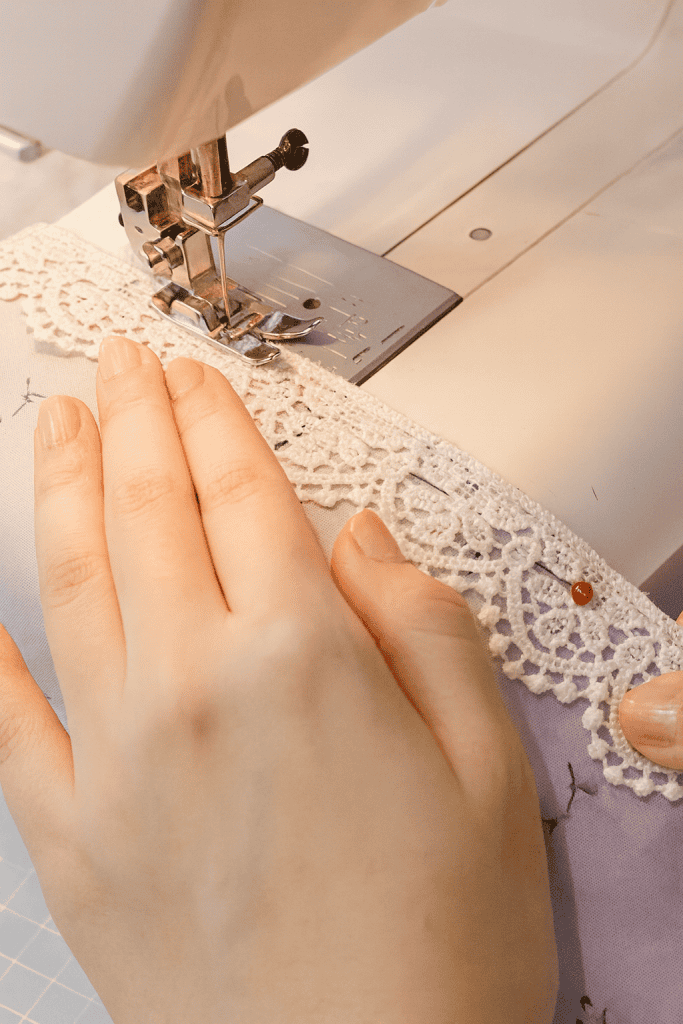
It’s time to bring your lace and fabric together. Begin by placing your pinned piece under the presser foot, starting at one end of the lace.
Lower the needle right at the inner edge of the lace, where it meets the fabric. This gives your stitch line a clean, subtle finish.
Sew slowly and steadily. Lace is light, and a gentle pace helps your stitches stay even and smooth.
Keep your hands relaxed – guide the fabric without pulling.
If your lace has openwork or scalloped edges, aim to sew just beside the open sections rather than over them.
That way, the beauty of the lace remains visible and the edge stays flat.
If you’re sewing a long strip of lace, pause occasionally to adjust the pins or clips as you go.
Keeping everything aligned prevents tiny shifts that can add up over the length of your seam.
Once you’ve sewn the entire edge, lift the presser foot, snip your threads, and admire how neatly the lace sits against your fabric.
Step 5: Turn the Fabric and Secure the Other Side
Now that one edge of the lace is neatly attached, it’s time to secure the other side for a clean, finished look.
Gently turn your fabric so the opposite edge of the lace is easy to reach.
If your lace trim has two open sides or if you’re layering lace on top of the fabric, this step ensures the lace stays flat and even.
Line up the lace so it lays naturally – no twisting or stretching.
Then, lower your presser foot and sew along the outer edge of the lace, keeping your stitches close to the border. If you’re curious about which foot to use, check out this guide to the most common presser feet for different sewing tasks.
As before, go slowly and let the machine feed the fabric at its own pace.
- If your lace includes scallops or curves, follow the natural shape as you sew. Short, careful stitches around curves will give you a smooth, graceful edge.
- For overlays or lace panels, sew gently around corners and pivot as needed to keep everything lying flat.
When you finish, take a moment to press your lace lightly with a warm iron (use a pressing cloth).
Step 6: Clean Up Your Stitching
You’ve reached the final touch – where everything comes together neatly.
Once your lace is securely sewn, take a few minutes to finish your project with care.
Start by snipping any loose threads close to the fabric. A small pair of sharp scissors works best for this, keeping your edges clean and precise.
Then, check your lace edges – make sure they’re flat and even, with no small folds or ripples.
Next, press your fabric gently using a warm iron and a pressing cloth. This helps set the stitches and smooth out any slight puckering.
Take your time here; pressing makes a big difference in how polished the final piece looks.
When you’re done, hold your fabric up to the light or lay it flat on your table.
Notice how the lace blends beautifully with the fabric, adding texture and charm without overwhelming it.
How to Solve Common Problems When Sewing Lace

Even with careful sewing, lace can have a mind of its own sometimes.
The good news is – most little issues are easy to fix once you know what to look for.
Here’s how to keep everything smooth and graceful from start to finish.
- Lace puckering: If your lace starts to ripple or bunch slightly, lighten your thread tension or place a thin stabilizer beneath your fabric. This gives gentle support and helps the lace stay flat.
- Uneven stitches: Check your presser foot pressure. Too much pressure can drag delicate lace, while too little may cause uneven feeding. A quick test on a scrap usually tells you what adjustment you need.
- Lace shifting: If the lace moves as you sew, add a few more pins or use a strip of temporary fabric tape. It holds the lace steady without leaving residue, especially for longer trims.
Each of these fixes keeps your stitches clean and your lace resting beautifully on the fabric.
Creative Ways to Use Lace
Lace adds a quiet charm that works just as well on everyday pieces as it does on special ones.
Here are a few simple ways to bring it into your sewing projects:
- Add lace to pillow edges or table linens. A small trim along the edge of a pillowcase, napkin, or table runner instantly makes it feel handcrafted and thoughtful.
- Sew lace onto aprons or handmade dresses. A narrow strip at a hem or neckline gives your garments a polished, graceful finish without feeling fussy.
- Layer lace over linen or cotton. Try placing lace on top of solid natural fabrics (linen, muslin, or cotton) to create subtle texture and contrast.
- Combine lace with embroidery or buttons. Mixing small handmade details together turns a simple item into something unique and personal.
The best part is, lace responds well to care and intention.
Once you start using it, you’ll find new ways to add it to your work naturally, letting each stitch bring a bit of lightness and beauty to what you create.
If you’re ready to explore more traditional techniques, this easy guide to hand smocking is a gentle next step.
Practice, Create, and Keep Learning
Lace isn’t just “decoration.” It asks for patience and care, and that’s what makes it so satisfying.
You’re adding a soft, personal touch that turns something simple into something special.
So go ahead and play with it a little. Grab a scrap of fabric, a small piece of lace, and just try a few lines of stitching.
You might surprise yourself with how lovely it turns out.
Have you tried sewing lace before? I’d love to hear how it went!
Share your experience, tips, or questions in the comments below – you might just inspire another beginner to start their own project.
FAQs
1. What type of thread works best for sewing lace?
A fine, high-quality polyester or cotton thread works well. Polyester has a bit more flexibility and strength, which is ideal for delicate lace, while cotton gives a soft, natural finish that pairs beautifully with linen or muslin.
2. Should I wash the lace before sewing it onto fabric?
Yes, especially if you’re using natural-fiber lace like cotton or linen. Pre-washing helps prevent shrinkage later and softens the lace slightly, making it easier to sew and press.
3. How do I sew lace on stretchy fabric?
Use stretch lace with similar elasticity to your fabric, and choose a narrow zigzag stitch instead of a straight one. This allows your seams to move without breaking the stitches. A ballpoint needle also helps prevent snags.
4. Can I sew lace by hand instead of using a machine?
Absolutely. For small projects or fine lace, hand sewing works beautifully. Use small, even stitches – like a slip stitch or backstitch – and thread that matches your lace. Hand stitching gives you more control around curves and corners.
5. How do I prevent the lace edges from fraying?
If your lace isn’t pre-finished, gently seal the raw edges with a dab of clear fabric glue or use a narrow zigzag or overlock stitch along the edge. This helps the lace stay neat through washing and wear.
