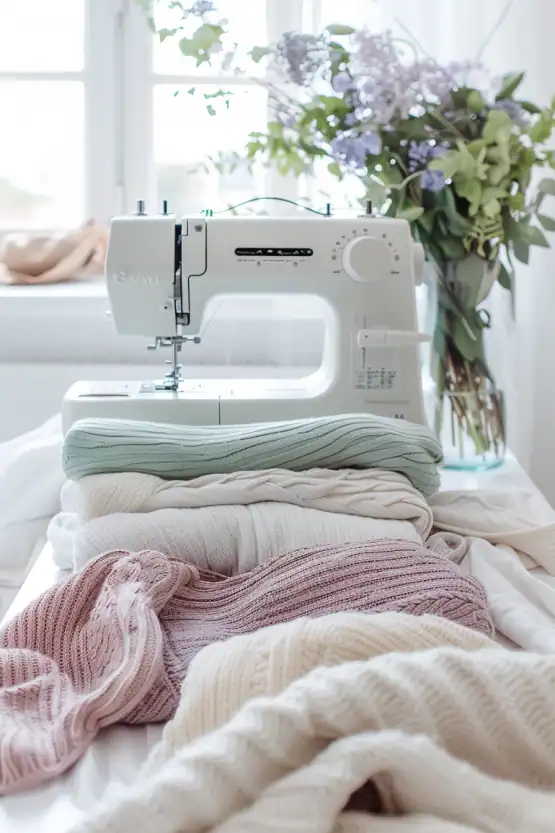
Knit fabrics are some of the most rewarding materials to work with.
They stretch, they move with the body, and they make everyday clothing feel easy to wear.
But if you’ve ever hesitated to try sewing with knits because you don’t own a serger, you’re not alone.
The good news is this: you don’t need one. A standard sewing machine is fully capable of handling knits when you know the right tools, stitches, and settings.
In this article, I’ll walk you through exactly how to sew knit fabrics without a serger – step by step.
You’ll learn which needles and threads matter most, how to set up your machine for success, and how to practice stitches that give professional-looking results.
For even more background, our knitting terminology you need to know guide explains the essential terms that will help you follow patterns with confidence.
Why Learn How to Sew Knit Fabrics Without a Serger?

Knit fabrics open the door to sewing clothes that feel good to wear every single day.
From soft T-shirts to stretchy leggings, knits are the backbone of a comfortable wardrobe.
They bend and flex with your body, making them practical for both everyday life and active moments.
Many new sewists assume a serger is required to work with these fabrics because it trims and finishes seams at the same time.
While a serger can be useful, it isn’t essential.
A standard sewing machine (set up with the right stitch and needle) can achieve strong, flexible seams that look and feel just as polished.
Learning how to sew knit fabrics without a serger not only saves you from investing in extra equipment, it also makes your sewing practice more versatile.
With the machine you already own, you can finish projects that look professional, last through washes, and fit comfortably.
This skill gives you freedom to explore knits without waiting for the “perfect” tools.
For project inspiration, see our free knitting patterns you’ll love.
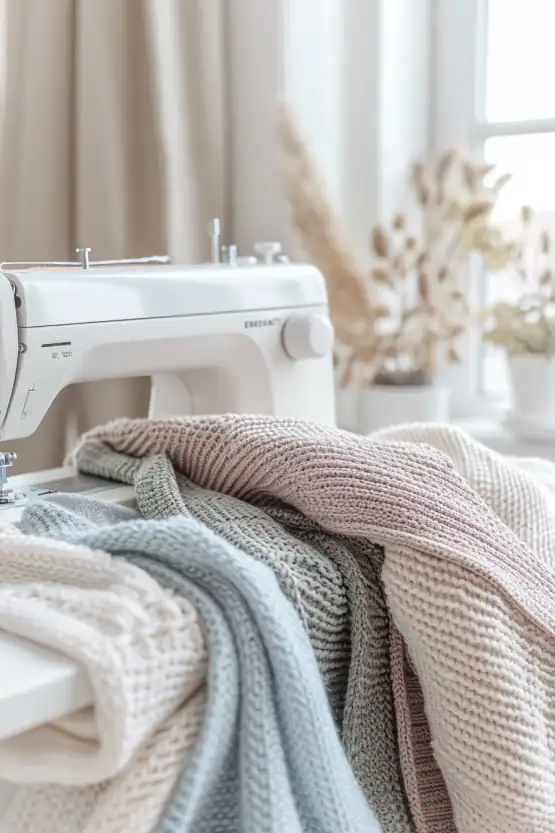
Essential Tools for Sewing Knit Fabrics on a Regular Sewing Machine
A standard sewing machine works perfectly with knits when paired with the right tools.
These tools are simple, affordable, and easy to keep on hand, helping your machine handle the natural stretch of knit fabric with ease.
- Ballpoint or Stretch Needles: These are the foundation. A ballpoint or stretch needle has a rounded tip that slides between the knit fibers instead of piercing them. This prevents holes and skipped stitches. Swap out your universal needle before you begin – this small step makes the biggest difference.
- Polyester Thread: Cotton thread has very little give. Polyester thread stretches with the fabric, keeping your seams strong and flexible through daily wear and washing. Always choose polyester when sewing knits.
- Presser Feet Options: Your standard presser foot will do the job, but a walking foot can help feed the fabric evenly, preventing waviness. If you find your fabric sticking, a Teflon foot glides smoothly over tricky knits like jersey.
- Stitching Aids: Lightweight stabilizers, tissue paper, or stay tape can keep edges from stretching out while you sew. These are especially helpful when hemming or working with very stretchy fabrics. They tear away easily once the seam is complete.
With these tools, your regular sewing machine is fully equipped to sew knit fabrics smoothly and confidently.
Best Stitches to Use When Sewing Knit Fabrics Without a Serger
When sewing knit fabrics on a regular sewing machine, the stitch choice makes all the difference.
Unlike woven fabrics, knits need seams that can move with the fabric. If the seam is too rigid, it will break the first time the fabric is stretched.
Knit fabrics themselves come in many types and textures – some are even made on flat bed knitting machines, which can produce intricate patterns and designs that give you extra inspiration for your sewing projects.
Fortunately, most standard machines already include the stitches you need for durable, flexible seams.
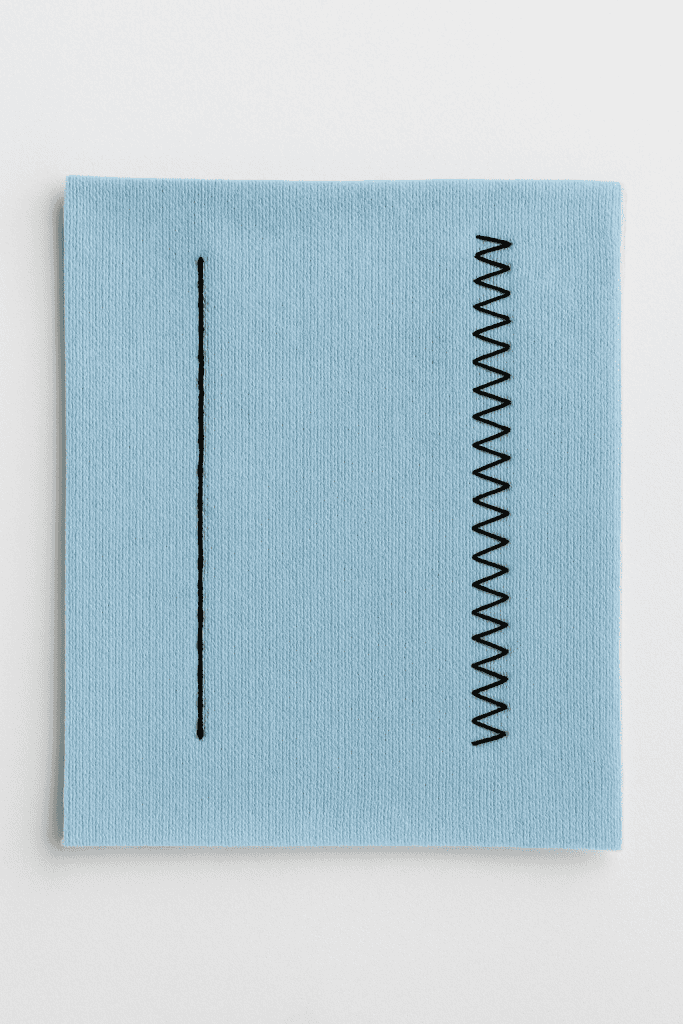
Zigzag Stitch
This is the most reliable, versatile stitch for knits when you don’t have a serger. A narrow zigzag seam flexes with the fabric while holding it together securely.
- Suggested settings: Width 1.0–1.5 mm, Length 2.0–2.5 mm.
- When to use it: Main seams on T-shirts, leggings, children’s clothes, and anywhere stretch is essential.
- Why it works: The “zig” and “zag” give the seam natural elasticity, unlike a straight stitch, which would snap.
Extra tip: For finishing edges, you can widen the zigzag to about 3.0 mm to cover raw edges more neatly and prevent rolling.
Stretch Stitch (Lightning Bolt Stitch)
Many machines have a built-in stretch stitch that looks like a broken zigzag or lightning bolt. It sews forward and back in a way that allows the seam to stretch without breaking.
- When to use it: High-stretch areas like necklines, armholes, or waistbands.
- Why it works: This stitch locks securely into the fabric fibers and distributes tension evenly, making it more durable than a standard zigzag for certain projects.
- Things to know: It sews slowly because of its back-and-forth motion, so be patient – it’s worth it for the strength it provides.
Twin Needle Stitch for Hems
A twin needle allows you to sew two parallel lines on the right side of the fabric, while the bobbin thread zigzags across the back. This creates a stretchy hem that looks almost identical to a ready-to-wear finish.
- When to use it: Hemming T-shirts, knit dresses, or cuffs.
- Setup tips: Insert the twin needle, thread your machine with two spools of thread, and keep your stitch length around 3.0 mm.
- Why it works: The zigzag underneath allows the hem to stretch without breaking, giving you both function and a professional look.
Extra tip: To prevent tunneling (a ridge forming between the lines), use a stabilizer or fusible hem tape before sewing.
Always Test Before You Sew: Knit fabrics vary in weight and stretch, from stable ponte knits to very stretchy jerseys. Always sew a test seam on a scrap of your fabric before starting your project. Stretch it gently – if the stitches hold without popping or puckering, you’re ready to go. Adjust width, length, and tension until the seam feels flexible but strong.
With just these stitches, you can create seams and hems that look polished and hold up to daily wear.
Your regular sewing machine has everything you need – you just need to unlock its stretch-friendly features.
How to Sew Knit Fabrics Without a Serger in 6 Easy Steps
Once you have the right tools and stitches ready, it’s time to put everything into practice.
Sewing knits on a regular machine is a matter of preparation, careful handling, and finishing neatly.
Here’s a simple, reliable process you can follow for almost any knit project.
Step 1: Prewash and Prepare Your Knit Fabric
Always start by prewashing your knit fabric.
Knits shrink more than woven fabrics, so washing and drying them first ensures your finished project keeps its shape later.
After washing, let the fabric dry flat instead of hanging – it prevents the edges from stretching out.
Lay the fabric smooth on a large table or cutting mat.
If the edges curl (as jerseys often do), press them lightly with steam or use pattern weights to keep them flat.
This simple prep work saves frustration when it’s time to cut and sew.
Step 2: Cut the Fabric Correctly
Knit fabrics shift more than wovens, so cutting accurately is important.
Place your pattern pieces with attention to the grainline: the arrows on your pattern should line up parallel with the selvage edge.
This ensures the stretch goes in the right direction (for example, across the width of a T-shirt).
Instead of pins, which can distort the fabric, use pattern weights or even household objects like soup cans.
Cut with a rotary cutter for clean, straight edges, or with very sharp scissors.
If your edges roll, slip tissue paper under the fabric as you cut – it keeps the knit stable and easy to manage.
Step 3: Choose and Test Your Stitch
Before diving into your garment, test on a scrap.
Start with a narrow zigzag stitch: set the stitch length around 2.5 mm and the width around 1.0–1.5 mm. Sew a short line and then stretch the fabric.
The seam should flex with the fabric instead of snapping.
If your machine has a stretch stitch (often shaped like a lightning bolt), try that as well – it’s slower but creates a strong seam for high-stress areas like waistbands or shoulders.
Adjust the tension if the stitches look tight or the fabric is puckering. This testing step lets you dial in your settings before sewing the actual seams.
Step 4: Sew the Seam Slowly and Steadily
Place your knit pieces right sides together.
Align the raw edges carefully, and clip them with sewing clips or pins placed perpendicular to the seam (so they can be removed as you sew).
Guide the fabric under the presser foot, but don’t stretch it – let the feed dogs move it through naturally.
If your machine allows, reduce the presser foot pressure slightly to prevent stretching.
Keep a steady pace. Fast sewing can cause skipped stitches or wavy seams.
Instead, aim for smooth, even stitching, especially on curves like necklines and armholes.
For beginners, sewing in shorter sections and checking alignment as you go works better than rushing through one long seam.
Step 5: Finish the Raw Edges (Optional but Helpful)
Knit fabrics don’t fray, so you can leave the raw edges alone.
But finishing them makes the inside of your garment neater and prevents edges from curling.
On a regular sewing machine, you can:
- Sew another line of zigzag just inside the raw edge.
- Use the overcast stitch if your machine has one (paired with an overcasting foot).
- Trim the seam allowance to about ¼ inch and zigzag over the edge for a compact finish.
This step gives your seams the look and feel of ready-to-wear clothing, even without a serger.
Step 6: Press the Seams with Care
Knits respond differently to pressing than wovens.
Use a low to medium heat setting with steam, and always press down instead of sliding the iron.
A pressing cloth is helpful for protecting delicate jerseys and preventing shiny marks.
For hems, press the fabric up before sewing – it helps the fabric “remember” where to fold and keeps your final stitching smooth.
If you’re using a twin needle, press after sewing to flatten the hem and set the stitches in place.
By following each of these steps, you move from preparation to polished results – without needing extra equipment.
With time and practice, sewing knits on a regular machine feels natural, and you’ll be able to create everyday clothing that looks and wears beautifully.
Practice with a Simple Knit Project
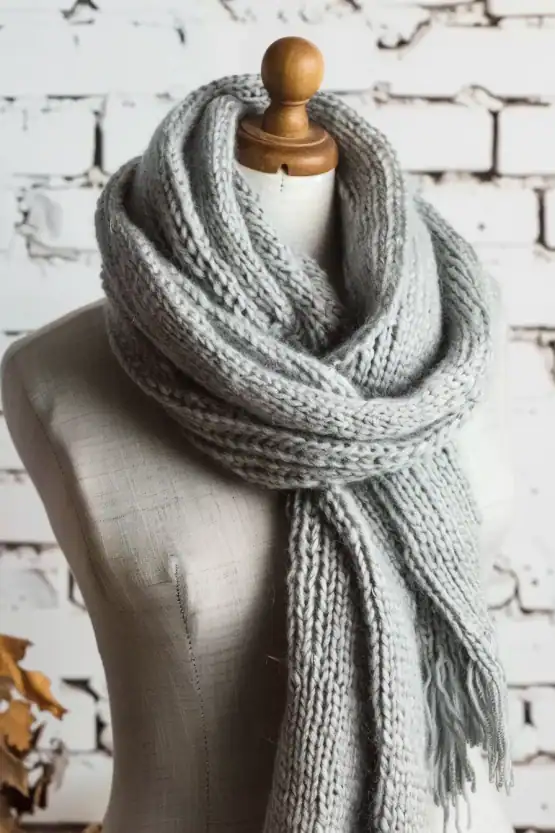
The best way to get comfortable sewing knits without a serger is to practice with something small.
A knit headband, infinity scarf, or even a simple hem adjustment on a store-bought T-shirt are all great beginner-friendly projects.
These let you practice your stitch settings, fabric handling, and seam finishing without committing to a full garment.
If you’re inspired to make gifts with your new skills, check out knitting gift ideas for Christmas for creative projects.
Beginner-Friendly Knit Projects to Build Confidence
Here are a few beginner-friendly ideas you can try without a serger:
- Simple headband — A quick tube of knit fabric teaches you to sew seams that stretch and lie flat.
- Hemming a T-shirt — Great practice with a twin needle and stabilizers, and you end up with a wearable piece.
- Elastic waist skirt — Straight seams and a comfortable fit make this project ideal for beginners.
- Infinity scarf — Perfect for lightweight jerseys; teaches you to manage long seams without distortion.
These projects let you practice handling knits in small, approachable steps while creating something useful.
Ready to take your knitting skills further? Explore our ultimate guide to knitting.
Troubleshooting Common Knit Fabric Sewing Issues (and Easy Fixes)
Even with the right tools and stitches, knit fabrics can behave in surprising ways.
Here are the most common challenges you might run into – and the exact steps to solve them.
Problem: Wavy or Stretched-Out Seams
This happens when the fabric gets pulled as you sew, leaving rippled seams that don’t lay flat.
Solution:
- Reduce presser foot pressure if your machine allows.
- Place a strip of tissue paper or wash-away stabilizer under the seam while sewing – this keeps the fabric stable, then tears or dissolves away after.
- Press the seam with steam (press, don’t drag). Often, gentle pressing will shrink the waviness back into shape.
Problem: Skipped Stitches
If your machine sews unevenly, leaving gaps in the seam, the needle is usually the culprit.
Solution:
- Switch to a new ballpoint or stretch needle – skipped stitches are the first sign of a dull or wrong type of needle.
- Re-thread your machine carefully, making sure the thread is seated in the tension discs.
- Slow your stitching speed to give the needle more time to form consistent stitches.
Problem: Puckered or Tight Seams
The seam feels stiff, and the fabric looks gathered or bunched.
Solution:
- Loosen the top thread tension slightly.
- Lengthen your stitch length (try 3.0 mm instead of 2.0 mm).
- Test with a different zigzag width – sometimes widening the zigzag just a bit gives the seam more flexibility.
Problem: Bulky or Thick Seams
Knits can build up bulk at side seams, waistbands, or cuffs, especially where multiple layers meet.
Solution:
- Trim or grade the seam allowances so they’re staggered rather than stacked.
- Press seams open when possible, or press them to one side with steam.
- For very bulky spots, use a “hump jumper” or fold a piece of fabric behind the presser foot to help it glide smoothly over the thickness.
Problem: Rolling or Curling Fabric Edges
Lightweight jerseys often curl at the edges, making them difficult to sew straight.
Solution:
- Spray the edges with a light mist of starch or fabric stabilizer before sewing.
- Place a strip of tissue paper under the seam to keep the fabric flat.
- Handle the fabric gently and avoid stretching it while pinning or clipping.
Note: Each fabric behaves a little differently, so expect to adjust as you go. Keep scraps nearby, test solutions before sewing your project, and remember: each challenge is a normal part of learning, not a setback.
Tips for Professional-Looking Results Without a Serger
Even with just a regular sewing machine, you can achieve seams and finishes that look polished and ready-to-wear.
A few simple habits make the difference:
- Press as you go — Every seam should be pressed before moving on. This sets the stitches, helps the fabric relax, and makes the final garment look crisp.
- Use a twin needle for hems — It gives that signature double-line finish you see in store-bought knits, while still allowing stretch.
- Match your thread carefully — A close color match hides minor wobbles in stitching and creates a professional look.
- Reinforce key seams with elastic — Clear elastic in shoulder seams or waistlines prevents stretching out over time, making the garment last longer.
- Finish neatly inside — Even if knits don’t fray, trimming bulky seam allowances or using a zigzag finish makes the inside as clean as the outside.
Ready to Sew Knit Fabrics Without a Serger?
You can start sewing knit fabrics right away with the machine you already own.
With a few simple tools and the techniques you’ve been practicing, it’s possible to create clothes and accessories that stretch, move, and feel good to wear every day.
Begin with something small, test your stitches, and enjoy the process step by step.
Soon, sewing knits on a regular machine will feel second nature – and your handmade pieces will look polished and hold up beautifully.
What’s the first knit project you’re excited to try? Share your ideas, questions, or progress in the comments!
FAQs
What is the best stitch length for sewing knit fabrics on a regular machine?
For most knit fabrics, a stitch length of 2.5–3.0 mm works best. A slightly longer stitch allows the seam to stretch with the fabric without puckering or becoming too tight. Always test on a scrap before starting.
Can I use a straight stitch for knit fabrics?
A straight stitch is not recommended for seams because it doesn’t stretch and can break. However, you can use a straight stitch for topstitching or sewing areas that don’t need stretch, like shoulder seams stabilized with elastic.
Do I need special thread for knits?
Polyester thread is the best choice because it has a small amount of give and holds up well under stretching. Avoid 100% cotton thread – it tends to break under stress in knit garments.
How do I stop knit hems from flipping or rolling?
Press the hem in place before sewing, and use a twin needle or zigzag stitch. Adding a strip of fusible hem tape or lightweight knit interfacing also stabilizes the hem and keeps it flat.
Which knit fabrics are easiest for beginners to sew?
Stable knits like interlock, ponte, or double knit are easiest to start with because they don’t curl or stretch excessively. Very lightweight jerseys and slinky knits are trickier and best saved for when you’re more comfortable with knit sewing.
