A zigzag stitch is one of those simple settings that can completely elevate your sewing.
It strengthens seams, seals raw edges, and gives your fabric the flexibility it needs to move naturally.
Whether you’re finishing the edge of a cotton napkin or securing a button in place, this stitch delivers a clean, reliable result every time.
With just a few small adjustments on your machine, you can create a zigzag that looks neat and feels sturdy.
Once you learn how it works, you’ll reach for it often – it’s practical, adaptable, and a skill that instantly improves your sewing confidence.
When to Use the Zigzag Stitch
You’ll reach for the zigzag stitch anytime a straight stitch isn’t enough on its own.
It gives your seam a bit of flexibility, which helps prevent popping or breaking in areas that move or stretch, like necklines, armholes, and waistbands.
It also protects raw fabric edges from fraying, which is especially helpful if you don’t own a serger.
That little bit of side-to-side movement wraps the edge and keeps loose threads from unraveling in the wash.
Because it works on so many types of fabric, from light cotton to stretchy knits, the zigzag is one of the essential stitches for beginners to learn early on.
If you want seams that hold up through everyday wear and washing, this is the stitch you’ll rely on again and again.
Before You Begin
Before you start stitching, make sure you have:
- Presser foot lowered and ready
- A sewing machine with zigzag capability
- Threaded top and bobbin
- A universal or ballpoint needle (depending on fabric)
- Fabric scrap for testing
If you’re still building your setup, this guide to essential sewing tools is a helpful place to start.
Once everything is in place, you’re ready to start!
How to Sew a Perfect Zigzag Stitch
The zigzag stitch is one of the first stitches most beginners learn because it’s useful for just about everything.
Before you start sewing, here’s how to set it up the right way.
Step 1: Set Up Your Machine
Before you start sewing, make sure your machine is ready to go. If you need a refresher, see how to set up your sewing machine before you begin.
Push both the top and bobbin threads gently toward the back of the machine so they don’t tangle when you begin stitching.
Check that your needle and presser foot are firmly in place, and your fabric is within reach.
Step 2: Choose the Zigzag Stitch

Turn the machine’s stitch selector to the zigzag setting.
This stitch moves side to side instead of straight, giving fabric room to stretch and flex.
You’ll also want to adjust two key settings:
- Width: how wide each zigzag swings from side to side.
- Length: how close or spread out each zigzag is.
For most fabrics, start with a width around 3 and a length between 2.5–3.
You can adjust these depending on your fabric – wider for edge finishing, narrower for decorative or delicate work.
When setting your machine, remember that measurements for stitch width and length are usually provided in millimeters.
Step 3: Position and Clamp the Fabric
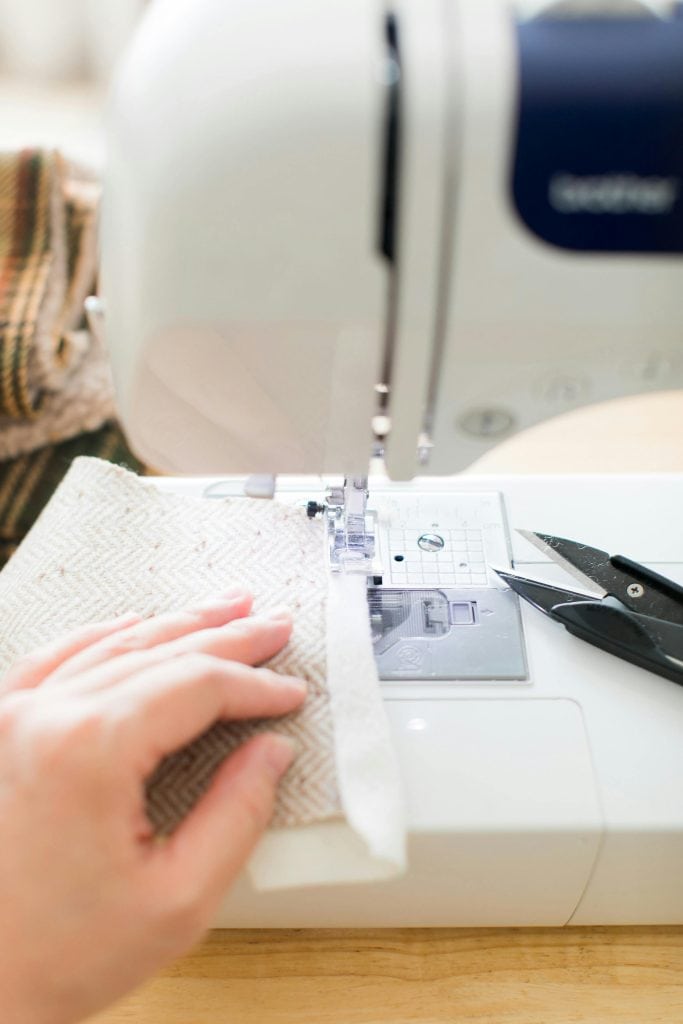
Now it’s time to place your fabric under the needle.
Position the edge where you’d like your zigzag to run.
Use the lever on the right-hand side to lower the presser foot, clamping the fabric between the foot and the feed dogs.
This holds it steady as you sew.
Step 4: Start Sewing and Lock the Stitch
Press the foot pedal gently to start sewing.
Sew a few stitches forward, then press reverse to go a few stitches back, and move forward again.
This forward–backward–forward sequence locks your stitches so they won’t unravel later.
It’s a simple way to start strong, especially when working on edges.
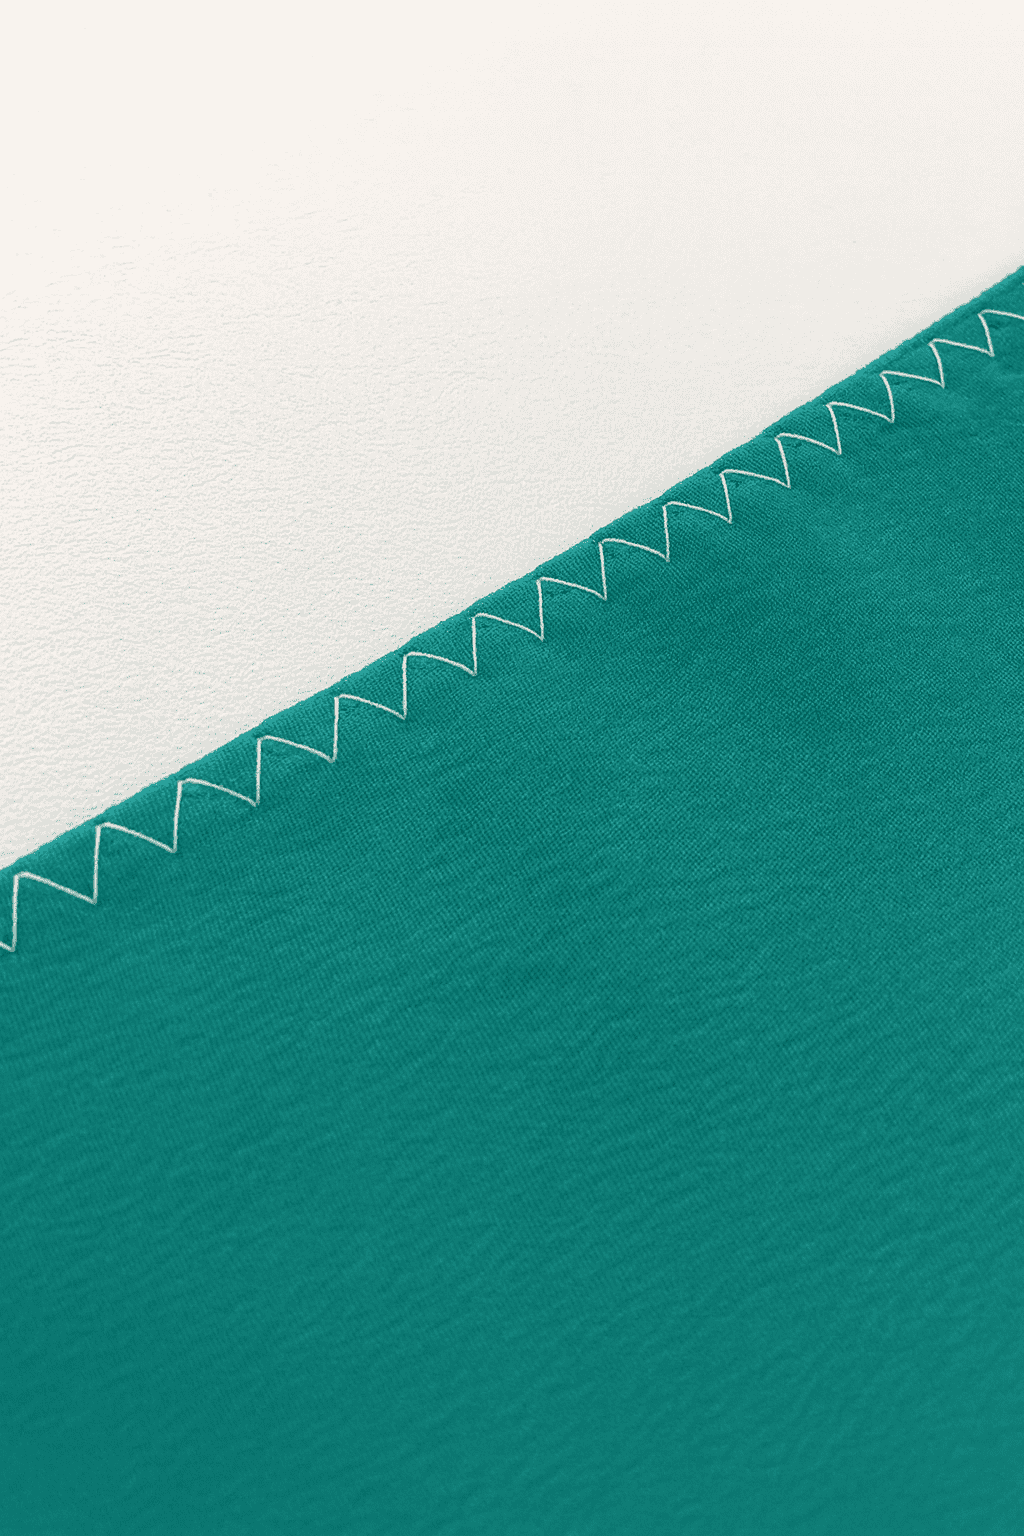
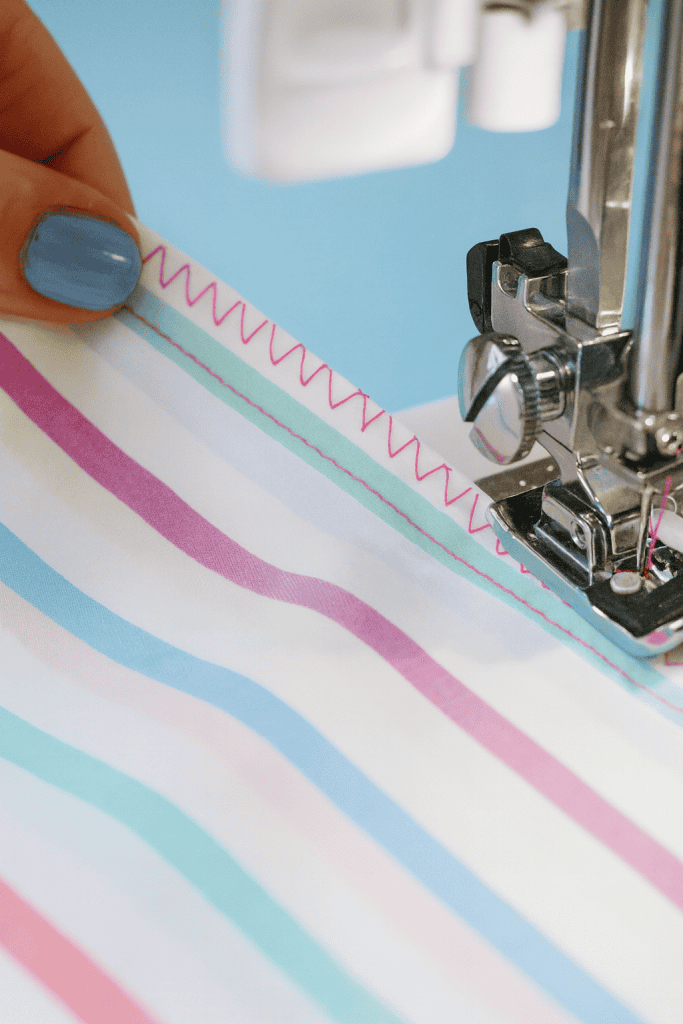
Step 5: Stitch the Edge

Continue sewing along the fabric’s edge with a steady pace.
For a firm edge finish:
- Set the stitch width to the maximum so the zigzag wraps fully around the edge.
- Use a stitch length of about 2 for a dense, polished look.
The outer swing of the zigzag should land just off the edge of the fabric, while the inner swing lands securely on the fabric itself.
Let the feed dogs guide your fabric – no need to push or pull.
Step 6: Finish the Seam
Once you’ve reached the end, repeat the forward–reverse–forward motion to secure your stitches.
Lift the presser foot, snip the threads, and admire the clean, sealed edge.
This finish keeps your fabric neat and prevents fraying, especially when you don’t have a serger or overlock machine.
If you’re still learning the basics, understanding what is seam allowance can help your seams turn out more consistent and professional.
Step 7: Try the Zigzag for Buttons
The zigzag stitch also shines when attaching buttons quickly.
Here’s how:
- Place the button and fabric under the presser foot.
- Lower the foot to hold them firmly.
- Set the stitch length to zero so the fabric doesn’t move forward.
- Adjust the width to match the space between the two buttonholes.
Turn the handwheel slowly to make sure the needle clears both holes, then sew.
The needle will move back and forth between the holes, securing the button neatly in just a few seconds.
Practical Uses for the Zigzag Stitch
The zigzag stitch is a quiet workhorse in sewing.
It’s useful for:
- Finishing fabric edges when you don’t have a serger.
- Reinforcing seams in stretchy materials like knits.
- Attaching buttons without hand-sewing.
- Adding decorative or functional detail to home or clothing projects, including many easy things to sew as a beginner.
You can use it on nearly any fabric – it adapts easily to thick or thin materials.
Quick Reference: Typical Settings
| Purpose | Width | Length |
|---|---|---|
| General edges | 3–4 | 2.5–3 |
| Stretch fabrics | 4–5 | 2–2.5 |
| Button sewing | Set to fit holes | 0 |
Tips for Consistent Results
- Always test on a fabric scrap before sewing your final piece.
- Steady speed creates even stitches – avoid rushing.
- If the fabric puckers, slightly increase stitch length or lower tension.
- Keep your threads trimmed for a clean finish.
If you’re working with delicate materials, you may also find this helpful: how to sew lace on fabric.
Feeling Confident? Time to Try It on Fabric
The zigzag stitch is one of those quiet skills that make a big difference.
Once you’ve practiced a few times, you’ll start seeing how versatile it really is – keeping edges tidy, adding flexibility to seams, and saving time on quick fixes.
With each project, you’ll notice your stitches becoming more consistent and your confidence growing behind the machine.
Try the steps from this guide on a fabric scrap today, and watch how quickly you’ll master this essential stitch.
If you found these tips helpful, comment below and share what project you’re planning to try your zigzag stitch on next – I’d love to hear how it turns out!
FAQs
1. Can I use a zigzag stitch on all types of fabric?
Yes, the zigzag stitch works well on most fabrics. Use a narrower width and longer length for lightweight materials, and a wider, denser stitch for heavier fabrics. Always test on a scrap before sewing your main piece.
2. What type of needle is best for zigzag stitching?
A universal needle works for most woven fabrics. For knits or stretchy materials, a ballpoint or stretch needle prevents skipped stitches and keeps the fabric’s texture smooth.
3. How do I keep my zigzag stitches from looking uneven?
Uneven stitches often come from inconsistent speed or tension. Keep your sewing speed steady, and adjust thread tension slightly until the zigzags look balanced on both sides of the fabric.
4. Can I use a zigzag stitch to join two pieces of fabric?
Yes, but keep the width moderate so the stitch catches both layers evenly. This technique is especially helpful for small repairs or when working without a serger.
5. How do I clean up thread tails after zigzag stitching?
After finishing your seam, lift the presser foot and snip the thread tails close to the fabric. For a polished look, gently press the stitched edge with a warm iron and a pressing cloth.
