
A sewing pattern is more than paper and symbols – it is a clear guide that shows you how fabric can become a garment you will enjoy wearing.
For many beginners, the first glance at a pattern can feel full of new terms and markings, but with a little direction, it quickly becomes readable.
Once you know what each part represents, patterns feel less like puzzles and more like practical instructions that support your creativity.
In this post, I will walk through every part of a pattern: the envelope or cover, the instruction sheet, the pieces themselves, and the symbols you’ll use along the way.
By the end, you will know how to read a pattern with confidence and ease, ready to begin sewing with clarity.
What Is a Sewing Pattern?
A sewing pattern is a combination of a blueprint for the shape of each piece with instructions that explain how everything comes together.
Think of it as a set of directions for turning fabric into a finished garment.
Patterns come in two main forms: printed envelopes with tissue paper pieces, and digital PDFs that you print at home.
Both provide the same guidance – the difference is simply how you receive and store them.
The value of a pattern is straightforward: it helps you cut fabric accurately, align seams correctly, and repeat the same design whenever you want.
Instead of guessing measurements or proportions, you follow a tested design that supports your success.
If you’re looking for free patterns to try, check out my roundup of free sewing patterns online for a variety of options to get started.
The Pattern Envelope (or Digital Cover Page)
The front of a sewing pattern is like an introduction – it shows you what the finished garment will look like and gives you the essential details before you begin.
Whether you’re holding a paper envelope or scrolling through a PDF cover, the information is designed to guide your choices.
Here are the key elements you’ll find:
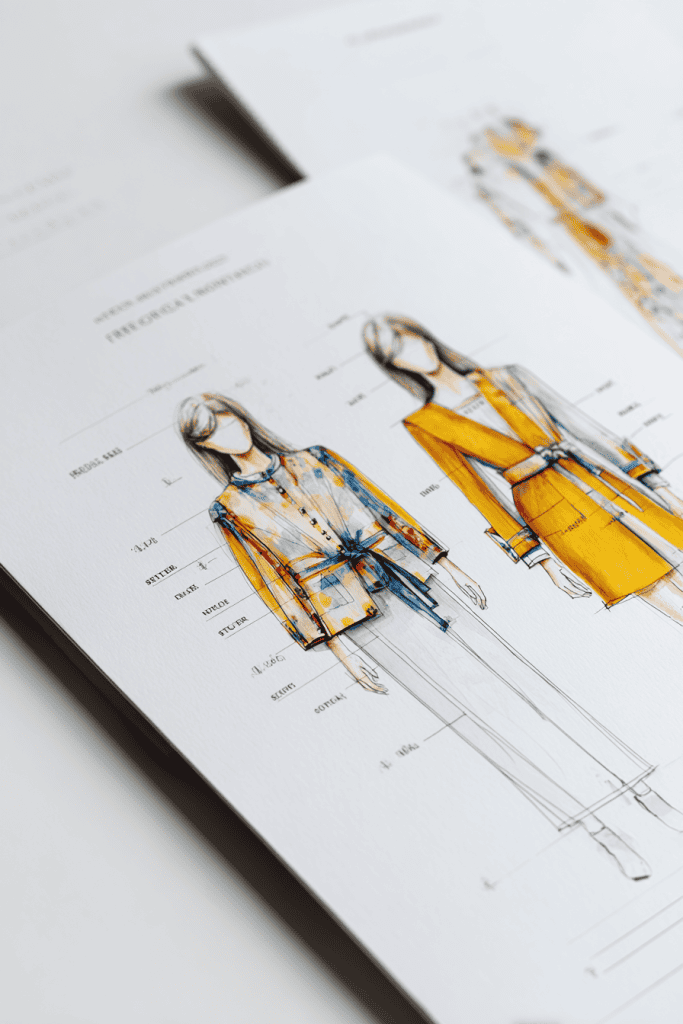
- Finished Garment Image or Sketch – This gives you a clear view of the design and style. Some envelopes include variations, like different sleeve or length options.
- Size Range – Patterns include multiple sizes. Check the range carefully to be sure your size is included.
- Skill Level – Many patterns note whether they are suitable for beginners, intermediate, or advanced sewists.
- Recommended Fabrics – The suggested fabrics show what will work best for the design. This helps you choose material that drapes and wears as intended.
- Notions – These are the small but important extras: zippers, buttons, elastic, interfacing, or thread that the pattern calls for.
Reading the cover sets you up for success.
Before purchasing or cutting, you’ll know if the design suits your skills, if the size fits, and if you have (or can gather) the right supplies.
For tips on keeping patterns organized, see my guide on how to store sewing patterns.
The Instruction Sheet

Inside every pattern, you’ll find an instruction sheet. This is where the step-by-step process is written out in detail.
It may feel like a lot at first, but once you understand the layout, it becomes a reliable guide you can follow at your own pace.
Here’s what you’ll usually see:
- Step-by-Step Directions – These outline the order of construction, from preparing fabric to finishing seams. Reading them through once before you start gives you a sense of the overall process.
- Glossary of Terms – Many patterns include a list of sewing terms. This is a helpful reference if you come across unfamiliar words or techniques.
- Illustrations or Diagrams – These simple drawings show each step visually, making it easier to connect the written instructions with the action you’ll take.
- Notions and Cutting Lists – A reminder of all supplies needed and how many pieces of each pattern shape you’ll be cutting.
The instruction sheet is your companion. Taking a few minutes to read it through before touching fabric helps you move smoothly through each stage without surprises.
Want to go digital? Learn how to use PDF sewing patterns for home printing and easy storage.
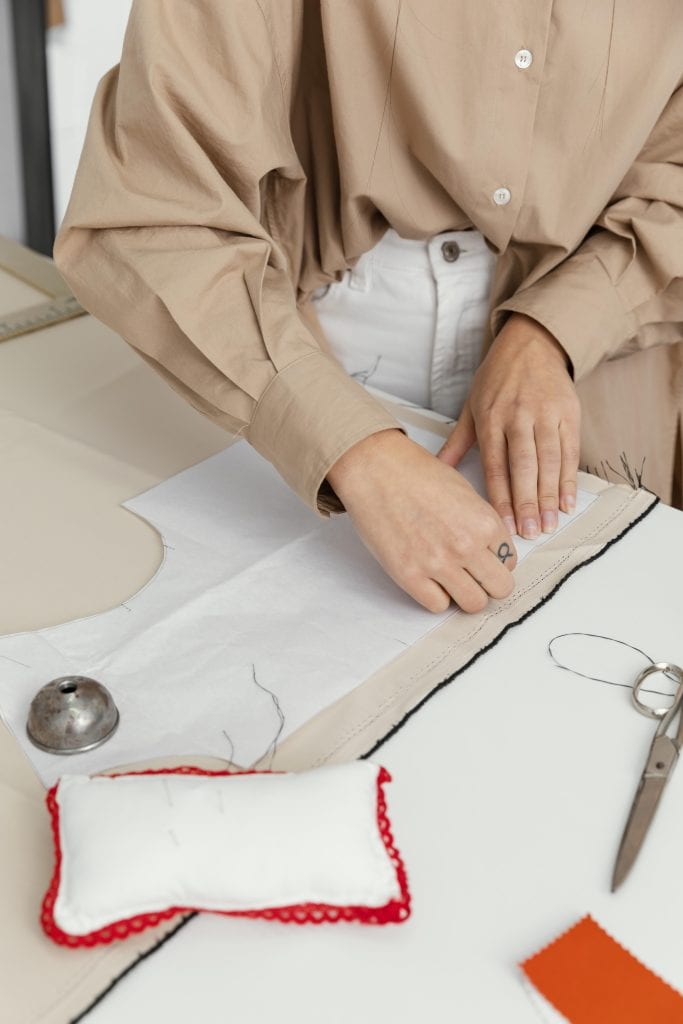
The Pattern Pieces

The pattern pieces are the heart of the design. Each piece represents part of your garment, and together they form the complete shape.
At first, the tissue or printed lines may look crowded, but each mark has a clear purpose.
Here are the main elements to notice:
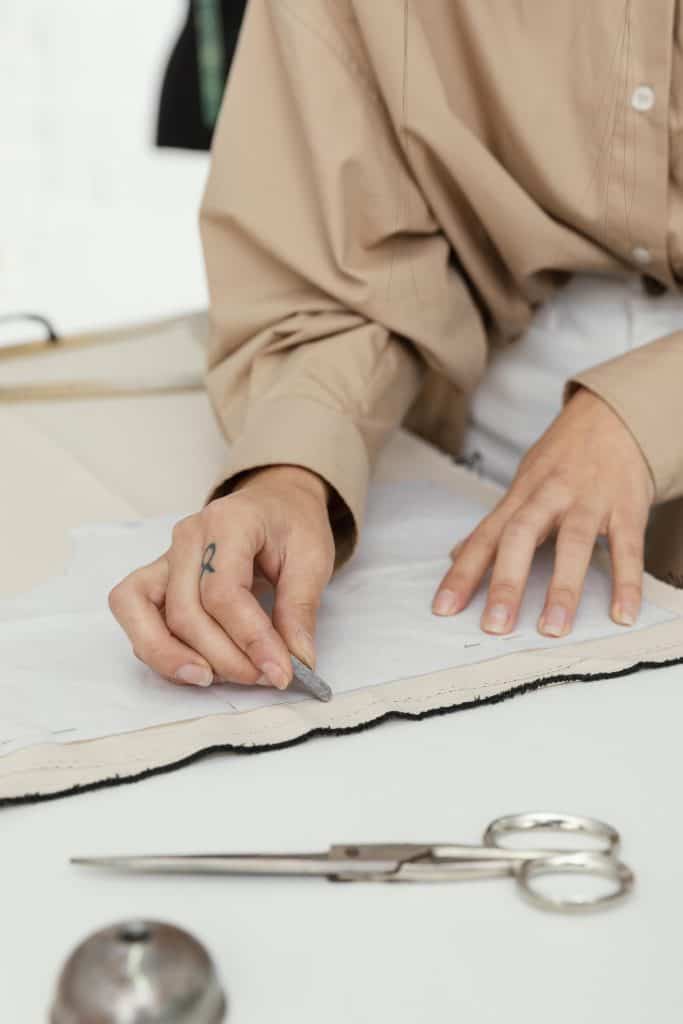
- Cutting Lines – These outline the shape you’ll cut. If the pattern includes multiple sizes, each size is marked with a different line style.
- Grainline Arrows – Long arrows that show how to place the piece on your fabric. Aligning with the fabric grain keeps the garment hanging correctly.
- Fold Lines – Symbols that tell you to place the pattern edge on the fabric fold, creating a mirrored piece once cut.
- Darts and Pleats – Triangular or diamond shapes that help the fabric curve smoothly over the body.
- Notches, Circles, and Dots – Small symbols used for matching seams, aligning details, or marking where features like pockets or buttons belong.
Think of these markings as cues that guide your work. They ensure the pieces fit together neatly and the garment holds its intended shape.
With a little practice, you’ll recognize them quickly and use them with confidence.
The Fabric Layout Guide
Every pattern includes a layout diagram, showing exactly how to place each piece on your fabric before cutting.
This section is about efficiency and accuracy – it helps you use fabric wisely and ensures the grain direction supports the final fit.
Here’s what to look for:
- Fabric Grain – The layout shows how to align pieces with the grainline arrows. Following this keeps the garment balanced and prevents twisting.
- Fold Placement – Some pieces are designed to be cut on the fold. The layout will show you where to place the edge of the pattern on the folded fabric.
- Right Side vs. Wrong Side – Diagrams often use shaded or blank illustrations to indicate the fabric’s right side and wrong side, so you know how to position your fabric.
- Fabric Width Options – If fabric comes in different widths (like 45″ or 60″), the guide provides layouts for each, helping you make the best use of your fabric.
Spending time with the layout before cutting saves effort later.
It helps you see the full picture of how the pieces work together and ensures you cut correctly the first time.
Size and Fit

Choosing the right size is one of the most important steps in using a sewing pattern.
Unlike store-bought clothing, pattern sizes are based on body measurements, not ready-to-wear sizing.
This means the number you cut may not match the size you normally buy – and that’s perfectly normal.
Here’s how to approach it with clarity:
- Take Fresh Measurements – Use a measuring tape to record your bust, waist, and hip measurements. Compare them to the size chart on the pattern envelope. See my guide on how to take accurate body measurements.
- Follow the Chart, Not the Store Size – Let the pattern’s chart guide you. This ensures a better fit from the beginning.
- Multi-Size Patterns – Most modern patterns include several sizes nested together. You can cut directly on your size line, or trace your size onto new paper if you want to preserve the original.
- Blending Sizes – If your measurements span more than one size, you can draw smooth transitions between lines (for example, a size 10 at the bust blending to a size 12 at the hips).
The benefit of sewing is adaptability. Patterns give you the framework, but you have the freedom to shape the garment to your body.
With each project, your confidence in choosing and adjusting sizes will grow.
Understanding Ease in Patterns

One of the most valuable details in a sewing pattern is ease. Ease is the difference between your body measurements and the finished garment measurements. It determines how a garment feels when you wear it – close-fitting, relaxed, or roomy.
Body Measurements vs. Finished Garment Measurements
- Body measurements are the numbers you take with your measuring tape: bust, waist, and hips.
- Finished garment measurements are listed on the pattern and show the size of the actual sewn piece.
The difference between the two is the ease that has been built into the design.
Positive Ease vs. Negative Ease
- Positive ease means the garment is larger than your body. This creates comfort and movement—for example, a loose blouse or casual dress.
- Negative ease means the garment is smaller than your body. This stretch-fit is common in knit fabrics, like leggings or fitted tops, where the fabric expands to fit your shape.
How to Check the Amount of Ease
- Look for the finished garment measurements on the pattern envelope or instruction sheet.
- Subtract your body measurement from the finished garment measurement. The difference is the ease.
- Decide if that amount feels right for you. For example, a blouse may have 2–4 inches of ease at the bust, while a fitted dress may have less.
By understanding ease, you’ll know not just if a garment will fit, but also how it will feel.
This small detail helps you choose patterns with confidence and adjust them to your style.
Sewing Symbols and Abbreviations

Patterns use a set of symbols and short terms to keep instructions clear and concise.
Once you recognize them, they become second nature. Most patterns also include a legend or key so you can double-check as you go.
Here are some of the most common symbols and abbreviations:
- Seam Allowance – The space between the stitching line and the edge of the fabric. Commonly ⅝”, but always check your pattern. For a detailed explanation, see my essential guide to seam and hem allowances.
- Cut on Fold – A bracket or arrow along the edge of a piece, showing you to place it on the fabric fold and cut once to create a mirrored piece.
- RS / WS – Right side (RS) and wrong side (WS) of fabric. These markings tell you which way the fabric should face.
- Dots, Squares, and Triangles – Placement points for pockets, buttonholes, darts, or pleats. They ensure features line up correctly.
- Gather or Pleat Symbols – Wavy lines or arrows showing where fabric is drawn in or folded for shaping.
Learning these symbols is like learning a shorthand system – they give you quick cues that keep your work precise.
Over time, you’ll read them almost automatically, the same way you read road signs without pausing to think.
Tips for First-Time Pattern Readers

Reading a sewing pattern is a skill that builds with each project.
The first time may feel detailed, but with a few simple habits, you’ll move through it smoothly.
Here are practical tips to start strong:
- Read Before You Cut – Take a few minutes to review the entire instruction sheet. Knowing the order of steps helps you work with clarity.
- Highlight Key Details – Mark important instructions, such as seam allowances or fabric fold placements, so they stand out while you sew.
- Stay Organized – Keep pattern pieces grouped together, either in envelopes or clipped by size. This prevents mix-ups while you cut and sew.
- Test Techniques on Scraps – If you come across a new skill – like a dart or pleat – practice it on leftover fabric first. This builds confidence without pressure.
- Keep the Legend Nearby – Have the symbol guide or glossary at hand, so you can quickly confirm what a marking means.
With each pattern you read, the process feels more familiar. What begins as careful checking soon becomes comfortable routine.
Keep Building Confidence with Every Pattern
Reading a sewing pattern is a skill that becomes natural with practice.
Each time you follow a pattern, you gain clarity in how pieces fit together and how fabric responds.
The details that once seemed complex soon feel familiar, and that confidence carries into every project you choose.
Your patterns are not obstacles – they are partners that guide your creativity.
Start with one, read it carefully, and trust that each step adds to your knowledge.
Do you have any tips or favorite patterns that have helped you along the way?
Share them in the comments below – I’d love to hear your thoughts and continue the conversation!
FAQs
1. Do I need special tools to use a sewing pattern?
You’ll need basics: fabric scissors, pins or clips, a measuring tape, and a ruler. A tracing wheel and pattern paper are helpful if you want to preserve the original pattern.
2. Can I reuse a sewing pattern more than once?
Yes. If you cut directly into the tissue paper, it may wear over time. Many sewists trace their size onto fresh paper so they can reuse the pattern for different sizes or fabric variations.
3. What if my fabric doesn’t match the recommended type on the envelope?
The recommended fabrics give the best results, but you can experiment. Just make sure the weight and drape of your fabric are similar to the suggestions so the garment holds its intended shape.
4. How do I store sewing patterns after I’m done?
Patterns can be folded back into their envelopes, placed in clear sleeves, or stored in labeled folders. Keeping them organized makes it easy to reuse them later.
5. Are PDF patterns harder to use than paper ones?
Not at all. With PDFs, you print, tape, and cut the pages together. Many sewists enjoy the convenience of reprinting pieces if needed. Paper patterns are ready to go, so it’s simply a matter of preference.
