
If you’ve ever found yourself with extra beef fat from the butcher or your own kitchen and weren’t sure what to do with it, you’re in for a pleasant surprise.
Tallow, the old-fashioned rendered fat of beef, has been treasured for generations. And it’s making a beautiful comeback today for good reason.
If you’re curious about why so many people are returning to this traditional fat, the best benefits of beef tallow explain why it has earned its place again in modern homes.
Homemade tallow is simple to create, full of positive benefits, and endlessly versatile.
You can cook with it, care for your skin with it, and even use it around the home.
In this article, you’ll learn how to choose the right fat, the step-by-step method to render it, and simple ways to use and store it.
You’ll also see practical ways to use tallow so it becomes a reliable part of your home.
The Old-Fashioned Goodness of Tallow
For centuries, tallow was an everyday household staple.
Families used it for cooking, making candles, greasing pans, and even caring for skin.
It was valued because it was practical, affordable, and long-lasting.
Over time, tallow was pushed aside when vegetable oils and processed fats became common in modern kitchens.
But many people are now realizing that traditional fats like tallow are not only useful, they’re often healthier and more sustainable.
Bringing tallow back into the home is a simple way to connect with these older, proven methods of cooking and natural living.
It’s one more step toward reducing waste, using every part of the animal, and keeping things straightforward in the kitchen.
Choosing the Right Fat for Tallow
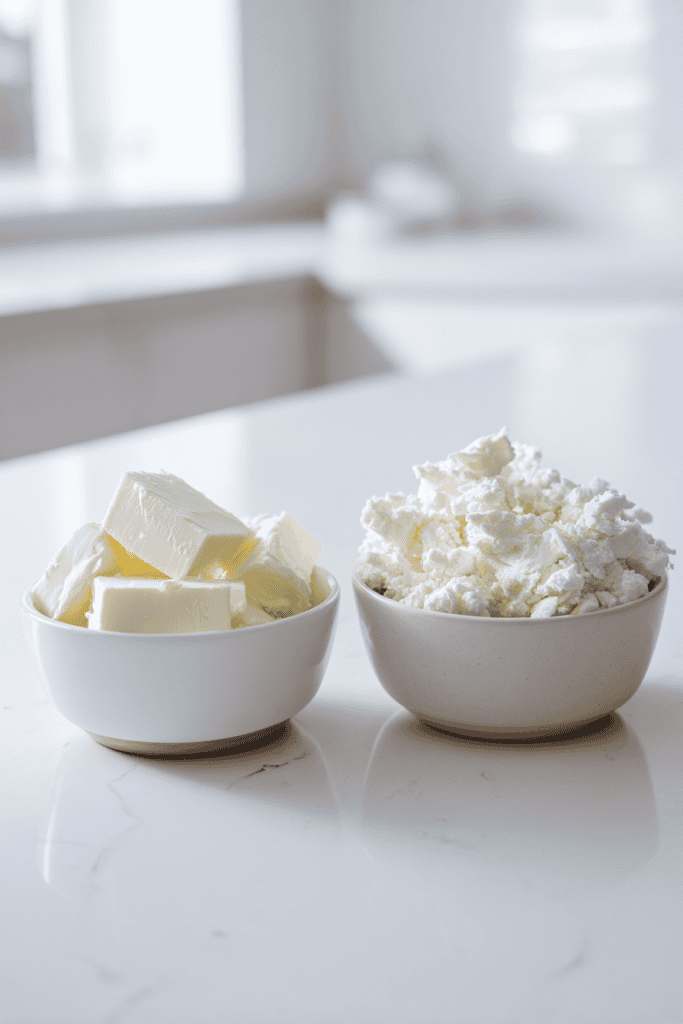
Not all beef fat is the same, and the type you start with makes a difference in the quality of your tallow.
The best option is suet or leaf fat, which is the hard, crumbly fat found around the kidneys.
This fat renders down into a clean, mild-tasting tallow that works well for both cooking and skincare.
If suet isn’t available, you can also use trimmings from other parts of the animal.
Ask your local butcher or farmer – they’ll often have beef fat available at a low cost, sometimes even for free.
The main thing to look for is fat that’s fresh and firm.
Avoid pieces with a lot of meat or gristle, since those can affect the clarity and shelf life of your finished tallow.
A quick trim before rendering helps you get the best result.
What You’ll Need Before You Start
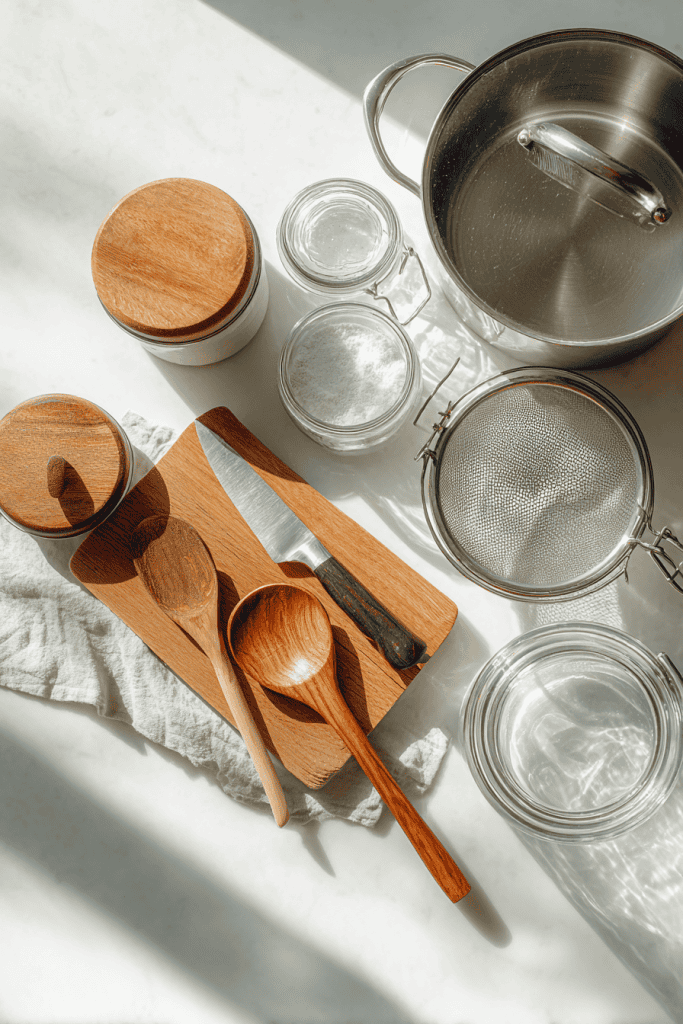
Most of what you’ll use is probably already in your kitchen.
Here’s what to have on hand:
- A sharp knife and cutting board for trimming the fat
- A large pot, slow cooker, or oven-safe pan for rendering
- A wooden spoon or spatula for stirring
- A fine mesh strainer or cheesecloth to separate the fat from the bits
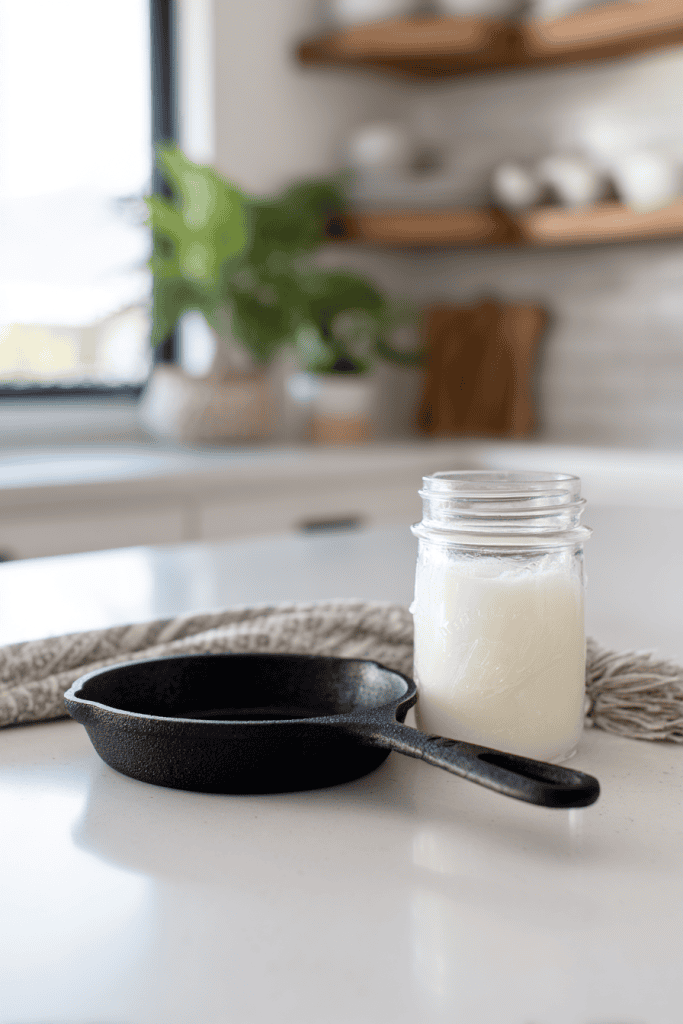
- Clean glass jars or containers with lids for storing your finished tallow
It also helps to start with a clean workspace and a little patience. Rendering fat takes time, but the process is hands-off once you get it going.
Step-by-Step: How to Make Tallow
Rendering beef fat into tallow takes time but not much effort.
Once you prepare the fat and get it cooking low and slow, the process is mostly hands-off.
Below is a simple step-by-step guide you can follow with basic kitchen tools.
Step 1: Trim and cut the fat
Start by chilling the beef fat until it’s firm.
Cold fat is easier to handle and cut.
Trim away any meat, gristle, or membranes so your finished tallow stays light in color and mild in flavor.
Then cut the fat into small pieces (around one to two centimeters) or pulse it in a food processor.
Smaller pieces melt more evenly and prevent scorching.
Step 2: Decide on dry or wet rendering
You can render fat two ways.
- Dry render (no added water) gives you a quicker process and a very clean result.
- Wet render (a small amount of water added at the start) lowers the chance of sticking and helps keep the fat mild. The water will separate out later.
Both work well, so go with the one that feels easier for you.
Step 3: Start the render (pick one method)
Stovetop
Place the fat in a heavy pot. If using the wet method, add about half a cup of water per pound of fat.
Keep the heat low and stir every 15 to 20 minutes.
You’ll see the fat pieces shrink and a pool of clear liquid form. This can take 1½ to 3 hours.
Slow cooker
Add the fat to your crockpot with an optional splash of water.
Set to Low, stir every hour or so, and let it slowly melt for 4 to 8 hours.
Oven
Spread the fat in a deep baking pan, add a little water if you like, and cover loosely with foil.
Bake at 225°F (110°C) for 2 to 4 hours, stirring a few times to help it melt evenly.
Step 4: Watch for doneness cues
You will know the render is ready when most pieces have shriveled, the liquid fat looks clear, and the remaining solids are lightly golden.
If you notice a browned smell or dark solids, the heat was too high – turn it down to keep your tallow light and clean.
Step 5: Strain carefully
Set a fine mesh strainer or cheesecloth over a heatproof bowl.
Ladle the hot liquid fat through, leaving the browned bits behind.
Don’t press the solids, since that can push impurities into your clean tallow.
If you used the wet method, let the fat rest for a few minutes so the water settles at the bottom.
Step 6: Separate and clarify (if you used water)
Pour the clear fat off the top into a clean pot or measuring cup, stopping before you reach the water layer.
Discard the water.
If you want an extra mild result, you can gently reheat the strained fat for a few minutes and strain it once more.
Step 7: Jar and cool
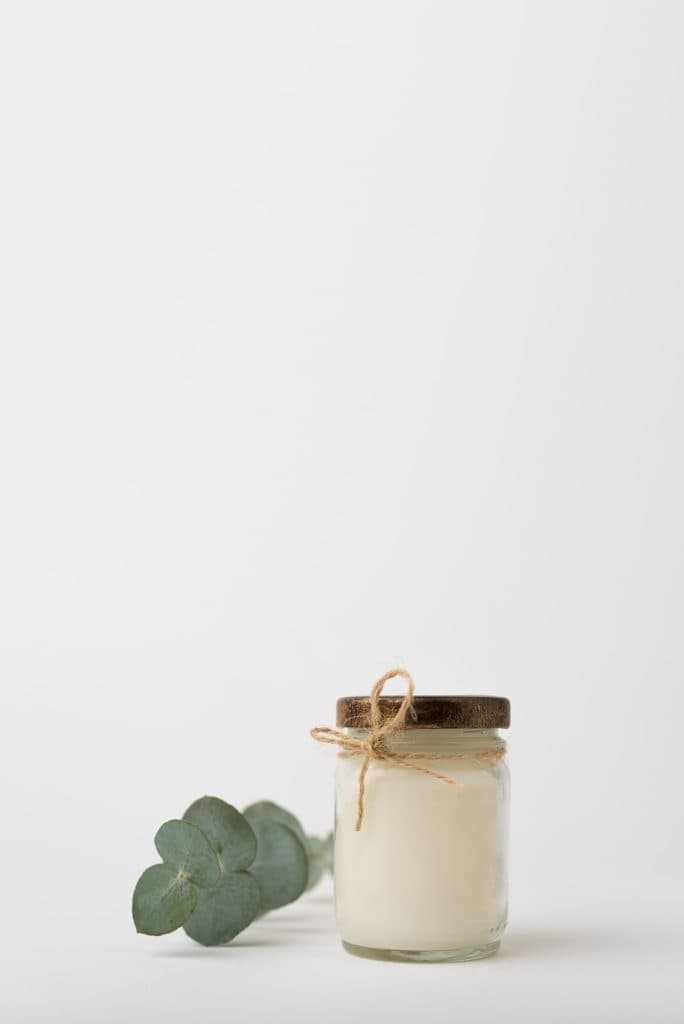
Pour the hot, strained tallow into clean glass jars, leaving a little space at the top.
Let it cool at room temperature until it becomes opaque and firm.
Once cooled, add lids and label with the date.
Properly rendered tallow should look creamy white and smooth.
Step 8: Handle cracklings and clean up
The crisp bits left in the pot are called cracklings.
You can salt them lightly and enjoy them as a snack or discard them if you don’t care for them.
For easy cleanup, let any leftover fat in the pot harden, scrape it into the trash, then wash with hot water and dish soap.
How to Store Your Homemade Tallow
One of the best things about tallow is how long it lasts when stored properly.
Once it’s fully cooled and placed in a clean jar with a lid, you can keep it right in the pantry at room temperature for several months.
Just make sure the container is sealed well and stays out of direct sunlight.
If you’d like to extend the shelf life even further, store your tallow in the refrigerator. It will keep for a year or more this way.
For long-term storage, you can freeze it in wide-mouth jars or portion it into ice cube trays for easy use in small amounts.
Fresh tallow should look creamy and uniform, with a clean, mild scent.
If it ever develops a strong odor, spots of mold, or an off taste, it’s time to discard it.
But with careful rendering and proper storage, spoiled tallow is rare.
How to Use Tallow in Everyday Life
Homemade tallow is one of those ingredients that earns its place in the home because it can be used in so many ways.
Once you have a jar on hand, you’ll find yourself reaching for it often.
In the kitchen
Tallow has a high smoke point, which makes it excellent for frying, sautéing, and roasting.
Many people use it for pan-searing meats, roasting vegetables, or even making flaky pie crusts.
It gives food a clean, rich flavor without the heaviness of some oils.
For skincare
Because it’s naturally rich in vitamins A, D, E, and K, tallow makes a simple and nourishing moisturizer.
A small amount can be rubbed into dry hands, elbows, or heels.
If you’d like a ready-made blend, this best homemade tallow lotion recipe is a gentle place to start.
For a lighter, whipped texture, the whipped tallow body butter recipe is another popular option.
For smaller, everyday skincare items, this ultra-nourishing tallow lip balm recipe shows how versatile tallow can be.
In homemade goods
Tallow can also be used for candles, soap, and salves.
It’s firm and stable, which helps give structure to these projects.
If you enjoy DIY recipes, tallow is a reliable base ingredient that’s both affordable and non-toxic.
Around the home
In the past, tallow was used for greasing pans, oiling leather, and waterproofing tools.
Many of these uses still work today.
It’s a handy, natural option that helps you avoid synthetic products.
Start with the use that feels most helpful for your family, then branch out as you get comfortable.
A single jar of tallow can do far more than you might expect.
If you’d like more inspiration, check out these everyday uses of tallow at home.
Simple Tips for the Best Results
Making tallow at home is straightforward, but there are a few small things you can do to keep the process easy and the final product clean and long-lasting.
- Keep the heat low and steady. High heat can burn the fat and give the tallow a strong odor. Gentle, slow cooking produces a cleaner, milder result.
- Trim carefully. Removing bits of meat or gristle at the start saves you from cloudy or off-smelling tallow later.
- Be patient. Rendering takes time, but it’s mostly hands-off. Let the process run without rushing and you’ll get a smoother, lighter tallow.
- Strain well. Use a fine mesh strainer or cheesecloth to remove solids. This helps the tallow stay fresh longer.
- Don’t worry about perfection. Even if your first batch isn’t spotless, it’s still usable. Each time you make it, you’ll get a little better at the process.
Try Making Tallow Yourself
Making your own tallow is one of those simple skills that pays off in so many ways.
You end up with a clean, natural fat that works in the kitchen, for skin care, and even in homemade products around the house.
Once you get the hang of it, it becomes second nature to save beef fat and render a batch whenever you need more.
It’s affordable, stores well, and feels good knowing you can make something useful from scratch.
Plus, you control exactly what goes into it, so you’re not relying on store-bought versions that may have additives.
Have you tried making tallow yet? Share your experience in the comments – I’d love to hear how you’re using it and any tips you’ve discovered along the way!
FAQs
Is beef tallow healthy to use?
Beef tallow is a natural, traditional fat that has been used for generations. It contains saturated and monounsaturated fats and is naturally free from industrial seed oils. When rendered properly and used in moderation, many people prefer it over highly processed cooking oils.
Does homemade tallow smell like beef?
Properly rendered tallow should have a very mild, neutral scent once cooled. If it smells strongly of beef, the fat may have been cooked at too high a temperature or still contains bits of meat. Using suet and keeping the heat low helps produce a cleaner-smelling tallow.
Can I make tallow from fat that has meat on it?
Yes, but it’s best to trim off as much meat and connective tissue as possible before rendering. Meat pieces can cause the tallow to darken, smell stronger, and spoil faster. A little trimming upfront makes a big difference in the final result.
How do I know if my tallow has gone bad?
Fresh tallow should be creamy white (or pale yellow) with a clean, mild smell. If it develops a sour or rancid odor, visible mold, or an off taste, it should be discarded. Properly rendered and stored tallow can last many months without issue.
Can I use the same tallow for cooking and skincare?
Yes, as long as the tallow was rendered cleanly and strained well. Many people use one batch for both purposes. If you plan to use it for skincare, you may want to render it extra gently and strain it twice for the mildest result.
