If you’ve ever wanted to refresh old linens, personalize a sewing project, or simply experiment with color, learning how to dye fabric at home is a surprisingly satisfying skill to have.
The process is actually quite simple once you understand the basics.
With a few everyday supplies and a little patience, you can transform plain or faded fabric into something fresh, vibrant, and uniquely yours.
In this step-by-step guide, you’ll learn exactly how to dye fabric at home using simple methods that beginners can follow with confidence.
Once you learn the basics, you may find yourself looking around the house for more things to dye!
Before you dye, choose the right fabric.
If you remember just one thing, make it this: dye success starts with fiber content.
Most dyes “love” certain fibers and barely touch others. That’s why checking the care tag (or product listing) matters more than choosing the perfect color name. If labels ever confuse you, my guide on how to read fabric labels like a pro explains exactly what those fiber listings actually mean.
Natural fibers (best for beginners)
Natural fibers absorb dye easily and usually produce the most vibrant, long-lasting colors.
Good beginner options include:
- Cotton
- Linen
- Rayon
- Hemp
These plant-based fibers take dye very well, making them ideal for home projects.
Protein fibers
These fabrics can also dye nicely:
- Wool
- Silk
- Nylon
These materials often benefit from adding a small amount of vinegar to the dye bath, which helps the dye bond more effectively with the fibers.
If you enjoy working with color, you might also like exploring timeless natural dyes for fabric, where everyday ingredients like onion skins and plants create beautiful shades.
Synthetic fibers
Synthetic materials are more difficult to dye because they don’t absorb color as easily.
These include:
- Polyester
- Acrylic
- Acetate
Special dyes and higher heat are usually required for these fabrics.
If you’re dyeing for the first time, starting with 100% cotton or another natural fiber will give you the most reliable results. If you’re unsure whether a fabric is truly natural or synthetic, you can learn how to do a burn test for natural fabrics to quickly identify the fiber content before dyeing.
A gentle reality check about starting color
If you’re dyeing something that already has color, patterns, or a logo, the new dye will mix with what’s already there – like watercolor layering.
Also, for synthetics, if an item already has color, your practical option is usually to overdye darker rather than expecting a true, clean new shade.
Tip: If you’re nervous, cut a tiny swatch from a seam allowance (or use a similar scrap) and test it first. Rit repeatedly recommends swatch testing when you’re unsure how a fabric will accept dye.
Supplies You’ll Need
Here’s what you’ll want to have ready:
- Fabric dye (I usually use Rit dye because it’s easy to find and beginner friendly.)
- Large stainless steel pot or plastic container
- Rubber gloves
- Long spoon or stirring stick
- Hot water
- Salt (for cotton, linen, rayon)
- Vinegar (for wool, silk, nylon)
- Mild dish detergent
- Plastic table covering or old towels
It’s also helpful to work in an area where you don’t mind a few splashes of dye. Cover your workspace to prevent stains.
One safety note that’s worth being clear about
Use a dedicated dye pot or container – not something you cook food in. Dye utensils and pots shouldn’t be used for food.
Tip: A thrifted stainless pot or a plastic tub used only for dyeing is perfect.
Step-by-Step Instructions for Dyeing Fabric at Home
I’m going to walk you through the stovetop immersion method, because it’s one of the most reliable ways to get rich, even color – especially for beginners.
Step 1: Prewash the Fabric
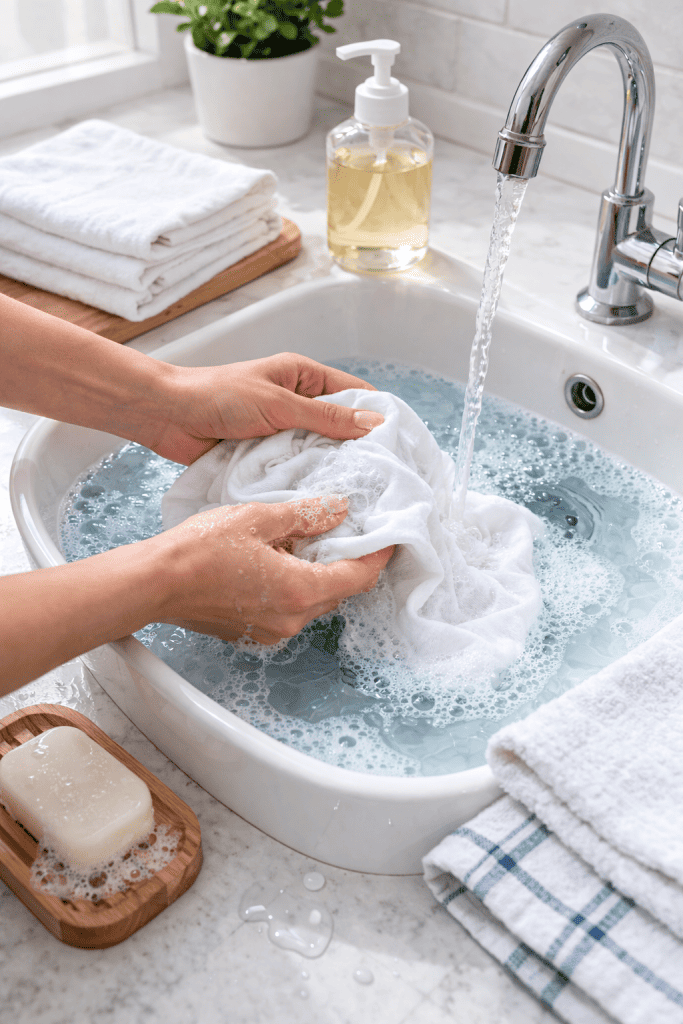
Before dyeing, wash the fabric in warm water using a mild detergent.
This step removes:
- dirt
- body oils
- manufacturing finishes
- fabric treatments
These invisible coatings can prevent dye from absorbing evenly.
Avoid using fabric softener during this wash. Softener can leave a residue that blocks the dye from fully penetrating the fibers.
After washing, do not dry the fabric completely. Dye spreads more evenly on slightly damp fabric, so it’s best to leave the fabric wet when placing it into the dye bath.
If the fabric has visible stains, treat them before dyeing. Dye tends to highlight stains rather than hide them.
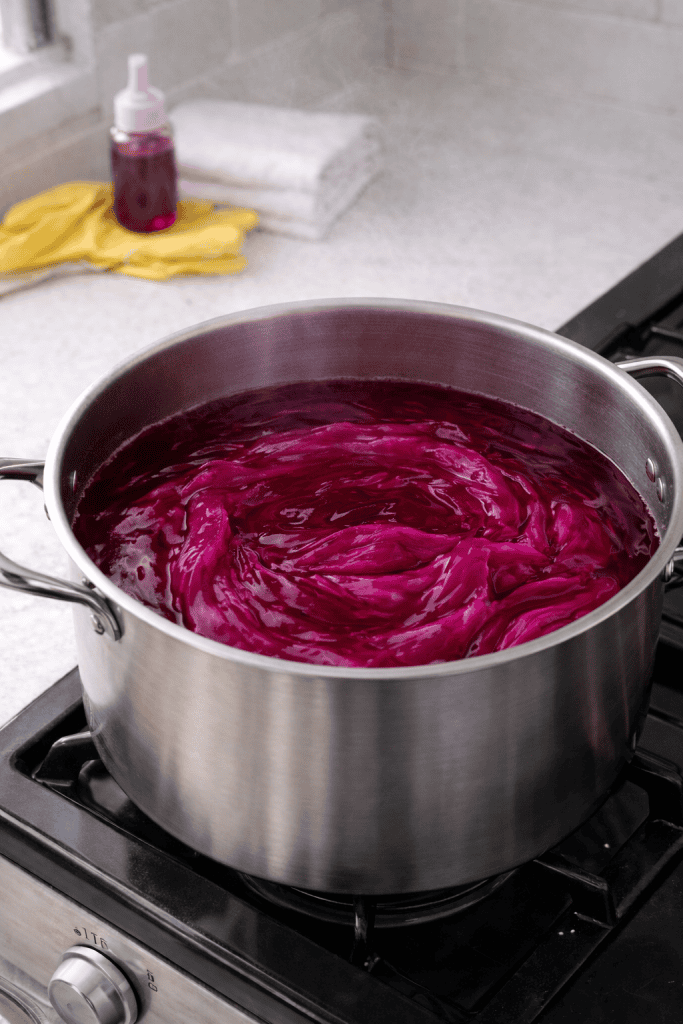
Step 2: Prepare the Dye Bath
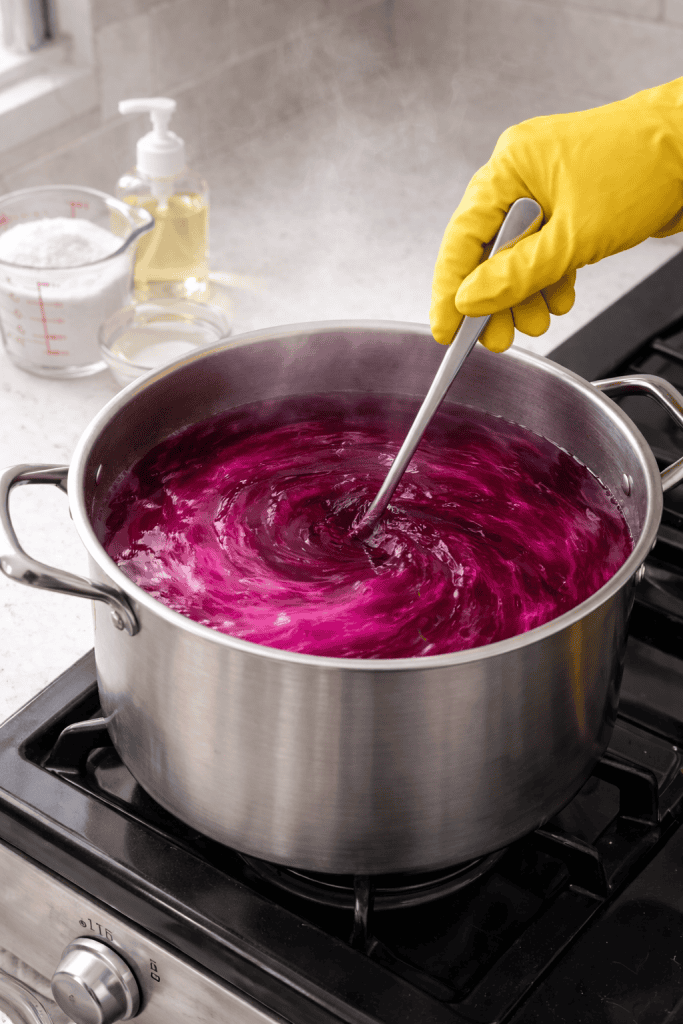
Fill a large stainless steel pot or heat-safe container with enough water for the fabric to move freely.
A good rule is about 3 gallons of water for every pound of fabric.
Place the pot on the stove and begin heating the water.
Recommended temperatures
- Natural fibers (cotton, linen, rayon): about 140°F (60°C)
- Synthetic fabrics (polyester blends): close to 200°F (93°C), just below boiling
Use a thermometer if possible, but if you don’t have one, aim for very hot water that is steaming but not vigorously boiling for natural fibers.
Once the water is hot, add the dye and stir thoroughly so the color dissolves evenly.
Then add the color-enhancing ingredients:
- For cotton, linen, and rayon – Add 1 cup salt (240 ml)
- For silk, wool, and nylon – Add 1 cup vinegar (240 ml)
Finally, add 1 teaspoon dish detergent to help the dye spread evenly through the water.
Stir everything together until fully combined.
Step 3: Add the Fabric
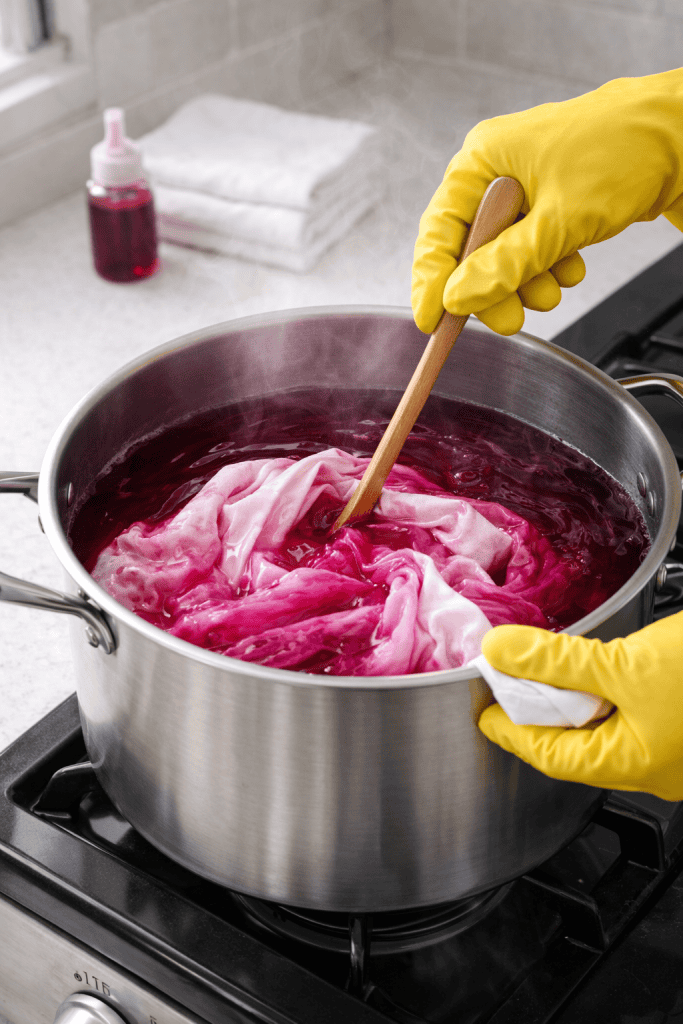
Carefully place your damp fabric into the hot dye bath.
Use a spoon or stirring stick to fully submerge the fabric and unfold any creases or folds.
The first 10 minutes are the most important for even color, so stir slowly and continuously during this time.
Move the fabric gently through the dye bath so all areas are exposed to the dye.
Avoid letting the fabric sit still or bunch up, as this can create uneven patches of color.
Step 4: Let the Fabric Absorb the Dye
Allow the fabric to soak in the dye bath for 10 to 60 minutes, depending on how deep you want the color.
During this time, continue stirring the fabric occasionally to maintain even color distribution.
Longer soaking times generally produce richer shades.
If you’re trying to achieve a very deep color, leaving the fabric in the dye bath for closer to an hour may give the best results.
Keep in mind that fabric always looks darker while wet, so remove it from the dye bath when the color looks slightly deeper than your desired shade.
Step 5: Rinse the Fabric
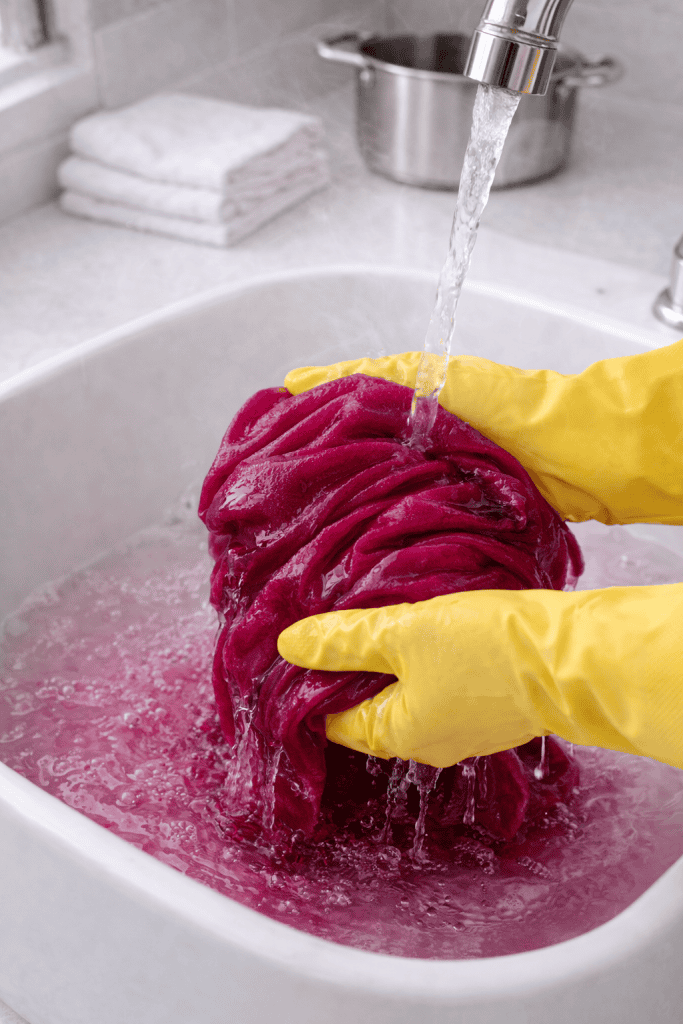
Once the fabric reaches the shade you like, remove it carefully from the dye bath.
Begin rinsing it under warm running water. As you rinse, gradually reduce the temperature of the water.
Continue rinsing until the water runs mostly clear.
This step removes excess dye that hasn’t bonded to the fabric and helps prevent future color bleeding.
Step 6: Wash and Dry
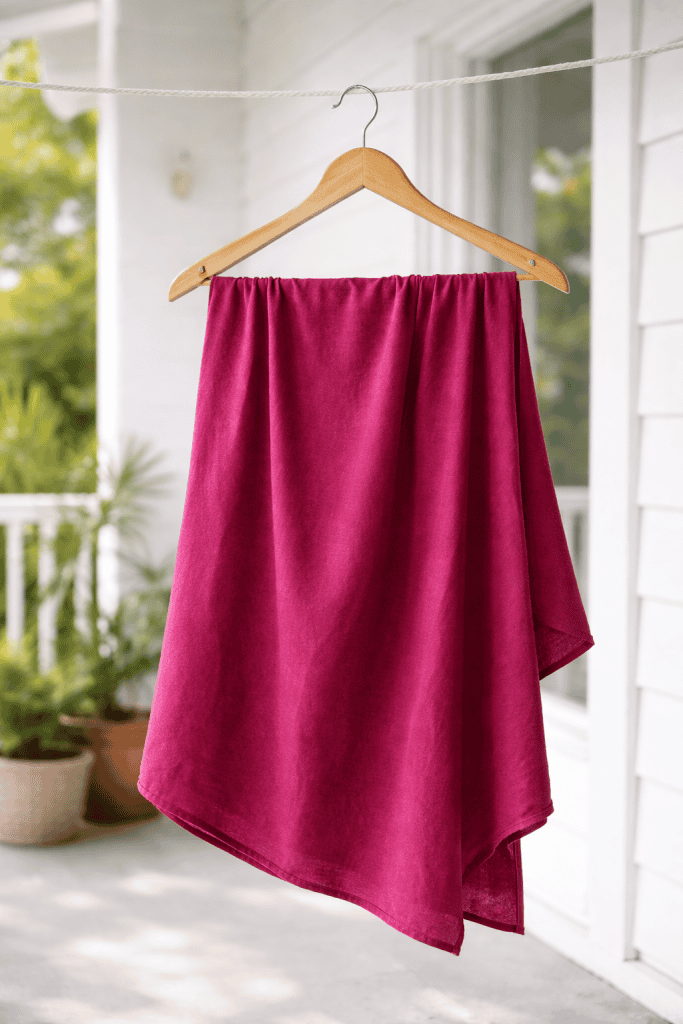
After rinsing, wash the dyed fabric with a mild detergent in warm water.
This final wash removes any remaining loose dye and helps set the color.
Once washed, dry the fabric according to its care instructions. You can air dry it or place it in the dryer if the fabric allows.
When the fabric is fully dry, your dye project is complete – and you now have a beautifully refreshed piece of fabric.
Beginner Tips for Better Dye Results
If this is your first time dyeing fabric, these simple tips can make a big difference.
- Always test first. Testing the dye on a small scrap of fabric can help you preview the final color.
- Stir frequently. Movement prevents streaks and uneven dye patches.
- Use enough water. Crowded fabric can’t absorb dye evenly.
- Start lighter. You can always dye something darker later, but lightening fabric is much harder.
- Protect your workspace. Fabric dye can stain countertops, clothing, and floors.
If you enjoy working with scraps, you might also like these small sewing projects using leftover scrap fabric for practical ideas you can make in an afternoon.
Ready to Try Dyeing Fabric Yourself?
If you’ve made it this far, you’re already more prepared than most people are when they start – and that’s a lovely place to be.
Choose one easy, low-pressure item: a cotton tee, a set of napkins, a thrifted pillow cover, a plain tote bag.
If you’re looking for ideas on what to sew with your newly dyed fabric, these simple sewing projects you can make at home are a great place to start.
Prewash it, set up your dyebath calmly, and give yourself permission to learn as you go.
Dyeing is wonderfully forgiving, and it has a way of making everyday fabric feel personal again.
If you try this tutorial, I’d genuinely love to hear how it went.
Share your experience in the comments below or ask any questions you may have. Your creativity might inspire someone else to try it too!
FAQs
Can I dye fabric in the washing machine instead of on the stove?
Yes, some dyes allow washing machine dyeing for large items like blankets or curtains. However, smaller projects often produce better results using the stovetop or bucket method because you have more control over the color.
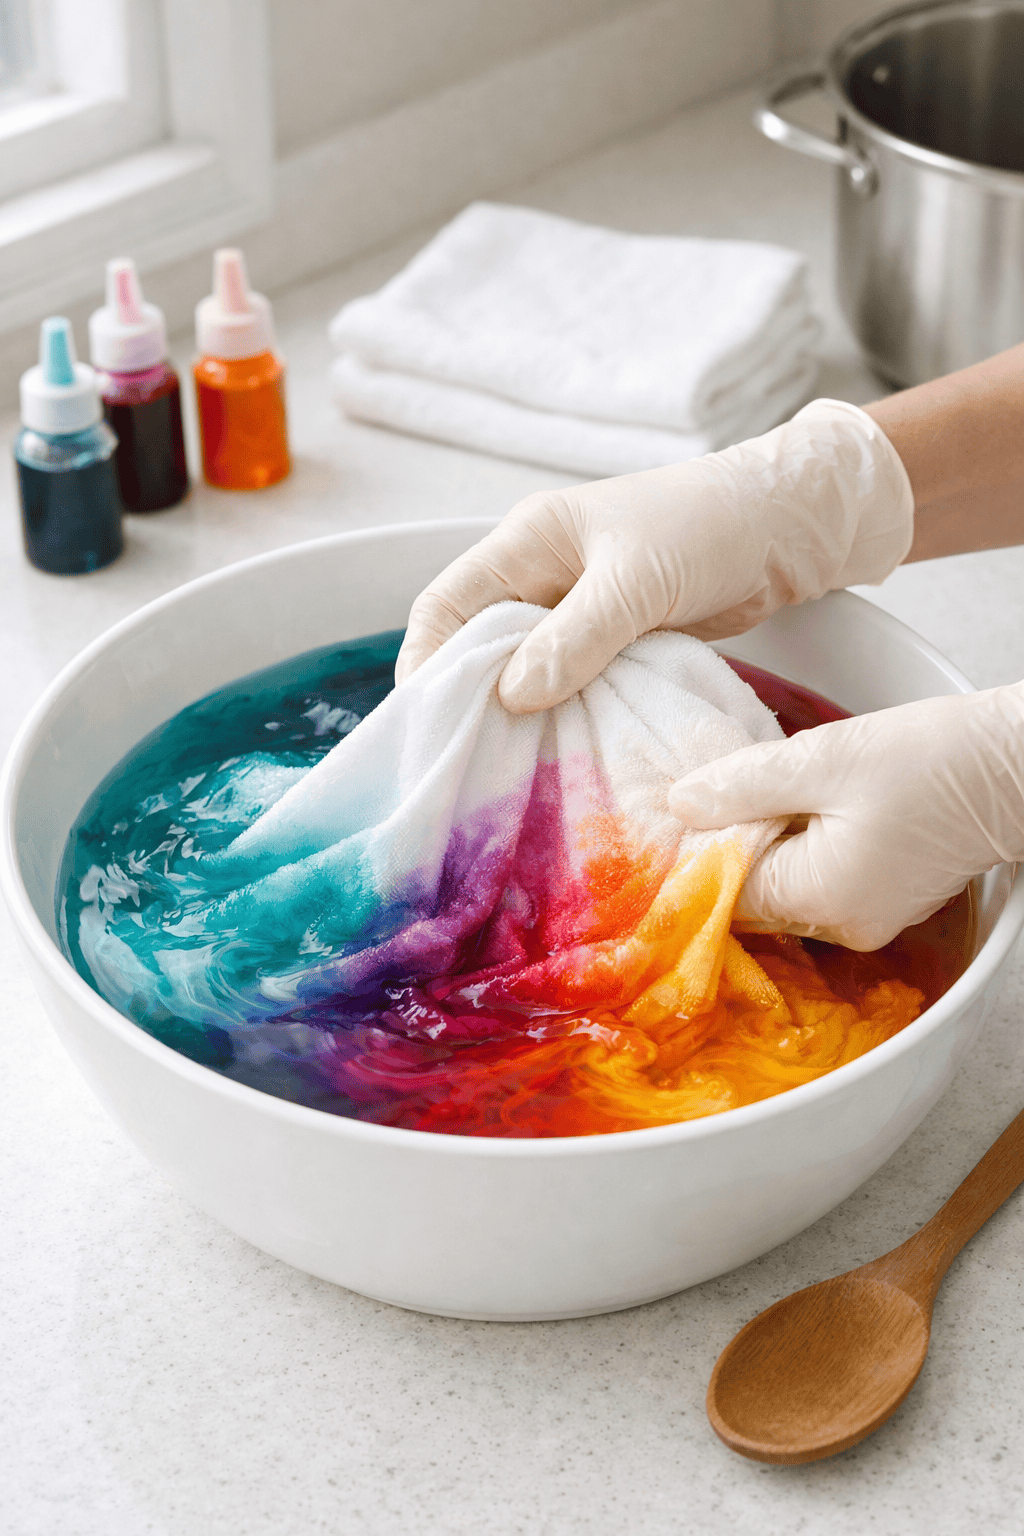
How do I create an ombré dip-dye effect at home?
To create an ombré effect, dip only part of the fabric into the dye bath. Gradually lower more fabric into the dye over time so different sections absorb the dye for different lengths of time.
Can I mix dye colors to make a custom shade?
Yes – this is one of the most fun parts of dyeing. Start with small amounts and test on fabric scraps until you achieve the color you want.
Will dyed fabric fade over time?
All dyed fabrics fade slightly with washing and sunlight. Washing dyed items in cold water and avoiding harsh detergents can help the color last longer.
What if the color looks too light after it dries?
This is incredibly common – especially the first time – because wet fabric looks darker and dries lighter.
If you want a deeper shade, use the stovetop method (hotter dye bath), increase the dye amount (often doubling for deeper color), and keep the item in the dyebath longer (often 30–60 minutes with stirring).
