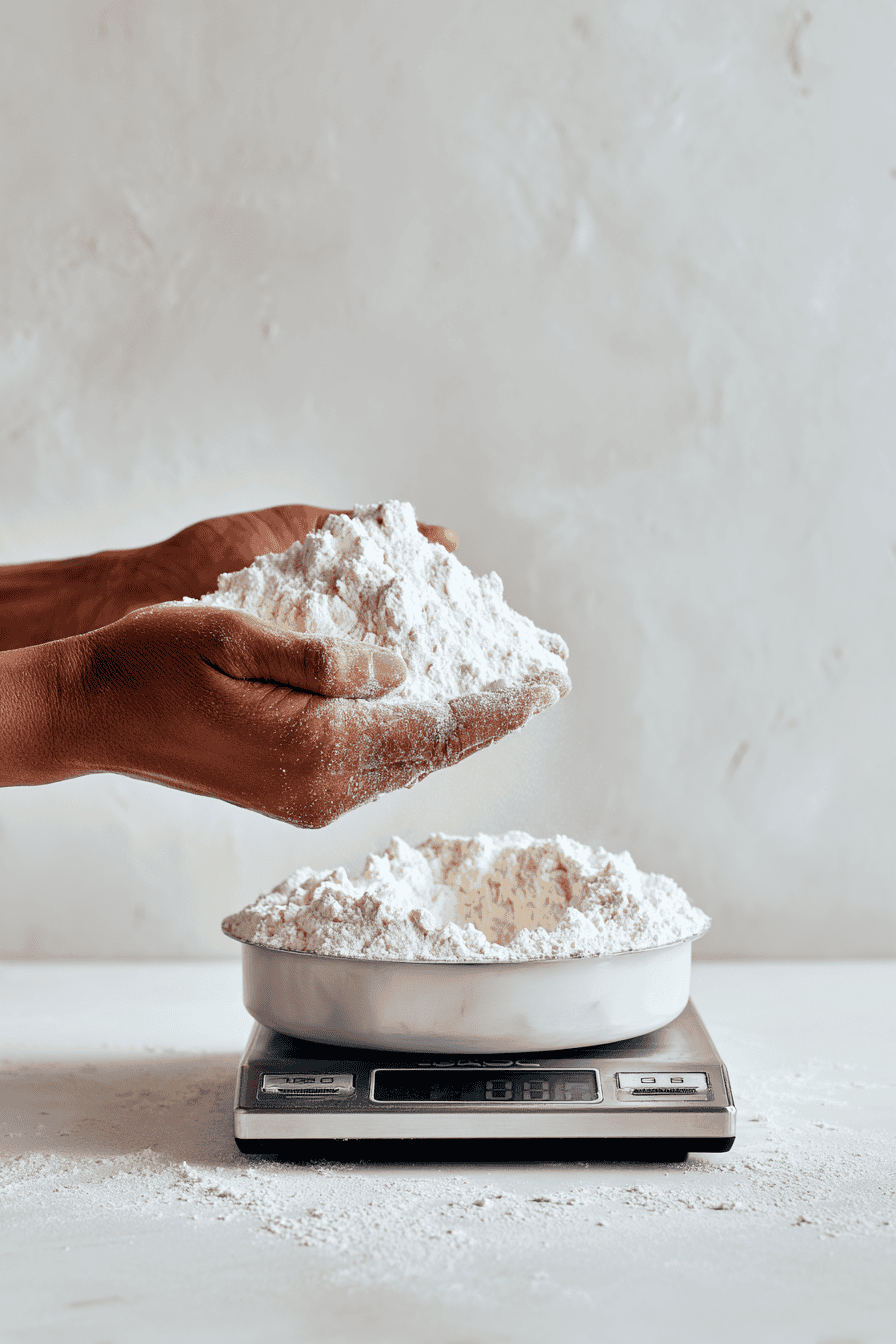
Freshly milled flour changes the way recipes come to life.
It carries the full grain (bran, germ, and endosperm) which means more nutrition and fuller flavor in every bake.
If you want a deeper dive into why that matters, I’ve shared more in the big benefits of freshly milled flour.
If you’ve ever wondered whether your favorite recipe can be made with fresh flour, the answer is always yes.
The key is knowing a few simple adjustments that keep textures balanced and flavors vibrant.
In this article, I will walk you step by step through how to convert any recipe to freshly milled flour.
You’ll learn how to fine-tune hydration, resting times, and texture so breads rise well, cakes stay light, and cookies keep their charm.
Once you understand the basics, adapting becomes second nature.
With each recipe, you’ll not only preserve tradition – you’ll also elevate it with fresh, whole ingredients.
What Is Freshly Milled Flour and How It Differs From Store-Bought Flour

Freshly milled flour is the whole grain in its complete form – nothing removed, nothing held back.
The bran, germ, and endosperm remain intact, giving you flour that is alive with nutrients and natural oils.
This fullness is what sets it apart from most store-bought flour, which is usually refined or processed for longer shelf life.
The difference is clear the moment you bake with it.
Freshly milled flour absorbs more liquid, responds differently to gluten development, and offers a flavor that feels both hearty and bright.
Think of it as flour in its most authentic state: rich in fiber, vitamins, and minerals, with an aroma that reminds you it was just ground minutes ago.
Understanding these differences helps you approach recipes with confidence.
Instead of wondering if it will work, you’ll know how to make it work – simply by adjusting for hydration, resting time, and texture.
That’s where the step-by-step process begins.
How to Convert Any Recipe to Freshly Milled Flour
Converting recipes is straightforward once you know the essentials.
Each adjustment supports the natural character of fresh flour while helping your favorite recipes bake up with the texture and flavor you expect.
Follow these steps as a framework – you can apply them to everything from rustic breads to delicate cakes.
Step 1: Adjusting Hydration When Using Freshly Milled Flour

Freshly milled flour is thirstier because it contains bran and germ, both of which hold onto water.
If you use the same liquid amount as you would with store-bought flour, your dough may feel tight or your batter too thick.
A reliable approach is to increase liquids gradually – start by adding 5% more (about 1 tablespoon per cup of liquid) and adjust as you mix.
For yeast breads, the dough should feel slightly tacky but still workable.
If you’re baking something like this ultimate homemade bagel recipe, this tacky texture is especially important for proper chew and rise.
For cakes or muffins, the batter should fall smoothly from a spoon, not clump.
If in doubt, add liquid a teaspoon at a time until the texture looks right.
Step 2: Resting and Soaking Freshly Milled Flour for Better Results
Allowing flour to rest with liquid before mixing or kneading transforms the outcome.
This process, often called autolyse in bread baking, softens bran edges and gives enzymes time to begin breaking down starches.
In practical terms, this means your bread dough becomes more elastic and easier to knead.
A rest of 20–40 minutes works well for yeasted breads.
For quick breads, pancakes, or muffins, even a 10-minute pause before baking helps the flour hydrate fully, resulting in a softer crumb and more balanced rise.
Think of resting time as a way of letting the flour do some of the work for you.
If you’re working with sourdough, this resting phase becomes even more important.
I walk through that in detail in how to make sourdough starter with freshly milled flour.
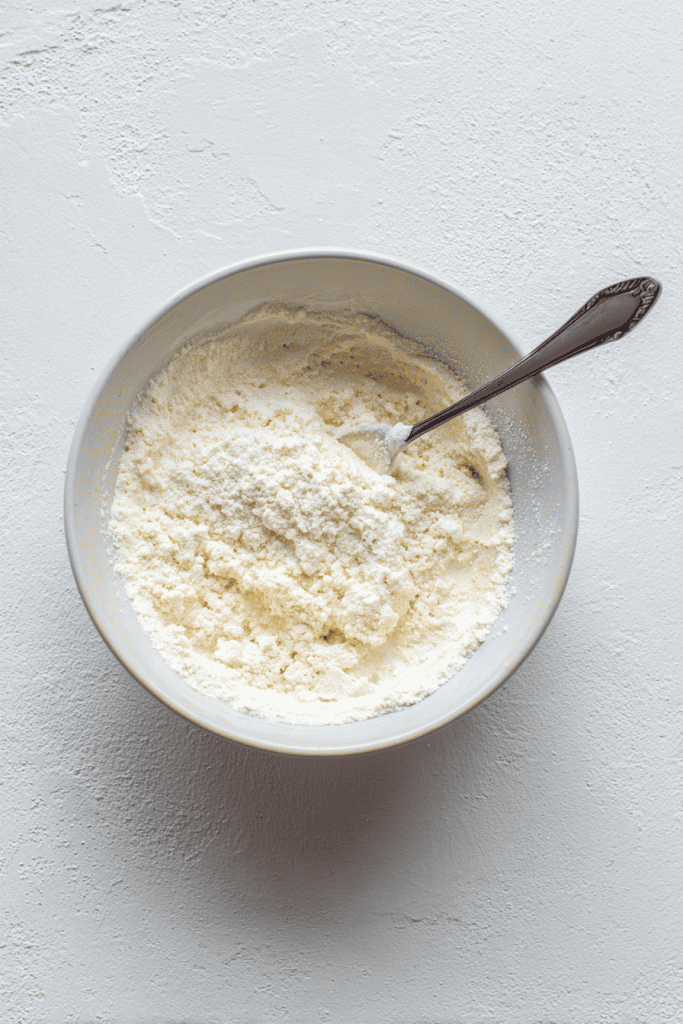
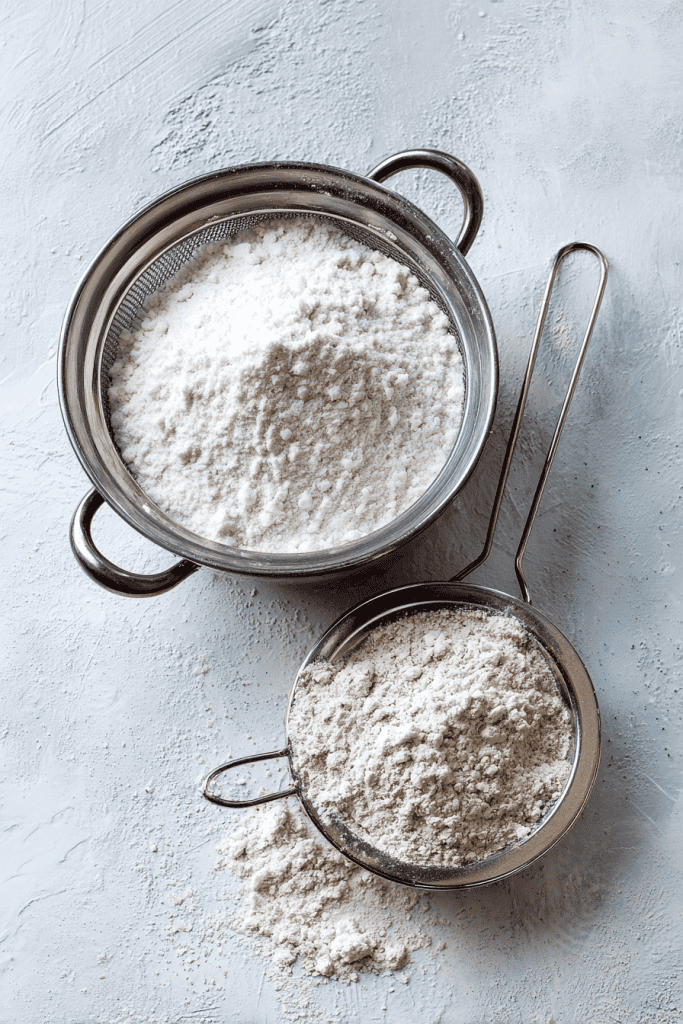
Step 3: Sifting Freshly Milled Flour for Light and Fluffy Bakes

Not every recipe needs sifting, but it’s a valuable tool when baking items that rely on a delicate crumb, like sponge cakes, angel food cakes, or croissants.
The bran in whole grain flour can cut through gluten strands and weigh down airy textures.
By sifting, you remove some bran and create a finer flour that behaves more like all-purpose flour.
You can experiment by removing 10–25% of the bran, then adding it back later in small amounts until you reach a texture you enjoy.
For hearty recipes like sandwich bread or rustic cookies, you may prefer to use the full grain without sifting.
The choice is yours – sifting simply gives you control over lightness while still benefiting from fresh flour’s nutrition.
If you’re baking something that relies on tenderness and structure, like the best flaky pie crust recipe, sifting makes a noticeable difference.
How to Convert Bread Recipes to Freshly Milled Flour

Bread is where freshly milled flour shines most, but it also asks for a little extra care.
Since breads depend on strong gluten development and steady fermentation, small adjustments can make the difference between a dense loaf and one that rises beautifully.
Hydration adjustments
Fresh flour absorbs liquid quickly, and whole grains often need more water than refined flours.
Start by increasing the water by 10–15% of the recipe’s original amount.
For example, if a recipe calls for 2 cups of water, plan to use 2 ¼ cups instead.
Feel the dough: it should be soft and slightly tacky but not gluey. Don’t be afraid to add water slowly as you knead – your hands are the best guide.
Rise time and fermentation
Because the bran and germ are present, the dough ferments at a slightly different pace.
Yeast still works well, but it benefits from longer, slower rises.
Extending bulk fermentation by 30–60 minutes often improves texture and flavor.
If you’re used to strict timers, shift toward observing the dough itself.
A properly risen dough will feel airy and spring back gently when pressed.
Kneading and folding
Freshly milled flour can feel coarser at first, so traditional long kneading may not always be necessary.
Stretch-and-fold techniques every 20–30 minutes during the first rise help build gluten without overworking the dough.
This gentle method also prevents bran from cutting into the gluten strands.
Baking results
Expect your breads to taste more complex, with a fuller aroma and a heartier crumb.
The crust often bakes darker and more flavorful due to the natural oils in the grain.
Over time, you’ll find that fresh flour breads not only look wholesome but carry a depth that packaged flour cannot match.
How to Convert Quick Breads, Muffins, and Pancakes to Freshly Milled Flour
Quick breads and batters are some of the easiest places to start with freshly milled flour.
These recipes rely on chemical leavening (baking soda or baking powder) rather than yeast, so they don’t require as much gluten development.
With a few thoughtful adjustments, you’ll get tender, flavorful results every time.
Direct Substitution as a Starting Point
In most cases, you can swap freshly milled flour one-to-one for all-purpose flour.
The recipe will work, but you may notice the batter feels thicker. That’s because bran and germ absorb more liquid than refined flour.
Instead of forcing the batter to stretch, simply add a splash or two of extra liquid (milk, buttermilk, or water) until the texture matches what you expect.
For banana bread, the batter should be pourable but not runny; for muffins, it should fall in thick ribbons from a spoon.
Balancing Hydration for Better Texture
If your quick bread feels heavy or your pancakes cook up too dense, the answer is almost always hydration.
A safe guideline is to add 5–10% more liquid than the original recipe.
For example, if a recipe calls for 1 cup of milk, increase it to 1 cup plus 1–2 tablespoons.
This small change allows the flour to fully hydrate, softens the crumb, and helps the batter spread evenly in the pan.
Gentle Mixing to Avoid Toughness
Fresh flour contains bran that can encourage gluten strands to tighten quickly. That’s why gentle mixing is key.
Stir only until the dry flour disappears into the wet ingredients – even if a few lumps remain.
Overmixing can create a dense or rubbery texture, while under-mixing is far more forgiving.
This is especially true for muffins and pancakes, where tenderness matters most.
Flavor and Structure Advantages
One of the best parts about using freshly milled flour in quick breads is the way flavor deepens.
Banana bread develops a nutty undertone that balances sweetness.
Zucchini bread feels heartier and more satisfying.
Pancakes become more aromatic, with a wholesome, slightly toasty note that makes them taste richer even without added toppings.
The structure may also improve – quick breads often slice more cleanly, and muffins develop rounded tops thanks to better hydration and bran softening.
How to Convert Cookie Recipes to Freshly Milled Flour

Cookies are the most forgiving place to start with freshly milled flour.
Unlike bread, which depends heavily on gluten structure, cookies lean on fat, sugar, and eggs for stability.
That means you can adapt nearly any recipe with little effort, while still enjoying the richer flavor and nutrition of the whole grain.
Start with a one-to-one substitution
Most cookie recipes convert beautifully at equal weight or volume – swap your all-purpose flour with freshly milled flour in the same amount.
This works because cookies don’t require the same rise and stretch as breads or cakes.
The bran and germ add a pleasant nuttiness and often deepen the golden color of the finished cookie.
For recipes where visual delicacy matters – like sugar cookies meant for cutouts – you may prefer to sift out a small portion of bran for smoother edges, but for drop cookies, the whole grain usually enhances the character.
If you want a great example, the conversion method here works beautifully for sugar cookies with fresh milled flour as well.
Fine-tuning for desired texture
Fresh flour can change how cookies hold moisture and spread in the oven.
Here’s how to guide the outcome:
- For chewier cookies: Add 1 extra egg yolk or a teaspoon of milk. The extra fat and liquid soften the crumb and encourage moisture retention.
- For crisp cookies: Use a touch more butter or oil (about 1 tablespoon per batch) and increase baking temperature by 10–15°F. This promotes caramelization and crunch.
- For thick cookies that don’t spread too much: Reduce the flour slightly (by 1–2 tablespoons per cup) or chill the dough longer before baking.
Managing spread and consistency
Because freshly milled flour contains natural oils, doughs can sometimes feel softer.
Chilling the dough for at least 30 minutes (ideally a few hours) helps hydrate the flour, firm up the fats, and ensure the cookies hold their shape in the oven.
For slice-and-bake styles, an overnight chill gives the cleanest results.
Flavor advantages of fresh flour in cookies
This is where fresh flour shines. The bran and germ bring layers of flavor that complement sweet and rich elements:
- Chocolate chip cookies taste more robust, with the grain’s nuttiness balancing the chocolate.
- Oatmeal cookies gain an earthy warmth that makes cinnamon and raisins stand out.
- Shortbread and sugar cookies develop a more complex buttery flavor, even though the ingredient list is simple.
Over time, you’ll notice that cookies baked with freshly milled flour are more satisfying.
They’re not just sweet treats – they taste whole and complete, with a depth that refined flour simply cannot give.
How to Convert Cakes and Pastries to Freshly Milled Flour
Cakes and pastries are the most delicate recipes to adapt, but freshly milled flour can still deliver tender, light results when handled with care.
These bakes rely on fine texture and balanced lift, so the key is knowing how to manage bran, hydration, and structure without losing the character of the recipe.
Sifting for a Finer Crumb
Whole grain flour contains bran pieces that can weigh down delicate batters.
For recipes like sponge cakes, angel food, or croissants, sifting becomes your best tool.
By removing 10–25% of the bran, you create a flour that behaves more like cake flour while still keeping much of the nutrition.
You can add some bran back later if you want a slightly heartier texture.
For rich cakes (like chocolate or carrot), you may not need to sift at all – the stronger flavors balance the whole grain beautifully.
Balancing Hydration and Fat
Cakes made with freshly milled flour often need slightly more liquid to stay soft.
Increase milk, buttermilk, or other liquids by 5–10%, but avoid adding too much at once – extra liquid can make the cake gummy.
Another helpful adjustment is increasing fat: an additional tablespoon of butter or oil per recipe adds tenderness and helps counter the bran’s slight coarseness.
For very light cakes, adding an extra egg white can provide extra lift without heaviness.
Mixing With Intention
Gluten development needs to be minimal in cakes and pastries, but freshly milled flour can activate gluten faster.
The solution is gentle handling. Fold dry ingredients into wet with a light hand, and stop as soon as you no longer see streaks of flour.
If a recipe calls for creaming butter and sugar, be sure to cream thoroughly – this step creates structure through air pockets that help balance the density of whole grain flour.
Flavor Benefits in Cakes and Pastries
Fresh flour adds a natural depth of flavor that enhances sweet and rich ingredients.
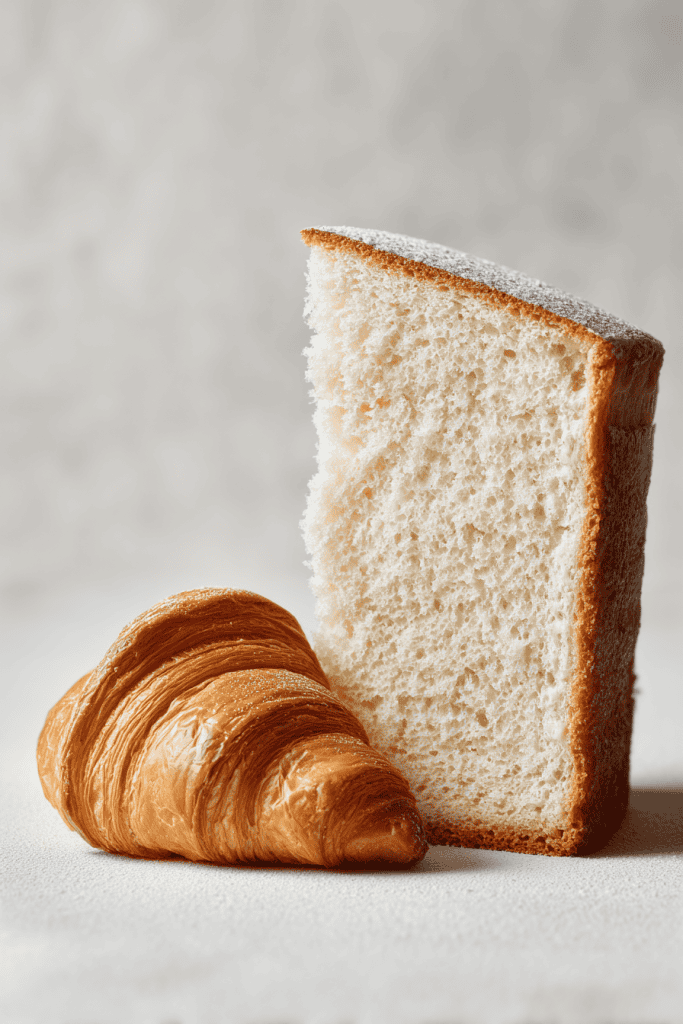
Vanilla cakes take on a slightly nutty undertone, fruit cakes feel more balanced and less cloying, and pastries like croissants or danishes gain a complexity that makes them taste almost artisanal by default.
The flavors are not overpowering – they feel integrated, as though the grain was always meant to be part of the recipe.
5 Practical Tips for Baking Success With Freshly Milled Flour
Adapting recipes is easier when you have a few consistent practices in place.
These habits simplify the process and help you achieve reliable results every time you bake with freshly milled flour.
1. Weigh Ingredients for Accuracy
Volume measurements can vary widely depending on how flour is scooped, but weight remains consistent.
Using a digital kitchen scale ensures that every cup of freshly milled flour is measured precisely.
This accuracy is especially important because fresh flour can settle differently depending on how it was milled.
2. Mill Flour Fresh for the Best Results
The oils in whole grains are most vibrant right after milling.
Fresh flour has a liveliness that translates directly into taste and texture.
Ideally, mill only what you plan to use within the next 24 hours.
If you mill extra, keep it in a tightly sealed container in the freezer to preserve freshness for a few weeks.
3. Keep Notes on Your Adjustments
Because freshly milled flour behaves slightly differently depending on the grain, keeping a simple baking notebook makes a big difference.
Record how much extra liquid you added, whether you sifted, and how the final texture turned out.
Over time, this becomes your personal guide for quick reference – and saves guesswork.
4. Observe Dough and Batter, Not Just Recipes
Recipes provide a starting point, but sensory cues give you the final answer.
Pay attention to how dough feels in your hands, how batter flows off a spoon, and how aromas change during baking.
Trusting these signs is what transforms you from following recipes to truly mastering them.
5. Practice Patience and Consistency
Fresh flour asks for small shifts, but those shifts become instinctive quickly.
The more you bake with it, the easier it becomes to predict how recipes will respond.
Each loaf, muffin, or cookie builds your confidence until adapting recipes feels second nature.
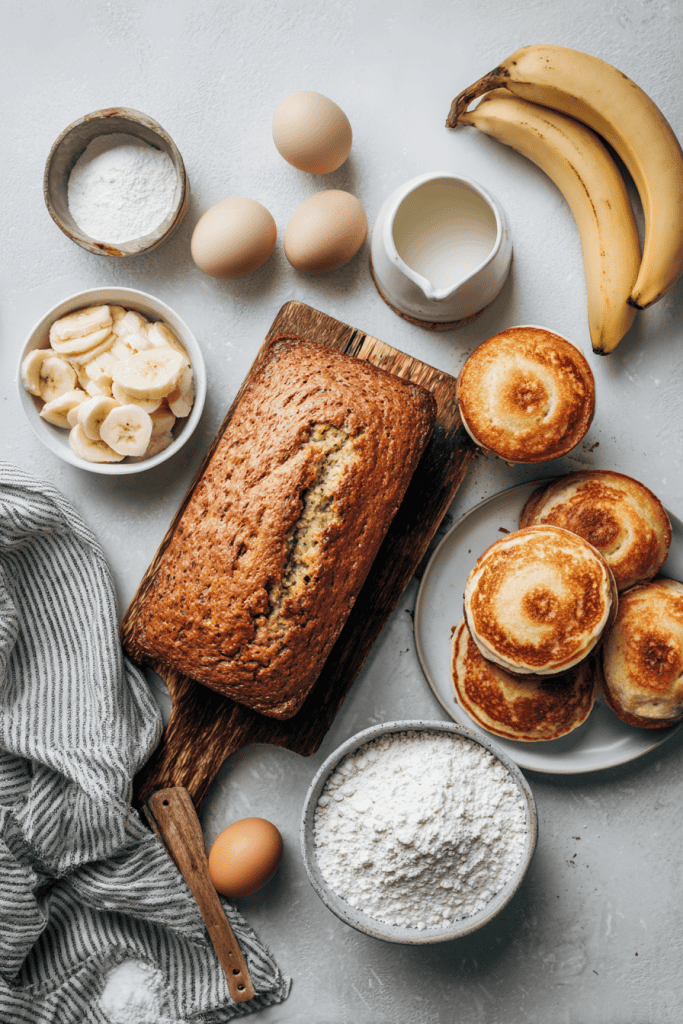
Example Recipe Conversion: Banana Bread With Freshly Milled Flour

Theory is helpful, but seeing the adjustments in action makes everything click. Below is a standard banana bread recipe compared with its freshly milled flour adaptation. Notice how only small changes create a noticeable difference in texture and flavor.
Standard Banana Bread Recipe (with All-Purpose Flour)
- 2 cups all-purpose flour
- 1 teaspoon baking soda
- ½ teaspoon salt
- ½ cup butter, softened
- ¾ cup brown sugar
- 2 large eggs
- 2 ⅓ cups mashed ripe bananas (about 4–5 bananas)
Converted Banana Bread Recipe (with Freshly Milled Flour)
- 2 cups freshly milled flour (soft white wheat or spelt works beautifully)
- 1 teaspoon baking soda
- ½ teaspoon salt
- ½ cup butter, softened
- ¾ cup brown sugar
- 2 large eggs
- 2 ⅓ cups mashed ripe bananas
- + 2–3 tablespoons milk or buttermilk (hydration adjustment)
Method adjustments:
- After mixing the wet and dry ingredients together, let the batter rest for about 10 minutes before pouring into the loaf pan. This gives the flour time to hydrate fully.
- If you prefer a softer crumb, sift out about 20% of the bran before measuring the flour, then add back a tablespoon or two.
- Bake as usual. Expect the loaf to rise slightly higher, with a darker crust and a more complex flavor.
Result:
The freshly milled flour version delivers a moist, tender crumb with subtle nuttiness that complements the bananas. The flavor feels rounder and more satisfying, while the structure stays sturdy enough for clean slices.
If you’re looking for more ways to experiment with freshly milled flour, I’ve also made golden glazed donuts using it, and let me tell you, the flavor is next-level. The dough comes out richer and more complex, with a satisfying depth that you just don’t get with regular flour.
And if you’re a fan of sweet cinnamon rolls, I’ve got a recipe for those too – using freshly milled flour, they’re heartier and have a lovely, nutty sweetness that perfectly complements the cinnamon filling.
Start Baking With Freshly Milled Flour Today
Converting recipes to freshly milled flour is not complicated—it’s simply a matter of learning how hydration, resting, and texture shift with the full grain.
Once you practice a few times, you’ll notice how naturally these adjustments become part of your baking rhythm.
The reward is flour that tastes alive, recipes that feel more nourishing, and a new confidence in the kitchen.
Choose one recipe you already love and try it with freshly milled flour this week.
See how it changes, take notes, and keep going from there.
You’ll be surprised how quickly adapting becomes second nature.
What recipe will you try first with freshly milled flour? Comment down below and share your plans!
FAQs
Can I use freshly milled flour in sourdough bread?
Yes. Sourdough thrives on fresh flour because of the active enzymes and natural nutrients. Expect fermentation to move more actively—so keep an eye on the dough rather than the clock. Longer autolyse times (up to an hour) help soften the bran and improve elasticity.
Which grains are best for baking cakes or pastries?
Soft white wheat, spelt, and einkorn are excellent choices for lighter bakes. They produce a more tender crumb compared to hard red wheat, which is better for hearty breads. If you prefer versatile baking, keep both a soft wheat and a hard wheat on hand.
Do I need to change baking temperatures when using freshly milled flour?
Generally, no. Use the same oven temperature your recipe calls for. The main difference is that crusts may brown faster because of the natural oils in the grain. If you notice over-browning, tent with foil for the last 10–15 minutes of baking.
How long can I store freshly milled flour if I can’t use it right away?
For peak freshness, use it within 24 hours. If you need to store it, keep it in an airtight container in the freezer for up to 2–3 weeks. Avoid storing at room temperature for long periods, as the natural oils can lose flavor.
Do I need to sift freshly milled flour every time?
Not always. Sifting is most useful for cakes, pastries, or recipes that need a delicate crumb. For breads, muffins, cookies, and pancakes, the full grain usually works best without sifting. Think of sifting as a tool you can use selectively depending on the recipe.

I am fairly new to converting to freshly milled flour and this article looks like it could be my Bible for baking this way. Thank you so much for sharing all this information! I wish you had this in a printable format so I could refer to it as I’m baking…that would be the bomb.
I can’t wait to share my results. I think I’m going to start with some simple oatmeal raisin cookies as I think it will be a great place to start with new flavor and a new experience in my baking. Then I hope to move on to chocolate chip cookies, banana bread, zucchini bread, etc.
I found the perfect recipe for making freshly milled bread – my husband and I have a slice of toast every morning with our breakfast and feel we are getting a great start to the day nutritionally. I’m excited to add milled flour to my every day baking as well.