I love making things from scratch, and in our home, we try to live sustainably and stick to non-toxic, natural products, so I’m always looking for ways to create safe, everyday essentials myself.
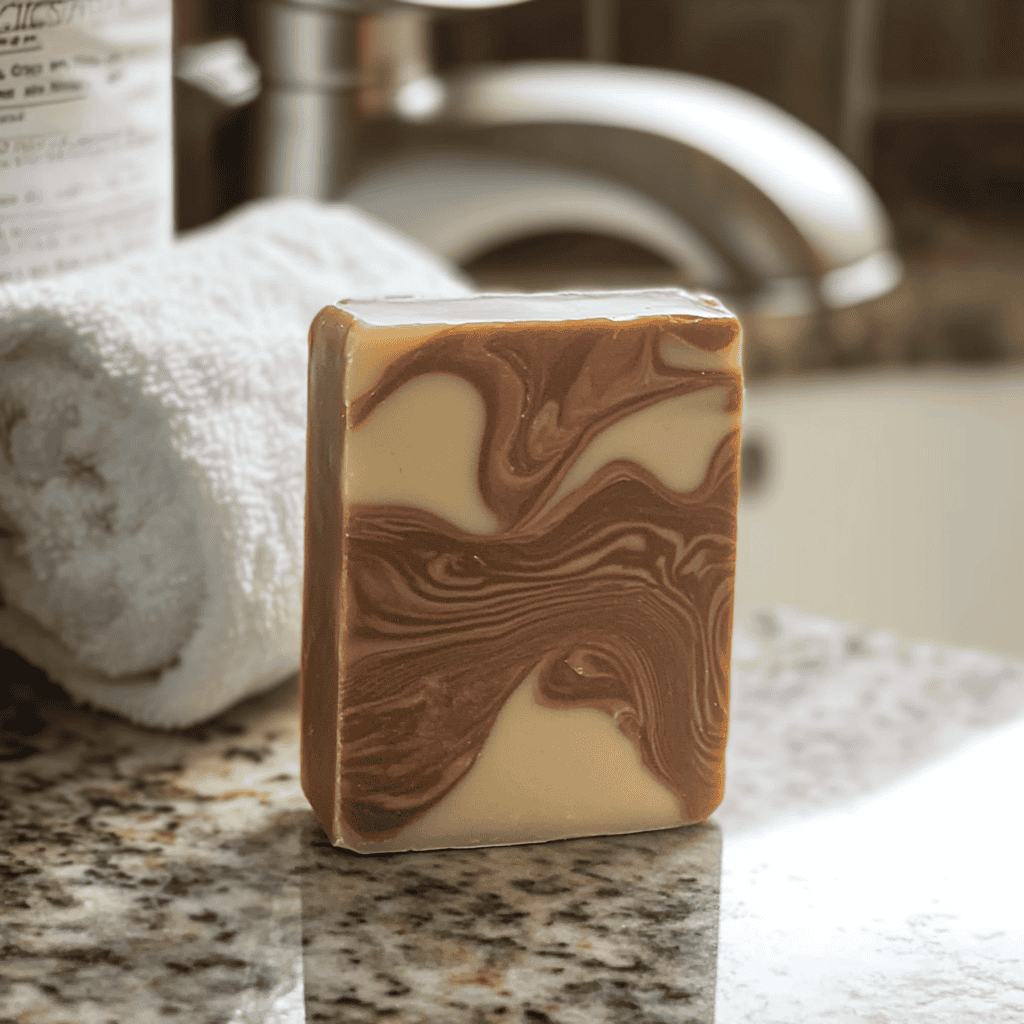
This goat milk “Honey-Toffee” soap is one of our favorites.
Inspired by the classic “Honey I Washed the Kids,” it combines creamy goat milk with the sweet, cozy scent of honey and toffee.
It’s gentle enough for little hands, soft on sensitive skin, but strong enough to clean up after dirt, mud, and messy hands.
In this recipe, I’ll guide you step by step so you can make your own batch at home, even if you’re new to soap making.
Why I Trust This Soap for My Family
What makes this soap a go-to for us is how practical it is for everyday life.
We spend a lot of time outside – gardening, harvesting, and letting the kids play in the yard – so we need a soap that actually works.
I also appreciate knowing exactly what’s in it. No artificial fragrances, dyes, or harsh chemicals – just simple, safe ingredients that I feel good using every day.
The recipe is practical, too. The melt-and-pour process takes under 30 minutes, and the soap is ready by the next day.
You can easily double the batch, adjust it based on what you have at home, and you don’t need anything beyond a basic mold and a double boiler.
If you’re looking for a more classic version of this recipe, you might also enjoy my goat milk soap recipe with honey and oats, which leans even more into the soothing, skin-loving side of things.
The Ingredients
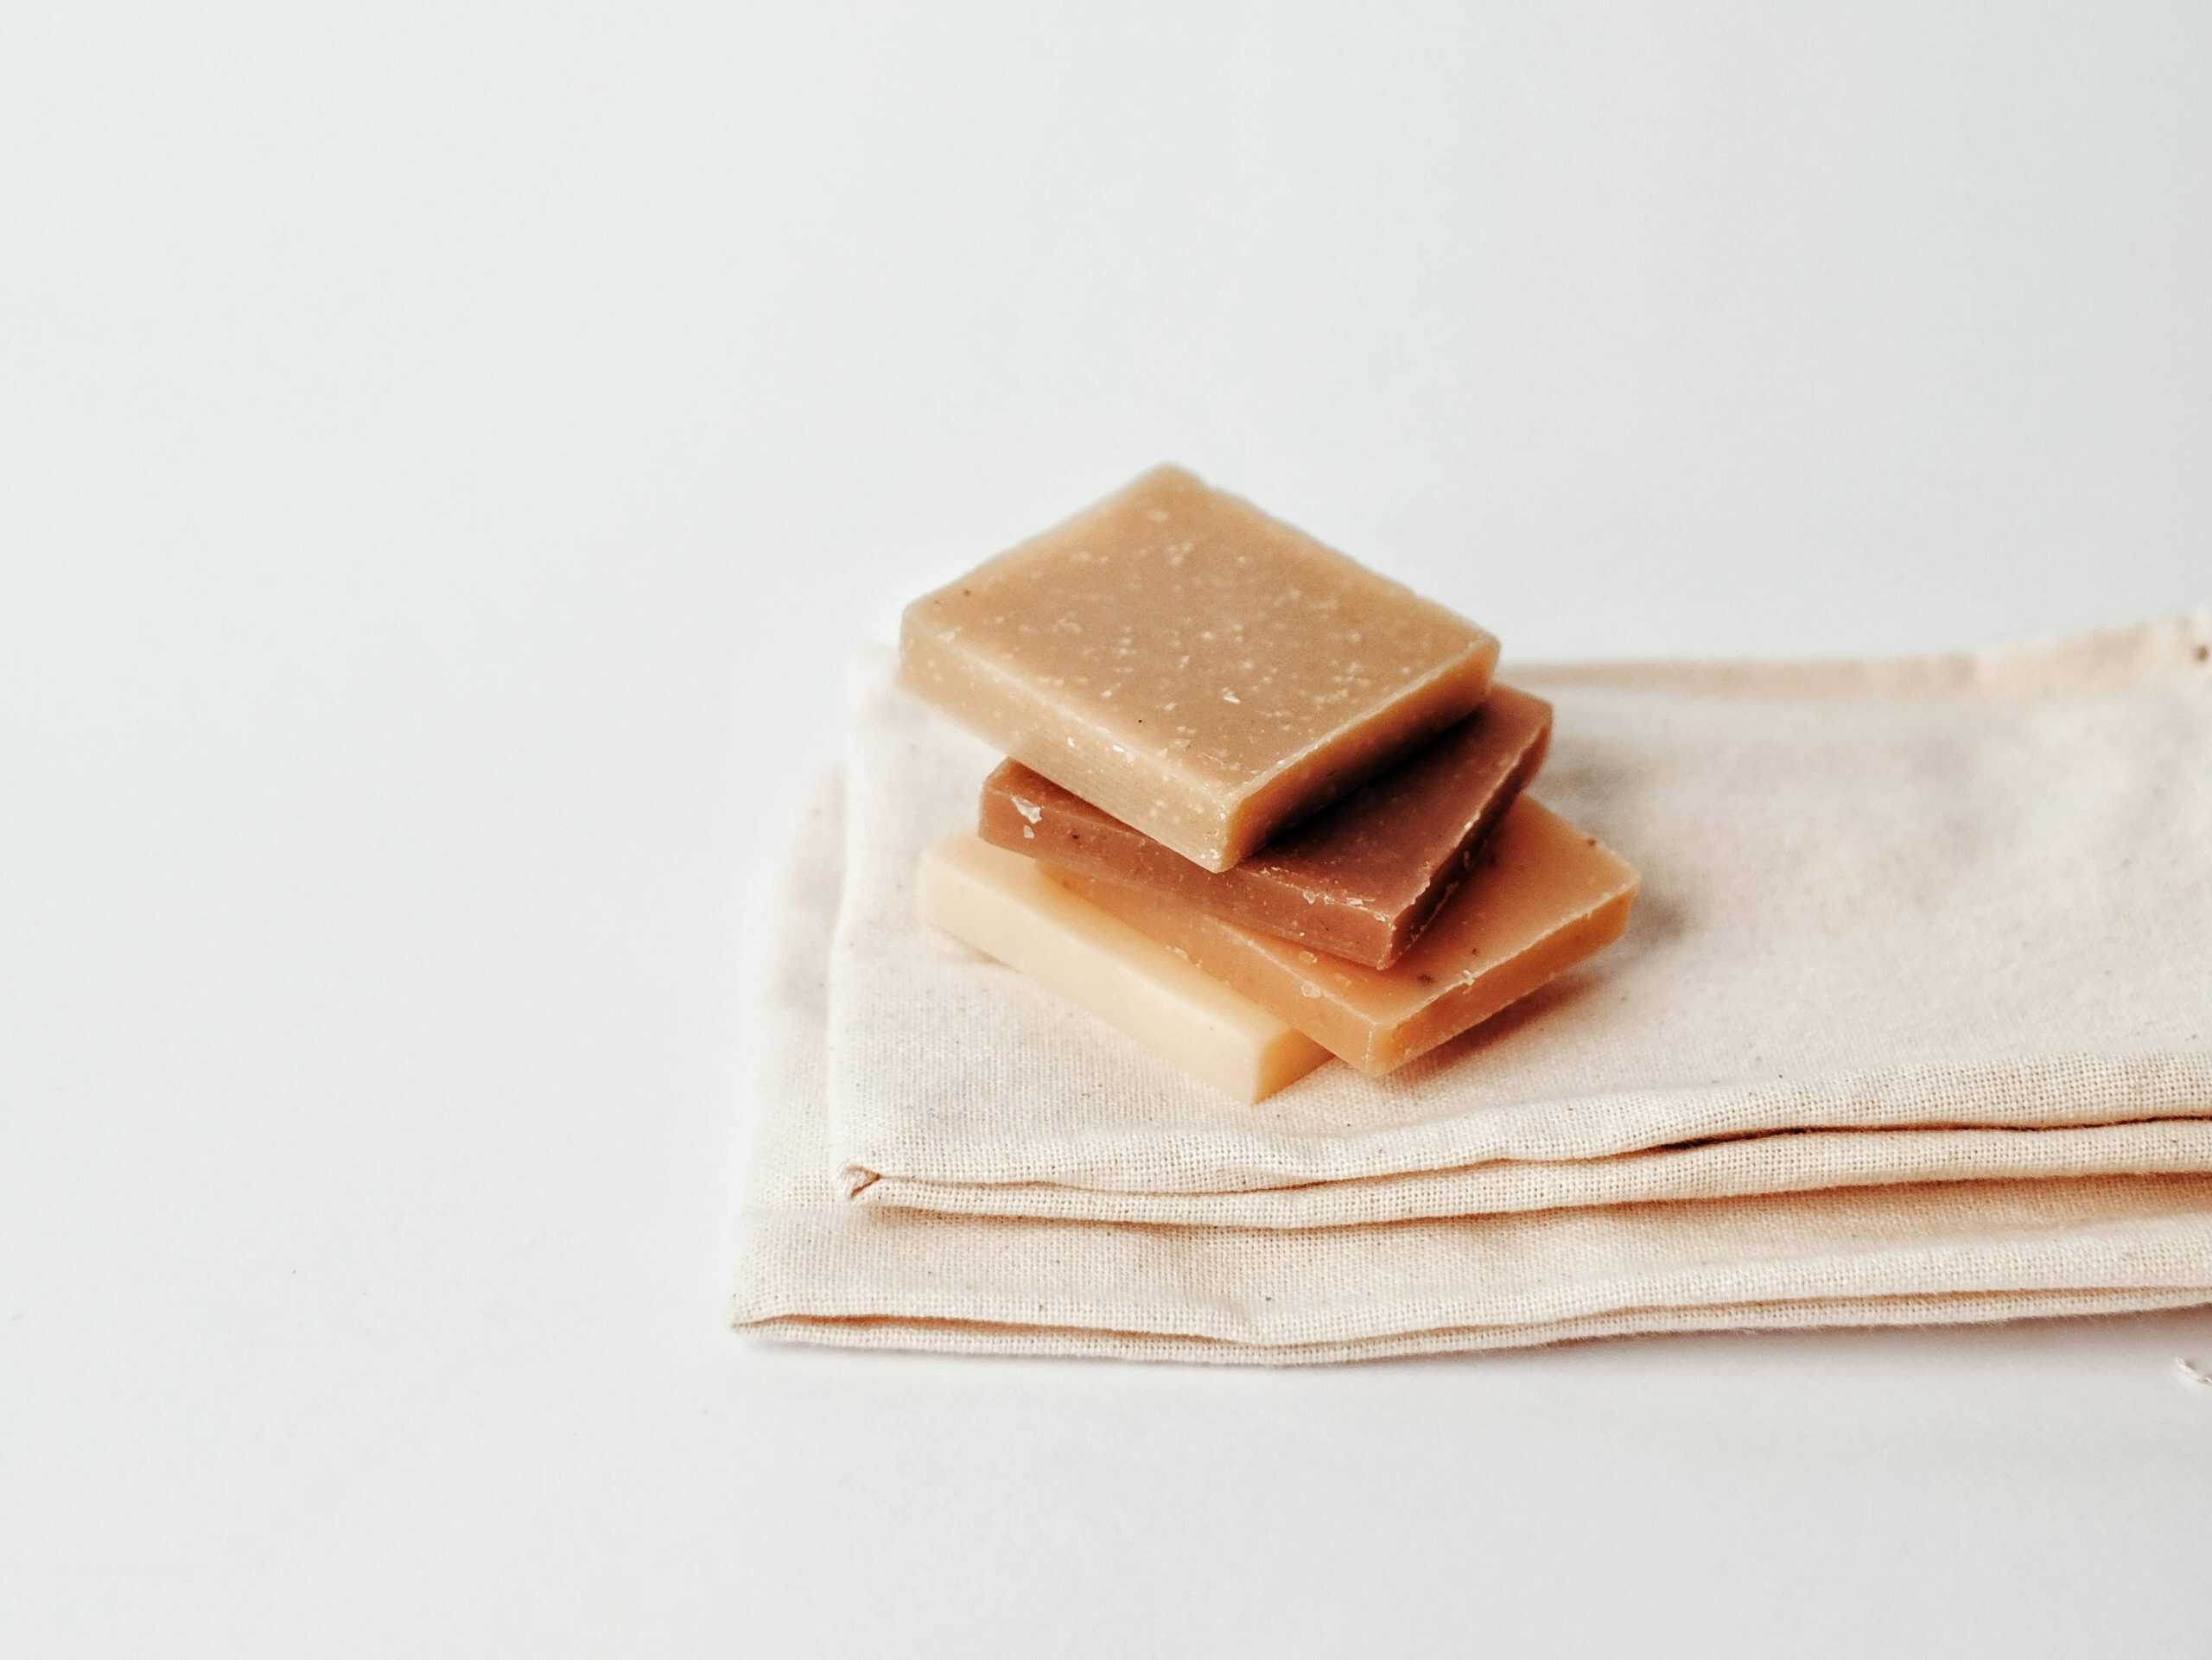
Here’s what goes into this homemade “Honey-Toffee” goat milk soap.
Each ingredient is simple, natural, and chosen to give a creamy, skin-friendly lather with that warm honey-toffee scent.
These ingredients make about two bars of soap (around 8 oz / 227 g total):
| Goat Milk Melt-and-Pour Soap Base | 8 oz | Gentle, moisturizing base that melts easily and is great for sensitive skin. |
| Raw Honey | 2 tsp | Adds a light scent, natural color, and keeps skin soft. Too much can make soap sticky. |
| Sweet Orange Essential Oil | 15 Drops | Bright, sweet citrus scent that gives the soap a candy-like top note. |
| Bergamot Essential Oil | 10 Drops | Adds a warm, citrus-spice depth. Go for bergaptene-free if possible. |
| Lavender Essential Oil | 2–3 Drops (optional) | Subtle calming scent; rounds out the fragrance but keep it light so it’s not floral. |
| Vanilla Oleoresin or Benzoin Resin | 5 Drops (optional) | Adds a soft, creamy sweetness to enhance the toffee scent. |
| Turmeric | Pinch (optional) | Adds a warm, golden color. You can use mica or soap-safe colorant as an alternative. |
| Finely Ground Oats | 1 tsp (optional) | Skin-soothing and gentle exfoliation, adds a rustic look. |
| Bubble Wrap | Optional | Creates a honeycomb texture for added visual appeal. |
If you enjoy working with natural fats and oils, you might also like my tried-and-true tallow soap recipe, which uses a traditional cold process method and feels incredibly nourishing.
How to Make Your Own Honey-Toffee Soap
I’ve based this recipe on the Lush Honey I Washed the Kids soap, but adapted it with goat milk, real honey, and a few natural oils for a warm, comforting scent.
Follow these steps, and you’ll have your own bars ready to use or gift in no time!
1. Get Your Mold Ready
Start by preparing your mold.
If you want a fun honeycomb texture, line the bottom with bubble wrap, bubble-side up. The soap will harden with the pattern pressed into the bottom.
If you prefer a smooth bar, skip this step and just use your mold as it is.
Either way, a well-prepared mold makes removing the soap easier and keeps your bars looking neat.
2. Melt the Soap Base
Next, grab your goat milk soap base and cut it into cubes. This just makes it melt faster.
You can use a double boiler (or, if you’re in a rush, pop it in the microwave for about 20 seconds at a time, stirring between) until it’s all melted and smooth.
You’ll want to keep a close eye on it, though (no one wants burnt soap).
Once it’s all melted, you’re good to go.
3. Stir in the Honey
Once your soap base is melted, let it cool for a minute or two so the heat won’t damage the honey.
Then add your raw honey and stir thoroughly.
Honey not only gives the soap a soft, golden color, but it also adds natural moisturizing properties, leaving your skin feeling nourished.
Make sure it’s fully incorporated for even texture throughout the soap.
4. Add Some Color
If you want a warm, golden hue, add a small pinch of turmeric or mica powder.
Stir slowly and evenly to distribute the color. Turmeric adds a natural, earthy glow, while mica gives a subtle shimmer.
Use just a little – you can always add more, but too much can affect the soap’s texture.
5. Mix in the Essential Oils
Add your chosen essential oils – sweet orange for a gentle, fresh scent and bergamot for a slight citrus twist.
You can also add a drop of vanilla or lavender if you like a sweeter or floral note.
Stir slowly and thoroughly so the fragrance is evenly blended.
This is the part where your soap starts to smell amazing, so take a moment to enjoy it!
If you enjoy body care that layers beautifully together, this soap pairs really well with my best homemade tallow lotion recipe after showers.
6. Optional Oats
This step is totally up to you, but if you want to make the soap even more soothing, add in some finely ground oats.
Oats are super gentle on the skin, and they’ll give you a soft, exfoliating scrub.
7. Pour the Soap into the Mold
Carefully pour the soap mixture into your prepared mold.
If you lined it with bubble wrap, pour directly over it. Fill the mold to the top, but don’t worry if it overflows a tiny bit – you can trim it later.
Tap the mold gently on your counter to release any trapped air bubbles and settle the soap evenly.
8. Spritz for a Smooth Finish
If you want your soap to have a smooth, polished top, give it a quick spritz with rubbing alcohol.
This helps smooth out any tiny bubbles that might have formed on the surface.
It’s not a must, but it really helps give your soap a neat, professional look.
9. Let the Soap Cool and Set
Allow the soap to cool and harden. At room temperature, this usually takes 1–2 hours.
If you’re impatient (or want to speed things up), place the mold in the fridge for about 30 minutes.
The soap should feel firm to the touch before you move on to the next step.
10. Remove from the Mold
Carefully pop the soap out of the mold.
If you used bubble wrap, peel it away to reveal the honeycomb pattern. If you skipped it, you’ll have smooth, solid bars.
Take your time here to avoid breaking the soap.
The satisfaction of seeing your handmade bars come together is one of the best parts of the process.
11. Let It Rest
Finally, let the soap rest overnight.
This allows it to firm up fully and ensures it will last longer once you start using it.
Place it in a cool, dry spot, away from direct sunlight.
After resting, your “Honey-Toffee” bars are ready for everyday use, perfect for hands, face, or body.
If you’re building a simple, low-tox skincare routine, this soap also pairs beautifully with my all-natural beef tallow face cream for winter skin support.
How Do You Store Your Soap?
To keep your soap fresh and long-lasting, store it in a cool, dry place.
Avoid humid areas like the bathroom countertop if possible, as moisture can make the soap soften or lose its shape.
An airtight container or a simple jar works well to preserve the scent and maintain its firmness.
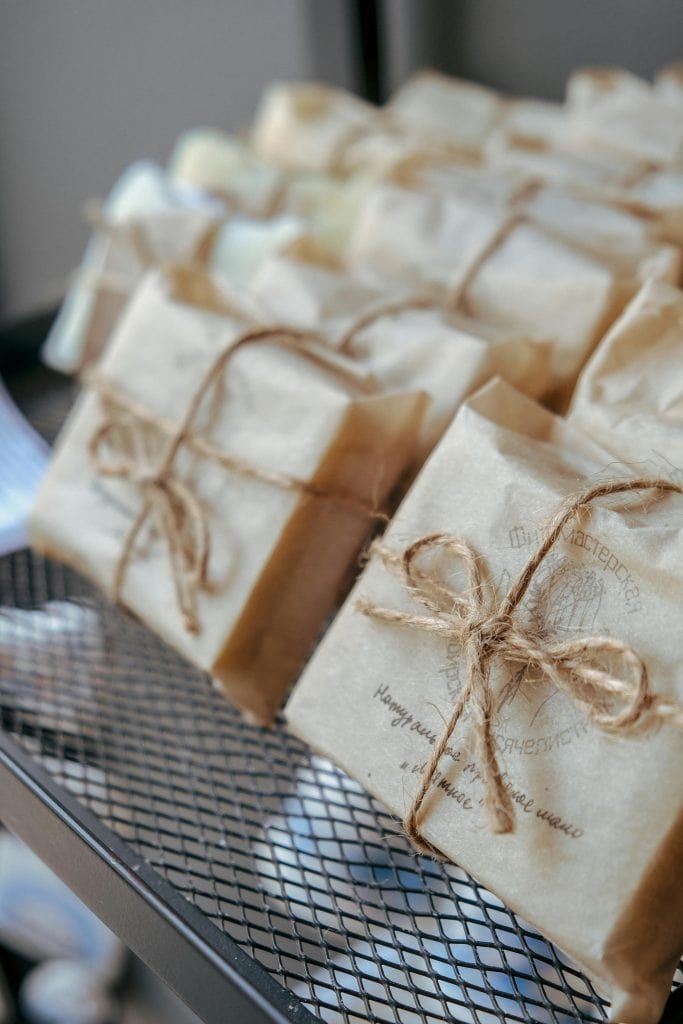
If you’re gifting your soap or want it to look a little special, wrap it in parchment paper or beeswax wrap.
This keeps it protected, gives it a rustic, homemade touch, and makes it easy to share with friends or family.
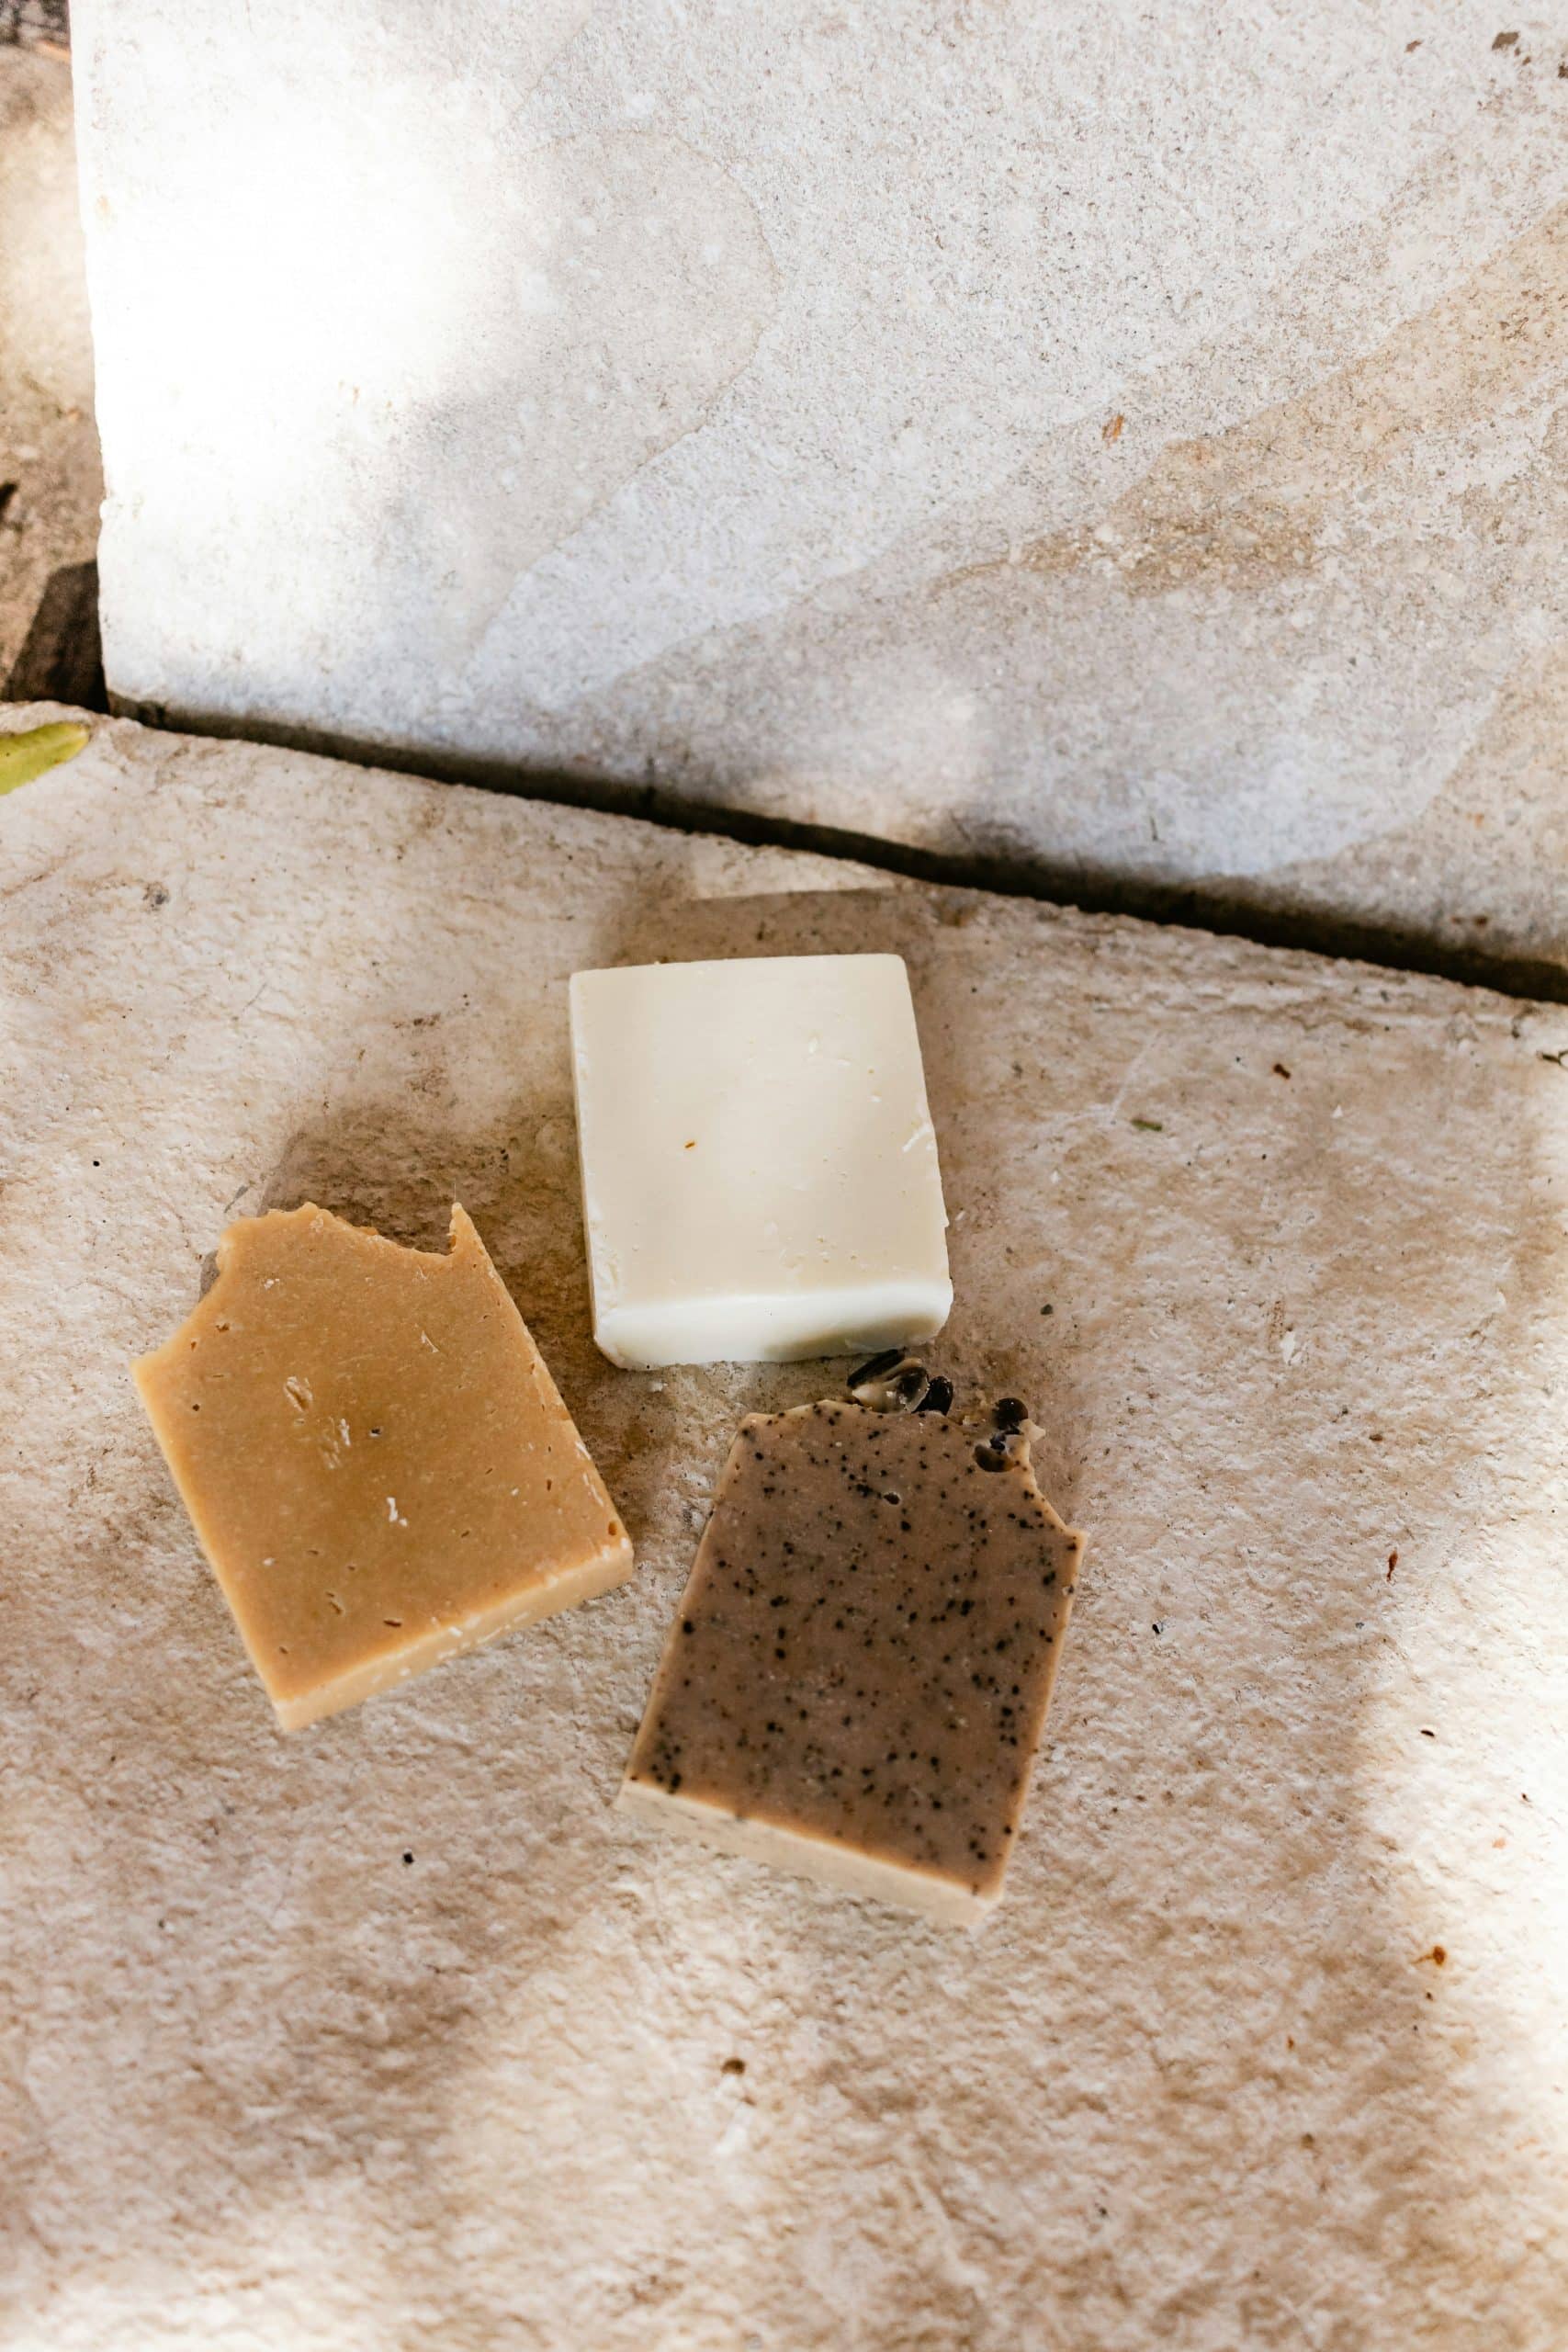
What About Exfoliation?
The oats in this soap give it a gentle, natural exfoliation.
It’s perfect for washing off dirt after gardening, muddy play, or even just a long day of washing hands and cooking.
The texture is soft enough that it won’t irritate sensitive skin, but it still helps smooth rough spots and leaves your skin feeling clean and refreshed.
If you’d rather keep things simple, you can skip the oats altogether – the soap will still be creamy, moisturizing, and perfect for everyday use.
You can also adjust how much you add depending on whether you want a little extra scrubbing action or just a soft, smooth bar.
This flexibility lets you make the soap exactly how you like it, whether it’s for everyday use, a special treat, or a gift for someone else.
For a full head-to-toe routine, I often keep my ultra-nourishing tallow lip balm nearby too. It’s a small thing, but it makes a difference during dry seasons.
Troubleshooting Common Issues
Even with a simple melt-and-pour recipe, a few hiccups can happen.
Here’s how you can handle the most common ones:
1. Soap Not Setting – If your bars are still soft after a few hours, make sure the room isn’t too warm or humid. Pop the mold in the fridge for a little while to speed up firming.
2. Air Bubbles on the Surface – Tiny bubbles can appear when pouring. A quick spritz of rubbing alcohol smooths the top and keeps it looking neat.
3. Honey Clumping or Settling – Stir the honey in slowly and make sure the soap base has cooled just a touch before adding it. Too hot, and the honey can sink to the bottom or get sticky.
4. Sticking to the Mold – Lightly oiling the mold or lining it with parchment can prevent bars from sticking, especially if you’re using silicone molds.
5. Uneven Color – If turmeric or mica isn’t mixing evenly, stir gently and take your time. Small streaks are okay—they give a natural, handmade look.
A few imperfections don’t ruin the soap – they just show it’s homemade. Even bars with minor quirks will clean, moisturize, and smell amazing!
Your Homemade Honey-Toffee Soap Is Ready!
And just like that, you have your own batch of creamy, nourishing honey-toffee soap.
Use it with your family, keep it for yourself, or give it as a gift – either way, it’s a useful, everyday soap that does the job.
You can make it in larger batches to have on hand for weeks, or try tweaking the recipe with different oils or scents to see what works best for your household.
This soap is easy to make, easy to use, and fits into a simple, practical home routine.
It’s a small step toward reducing chemicals in your home while still having a product that performs well day to day.
FAQs
Got questions? I’ve got answers!
Can You Customize the Scent?
You can definitely customize the scent of this soap. If you prefer a sweeter fragrance, simply add a few more drops of sweet orange essential oil. For a deeper, warmer note, try adding extra bergamot, which brings in a mild, spicy vibe.
If you enjoy lavender or vanilla, feel free to experiment with those too – just be sure to keep it subtle so it doesn’t overpower the other scents. The best part is, you can’t go wrong – just adjust the ingredients to match your preferences.
Can You Use Different Oils?
Yes, you totally can! While the sweet orange and bergamot essential oils really mimic the signature honey-toffee scent of the original soap, you can mix things up and use what you have on hand.
Other citrus oils like grapefruit or lemon would also work wonderfully. If you’re not a fan of bergamot, maybe try a little sandalwood or ylang-ylang for a different vibe. Again, this is your soap – it’s all about what makes you feel good.
How Long Will This Soap Last?
This soap, with its nourishing ingredients, should last a while. Depending on how often you use it, it can last anywhere from a few weeks to a couple of months. Since this is a melt-and-pour soap, it’s not as long-lasting as cold-process soap, but it still holds up well.
To make it last even longer, just make sure to keep it in a soap dish that drains well. You know the one – the kind where the soap isn’t sitting in water all day. That’ll help it dry out between uses and prevent it from getting mushy.
Is This Soap Safe for Sensitive Skin?
Yes, it’s gentle and soothing for most skin types, especially when you skip the oats. The goat milk and honey work wonders at moisturizing and calming the skin, and the essential oils are all plant-based goodness.
That said, if you have very sensitive skin or allergies to any of the oils, it’s always a good idea to patch test before going all in. Just rub a little bit of the soap on a small patch of skin and see how it reacts. Better safe than sorry!
