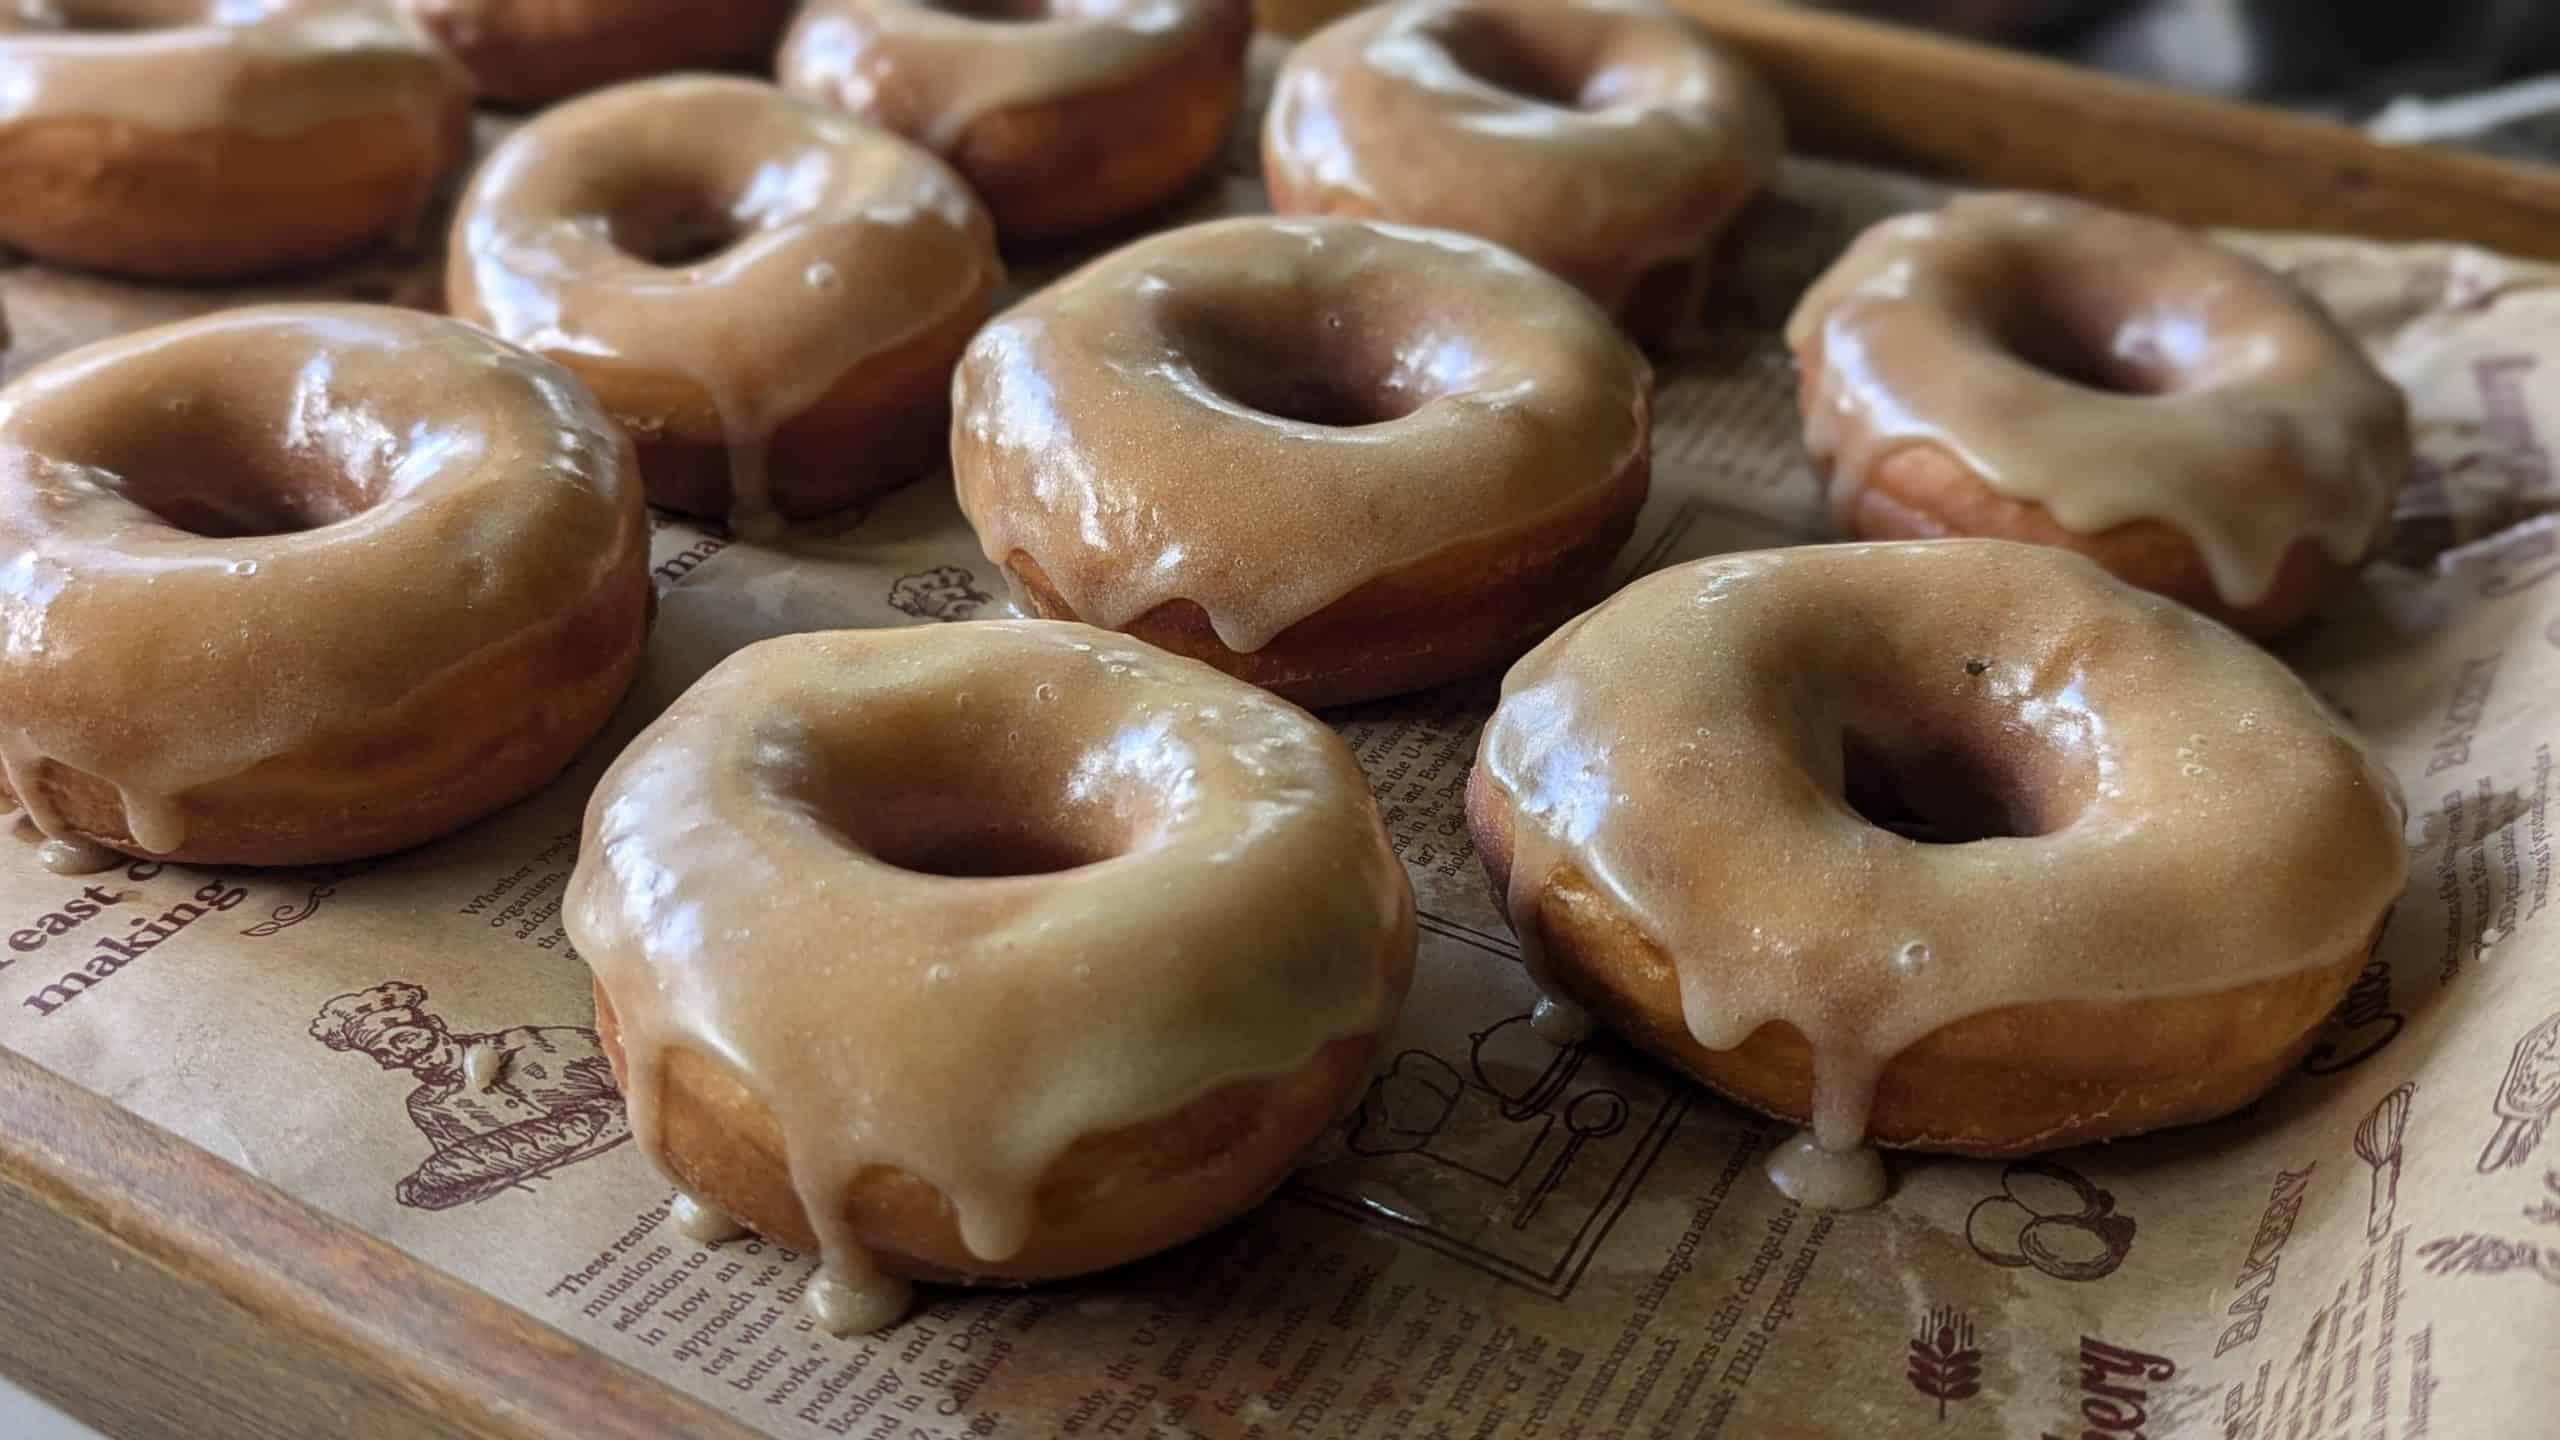
Glazed donuts are a simple treat I like making at home.
Soft, golden, and lightly sweet, they strike that perfect balance between simple and a little indulgent.
This recipe has become one I return to often because it’s straightforward and dependable.
The steps flow together easily (mixing, shaping, frying, and glazing) and the result is a batch of donuts that feels genuinely homemade.
They’re simple enough for a slow weekend morning yet special enough to share with friends or bring to the table for company.
It’s a practical recipe that delivers every time, and one that fits naturally into everyday baking.
Why Make Glazed Donuts With Freshly Milled Flour?
Freshly milled flour changes more than just the flavor of your baking.
It brings back the vitality of the whole grain – fiber, vitamins, and natural oils that are lost in refined flour.
When you use hard white wheat, the result is a flour that feels light, bakes tender, and carries a subtle sweetness, making it ideal for donuts.
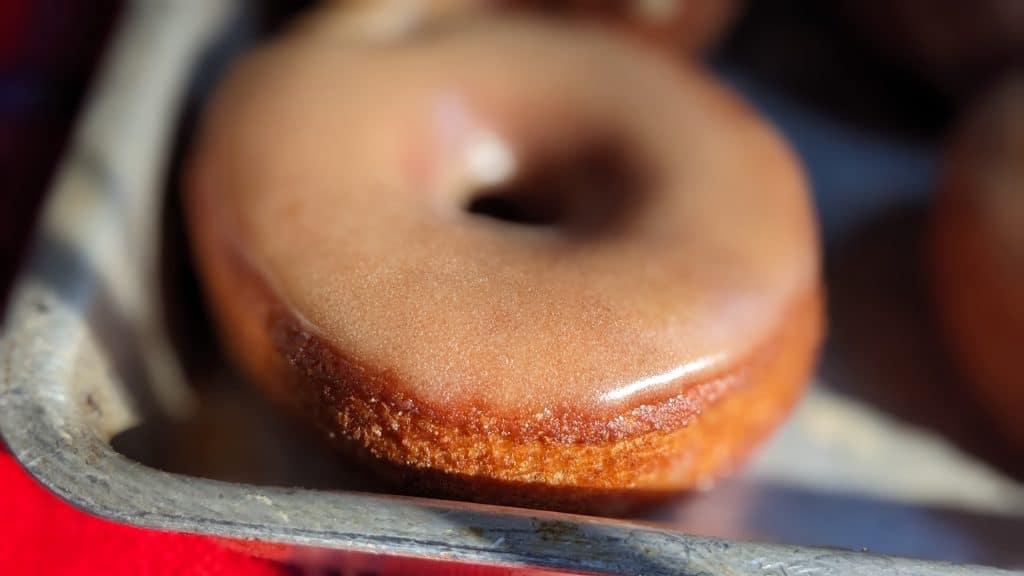
In these glazed donuts, the flour creates a golden crumb that is soft yet substantial.
The texture is pillowy but not fragile, with enough body to hold the glaze beautifully.
Choosing freshly milled flour is also about value: you’re making the most of a single ingredient by unlocking its full potential.
It’s a straightforward choice that elevates everyday baking, much like it does in enriched doughs such as my ultimate homemade bagel recipe, where structure and tenderness matter just as much.
And if you’re still experimenting with swapping fresh flour into familiar recipes, my guide on how to convert any recipe to freshly milled flour walks through the adjustments step by step.
Ingredients for Glazed Donuts
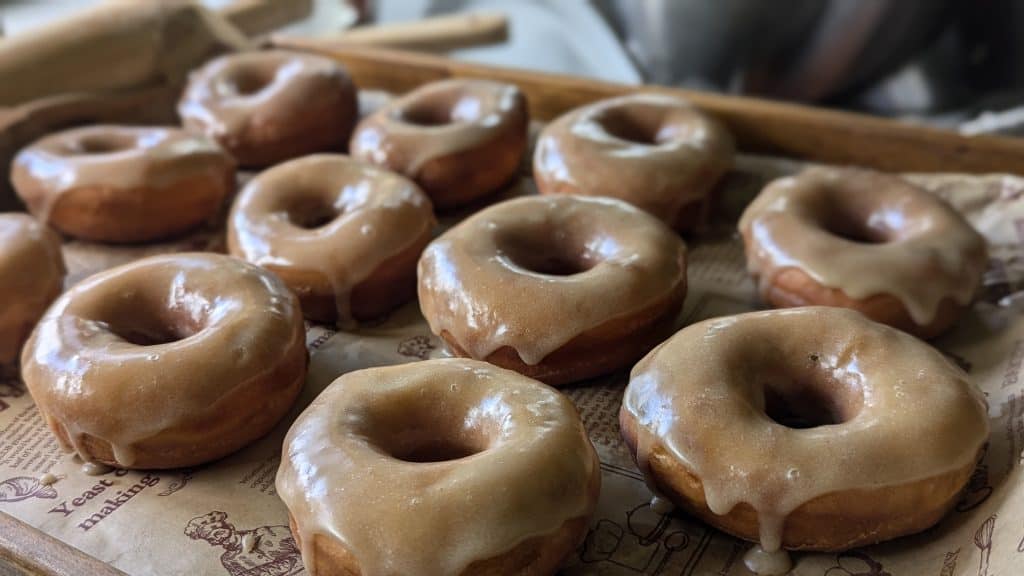
A short list of familiar ingredients comes together to create donuts that are golden, fluffy, and glazed to perfection.
For the Dough
- 1 cup warm whole milk, 105–110°F (250 mL)
- 2 packages active dry yeast (4 ½ teaspoons, 0.5 oz.)
- ¼ cup granulated sugar, plus 1 teaspoon, divided (54 g)
- 4 ½ cups freshly milled hard white wheat flour (540 g), plus more for dusting
- ½ teaspoon salt
- 6 tablespoons unsalted butter, melted (85 g)
- 2 large eggs, at room temperature
- Vegetable oil, for frying
For the Glaze
- 3 cups powdered sugar (360 g)
- 6 tablespoons whole milk (90 mL)
- ½ teaspoon vanilla extract
Essential Tools for Making Fresh Milled Flour Donuts
Here are the basic tools that make frying and glazing donuts easier and more consistent:
- Mixing bowls
- Whisk and wooden spoon
- Stand mixer with dough hook (optional)
- Rolling pin
- Donut cutter or round cutters
- Dutch oven or heavy-bottomed pot
- Cooking thermometer
- Slotted spoon or spider strainer
- Wire rack and rimmed baking sheet
- Parchment paper
How to Make Glazed Donuts With Fresh Milled Flour
Follow these steps for donuts that are golden, pillowy, and perfectly glazed.
Each stage builds on the last, guiding you from a simple dough to a tray of irresistible treats.
Step 1 – Activate the Yeast
In a small bowl, combine 1 cup warm whole milk (105–110°F / 250 mL) with 2 packages active dry yeast (4 ½ teaspoons, 0.5 oz.) and 1 teaspoon granulated sugar.
Whisk gently to dissolve the yeast. Let the mixture sit for 5–10 minutes until the surface turns foamy.
The bubbles show that the yeast is active and ready to help your dough rise.
This activation step is similar to what you’d do when building a starter.
If you want to understand yeast behavior more deeply, how to make sourdough starter with freshly milled flour is a helpful companion read.
Step 2 – Mix the Dough With Freshly Milled Flour
In a large mixing bowl, stir together 4 ½ cups freshly milled hard white wheat flour (540 g) and ½ teaspoon salt so they’re evenly blended.
In another bowl, whisk 6 tablespoons unsalted butter, melted (85 g) with 2 large eggs, at room temperature, and the remaining ¼ cup granulated sugar (about 53 g) until smooth.
Add in the bubbly yeast mixture and stir until combined.
Slowly fold the flour mixture into the wet ingredients until you get a shaggy, sticky dough.
Step 3 – Knead the Dough Until Smooth
Turn the dough onto a lightly floured surface and knead for 5–7 minutes, pushing it forward with the heel of your hand, folding it over, and repeating.
The dough will feel slightly tacky because of the whole grain flour, but as you work it, it will become more elastic and cohesive.
You can also use a stand mixer with a dough hook on medium speed for this step.
Step 4 – Let the Dough Rise Until Doubled
Place the kneaded dough into a lightly oiled large bowl, turning it once so it’s coated on all sides.
Cover with a clean kitchen towel or plastic wrap. Set it in a warm place and let it rise for about 1 hour, or until the dough doubles in size.
When ready, it will feel soft and airy if you press it lightly with your finger.
Step 5 – Shape the Donuts and Holes
Line a large rimmed baking sheet with parchment paper.
Punch down the dough to release trapped air, then roll it out on a lightly floured surface until it’s about ¾ inch thick.
Use a donut cutter, or a 3-inch round cutter paired with a 1-inch cutter for the holes, to cut about 12 donuts.
Gather scraps, re-roll, and cut again so none of the dough is wasted.
Place the cut donuts and holes on the prepared baking sheet.
Step 6 – Second Rise for Light and Airy Donuts
Cover the donuts loosely with a towel or plastic wrap and let them rise again in a warm place until puffy, about 40 minutes.
During this second rise, the dough relaxes and fills with air, creating that pillowy texture you expect in a good donut.
Step 7 – Fry the Donuts to Golden Perfection
Set a wire rack over a rimmed baking sheet to drain the fried donuts later.
Fill a Dutch oven or heavy pot with about 2 inches of vegetable oil and heat it over medium until a thermometer registers 350°F (175°C).
Carefully lower 2–3 donuts into the hot oil at a time. Fry each side for about 1 minute, turning once, until golden brown.
For the donut holes, stir them constantly in the hot oil for about 1 minute total so they cook evenly.
Transfer the fried donuts to the prepared rack to drain excess oil.
Step 8 – Make the Classic Vanilla Glaze
In a medium bowl, whisk together 3 cups powdered sugar (360 g), 6 tablespoons whole milk (90 mL), and ½ teaspoon vanilla extract until smooth.
The glaze should be thick enough to coat a spoon but thin enough to drip slowly.
If needed, add more milk in small amounts (½ teaspoon at a time) until you reach the right consistency.
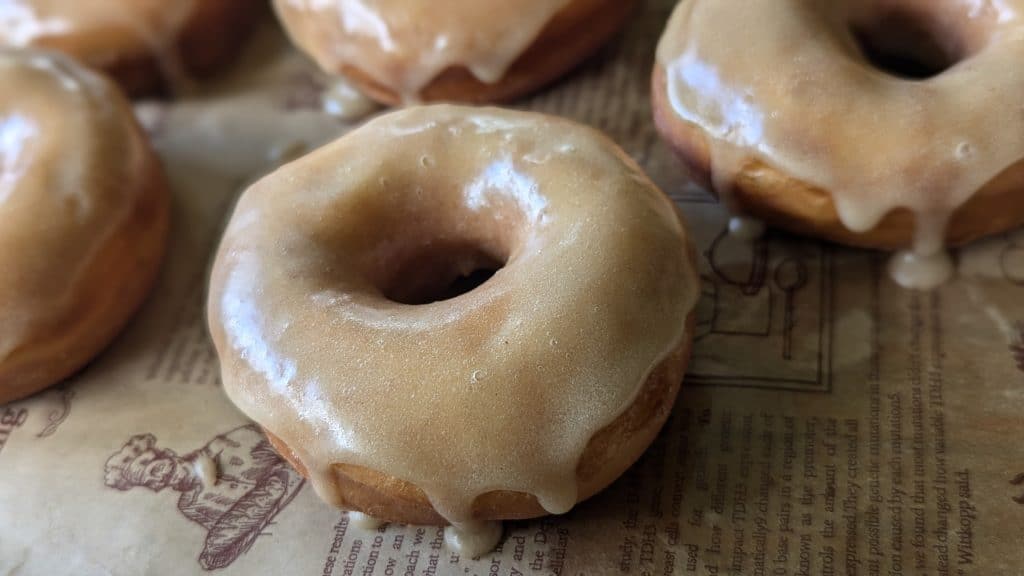
Step 9 – Dip and Glaze the Warm Donuts
While the donuts are still warm, dip the top of each one into the glaze.
Hold it for a moment so the extra glaze drips back into the bowl, then set the donut on the wire rack.
Repeat with the rest, including the donut holes.
Allow the glaze to set for several minutes before serving – it will form a shiny finish that complements the golden dough beautifully.
And if you’re curious about another recipe that shines with fresh flour, take a look at my perfectly sweet cinnamon rolls made with fresh milled flour.
Pro Tips for Perfect Fresh Milled Flour Donuts
These small details can make a big difference in the texture, flavor, and finish of your donuts.
- Weigh your flour: Freshly milled flour can settle differently than store-bought. Using a kitchen scale for 540 g (4 ½ cups) keeps the recipe precise.
- Warm spot for rising: Yeast dough loves consistent warmth. Place the bowl in your oven with the light on (but heat off) for a steady environment.
- Don’t skip the second rise: This step ensures the donuts are pillowy instead of heavy. Watch the dough — it should look puffy and airy.
- Fry in small batches: Adding too many donuts lowers oil temperature, which can change texture. Fry 2–3 at a time for the best results.
- Glaze consistency matters: The glaze should slowly drip from the spoon, not run like water. Adjust with milk or powdered sugar as needed.
- Serve warm: Donuts are always best enjoyed shortly after glazing. A quick reheat can refresh them if you’re serving later.
How to Store Homemade Glazed Donuts
Freshly fried and glazed donuts are at their very best the same day you make them, but with proper storage you can still enjoy them later without losing too much of their softness and flavor.
Same-Day Enjoyment
For peak freshness, serve the donuts within a few hours of frying and glazing.
Their texture is pillowy and the glaze sets into a delicate layer that balances sweetness and structure.
Short-Term Storage

If you have leftovers, place the donuts in a single layer inside an airtight container at room temperature.
They’ll keep well for about 1–2 days.
To refresh them, warm the donuts for 10–15 seconds in the microwave before serving – this softens the crumb and makes them taste close to fresh.
Freezing for Later
Donuts made with freshly milled flour also freeze surprisingly well.
Once cooled and before glazing, place the donuts in a freezer-safe bag or container, separating layers with parchment paper.
They’ll keep for up to 2 months.
When ready to serve, thaw at room temperature and warm briefly before adding the glaze.
This way, you can enjoy homemade donuts anytime with only half the work.
Nutritional Benefits of Fresh Milled Flour Donuts

Donuts are usually thought of as a sweet indulgence, but using freshly milled flour brings an added layer of nourishment that refined flour simply doesn’t offer. Each donut carries the natural value of the whole grain.
- Whole grain value: Freshly milled flour keeps the bran, germ, and endosperm intact, giving you more fiber and a fuller flavor.
- Vitamin-rich: Naturally contains B vitamins for energy, vitamin E for cell health, and minerals like iron, magnesium, and zinc.
- Steady energy: Complex carbohydrates in whole grains release energy gradually, helping you feel satisfied longer.
- Wholesome treat: Glazed donuts made with fresh flour are still a sweet indulgence, but with added nutrition that refined flour can’t offer.
That same wholesome quality is what makes old-fashioned desserts like this best shoofly pie you’ll ever taste feel richer and more satisfying when made with fresh flour.
Try Glazed Donuts Made With Fresh Milled Flour Today
Homemade donuts are always a joy to share, and with freshly milled flour, they become even more rewarding.
The golden crumb, soft texture, and simple glaze show how wholesome ingredients can elevate a classic treat without adding extra steps.
This recipe is approachable for any home baker, and the results are consistently worth it.
Give these glazed donuts a try in your own kitchen and see how fresh milled flour makes a difference.
Have tips, questions, or your own variations? Comment down below – I’d love to hear how your donuts turn out!
FAQs
1. Can I use a different type of wheat for this recipe?
Yes. Hard red wheat will also work, but it will create a slightly darker color and stronger flavor than hard white wheat.
2. What if I don’t have a donut cutter?
You can use a 3-inch round biscuit cutter and a smaller cutter (or even the cap of a bottle) for the holes.
3. Can these donuts be baked instead of fried?
They can be baked at 375°F (190°C) for 8–10 minutes, but the texture will be more bread-like than fried donuts.
4. How do I keep the donuts soft after frying?
Store them in an airtight container at room temperature and reheat for a few seconds in the microwave before serving.
5. Can I glaze the donuts after they’ve cooled completely?
Yes, but the glaze adheres best when the donuts are still slightly warm. If glazing later, warm the donuts for a few seconds first.
