Pizza night can be both practical and deeply satisfying when the dough is built on freshly milled flour.
This recipe delivers two 12-inch crusts with a balance of flavor and structure that supports any topping you choose.
The process is straightforward, the ingredients are purposeful, and the results are consistently rewarding.
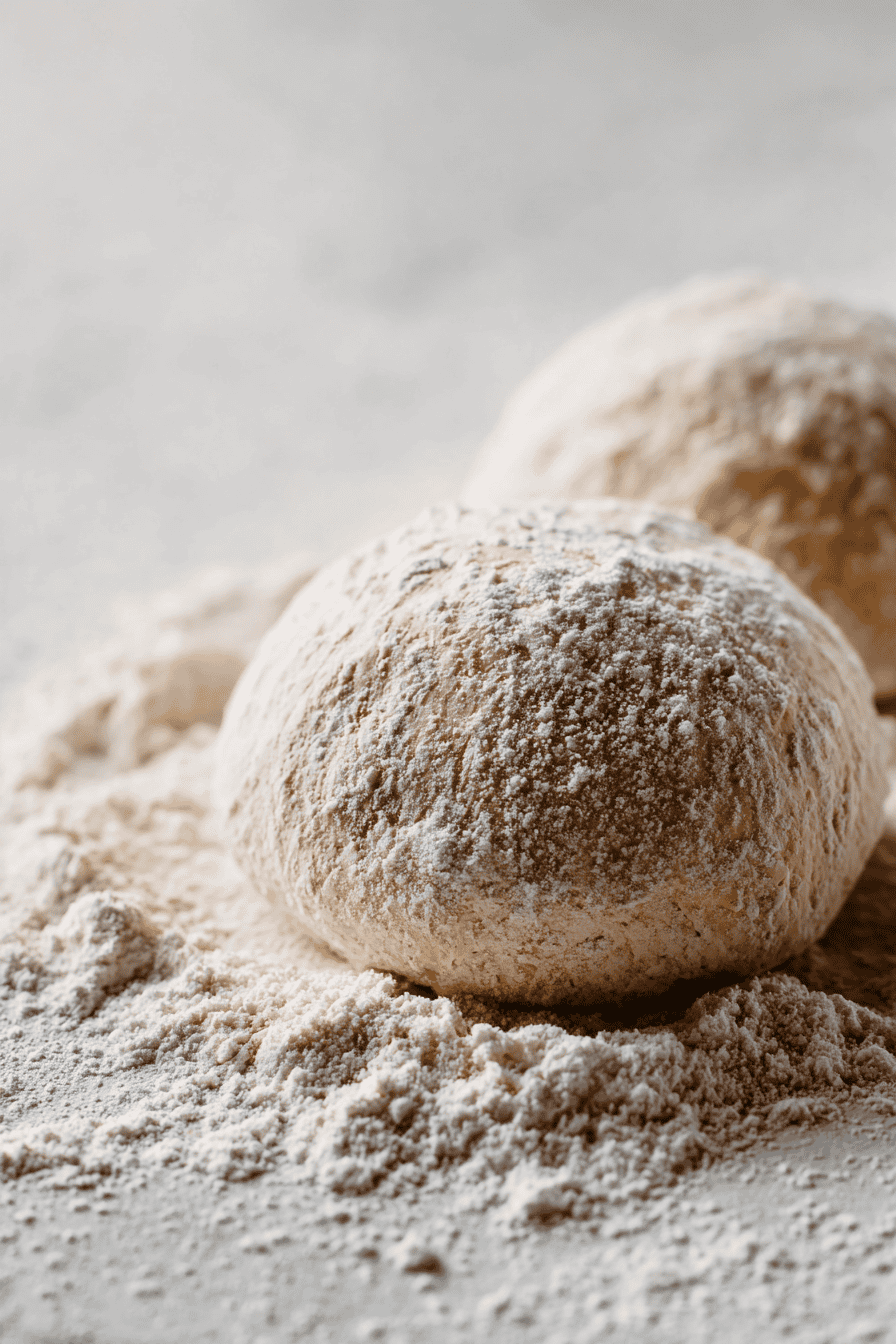
Freshly milled hard white wheat or Kamut creates a crust that is mild yet full, allowing the sauce, cheese, and vegetables to take center stage.
With a short rest, a brief knead, and a patient chill in the refrigerator, this dough becomes a dependable base you can return to again and again.
Why Freshly Milled Flour for Pizza Dough
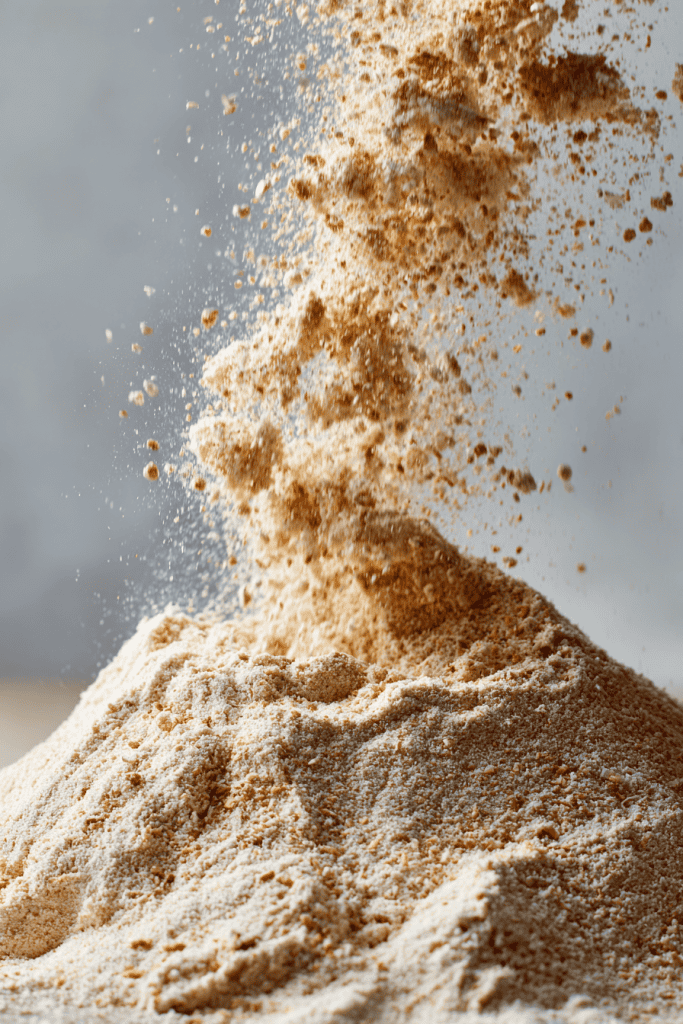
Freshly milled flour brings both flavor and strength to this dough.
The natural oils, nutrients, and aromas remain intact because the grain is ground just before mixing.
This freshness translates into a crust that tastes fuller, handles with ease, and supports a wide range of toppings without feeling heavy.
Hard white wheat offers a mild, balanced flavor, while Kamut provides a rich, buttery depth.
Both grains create a dough that is sturdy yet flexible, ideal for shaping into thin or slightly thicker crusts.
Fresh-milled flour also shines in desserts, and this healthy pumpkin pie recipe with freshly milled flour shows just how versatile whole grains can be.
By starting with flour that is freshly milled, every pizza you bake carries the wholesome character of the grain itself.
You can read more about the big benefits of freshly milled flour to see why it makes such a difference in baking.
Pizza Dough Ingredients

Every part of this dough plays a specific role.
Measured with care, these ingredients work together to create a crust that is balanced in flavor, texture, and handling.
- 2 cups warm water (130°F / 54°C | 500 mL) – activates the flour and yeast, beginning the structure of the dough.
- 4 to 4½ cups freshly milled hard white wheat or Kamut flour (1 to 1.125 L) – forms the base of the crust, mild and versatile to suit any toppings.
- 4 tsp quick-rising (instant) yeast (20 mL) – ensures a dependable lift and light crumb.
- ¼ cup oil (60 mL) – adds tenderness and makes the dough easier to handle.
- 2 tsp salt (10 mL) – balances flavor and strengthens the dough’s structure.
Together, these simple ingredients make enough dough for two 12-inch (30 cm) pizzas.
4 Easy Steps in Making Pizza Dough
The process of preparing this dough is simple and steady.
By following the method carefully, you’ll create a crust that is consistently reliable and enjoyable to work with.
Step 1: Combine and Rest
Begin by placing the warm water and freshly milled flour into a large mixing bowl. Stir until a soft dough forms.
At this point, the mixture may look rough and somewhat sticky, but that is expected. Allow the dough to rest for 20 minutes.
This short rest, known as autolyse, gives the flour time to hydrate fully and allows gluten strands to begin forming naturally.
It makes the dough easier to knead later and results in a more flexible crust.
Step 2: Add Yeast, Oil, and Salt
After the rest, sprinkle the yeast evenly across the dough and mix until incorporated.
Next, add the oil and salt while continuing to mix.
The yeast will begin its work of fermentation, while the oil adds tenderness and the salt strengthens the gluten structure.
As these ingredients blend in, the dough will become more uniform and start to feel smooth in your hands.
If you’re curious about longer, natural fermentation methods, making a sourdough starter with freshly milled flour is a great next step once you’re comfortable with yeast doughs.
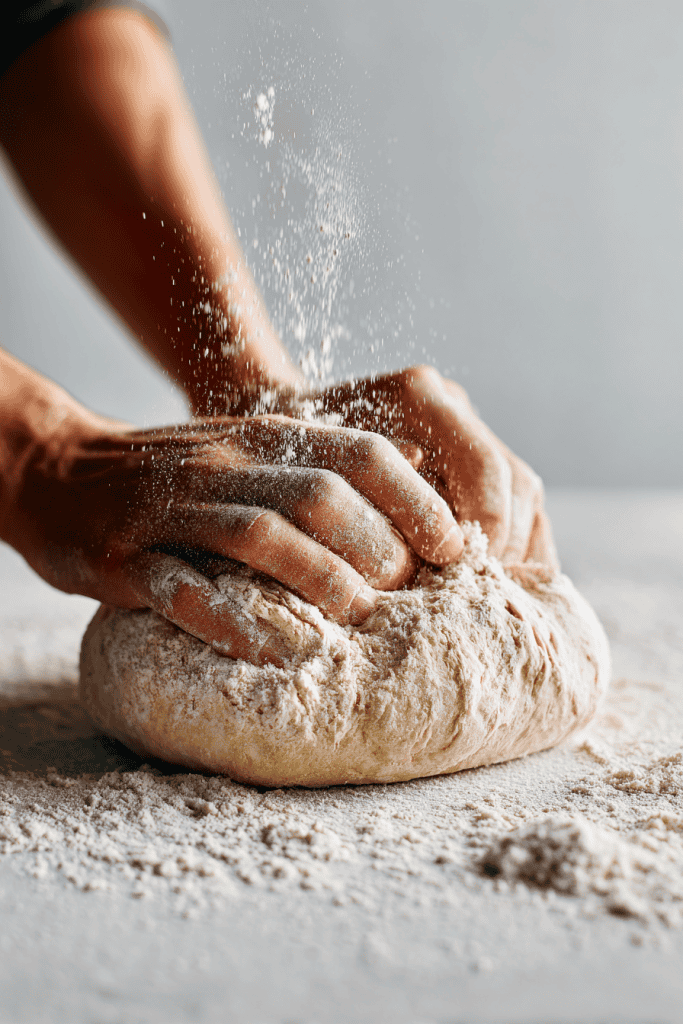
Step 3: Knead Until Smooth and Elastic
Transfer the dough to a lightly floured surface.
Knead with a steady rhythm for about 5 minutes, folding, pressing, and turning the dough until it becomes supple and elastic.
This brief kneading session develops the gluten further, creating a dough that stretches without tearing and will hold its shape during baking.
The finished dough should feel springy and responsive under your hands.
Step 4: Refrigerate to Develop Flavor and Texture
Once kneaded, place the dough in a lightly oiled container.
Cover it tightly and refrigerate for at least 24 hours and up to 3 days.
This slow, cool fermentation deepens the flavor and strengthens the texture of the crust.
The dough will become easier to shape and more flavorful the longer it rests.
While it can be used immediately after kneading, the refrigeration step elevates the final result and makes pizza night more flexible by allowing you to prepare in advance.
Note: The dough can be used right away, but refrigeration makes the results even better.
Tips for Storage and Freezing
One of the strengths of this dough is its flexibility. It can be prepared ahead of time, stored for several days, or even frozen for later use without losing its quality.
Refrigeration
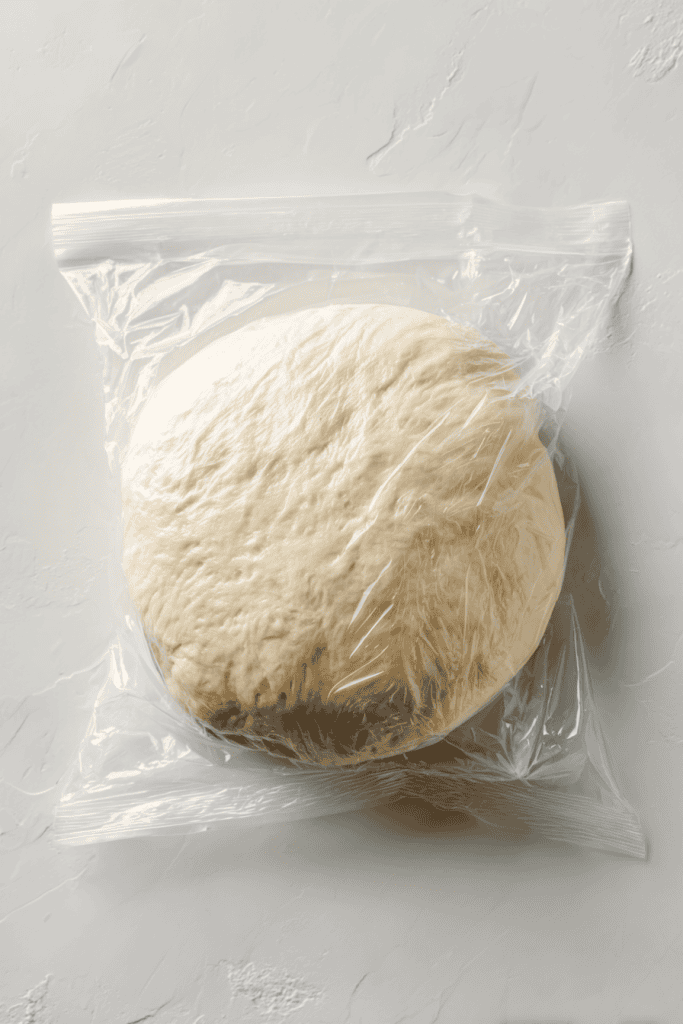
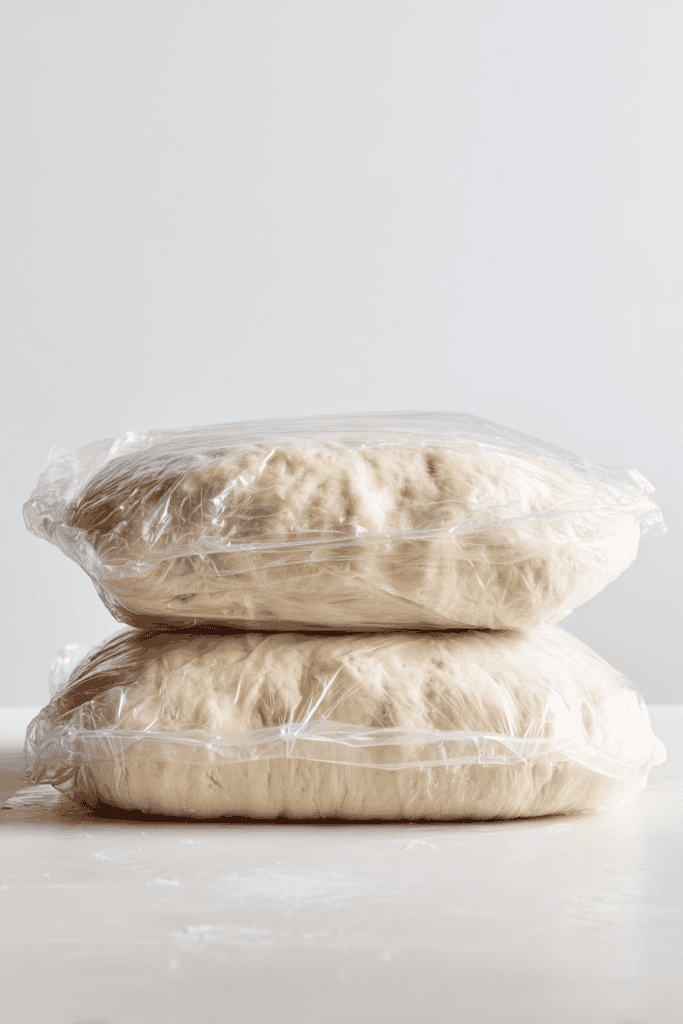
After kneading, lightly oil a resealable bag or container.
Place the dough inside, pressing out any excess air, and seal tightly.
Stored this way, the dough will keep in the refrigerator for up to 3 days.
When you are ready to use it, simply remove the dough from the refrigerator and allow it to come to room temperature before shaping.
Freezing
For longer storage, the dough can be frozen.
After kneading, divide it into two equal portions.
Flatten each into a small circle, then place the portions into separate, lightly oiled freezer bags.
The dough will keep well for up to 2 weeks.
To use, transfer the frozen dough to the refrigerator to thaw, then let it rest at room temperature before rolling it out.
These storage options make it easy to plan ahead and keep homemade pizza within reach on busy days.
5 Easy Steps to Shaping and Preparing Pizza Dough
Once the dough has rested and is ready to use, the next step is shaping it into a crust that bakes evenly and holds your toppings well.
Step 1: Bring the Dough to Room Temperature
Remove the dough from the refrigerator and allow it to sit at room temperature.
Cold dough is firm and resistant, but as it warms, it becomes pliable and easy to stretch.
This step makes rolling smoother and helps the crust bake evenly.
Step 2: Preheat the Oven
Set your oven to 400°F (200°C).
Preheating ensures that when the dough goes in, it begins cooking immediately, creating good oven spring and a well-browned crust.
If you’re using a pizza stone, place it in the oven during preheating so it heats thoroughly.
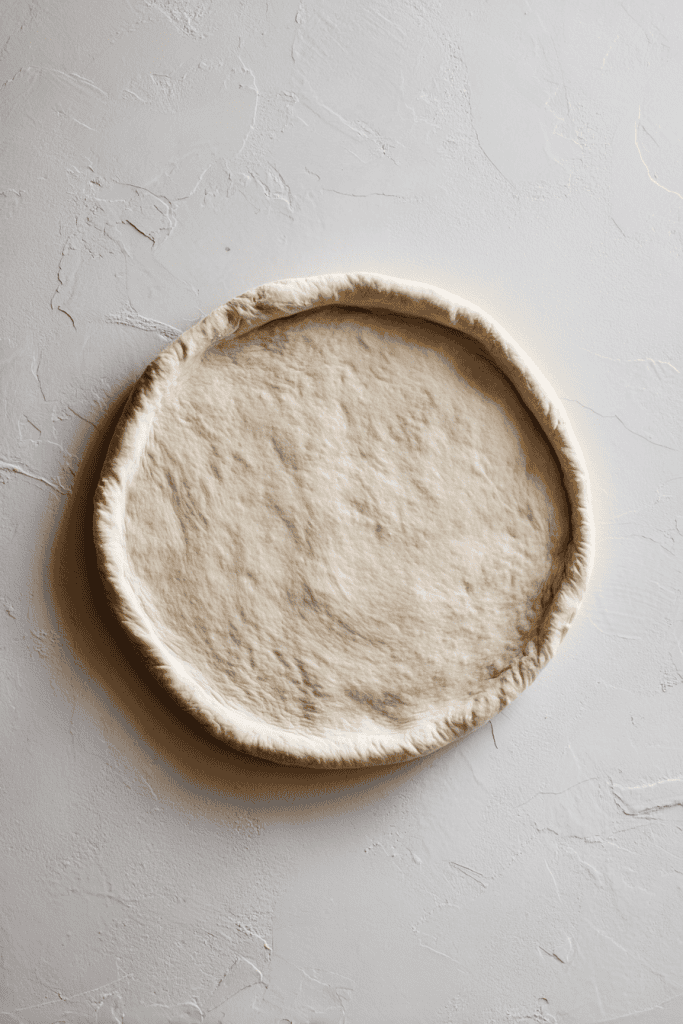
Step 3: Divide and Roll
Split the dough into two equal portions.
Each will form a 12-inch (30 cm) circle, enough for one pizza.
Roll out the dough on a lightly floured surface, working from the center outward.
The goal is even thickness, so the crust bakes consistently and supports toppings without sagging.
Step 4: Prepare the Pans or Stone
If using pizza pans, dust them lightly with cornmeal before placing the dough on top.
Cornmeal prevents sticking and adds a subtle crunch to the baked crust.
If you prefer a pizza stone, keep the dough on a cornmeal-dusted peel or flat baking sheet until ready to transfer.
Step 5: Add a Finishing Touch
Brush the surface lightly with olive oil, if desired.
This simple step helps the crust brown beautifully and adds a gentle richness that complements any toppings.
Then, top the dough as you like, keeping in mind that less is often more when it comes to pizza.
For a simple, fresh topping option, this quick basil pesto recipe pairs especially well with freshly milled pizza crust.
Baking the Pizza
The baking step determines the final texture of your crust.
Whether you choose a pizza pan or a pizza stone, the method is straightforward and delivers a crust that is golden, crisp, and ready to hold your favorite toppings.
Baking on Pizza Pans
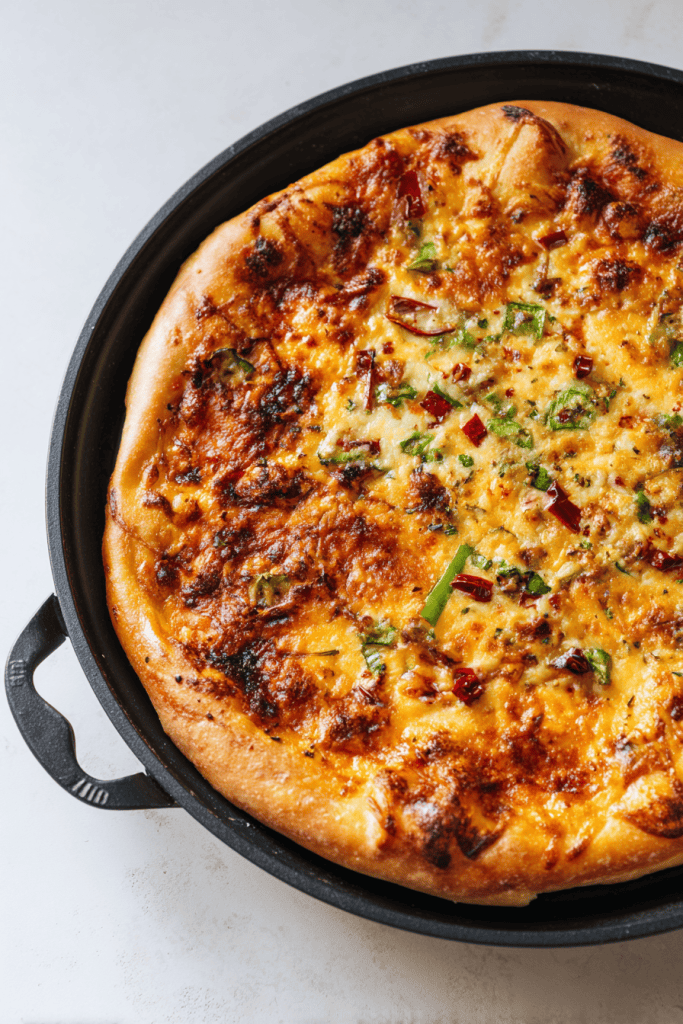
Place the topped dough onto prepared pans and slide them into the preheated oven.
Bake at 400°F (200°C) for 15 to 20 minutes, until the crust is lightly browned and the toppings are bubbling.
The pan offers consistent results and is simple to handle, making it a dependable choice for weeknight dinners.
Baking on a Pizza Stone
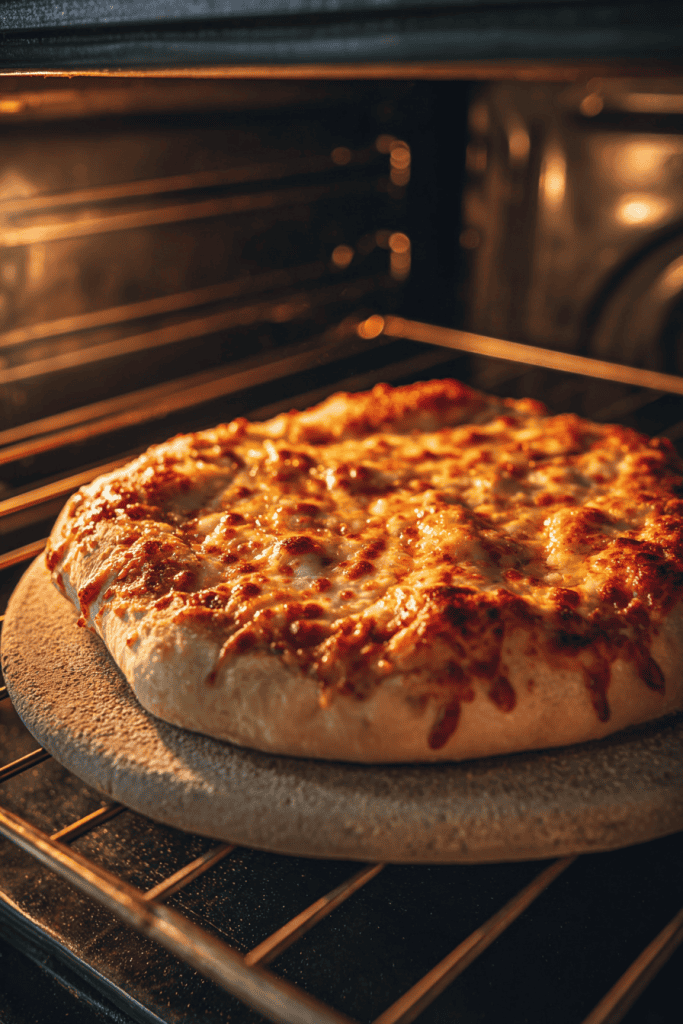
If using a stone, ensure it has preheated fully with the oven.
Carefully transfer the topped pizza from the peel or baking sheet onto the hot surface.
Bake at 400°F (200°C) for 10 to 15 minutes, until the crust is crisp and the cheese is melted and golden.
The stone absorbs and radiates heat evenly, creating a slightly more rustic finish with a firmer bite.
Both approaches work beautifully. Choose the one that fits your kitchen rhythm and equipment.
If you enjoy baking with freshly milled grains, perfectly sweet cinnamon rolls made with fresh milled flour are another rewarding recipe to try next.
Practical Notes for Success
Even with a simple recipe, a few guiding details can make the process smoother and the results more reliable.
These notes highlight what matters most when working with freshly milled pizza dough.
- Resting builds flavor: While the dough can be used right after kneading, giving it a full day in the refrigerator develops a richer taste and a crust that handles with ease.
- Freshly milled flour absorbs differently: Depending on the grain and grind, you may find the dough slightly softer or firmer. Trust the feel – aim for a smooth, elastic dough that is easy to stretch.
- Cornmeal adds both function and flavor: Dusting your pans or peel with cornmeal prevents sticking and contributes a gentle crunch to the bottom of the crust.
- Equipment gives options: A pizza pan offers convenience and consistency, while a stone creates an extra crisp finish. Both produce excellent results, so use what suits your kitchen.
- Plan ahead with storage: Refrigerating or freezing dough portions ensures you always have a wholesome base ready, making pizza night more relaxed and adaptable.
These small practices ensure that each pizza you make feels rewarding.
Bring Freshly Milled Flour Into Your Pizza Night
With just a few purposeful steps, this recipe gives you a crust that is flavorful, flexible, and reliable every time.
Freshly milled flour adds depth and balance without extra effort, turning an everyday meal into something nourishing and memorable.
By planning ahead with refrigeration or freezing, you make pizza night simple to prepare, even on a busy schedule.
Ttry this freshly milled pizza dough and see how it fits into your kitchen rhythm.
Once you’ve baked it, come back and share your experience!
Leave a comment below with your favorite toppings, your choice of grain, or any tips you discovered along the way.
FAQs
1. Can I use whole wheat flour from the store if I don’t have a mill?
Yes, you can substitute store-bought whole wheat flour. Freshly milled flour gives more flavor and nutrition, but the method works with either.
2. Which grain is better – hard white wheat or Kamut?
Both perform well. Hard white wheat is mild and versatile, while Kamut has a richer, buttery flavor. Choose based on your preference.
3. Do I need a stand mixer, or can I knead by hand?
This dough can be made entirely by hand. A stand mixer is convenient, but 5 minutes of steady kneading by hand is all that’s needed.
4. How thin should I roll the dough?
Roll into a 12-inch circle for each portion. The thickness will be even and moderate, supporting toppings without being heavy.
5. Can I par-bake the crust before adding toppings?
Yes, you can bake the shaped dough for 5–7 minutes before topping if you prefer a firmer base. This is helpful when using heavier or wetter toppings.
