Most flour on grocery shelves has been sitting for months – sometimes longer. Over time, it loses its natural nutrients and flavor.
That’s a big reason why store-bought bread or processed baked goods often leave you feeling bloated, tired, or just unsatisfied.
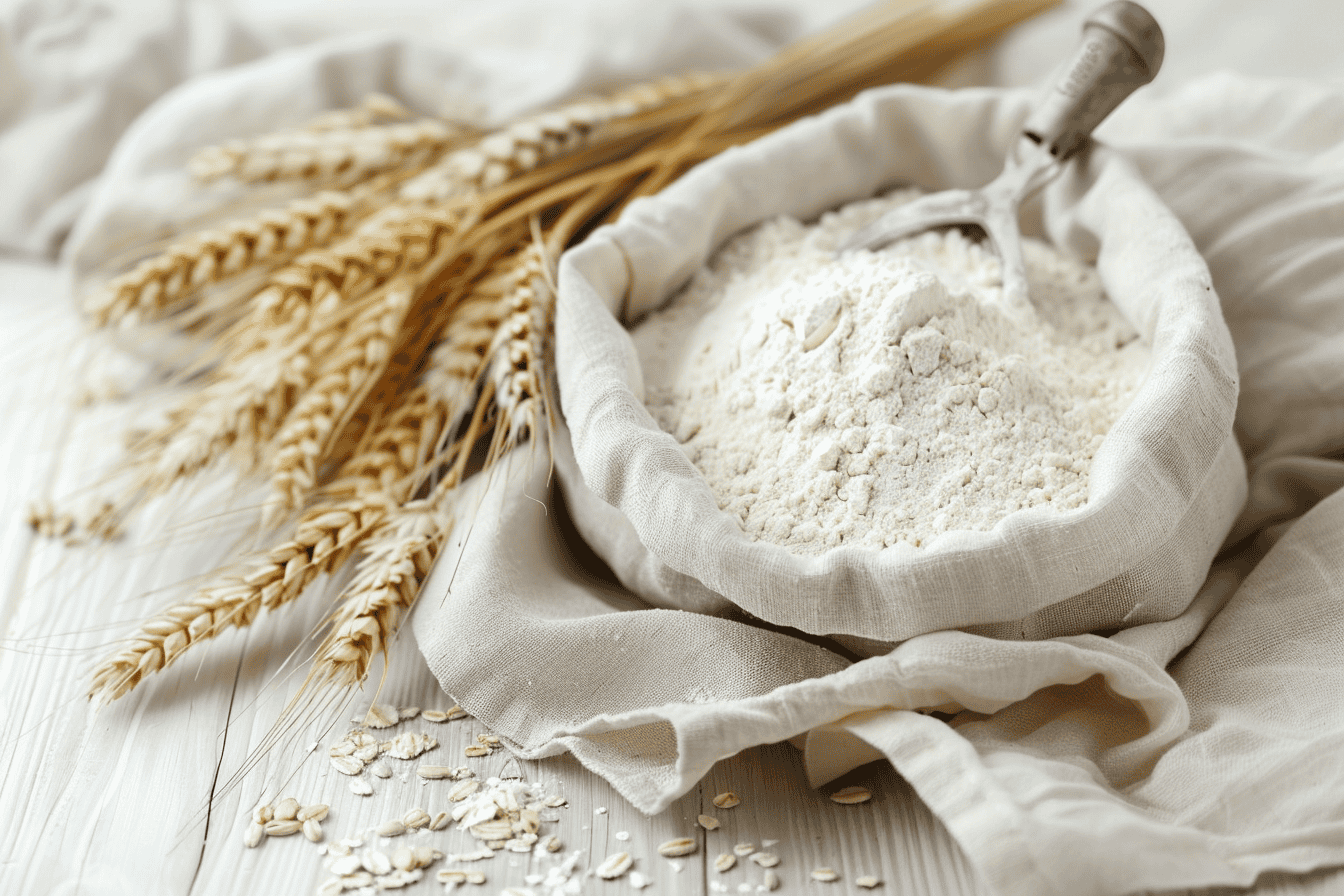
Freshly milled flour is different. It’s full of flavor and nutrients.
It keeps you fuller longer, supports better digestion, and gives your body what it actually needs.
Whole grains are nutritional powerhouses – but to get the full benefit, you need to grind them fresh.
If you’re curious about making the switch, here’s what to know before you get started.
Why Freshly Milled Flour?
When you mill flour at home, you get the entire grain – nothing stripped away, nothing lost.
That means you retain the B vitamins, healthy oils, fiber, and all the natural compounds your body can actually use.
If you’re curious about the nutrition side of things, I dive deeper into it in my guide on the big benefits of freshly milled flour.
Most store-bought flour has been refined, bleached, and “enriched” with a few synthetic nutrients to make up for what’s been taken out. It’s not the same.
People often say that fresh flour simply feels better in their body – less bloating, steadier energy, fewer sugar crashes.
And it doesn’t come with preservatives, anti-caking agents, or bleaching chemicals.
And the flavor is a big difference. Bread made with fresh flour has a nutty, complex flavor that’s almost impossible to replicate with store-bought flour.
Even basic pancakes or muffins feel more satisfying and nourishing.
Picking the Right Flour Mill
Buying your own flour mill can be a smart move if you plan to actually use it.
It can save you money over time, help you eat healthier, and make your food taste better. But before you buy one, ask yourself:
Do I have the time and energy to grind my own flour regularly?
Most home mills today are simple to use. But picking the right one depends on the type of grains you’ll grind and how often you’ll use it.
Instead of stressing over every little feature, just focus on three things:
- Is it manual or electric?
- What kind of grinding parts does it use? (stone, metal, or blades)
- Does it give you the flour texture you want? (fine or coarse)
Once you’ve figured out what you need, you can choose the one that fits your budget and kitchen space.
Manual Flour Mills
People have been grinding grain by hand for thousands of years, and it definitely still works but it takes effort.
A hand-crank flour mill is great if you enjoy old-fashioned, hands-on work or want to teach your kids how things were done before screens took over.
That said, it does take time and muscle.
Milling by hand isn’t something most people will want to do every day, especially if you’re juggling a busy home life.
It’s slow, and your arms will definitely feel the workout.
Manual mills shine when you’re off-grid, prepping for emergencies, or just want a non-electric backup.
But if you’re planning to bake with freshly milled flour often, the effort can add up fast.
And don’t assume they’re always cheaper – some high-quality manual mills can cost just as much as electric ones.
It all depends on the brand, size, and materials used.
Electric Flour Mills
If you’re after speed and convenience, electric mills are the way to go.
Just pour in the grain, press a button, and in a few minutes – voilà – you’ve got fresh flour, ready for baking.
These are perfect for busy households, especially if you bake regularly and don’t want to spend time cranking by hand.
Electric mills are fast, simple to use, and surprisingly compact.
Many models are easy to clean and small enough to live on your countertop or store in a cabinet.
Most range from $200 to $1,000, depending on the brand, motor strength, and any extra features.
If freshly milled flour is going to be a regular thing in your kitchen, an electric mill can save you loads of time (and arm strength).
Convertible Flour Mills (Manual + Electric)
Some grain mills give you the flexibility to mill by hand or plug in and let a motor do the work.
These are often called convertible (or hybrid) mills. If that versatility appeals to you, be sure the mill performs well in both modes. Some do. Some do not.
Best-in-class convertibles usually start as manual mills with the option to add power later. Depending on the model, you may be able to attach:
- A bolt-on motor kit
- A handheld power drill
- A pulley and belt system (yes, even an exercise bike setup if you want to get creative)
Be cautious with electric-first designs that claim a manual backup. In many cases, the hand-crank function is awkward, underpowered, or so slow that you will not want to use it unless you absolutely must. If switching between powered and manual use is important to you, check reviews or demos and confirm that both modes run smoothly before you buy.
Good fit if: you want everyday electric convenience with true off-grid capability for emergencies, camping, or resilience-minded living.
Grinding Types
Flour mills use different methods to grind grain, and there are two main types you’ll find in home mills: burr mills and micronizing mills (also called impact mills).
Burr Mills
Burr mills work by using two plates with rough surfaces (called burrs). One of the plates stays still, while the other spins.
As the grain falls between the plates, it gets crushed and ground up by the pressure and rubbing motion.
These burrs can be made of stone or metal.
- Stone burrs are made from a mix of natural and man-made stone pieces held together with cement.
- Metal burrs are usually made from strong cast steel and can be either flat or cone-shaped.
Stone burrs tend to crush the grain more gently, while metal burrs cut and break the grain apart more sharply.
Even if you set a burr mill to make the flour as fine as possible, the texture usually won’t be as soft or powdery as what you’d get from a micronizing mill.
Micronizing Mills
Micronizing mills, on the other hand, use high-speed spinning to basically explode the grains into powder.
These produce super-fine flour fast, perfect for soft sandwich loaves or fluffy cakes.
They tend to be louder than burr mills, but they’re efficient and sleek.
Here is a quick breakdown:
| Type | Best For | Pros | Cons |
|---|---|---|---|
| Burr Mill | Coarse to fine flour, cool grind | Quiet, preserves nutrients, flexible grind | Slower, more expensive |
| Micronizing | Fine flour quickly | Fast, efficient, great for soft flour | Loud, less grind variety |
Choosing the Right Wheat
Once you start milling your own flour, one of the first big questions is: what kind of wheat should I use?
There are quite a few options, and each one affects how your flour behaves – and how your baked goods turn out.
Hard Wheat vs. Soft Wheat
This mainly comes down to protein content.
- Hard wheat has more protein, which gives your flour the strength to rise well and hold its shape. It’s best for yeast breads – think sandwich loaves, buns, pizza crusts, and dinner rolls.
- Soft wheat has less protein, so it makes a more tender flour. This is great for pancakes, muffins, cookies, biscuits, or cakes – anything you want to be soft and fluffy.
Beginner tip: If you’re just starting out and planning to bake bread, stick with hard wheat. Save the soft wheat for later when you’re ready to branch out.
Once you start baking more often, you might enjoy experimenting with recipes like my golden glazed donuts recipe, which turns out wonderfully soft with freshly milled soft wheat.
Winter Wheat vs. Spring Wheat
This mostly comes down to when the wheat is planted and harvested – but it does change the grain a bit too.
- Winter wheat is planted in the fall and harvested in early summer. It tends to have a little less protein, which makes the flour slightly softer and easier to use for general baking.
- Spring wheat is planted in the spring and harvested later in the summer. It usually has more protein, which makes it ideal for chewy, high-rise breads.
Honestly, both are great options. If you see “hard winter wheat” or “hard spring wheat,” either one will work well for bread.
You can try both over time and see what suits your style best.
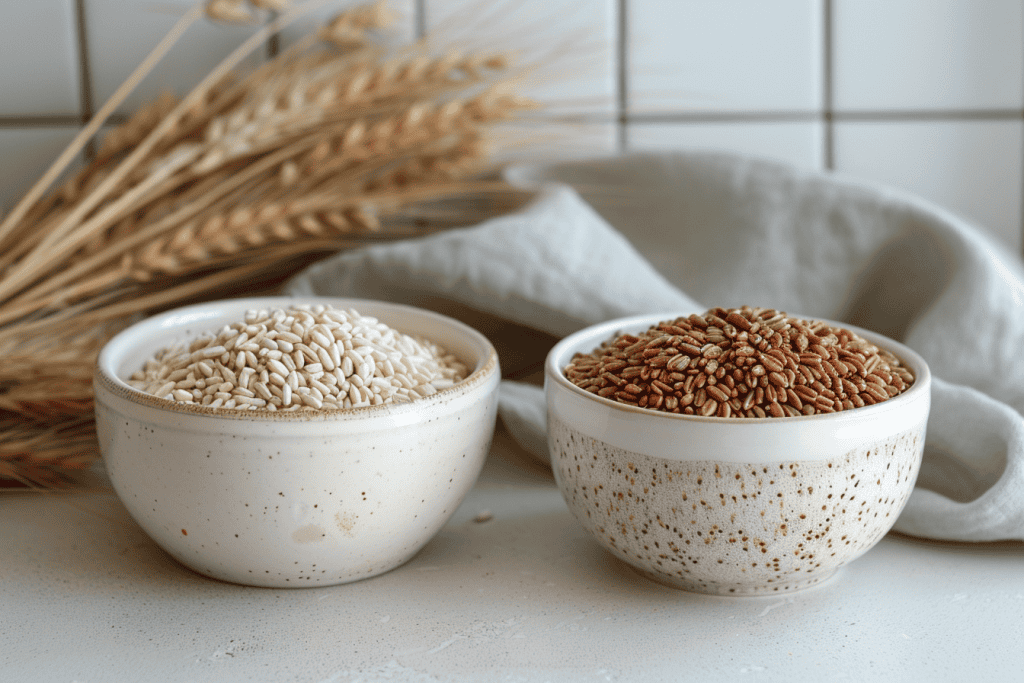
Red Wheat vs. White Wheat
This part is all about taste and appearance.
- Red wheat has a stronger, nuttier flavor. It makes a darker flour and gives your baked goods a rich, hearty taste. Some people love it for rustic loaves and whole grain flavor.
- White wheat has a lighter taste and a paler color. It still has all the same nutrition as red wheat (if you mill the whole grain), but it tastes milder and a little sweeter. This makes it a great choice for beginners or for families who are used to store-bought bread.
What’s the Best Wheat for Beginners?
If you’re just starting out with home milling and want to bake bread, here’s what I recommend:
Start with hard red wheat or hard white wheat. These are both great for making yeast breads.
- Hard red wheat gives you bold flavor and a deep color.
- Hard white wheat is softer in flavor and bakes up lighter.
You can always try other types later, but either of these will give you a good first experience with freshly milled flour.
Pick one and start experimenting and don’t be afraid to try small batches until you get the feel of it.
How to Mill Flour at Home
If you’ve chosen your wheat and have a flour mill ready, the next step is turning those wheat berries into flour.
This part is very simple once you see how it works.
Here’s a detailed guide to help you through the process.
Step 1: Measure Your Wheat Berries
Start by measuring how much wheat berries you want to grind.
Usually, one cup of wheat berries makes about one and a half cups of flour.
So, if you need three cups of flour for a recipe, measure about two cups of wheat berries.
It’s best not to mill too much at once.
Freshly ground flour tastes best and keeps its nutrients when you use it within a few days. So, just grind what you plan to use soon.
If you’re planning to bake regularly, I also recommend learning how to convert any recipe to freshly milled flour so you can adapt your favorite recipes without guesswork.
Step 2: Prepare Your Flour Mill
Every flour mill works a little differently, but most have three main parts: a place to pour the wheat berries in, the grinding part, and a spot where the flour comes out.
Before you start, check if your mill lets you change how fine or coarse the flour will be.
For most baking, you’ll want a fine flour. Look for a knob or dial to adjust this setting, and set it before you start milling.
Make sure your mill is clean and dry. If it’s new, it might help to read the instructions that come with it.
Step 3: Pour Wheat Berries into the Mill and Start Grinding
If you have an electric mill, plug it in and turn it on. Slowly pour the wheat berries into the top opening.
The machine will do the hard work of grinding the grain into flour.
If you have a hand-crank mill, pour the wheat berries in and start turning the handle.
It takes a bit of effort, so take your time and rest if you need to.
Grinding by hand is a good way to connect with traditional methods, but it does require more energy.
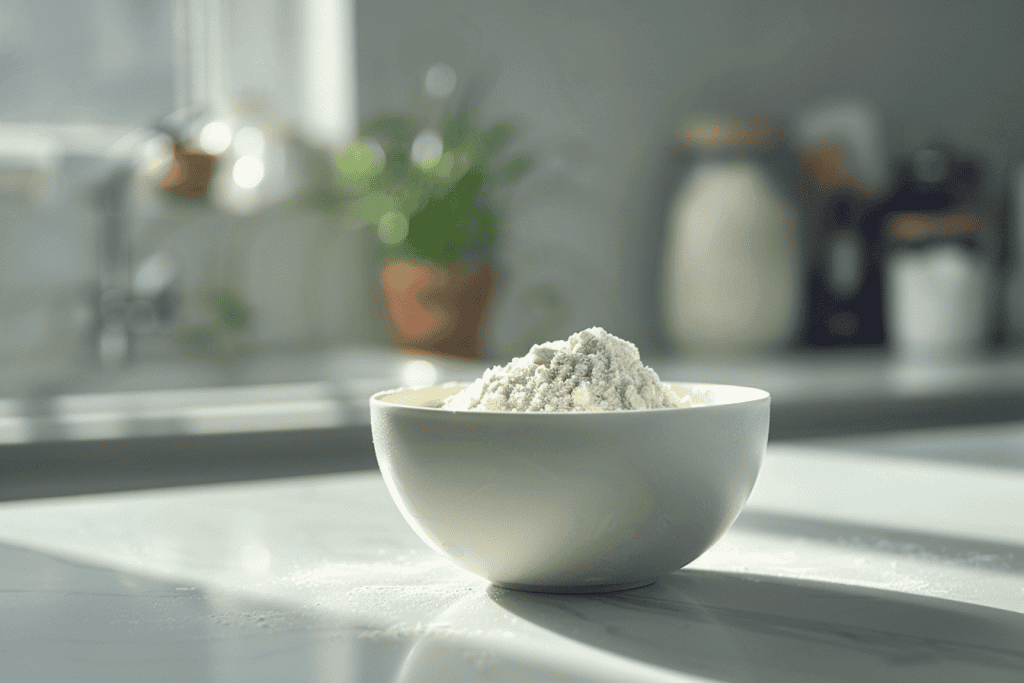
Step 4: Collect the Freshly Milled Flour
As the mill grinds, flour will come out into a container or bowl below.
Let it finish completely before turning off the mill or stopping the crank.
Some flour may still come out a few seconds after the last berry is poured in.
Your freshly milled flour might feel warm.
This is normal because the grinding process creates heat. Let the flour cool down before using it or storing it.
Step 5: Clean Your Mill After Milling
Once you’re done, clean out any leftover flour inside the mill.
Use a soft brush or dry cloth to wipe out the grinding parts. If your mill has removable pieces, take them off and clean them carefully.
Avoid using water unless your mill’s instructions say it’s okay.
Flour and water can turn into a sticky paste that’s hard to clean, and some parts might rust if they get wet.
So cleaning the mill regularly keeps it working well and helps your flour stay fresh.
How to Properly Store Freshly Milled Flour

Freshly milled flour is different from store-bought flour because it still has the natural oils from the whole grain.
These oils are great for flavor and nutrition, but they also cause the flour to spoil faster if it’s not stored right.
Here’s what you really need to know to keep your fresh flour good for as long as possible.
1. Use a container that seals tightly.
Don’t just leave your flour in the bag it came in, especially if it’s a paper or thin plastic bag.
Instead, put your flour in a container with a lid that snaps or screws on tightly.
This keeps air, moisture, and bugs out. A big glass jar, a plastic food storage container, or a thick freezer bag with a zipper all work well.
2. Store flour in a cool place away from heat.
The oils in fresh flour start to go bad faster when they get warm.
So keep your flour in the coolest spot in your kitchen – not on top of the fridge or near the stove.
If your kitchen heats up during the day, it’s better to keep the flour in the fridge or freezer.
3. Don’t keep freshly milled flour at room temperature for too long.
If you plan to use the flour in the next 2-3 days, storing it at room temperature in an airtight container is fine.
But after that, the oils will start to turn and your flour can develop a stale or sour smell.
4. For storage longer than a few days, use the fridge or freezer.
Put your flour in a sealed container or thick freezer bag and store it in the fridge or freezer.
This keeps the flour fresh for weeks or even months.
When you take it out, let it sit at room temperature before using so it doesn’t clump up from condensation.
5. Label everything clearly.
Write the date you milled the flour and the type of grain on the container. This helps you keep track so you don’t accidentally use old flour.
6. Keep moisture far away.
Moisture is the biggest enemy of flour.
Don’t store your flour near the sink, dishwasher, or any place where it could get damp. If flour gets wet, it can grow mold or go bad very quickly.
7. Don’t mix new flour with old.
Each batch of freshly milled flour is at a different freshness level.
Avoid mixing new flour with older flour in the same container – this shortens the shelf life of the fresh flour.
Baking With Freshly Milled Flour (What You’ll Notice Right Away)

Fresh flour doesn’t act exactly like the white flour you buy at the store.
It’s fuller, richer, and still has all the natural parts of the grain (like the bran and germ). So don’t be surprised if things feel a little different at first – that’s totally normal.
Here’s what to expect (and how to work with it):
Fresh flour soaks up more liquid
Your dough or batter might seem dry or stiff. That’s because the bran and germ in fresh flour soak up more water than regular white flour.
If your mix feels crumbly or hard to stir, don’t panic.
Add a little extra water, milk, or oil (just a tablespoon at a time) until the texture feels right.
For bread dough, give it a few minutes to rest before adding more liquid. It often softens up on its own.
Bread might not rise as high
Those tiny bits of bran can slice through gluten strands, which help trap air and create a high, fluffy loaf.
So fresh flour breads might come out a little shorter or denser. That’s not a fail – it’s just different. The flavor and texture are worth it.
One of my favorite ways to enjoy fresh flour is baking soft, chewy breads like my ultimate homemade bagel recipe or fluffy treats like my perfectly sweet cinnamon rolls recipe.
Let the dough rest after mixing
Give the flour 20 to 30 minutes to soak up the liquid before kneading or shaping.
This step (called autolyse) makes the dough smoother and easier to work with. It’s simple but makes a big difference.
It smells like real food, not cardboard
Freshly milled flour has a deep, rich smell. Wheat smells a little sweet and nutty.
Rye has a sharper, grassy smell. Spelt is more mild, and einkorn smells buttery.
Once you start using fresh flour, your kitchen will smell like an old-fashioned bakery every time you bake.
Yeast doughs rise slower
Fresh flour takes its time. The bran and natural oils can slow things down, so if your dough still looks flat after an hour – just wait longer.
If your kitchen’s chilly, try putting the bowl on top of the fridge or near the oven.
A little sugar or honey can also help give the yeast a boost.
If you enjoy sourdough baking, freshly milled flour works beautifully there too. I walk through the full process in my guide on how to make a sourdough starter with freshly milled flour.
Use it fresh
Fresh flour is at its best in the first 24 hours after milling. But if you mill more than you need, don’t toss it.
Store the extra in an airtight container in the fridge or freezer.
The natural oils can spoil at room temp, so keep it cool until you’re ready to bake again.
Ready to Begin?
Using fresh flour at home is easy! All you really need is some wheat berries, a grain mill, and a little time to try things out.
Start small. Try milling just enough for one recipe. Pick something simple like pancakes or muffins.
Notice how the dough feels a little different. That’s okay. The more you bake, the more you’ll get the hang of it.
Fresh flour gives better taste and more nutrients. And once you get used to it, you might not want to go back to store-bought.
Just take it one step at a time. Keep it simple, keep it homemade, and enjoy learning as you go.
FAQs
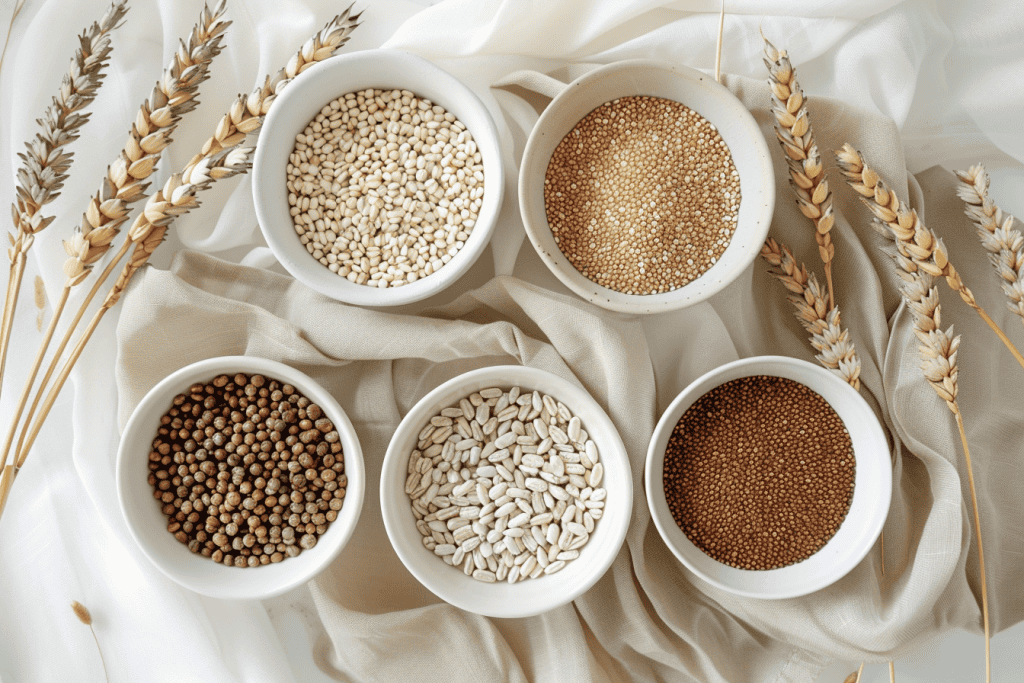
Can you mill grains other than wheat in a home flour mill?
Yes, most home flour mills can grind a variety of grains besides wheat. Popular options include rye, spelt, einkorn, barley, and oats. Each grain produces flour with a different flavor and texture, which can add variety to your baking. Just check your mill’s instructions first, because some mills are not designed to handle oily seeds or very hard grains.
Do you need to sift freshly milled flour?
You usually don’t need to sift freshly milled flour, since the bran and germ are part of the whole grain and contain valuable nutrients. However, some bakers like to sift out a portion of the bran for lighter breads or pastries. If you do sift, you can save the bran and add it to oatmeal, muffins, or smoothies so nothing goes to waste.
Can freshly milled flour replace all-purpose flour in recipes?
Yes, but recipes sometimes need small adjustments. Freshly milled flour absorbs more liquid because it still contains the bran and germ. You may need to add a little more water or milk and allow the dough or batter to rest for a few minutes so the flour can fully hydrate.
How long do wheat berries last in storage?
Wheat berries store much longer than flour because their natural oils are protected inside the grain. When kept in a cool, dry place in airtight containers, wheat berries can stay fresh for 10 to 20 years. This long shelf life is one reason many people prefer storing whole grains and milling flour only when they need it.
Does freshly milled flour change baking times?
Sometimes it does. Baked goods made with fresh flour can brown faster because the grain still contains natural oils and sugars. It’s a good idea to start checking your bread, muffins, or cookies a few minutes earlier than the recipe suggests until you learn how your oven and flour behave together.
