
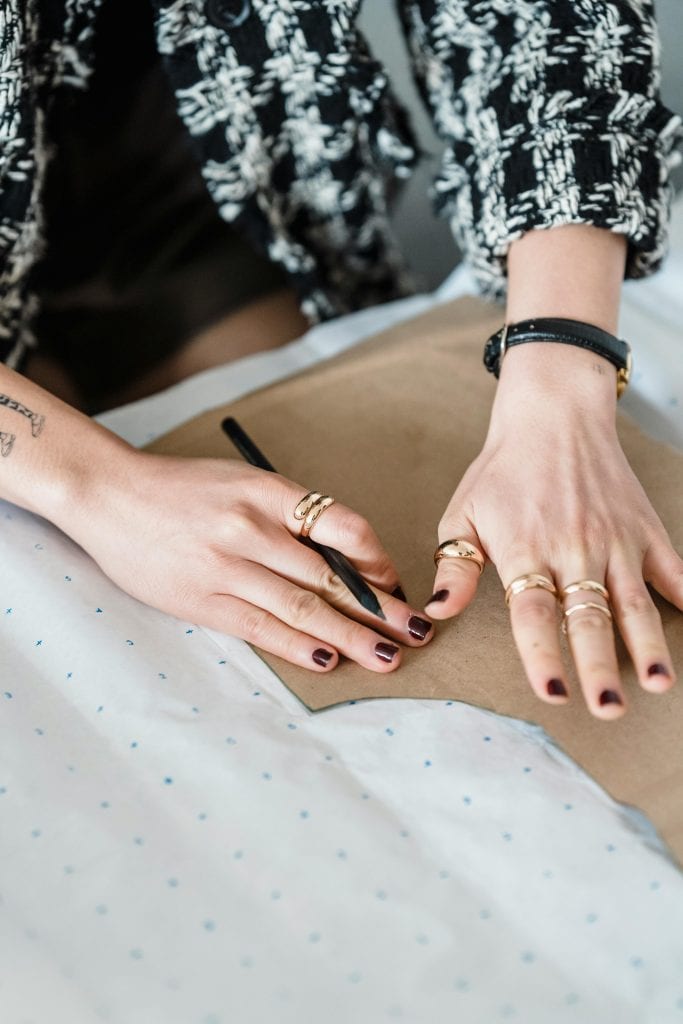
A sewing pattern is a map that guides your fabric into form.
But what gives that map its precision and polish are the quiet details you add at the very end: seam and hem allowances.
These small margins create space for every stitch, turning raw edges into clean joins and smooth finishes.
Whether you’re shaping a linen blouse, hemming a cotton dress, or piecing together your first handmade skirt, understanding these allowances is what transforms a project from almost right to beautifully finished.
When your seams align neatly and your hems drape just as they should, you’ll see the difference – not just in how your garment looks, but in how confidently you sew.
In this article, I’ll cover everything you need to know about seam and hem allowances – from clear definitions to easy reference charts and practical techniques that help your patterns fit perfectly every time.
What Are Seam and Hem Allowances (and Why They Matter in Sewing Patterns)
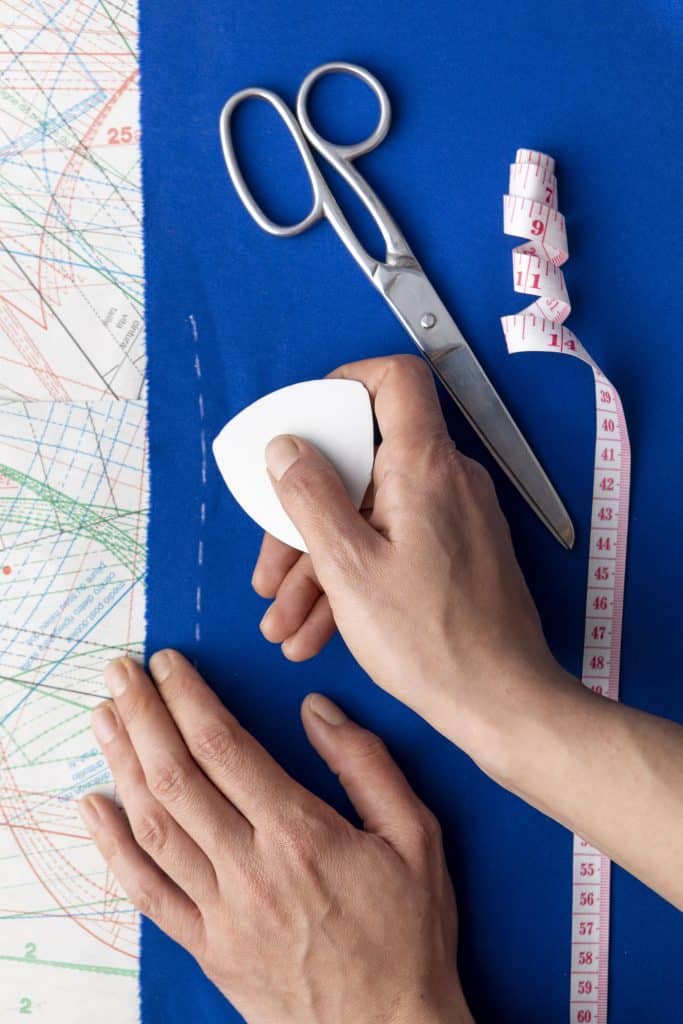
In sewing, allowances are the measured spaces added beyond your pattern’s stitching or fold lines.
They are the working edges that give you room to sew, turn, and finish your fabric neatly.
Seam Allowance

A seam allowance is the distance between your stitching line and the raw edge of the fabric.
It gives you enough material to join two pieces securely without fraying or pulling.
- Most commercial patterns use a 1 cm (3/8″) seam allowance for plain seams unless otherwise stated.
- Some seams – like French seams or flat-felled seams – require a wider allowance, usually 1.5 cm (5/8″), because the fabric folds over itself during construction.
- When cutting fabric, this allowance ensures accuracy. It’s where your seam line will sit, not where you cut.
In short, the seam allowance is your stitching margin – it creates structure, strength, and a clean inside finish.
(If you want deeper background on techniques like this, there are many excellent practical sewing books that go beyond the basics and really build confidence with hands-on explanations and illustrations.)
Hem Allowance
A hem allowance is the extra fabric turned under at the edge of a garment to form a finished border.
It’s what keeps your fabric from fraying and gives your piece a crisp, intentional edge.
- Common hems, like a double fold hem, use about 1.5 cm (5/8″).
- Narrow or rolled hems can use as little as 0.6 cm (¼”), ideal for light fabrics or curved edges.
- Heavier materials may need a wider hem, such as 2 cm (¾”) or more, to lie smoothly.
Hem allowances vary with fabric weight, drape, and design – but their goal is always the same: to protect edges and make the garment hang neatly.
The golden rule of sewing pattern design: Add seam and hem allowances after all design decisions and adjustments are complete. Once you’ve added them, don’t change or add design features on top of them. This ensures your stitching lines and final fit remain consistent across every piece.
Seam Allowance Chart: Choose the Right Allowance for Every Seam Type
Each type of seam works a little differently.
The amount of allowance you add depends on how that seam is constructed and what kind of fabric you’re using. A fine silk blouse, for instance, needs a different approach than a pair of denim jeans.
(If you’re new to this topic, you might want to start with what a seam allowance is and why it’s important before diving into the chart below.)
The chart below lists the most common seam types, their standard allowance measurements, and when to use each one.
| Seam Type | Seam Allowance Required | Usage Notes |
| Plain Seam | 1 cm (3/8″) | The most common seam. Pressed open or toward the back of the garment. Works for nearly all woven fabrics. |
| French Seam | 1.5 cm (5/8″) | Ideal for lightweight fabrics that fray easily, such as silk, voile, or lawn. Produces a clean enclosed finish. |
| Double-Stitched Seam | 1 cm (3/8″) | Great for knit fabrics to prevent stretching or rolling. Also used on wovens for added strength. |
| Flat-Felled Seam | 1.5 cm (5/8″) | A sturdy seam traditionally used in jeans and workwear. Both raw edges are enclosed for durability. |
| Bound Seam | 1.5 cm (5/8″) | Best for coats or jackets without a lining. Uses bias binding to finish raw edges neatly. |
How to Use This Chart
- Match the seam to your fabric and project type. Choose lighter seams for delicate materials and enclosed or reinforced seams for heavy or high-stress garments.
- Add the correct allowance during pattern drafting. Mark it clearly on each edge using a ruler – consistency matters more than memorizing numbers.
- Test first. Before cutting into your main fabric, sew a sample seam on a scrap to confirm the allowance and finish work as expected.
A correct seam allowance does more than hold a garment together – it keeps it balanced, strong, and comfortable to wear.
With practice, you’ll start to see seam choice as part of your design language: quiet craftsmanship that shows in every finished edge.
If you are interested in creating your own patterns from garments you already love, this skill pairs beautifully with how to draft a pattern from the clothes you love.
Hem Allowance Guide: How to Create Clean, Professional Finishes

A hem allowance is the extra fabric turned under at the edge of a garment to finish it cleanly and prevent fraying.
The type and depth of hem you choose will depend on your fabric, garment design, and the look you want to achieve.
The goal is a smooth edge that sits flat, looks neat, and supports the overall drape of your piece.
Below is a reference chart outlining the most common hem types, how much allowance to include, and when to use each one.
| Hem Type | Hem Allowance Required | Usage Notes |
| Double Fold Hem | 1.5 cm (5/8″) | The most common finish. Folds twice to hide raw edges and prevent fraying. Works well on most woven fabrics. |
| Narrow Rolled Hem | 0.6 cm (¼”) | Perfect for lightweight or delicate fabrics such as silk or chiffon. Ideal for curved edges and fine finishes. |
| Blind Hem | 2 cm or more (¾”–1½”) | A nearly invisible hem used on trousers, skirts, and curtains. Best on medium-weight woven fabrics. |
| Zigzag or Overlocked Hem | 1.5 cm (5/8″) | A single-fold hem that uses zigzag or serged edges to reduce bulk. Excellent for casual garments. |
| Knit Hem | 1.5 cm (5/8″) | Made with a narrow zigzag or stretch stitch to let the fabric move freely without breaking threads. |
How to Choose the Right Hem
- Match your hem type to the fabric weight. Light fabrics do best with narrow or rolled hems; heavier fabrics need deeper hems for balance. (If you are unsure what your fabric is made from, a simple burn test for natural fabrics can help you identify it before choosing your hem.)
- Account for garment movement. Knits and curved edges stretch differently – give them enough room with flexible stitching or slightly wider allowances.
- Press as you go. A well-pressed hem sits flat and looks sharp, especially on structured garments.
- Personalize your finish. To add subtle flair, try a rolled lettuce hem on light fabrics – it gives a soft, wavy edge perfect for ruffles or children’s clothing.
When planned properly, a hem allowance is the quiet craftsmanship that makes your work look intentional, steady, and beautifully made.
Top Tips for Perfect Seam and Hem Allowances
Once you understand how seam and hem allowances work, consistency becomes the key.
These practices help you maintain accuracy and achieve clean, professional results every time you sew.
1. Add Seam and Hem Allowances Last
Always finalize your design, shaping, and fit adjustments before adding seam and hem allowances to your pattern.
This step ensures every measurement aligns correctly.
Once added, treat them as fixed – altering them later can shift your stitching lines and distort the fit.
2. Mark Allowances Clearly on Every Pattern Piece
Use a fine pen or chalk to mark allowance lines and notches with precision.
Guessing or eyeballing distances often leads to uneven seams.
A clear line gives your stitching direction and keeps both sides symmetrical.
3. Trim and Re-Add if Adjustments Are Needed
If you ever modify your pattern after adding allowances, trim them off first, make your adjustment, and then add them back in.
This maintains the integrity of your original seam lines and prevents compound errors.
4. Press as You Go
Pressing each seam and hem after sewing – before joining the next section – sets your stitches and shapes the fabric properly.
It’s the simplest way to achieve smooth, sharp finishes without puckering.
5. Keep a Reference Chart Handy
Store a small chart of your preferred seam and hem allowances near your sewing area.
Over time, you’ll develop personal standards for different projects – light blouses, structured coats, knits, or home linens.
Recording those measurements saves time and keeps your sewing consistent.
(If you want to keep track of which hem styles and allowances work best for different fabrics, this is a great place to start using a sewing journal.)
With these habits, your sewing process becomes more predictable and peaceful. Every line you draw and seam you press contributes to a garment that fits better, looks refined, and reflects skill through every detail.
How to Use Seams and Hems as Beautiful Design Features

Once you’ve mastered the technical side of seam and hem allowances, you can start treating them as part of your garment’s design language.
Seams and hems can be subtle statements of craftsmanship, adding texture, contrast, and polish to your handmade pieces.
1. Highlight Seams with Topstitching
A simple topstitch along your seam allowance can transform a plain seam into a clean, structured detail.
Use matching thread for a refined look or contrasting thread for a visible design accent.
This method works especially well on linen, denim, and cotton twill.
2. Try a Bound Seam for a Professional Interior
A bound seam uses bias binding to enclose raw edges.
It’s especially useful on jackets, unlined dresses, or skirts where the inside of the garment might be visible.
Choose a binding in a color or pattern that complements your fabric – it’s a quiet touch that signals skill.
3. Use Flat-Felled Seams for Strength and Style
This sturdy seam is most recognized from denim jeans, but it works beautifully on shirts, outerwear, and bags.
Both edges are folded and stitched down, creating a tidy double line of stitching that looks intentional inside and out.
4. Experiment with Decorative Hems
Not all hems need to disappear.
A visible blind hem, a rolled lettuce hem, or a faced hem can each add personality.
For example, a lettuce hem adds playful movement to knits or lightweight fabrics, while a faced hem creates a sleek, modern edge on structured skirts.
(Lace trims are another beautiful option for decorative hems, especially on skirts, sleeves, or children’s garments. If you want to explore this finish, see how to sew lace on fabric for step by step guidance.)
5. Finish Edges with Purpose
Your choice of seam or hem finish communicates the level of care behind your work.
Even when the details stay hidden inside the garment, they influence how it feels, drapes, and lasts.
Taking time to finish them intentionally shows quiet confidence and respect for your craft.
Every maker has a signature touch – sometimes it’s a neat flat-felled seam, sometimes it’s a bold line of topstitching. When you start to see seams and hems as opportunities for creativity, you move beyond just following a pattern – you start designing with intention.
Sew Better with Seam and Hem Confidence
Every polished garment begins with accuracy in the small things – measured seams, even hems, and a patient hand at the iron.
When you understand where to add allowance and how to use it with intention, your sewing becomes calmer and more predictable.
You’ll find your projects fitting better, your lines cleaner, and your results more consistent.
The more you practice, the more your work will look and feel beautifully professional.
What’s one seam or hem technique you’d like to get more confident with?
Share your thoughts or favorite tip in the comments below – I’d love to hear how you approach precision in your sewing practice.
FAQs
1. Do I always need to add a seam allowance to a commercial pattern?
Most commercial patterns already include seam and hem allowances. However, always check the pattern instructions. If they’re not included, you’ll need to add them manually before cutting your fabric.
2. What’s the best seam allowance for beginners to use?
A 1.5 cm (5/8″) seam allowance is the easiest to start with – it gives you enough room to sew comfortably and correct small inaccuracies without wasting fabric.
3. How can I adjust seam allowances for thick fabrics?
For bulky fabrics like denim or wool, increase your seam allowance slightly – by about 0.5 cm (¼”) – to allow for thicker folds and more stable seams. Use a longer stitch length to help the fabric feed smoothly.
4. Should I finish my seams before or after pressing?
Always press your seams first, then finish them (with zigzag, serging, or binding). Pressing sets the stitches and helps you finish edges neatly and evenly.
5. What’s the difference between trimming and grading a seam allowance?
Trimming means cutting the allowance narrower to reduce bulk.
Grading means cutting each layer of fabric in a seam to a slightly different width, so they taper smoothly. Grading is especially helpful in collars, facings, and lined garments for a flat, clean finish.
