When you have little ones in diapers, you quickly realize just how much those tiny cloth diaper inserts matter.
They’re what keep your baby dry, comfortable, and happy from one change to the next.
And while you can buy them, making your own cloth diaper inserts saves money, works better for kids, and lets you pick fabrics you trust.
I like to do things from scratch when it comes to what touches my kids’ skin so I make my own inserts to make cloth diapering fit our family’s routine.
If you’re juggling diapers, laundry, and everything else that comes with motherhood, making your own inserts can actually be a simple, doable way to take back a little control.
I’m here to show you how – step by step – with fabrics that work and tips that really make a difference.
What You’ll Need to Get Started

If you’ve sewn before, you probably have most of these supplies on hand. If not, don’t worry – this project works best when you keep it simple.
(And if you’re brand new to cloth diapering in general, you might want to read my cloth diapering for beginners guide first. It walks through the basics so everything makes more sense.)
Here’s what you’ll need:
- Sewing machine – Your regular machine works perfectly.
- Hemp-cotton fleece – Absorbent and soft, ideal for the inner layers.
- Microfleece (optional) – Great for a stay-dry top layer.
- Strong thread – You want something that will hold up to repeated washes.
- Scissors and measuring tape – Sharp scissors make a big difference, and a rotary cutter is even better if you have one.
- Serger (optional) – A serger can finish edges neatly and make them extra durable, but a regular sewing machine works just fine. No need to stress about perfection.
What Cloth Works Best
When it comes to diaper inserts, less is more.
I’ve tried a few fabrics, but I always come back to two that just work – easy to sew, soft on baby’s skin, and tough enough to handle endless washes.
Hemp Cotton Fleece
Hemp fleece is my go-to for absorbency and durability.
The blend of hemp and organic cotton makes it naturally absorbent, strong, and eco-friendly.
Even after dozens of washes, it still performs beautifully.
For heavy wetters or overnight use, hemp is a lifesaver – it soaks up a lot without adding bulk, keeping baby comfortable and dry.
(And if you’re trying to build your baby stash intentionally, my non-toxic and organic newborn essential checklist shares the materials I personally prioritize.)
Microfleece
Microfleece isn’t absorbent by itself, but it’s excellent at wicking moisture away from baby’s skin, letting the hemp underneath do the work.
I use it for a stay-dry feel during naps or nighttime. If you prefer to stick to all-natural fabrics, you can skip the microfleece and just use hemp.
Both options work – pick what feels right for your baby and your routine.
How to Create Your Cloth Diaper Inserts
This is how I make cloth diaper inserts at home. I made this as simple as possible – and these really do the job.
1. Determine Your Cloth Diaper Insert Sizes
One of the best things about making your own diaper inserts is that you can customize them to fit your baby’s needs exactly.
It’s not a one-size-fits-all deal, but rather something that grows with your baby.
- Newborn: 10 inches long by 4 inches wide. Soft, gentle, and enough absorbency for those tiny little tummies.
- Infant: 12 inches long by 5 inches wide. A good middle size that works for everyday use without being bulky.
- Toddler: 14 inches long by 5 inches wide. Extra absorbency for bigger kids who drink more and need longer-lasting coverage.
2. Wash and Dry Fabrics
Before cutting or sewing, wash and dry your fabrics.
Hemp cotton fleece and microfleece shrink differently, so pre-washing keeps your pieces the right size and flat, which makes sewing much easier.
It also softens the fabrics and removes any factory finishes, so your inserts feel gentle against your baby’s skin from the very first use.
Taking this small step now saves you frustration later and makes sure your finished inserts are comfy, reliable, and ready for all those diaper changes.
For washing long term, I stick with a strong, simple routine. If you’re dealing with mineral buildup or hard water, my non-toxic homemade laundry detergent for hard water post explains what’s worked best for me.
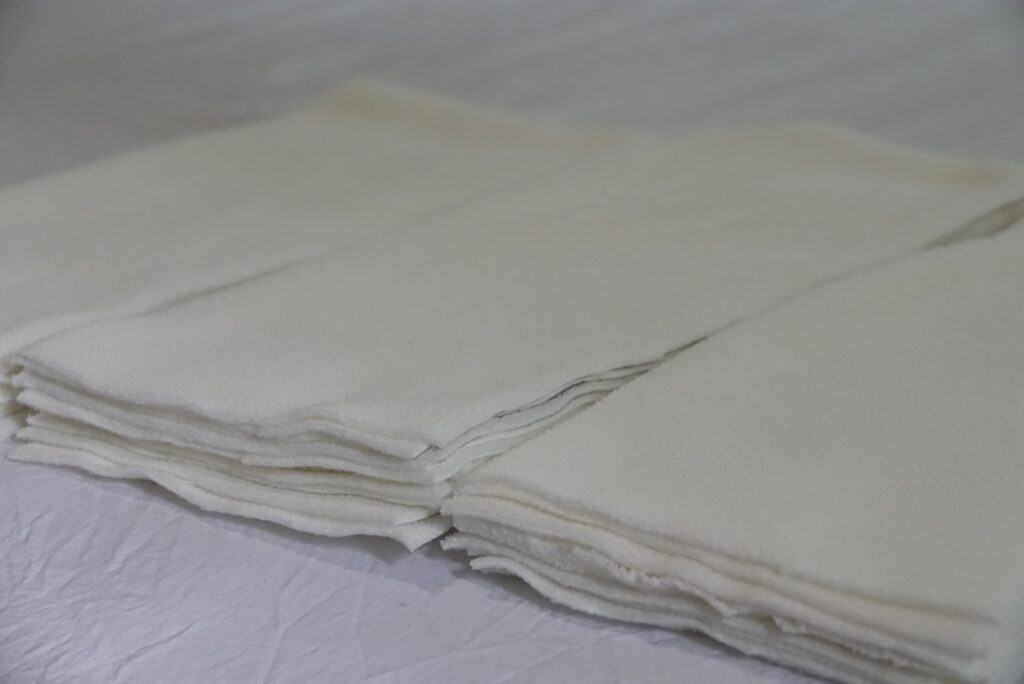
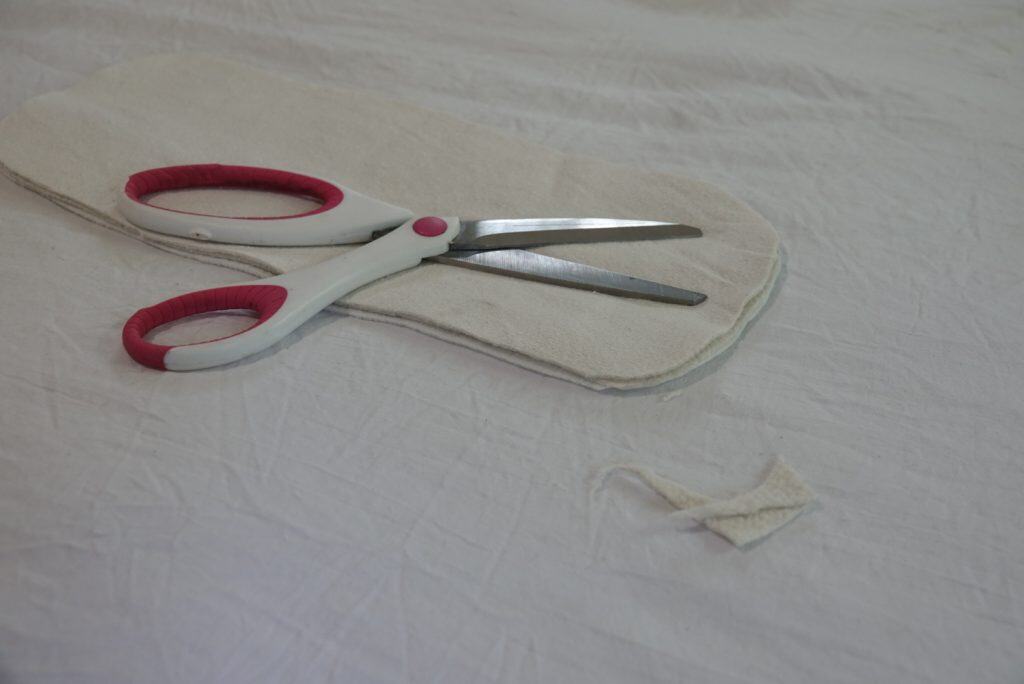
3. Cut Out the Fabric
Once your fabrics are washed and dry, lay them out flat and get ready to cut.
Again, for newborns, I usually cut each insert 10 inches long by 4 inches wide. For older infants, 12 inches by 5 inches works well, and for toddlers, go with 14 inches by 5 inches.
Each insert needs two pieces of hemp cotton fleece for absorbency and one piece of microfleece for the stay-dry layer.
I like to fold each piece in half and round the corners slightly – this small step helps the insert fit neatly inside the diaper and keeps the edges soft against baby’s skin.
Once you’ve cut the first insert, I use it as a template for the rest so everything is consistent. This saves time and makes the sewing step much smoother.
After cutting all your pieces, stack them together and you’re ready to move on to sewing.
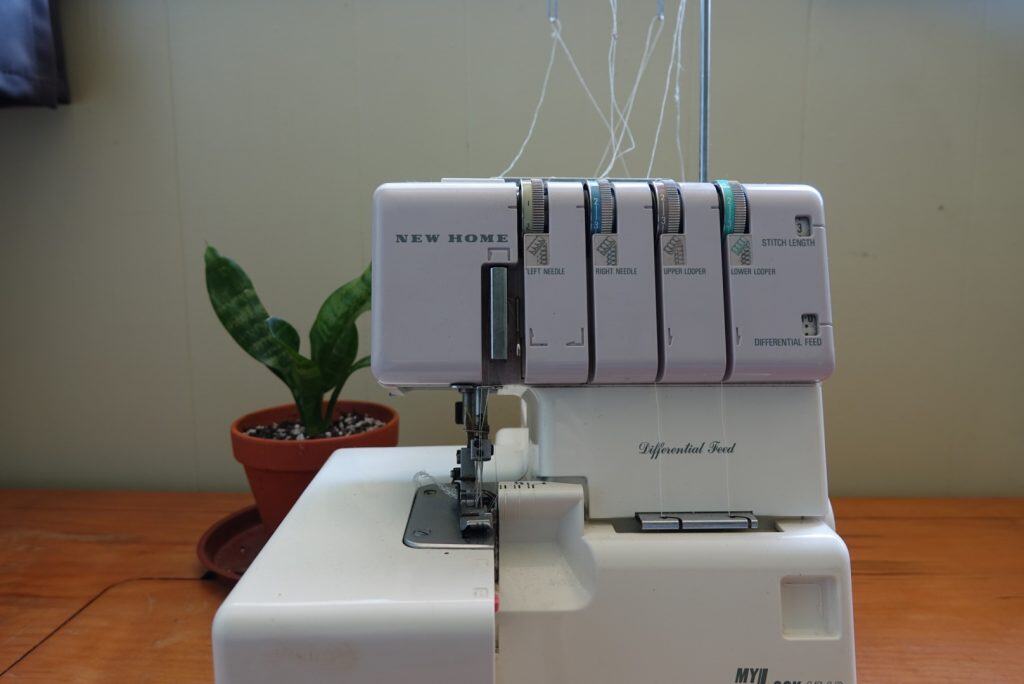
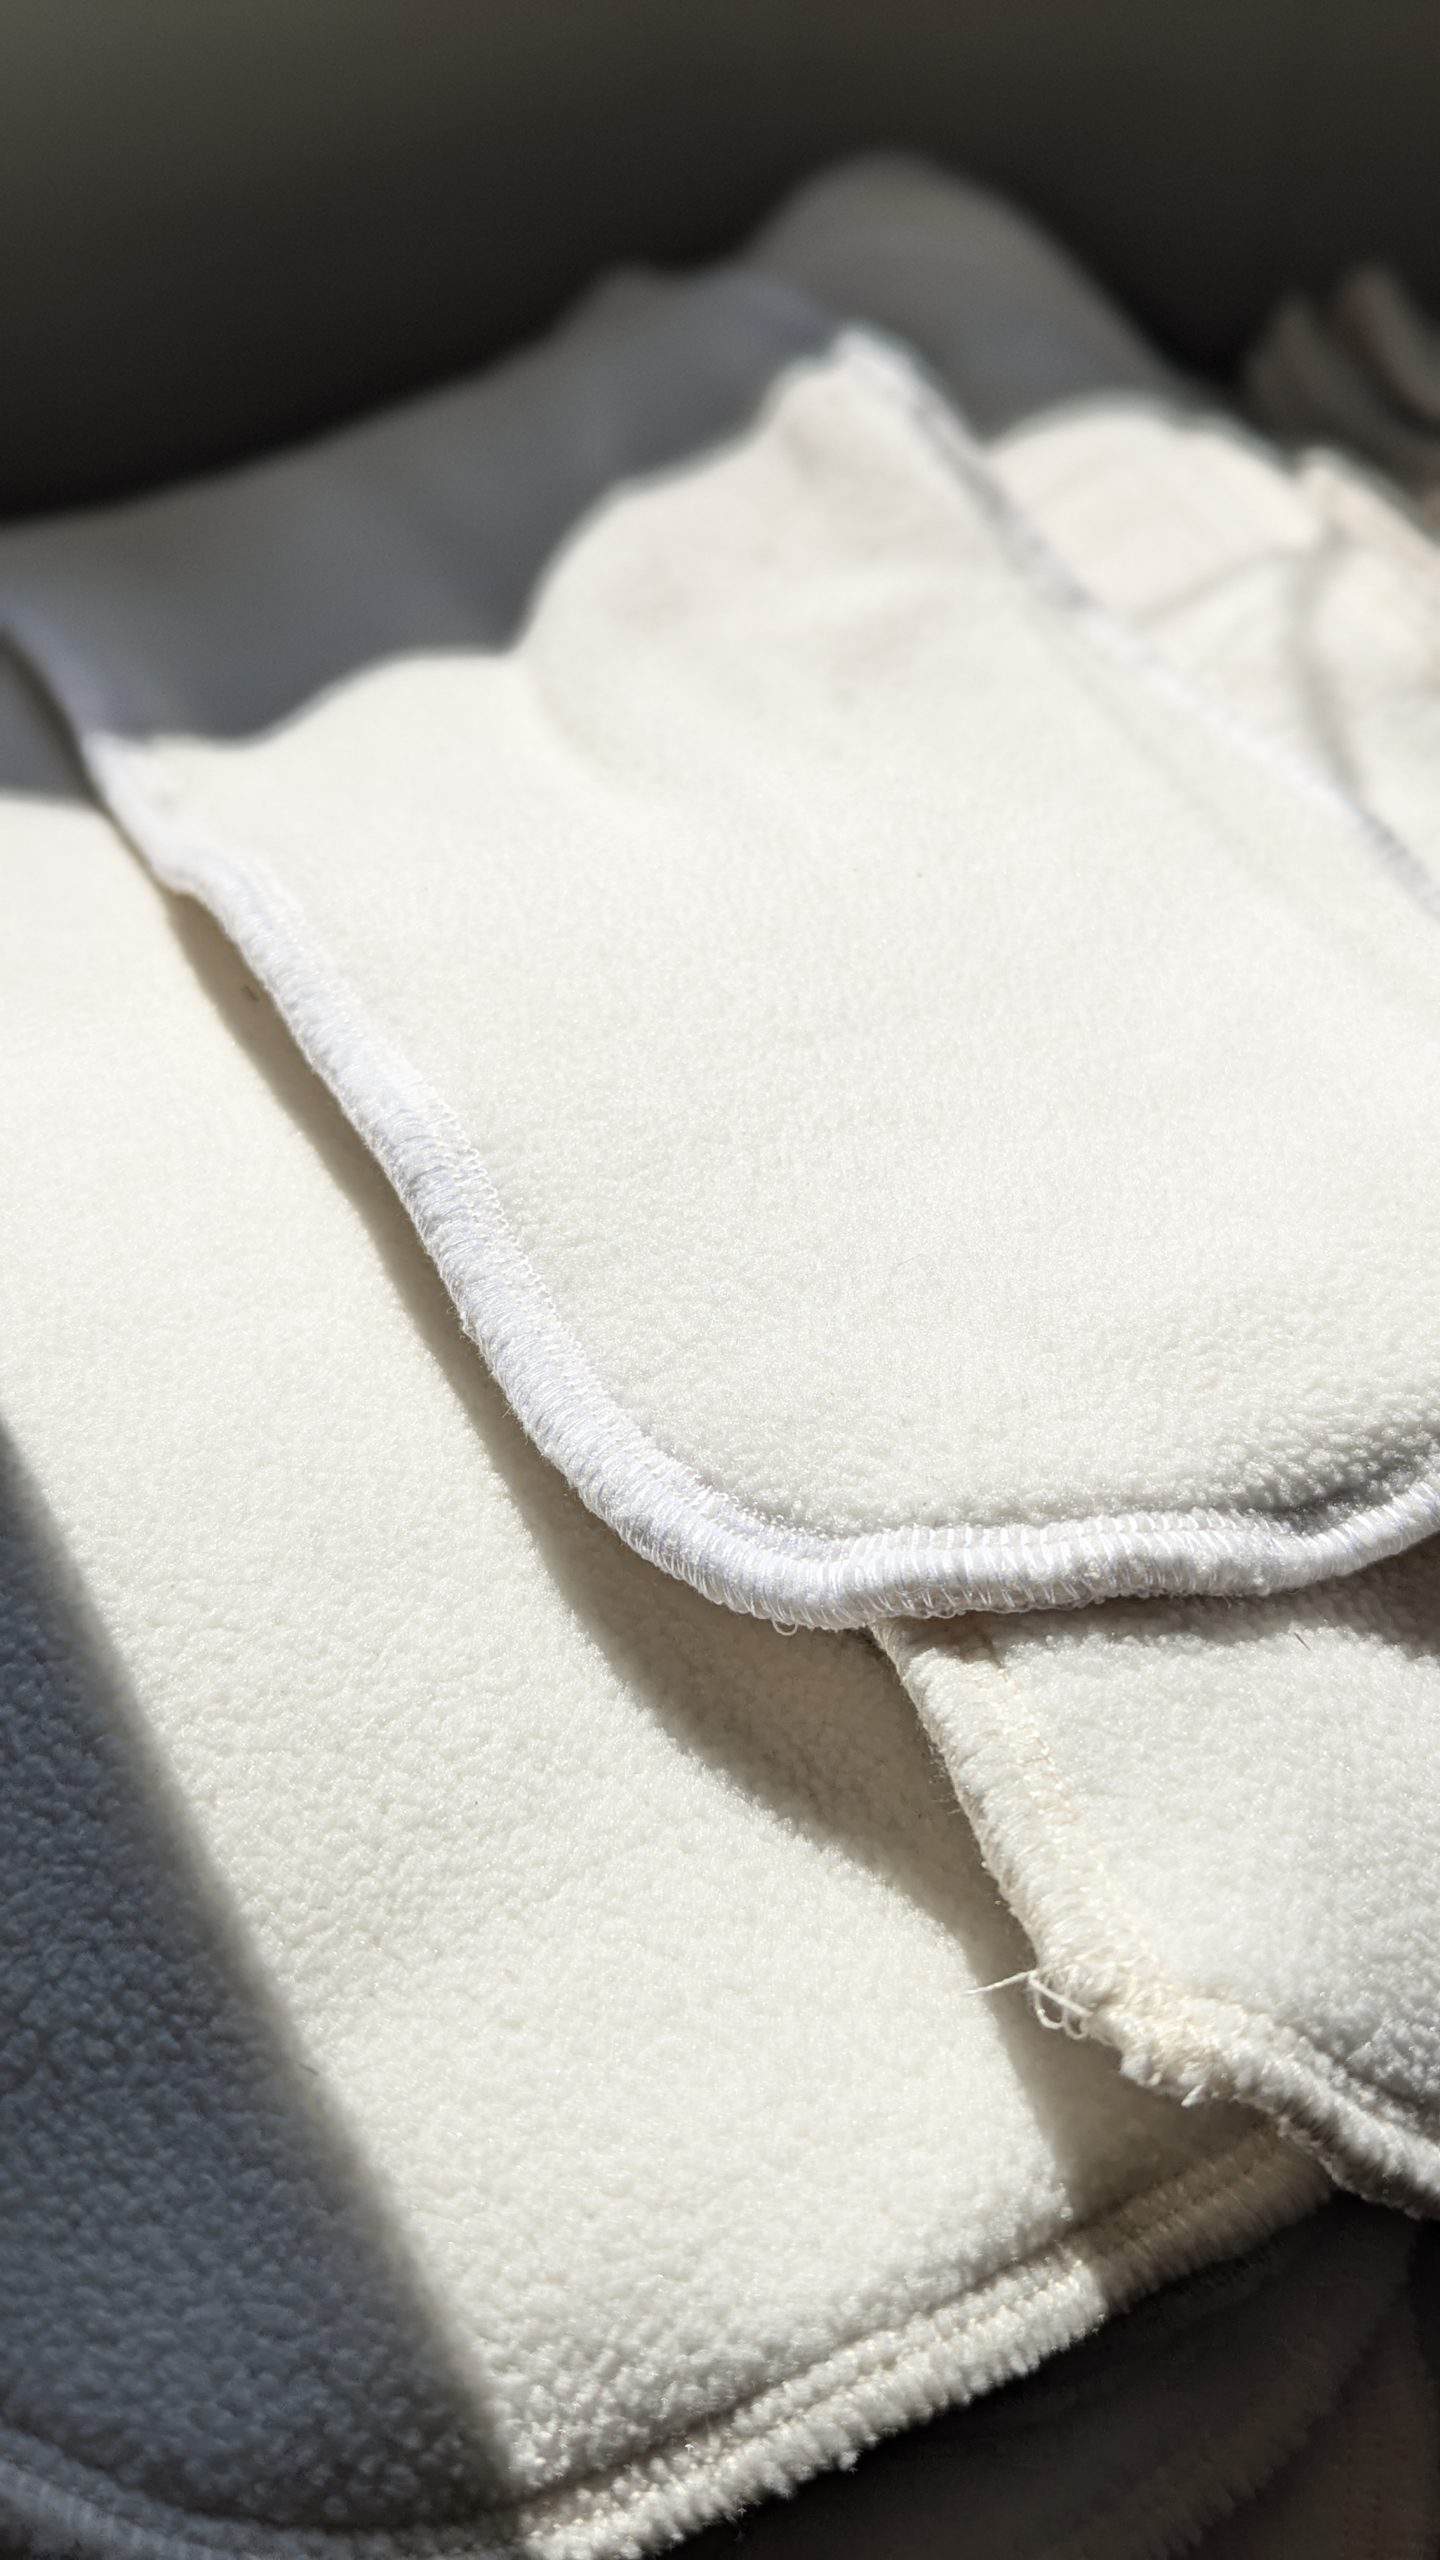
4. Sewing with a Serger (Optional)
If you have a serger, it can make finishing the edges faster and neater, but it’s not a must.
Start by stacking your layers: two pieces of hemp cotton fleece on the bottom and microfleece on top – this is the side that will touch your baby’s skin.
Make sure all the edges line up.
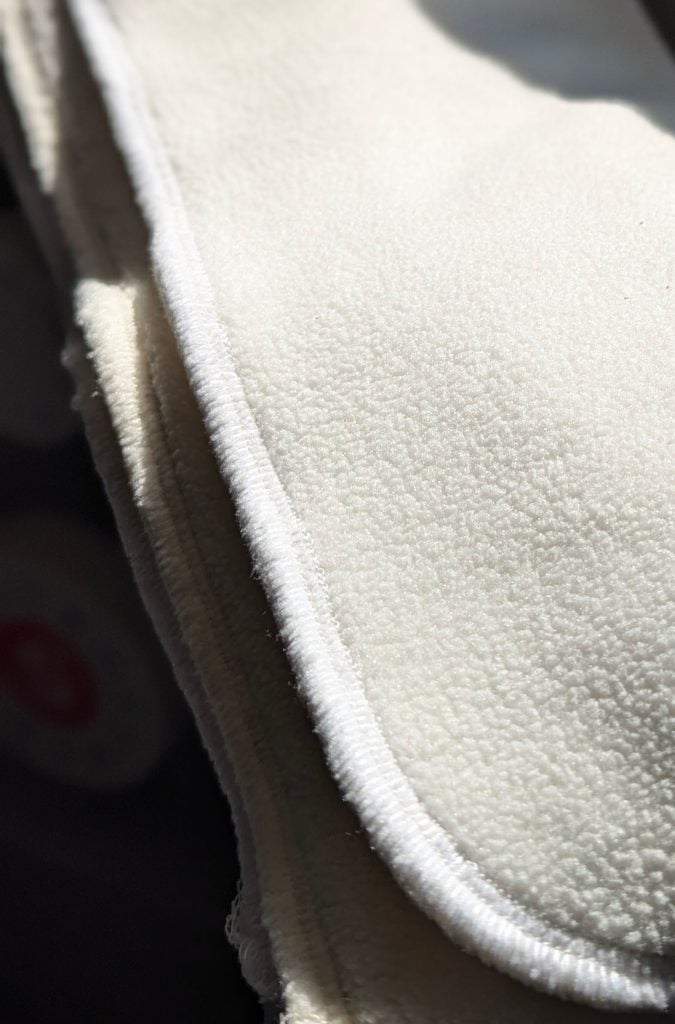
Leave about 1/4 inch of fabric around the edges for your seam. Slowly run the serger along the edge, guiding the fabric evenly. Take it slow at the corners so it doesn’t bunch up, and round off the edges. The serger will trim the extra fabric as it sews, which keeps things tidy.
Once all edges are stitched, check that everything is secure. Trim any stray threads if needed. The insert should now have clean, finished edges that hold up well in the wash and stay soft for your baby.
5. Sewing with a Standard Sewing Machine
If a serger isn’t available, a regular sewing machine works just as well.
Start by laying out the fabric with the hemp cotton fleece on the bottom and microfleece on top. Pin the layers along the edges, trim away the corners and pin to keep them steady during sewing – this helps prevent shifting and keeps seams straight.
Sew around the edges using a straight stitch about 1/4 inch from the edge. Backstitch at the start and end of each seam to make sure it holds up after repeated washes.

Trim any excess fabric, leaving a small margin so the stitches aren’t cut. Finish the edges with a zig-zag or overcast stitch to prevent fraying and add extra durability.
Once sewn, lay the insert flat and press lightly with an iron to smooth out wrinkles and ensure the layers are even.
The result is a soft, absorbent, and durable cloth diaper insert that fits well and works effectively.
Always take a moment to check everything over. Make sure all the stitches are secure and that the fabric is laying flat. If everything looks good, give the insert a quick press to smooth out any wrinkles.
And that’s it you’ve got a custom cloth diaper insert ready for your little one! It’s a simple process, but it feels pretty great knowing you made something with your own hands that works perfectly for your baby.
(If you’re pairing inserts with cloth wipes, my ultimate guide to cloth wipes for babies walks through how I make and store those too.)
Ways to Make Your Inserts More Absorbent
You’ve already put in the work to get your inserts looking and feeling great, but if you’d like them to hold even more, here are a few easy steps that help without complicating the process:

Add Extra Hemp Layers
One of the simplest ways to boost absorbency is by adding a few more layers of hemp cotton fleece.
Hemp is incredible at soaking up moisture, so layering just a bit more will give you that added peace of mind.
But, a little goes a long way – make sure the layers still stay manageable and don’t get too bulky.
The last thing you want is for the inserts to be uncomfortable or too thick to fit properly in the diaper.
Stick with Natural Fibers
Another thing to keep in mind is to avoid using synthetic fillers or materials.
Synthetic polyester or fleece inserts might seem like they’d soak up more water but they tend to trap wetness against the skin and don’t launder as well over time.
Natural fabrics stay breathable, soft, and effective.
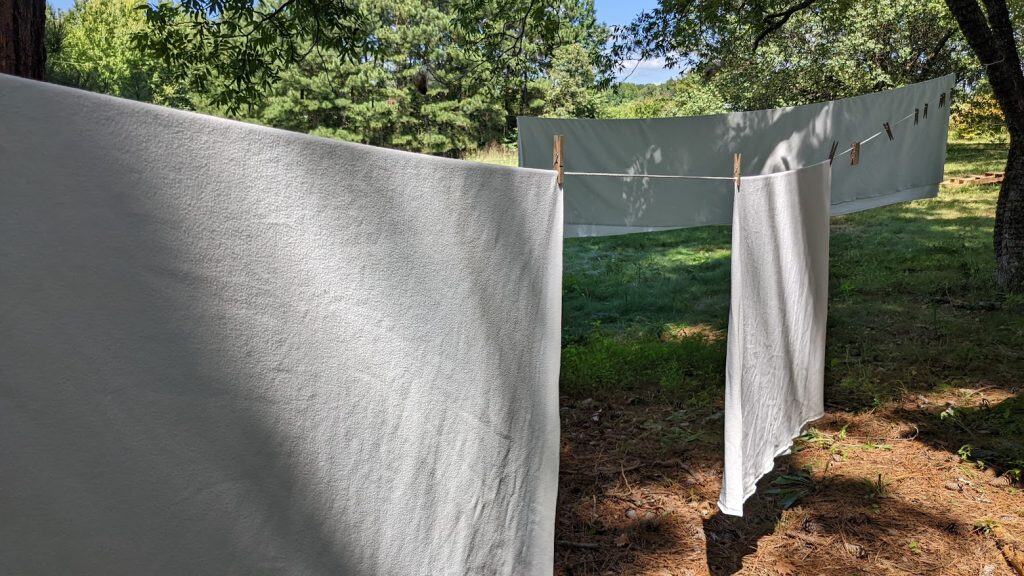
Let Them Fully Dry After Washing
After all the hard work of making your inserts, make sure you let them dry completely before storing them away.
Dampness left behind after washing can dull your inserts’ ability to absorb.
Let them dry completely before using or storing. Hanging them in the sunshine helps dry them faster – and freshens them naturally.
In less sunny weather, a low-heat tumble dry or clothesline indoors does the trick.
How to Maintain Cloth Diaper Inserts
Cloth diaper inserts do the heavy lifting when it comes to absorbency, so taking care of them properly keeps them working well and lasting longer.
Here are a few key habits to keep in mind so you’re not dealing with leaks, smells, or stains down the road.
1. Wash promptly
If possible, wash inserts every 2–3 days. Letting them sit too long (especially in warm, humid weather) can lead to ammonia buildup and lingering odors. A good habit is to store soiled inserts in a breathable wet bag or pail liner until wash day.
2. Rinse before washing
If your baby is exclusively breastfed, you can toss wet or soiled inserts straight into the wash (the wash will handle it). Once solids are introduced, shake or spray off as much waste as possible before washing. A quick rinse cycle before the main wash helps remove extra residue and makes the wash more effective.
3. Choose the right detergent
Use a cloth diaper–safe detergent without added softeners or fragrance, since these can coat the fibers and reduce absorbency. Stronger cleaning power is better than “extra gentle” here – you need to fully remove bacteria and buildup.
4. Wash hot, rinse well
Run inserts through a hot wash cycle to kill germs and remove buildup, then follow with an extra rinse to ensure all detergent is gone. Leftover detergent can trap odors and irritate skin.
5. Avoid fabric softeners and dryer sheets
Softeners leave a coating that makes inserts repel liquid instead of absorbing it. If you want them softer, line dry in the sun occasionally or tumble dry on low heat.
6. Keep an eye out for buildup
If inserts start smelling even after washing, or if you notice leaks despite them being “freshly washed,” it might be time to strip them. Stripping removes mineral and detergent buildup, especially common in hard water.
7. Dry completely
Make sure inserts are fully dry before storing. Any leftover moisture can lead to mildew, especially if they’re stored in a closed container.
Doing these will make your inserts stay absorbent, clean, and comfortable for your baby – without you having to replace them often.
Make Cloth Diaper Inserts That Last (and Keep Baby Happy)
At the end of the day, making your own inserts is a practical, budget-friendly way to keep your baby comfortable and safe.
With a little patience, some organic non-toxic fabric, and a dash of creativity, you can create something soft, safe, and truly one of a kind.
And once baby starts rolling and moving, diaper changes become a whole new adventure. I share simple play ideas in my tummy time sensory play ideas for every stage post that keep little ones engaged (and happy on the floor).
I hope this guide leaves you feeling inspired and confident – because every handmade insert is a loving step toward a healthier, happier, and more mindful way of caring for your little one.
If you’ve tried making your own inserts or have tips to share, drop a comment below – I’d love to hear what’s worked for you.
Keep Your Sewing Patterns Neat and Easy to Find

As the seasons pass and projects add up, those little paper patterns have a way of piling into drawers and baskets.
And when you go to remake something, you end up searching instead of sewing.
So I created these Free Sewing Pattern Labels to make things easier.
They’re simple.
They’re pretty.
And they help you store your patterns in a way that feels calm and intentional.
Print them, fill them out, and tuck them onto your pattern envelopes. That’s it.
A small step that keeps your creative space feeling peaceful and ready for the next project.
Frequently Asked Questions (FAQs)
Here are some common questions parents have when it comes to cloth diapering inserts. If you’re just starting or are considering making your own, these answers might help clear up a few things!
How many inserts do I need each day?
This depends on how frequently you’re changing diapers, but typically, you’ll want around 6-8 inserts per day for full-time cloth diapering. Keep in mind that your baby might need more if they’re a heavy wetter.
Can I make inserts without using microfleece?
Absolutely! Microfleece is optional – it helps keep your baby’s skin dry by wicking moisture away, but it’s not a necessity. You can still make super effective and absorbent inserts using just hemp cotton fleece.
How do I wash and dry these inserts?
Wash them regularly, just like any other cloth diaper insert. Use a gentle detergent and avoid fabric softeners. Dry them on low heat or line dry them for the best results. You’ll want to ensure they’re completely dry before storing them, too.
Is this safe for babies with sensitive skin?
Yes! Hemp cotton fleece is a natural, breathable fabric that’s gentle on your baby’s skin. Plus, by using all-natural materials and skipping chemicals, you’re minimizing the risk of irritation.
Can I make inserts without a sewing machine?
Definitely! If you don’t have a sewing machine, you can hand-sew these inserts. It’ll take a little longer, but it’s totally doable. Or, you could even consider using a fabric adhesive to bond the layers together if you want a no-sew option.
