
I’m happy to share this step by step, beginner friendly treat bag guide with you.
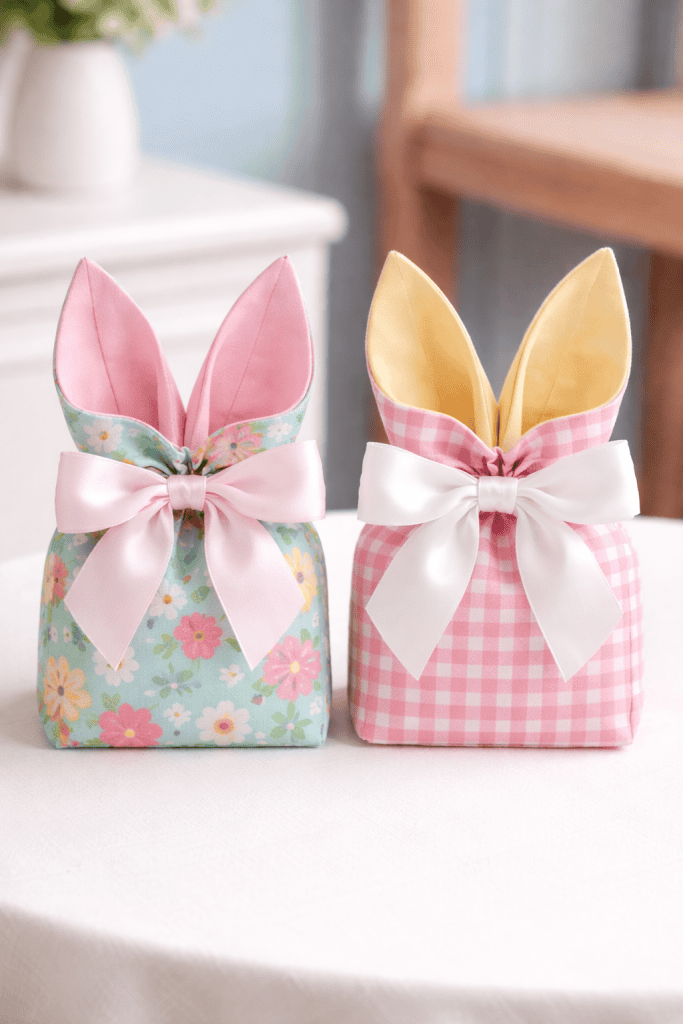
The ears tie together at the top with a ribbon, turning an ordinary handful of treats into something that feels thoughtful and handmade.
And the best part is, once you sew one, you realize how easy it is to make a few more to gift to family and friends.
If you’re looking for a simple, adorable Easter sewing tutorial that’s not complicated, you’re in the right place.
Why Make a DIY Bunny Ears Treat Bag Instead of Buying One?
If you’ve been around here for a while, you know I love projects that are:
- Reusable
- Practical
- Beautiful
- Simple enough to make in an afternoon
These bunny ears treat bags check all the boxes.
Instead of plastic bags or flimsy paper pouches, you get a soft fabric treat bag that can be reused year after year. After Easter, they can hold small toys, hair accessories, garden seeds, or become part of pretend play.
If you love reusable holiday projects like I do, you might also enjoy my easy DIY Easter basket.
It is the kind of seasonal project that slowly turns into tradition.
And that is my favorite kind.
Finished Size (Medium Version)
For this tutorial, we’re making the medium size bunny ears treat bag.
- Finished standing height: 9 inches tall
- Width: 4½ inches
- Interior treat area: approximately 4 x 4½ inches
It is the perfect size for chocolate eggs, small plush toys, or a handful of goodies.
If you’re pairing this with a faith-centered Easter morning, I also love using my easy Easter egg story craft for kids alongside handmade treats to make the day feel intentional and meaningful.
Materials You’ll Need
Keep it simple.
- 2 pieces of quilting cotton (8 x 24 inches each)
- Ribbon (about 20–24 inches)
- Matching thread
- Sewing machine
- Pins
- Ruler
- Pencil or fabric marker
- Scissors or rotary cutter
- Point turner
- Iron
Quilting cotton works beautifully because it holds its shape without being stiff. If you prefer natural fibers, 100% cotton is perfect here.
And if you’re trying to use what you already have, this is a great way to dip into leftover fabric. I share more ideas for using small pieces in my genius fabric scrap projects if you need inspiration.
How to Make a DIY Bunny Ears Treat Bag (Step-by-Step Tutorial)
This sweet little bunny ears treat bag comes together with simple straight seams, a bit of careful pinning, and a final press to bring it all to life.
If you’re comfortable sewing a ¼ inch seam allowance and pivoting at corners, you can absolutely make this.
Take your time with the ears, and the rest flows easily.
Step 1: Cut and Prepare Your Fabric
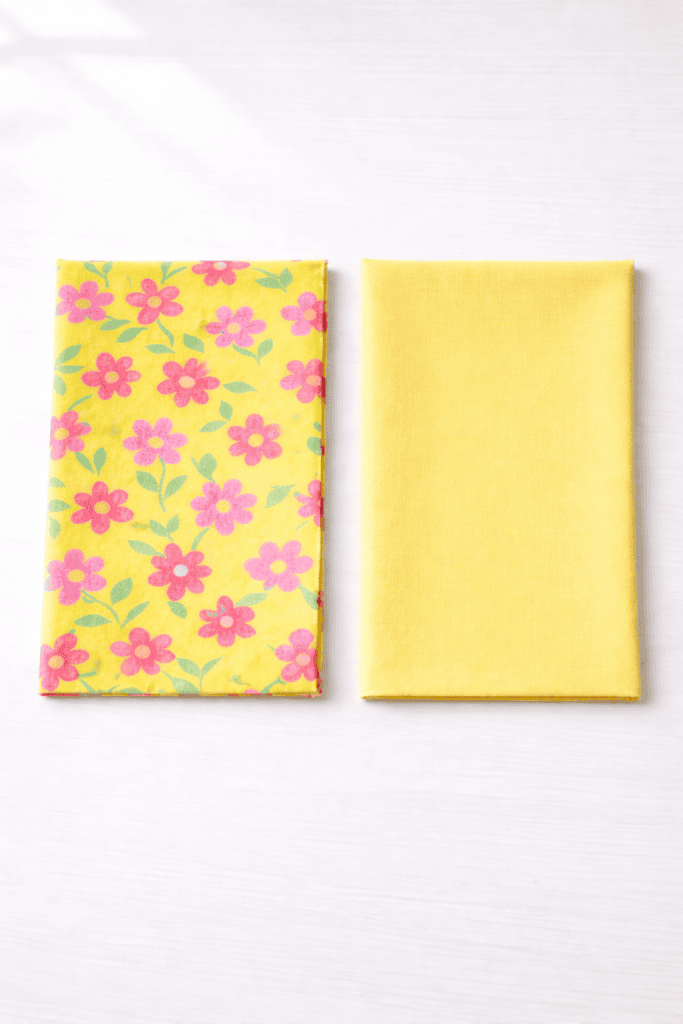
Take both 8 x 24 inch fabric pieces and fold each one in half so they measure:
8 inches wide x 12 inches tall
You can cut them already folded if that feels easier. It will still give you the correct dimensions.
Work on your lining piece first so any pencil markings won’t show on the outside.
Step 2: Mark the Bunny Ear Shape
Now we create the signature ear shape.
- Measure 5½ inches down from the top folded edge.
- Find the center at 4 inches across.
- Mark a small dot.
Then:
- Measure ¼ inch in from each top corner.
- Draw a straight line from the center dot up to each ¼ inch mark.
This forms a soft V shape that will become the ears.
Place both fabrics together, line up edges carefully, pin, and cut along the drawn lines.
You now have your bunny ear silhouette.
Already adorable.
Step 3: Sew the Side Seams (Lining First)
Place your lining fabric right sides together.
On one side seam, mark a turning opening:
- 4 inches up from the bottom
- 7 inches up from the bottom
This creates a 3 inch gap for turning later.
Using a ¼ inch seam allowance:
- Sew from the top down to the first mark.
- Backstitch.
- Skip the opening.
- Start again at the second mark.
- Sew to the bottom.
Now sew the other side seam completely.
Repeat the same side seam stitching for your outer fabric – but do not leave an opening in the outer piece.
Step 4: Box the Bottom Corners
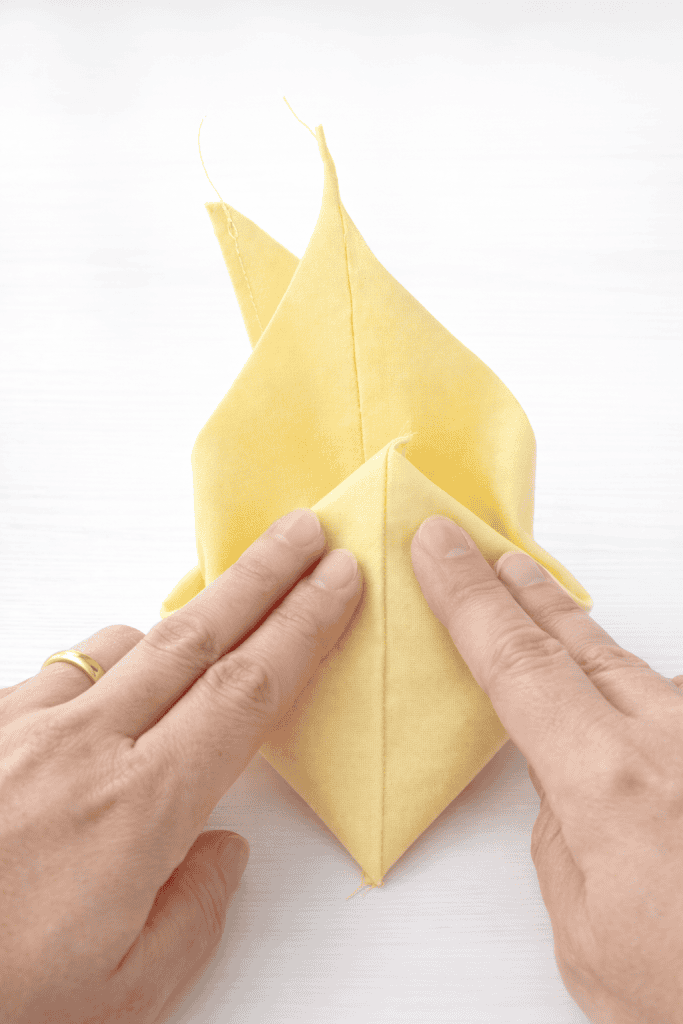
This gives the treat bag its flat bottom.
On each bottom corner:
- Open the fabric so the side seam lines up with the bottom fold.
- Flatten it into a triangle shape.
- Measure 1½ inches from the corner point.
- Draw a straight line.
- Sew along that line.
- Backstitch.
Trim off the excess about ¼ inch from your seam.
Repeat on all four corners (lining and outer).
You now have structure.
Step 5: Insert Lining Into Outer
Turn the lining right side out.
Leave the outer fabric wrong side out.
Place the lining inside the outer bag, matching seams and edges.
Push the corners down gently so everything sits properly.
Step 6: Nest and Pin the Ears
This part requires patience, but it makes a difference.
At each ear seam:
- Open the seam allowances.
- Push one seam to one side.
- Push the other seam to the opposite side.
- Butt them together.
- Pin carefully.
Then pin:
- The V areas
- The entire top edge of the ears
Take your time here. It prevents crooked ears later.
Step 7: Sew Around the Top
Using a ¼ inch seam allowance, sew all the way around the ear opening.
When you reach:
- A V point → pivot with needle down
- A corner → pivot carefully
Sew continuously around the entire edge.
Backstitch at the end.
Step 8: Trim and Turn
Trim excess bulk at the corners.
Clip slightly into the V areas (do not cut your stitches).
Find your lining opening and turn everything right side out.
Use a point turner gently to shape:
- Ear tips
- Bottom corners
Be careful not to poke through the fabric.
Step 9: Close the Opening
Fold the seam allowance inward at the opening.
You can press it first, or finger press if you prefer.
Sew close to the edge (about ⅛ inch) to close it.
Backstitch at beginning and end.
Step 10: Press and Finish
Press around the entire top edge.
Roll seams outward slightly while pressing so edges look crisp and even.
Now fill with treats.
Bring the ears together.
Wrap ribbon around the base of the ears and tie into a bow.
Adjust until the ears stand tall and sweet.
And just like that, you have a handmade Easter bunny ears treat bag.
Creative Ways to Use Your Bunny Ears Treat Bag
Once you make one, it is hard to stop.
Try:
- Easter basket fillers
- Spring table place settings
- Church party favors
- Homeschool Easter surprises
- Small toy storage after the holiday
- Garden seed gift bags
They also make thoughtful handmade gifts for neighbors or family.
If you enjoy sewing seasonal projects like this, you might also love my simple springtime sewing projects for ideas that carry you beyond Easter and into the rest of the season.
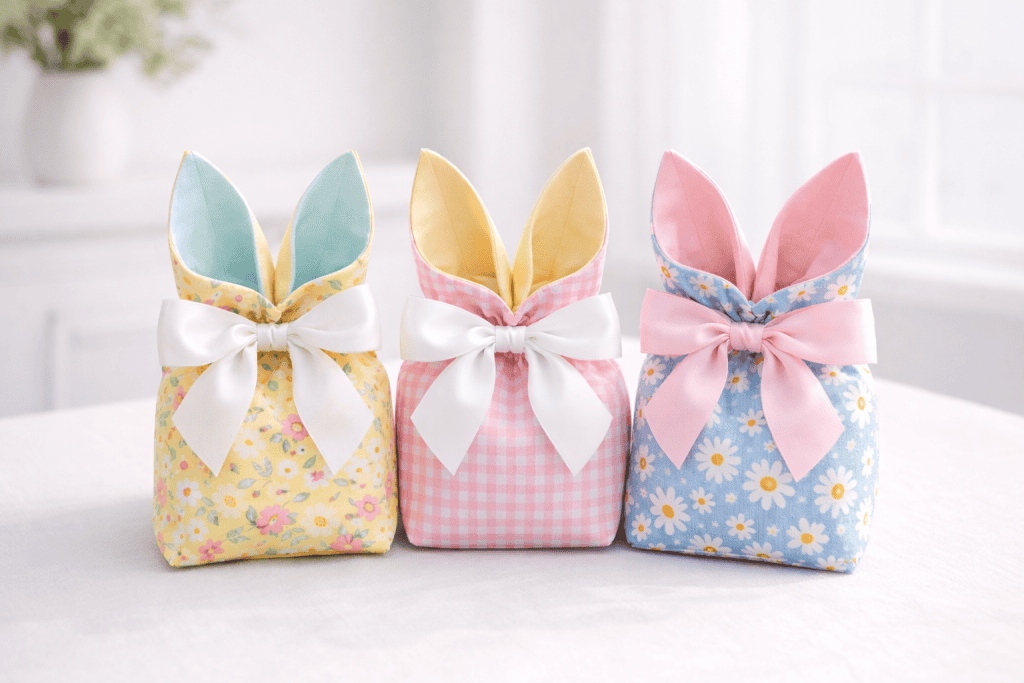
Fabric Ideas for a Charming Look
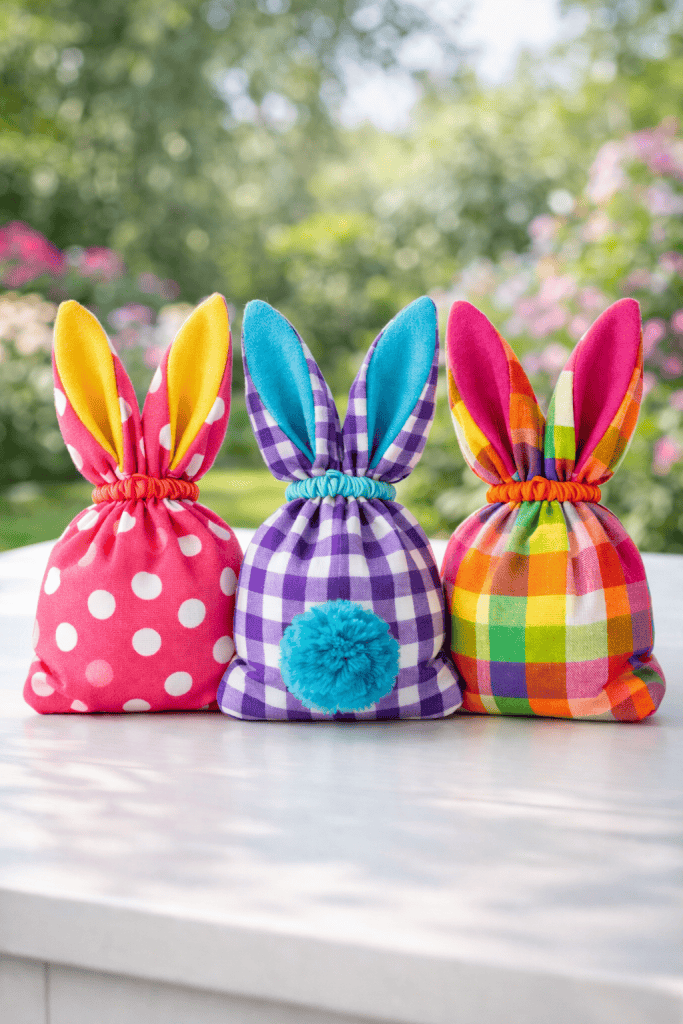
If you want a more natural, homestead-inspired feel:
- Soft floral prints
- Gingham
- Neutral linen blends
- Tiny polka dots
- Pastel solids
Keep the lining playful and the outer subtle for a sweet layered look.
And if you like making reusable holiday packaging, my guide on how to sew a Christmas fabric gift bag follows a similar zero-waste approach that works beautifully year after year.
Simple Tips for Beautiful Results
- Use quilting cotton for easy structure.
- Press seams as you go for a polished look.
- Take extra time pinning the ear seams.
- Trim bulk carefully before turning.
- Do not rush the pivot points.
This is more of a craft project than a precision quilting project, so allow yourself grace.
Handmade is meant to feel handmade.
Ready to Sew Your Own?
If this DIY bunny ears treat bag made you smile, I would love to hear from you.
Are you making one for each child?
What fabric are you choosing?
Are you filling it with chocolate eggs or something unexpected?
Tell me in the comments below.
Your ideas might inspire another mom to start her own handmade Easter tradition.
Grab Your FREE Sewing Pattern Labels Today

As the seasons pass and projects add up, those little paper patterns have a way of piling into drawers and baskets. And when you go to remake something, you end up searching instead of sewing.
That’s exactly why I created these Free Sewing Pattern Labels.
They make it simple to keep every pattern neat, easy to find, and ready whenever inspiration strikes. Just print the labels, fill them out, and attach them to your pattern envelopes.
In a few minutes, your patterns go from scattered to beautifully organized.
A small change that makes your sewing space feel calmer, clearer, and ready for your next project.
FAQs
Can I add interfacing for a stiffer bunny ears treat bag?
Yes. Lightweight fusible interfacing can be added to the outer fabric if you want the ears to stand more firmly. It is not necessary, but it does give extra structure.
Can I hand sew this instead of using a machine?
You can. It will take longer, but a small backstitch works well. Make sure stitches are tight at the V points and corners.
How can I make the ears longer?
To lengthen the ears, increase the 5½ inch measurement when marking the V. The lower the center dot, the longer the ears will be.
What is the best ribbon width to use?
⅜ inch to ¾ inch ribbon works beautifully. Wider ribbon makes a statement bow, while thinner ribbon looks delicate.
Can I wash the bunny ears treat bag?
Yes, especially if made with 100% cotton. Wash on gentle and air dry to preserve shape. Press lightly afterward.

I sure wish there was a video I could watch. So cute. Thanks for sharing
You’re welcome 🙂