Easter is a beautiful time to help children understand the hope, joy, and new life found in the resurrection of Jesus.
One of the most meaningful ways to teach the Easter story is through hands-on learning.
When children can see, touch, fold, and assemble the story themselves, it becomes more memorable.
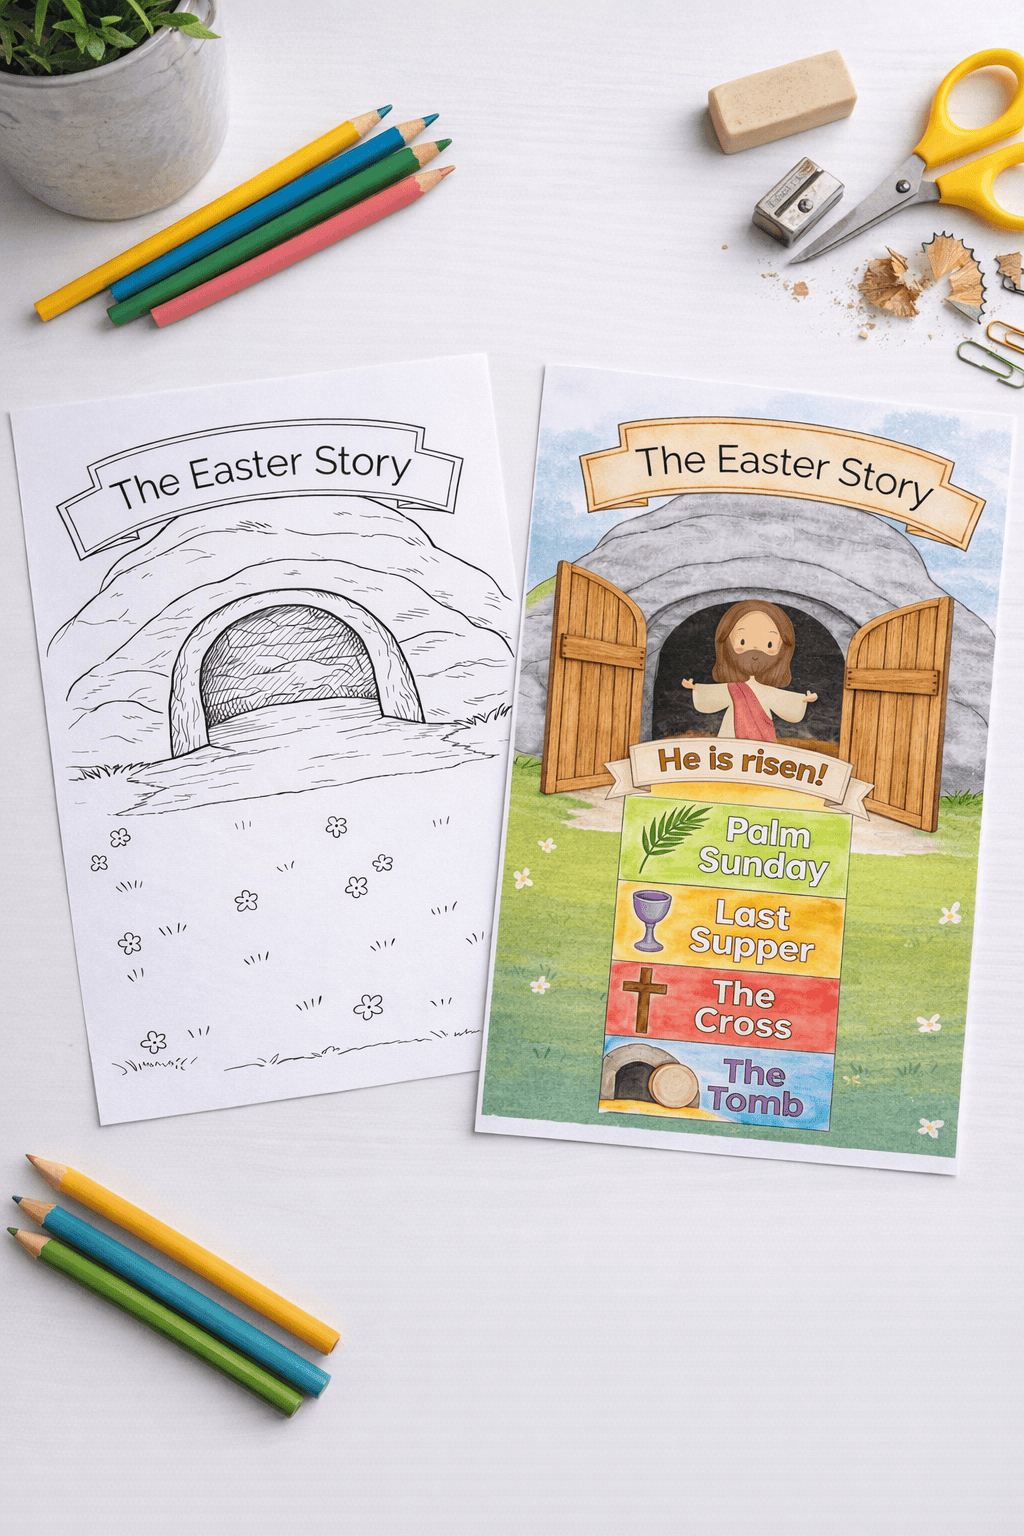
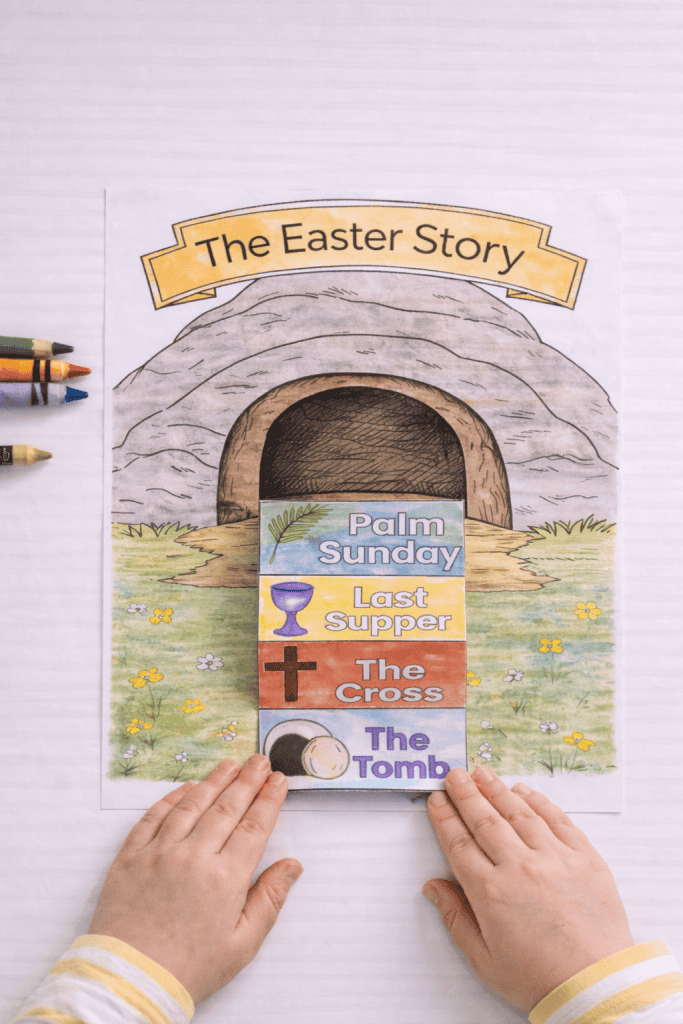
This 3D Easter Story Tomb Craft is a simple, interactive activity that walks children through key parts of the Easter story – from Palm Sunday to the empty tomb.
With just a few supplies and the free printable template, children can color, cut, fold, and build their own 3D resurrection scene with opening doors and a layered story strip.
It’s engaging, visual, and perfect for home, classroom, or Sunday school.
A Simple 3D Easter Craft for Little Hands
Young children learn best through repetition and hands-on experiences.
This craft allows them to:
• Color each part of the story
• Fold the story strip accordion-style
• Open and close the tomb doors
• See Jesus inside the tomb
• Review the Easter story in order
Because the doors open and close, it gives children an interactive way to retell the resurrection story again and again.
For other wholesome options, see our wholesome Easter craft for kids collection.
What Is Included in the Printable
This 3D Easter Story Tomb Craft includes:
- Tomb background page
- Two wooden-style tomb doors
- “He Is Risen!” banner
- Layered story strip (Palm Sunday, Last Supper, The Cross, The Tomb)
- Jesus cutout
- Clear assembly instructions
Everything works together to create a 3D display that opens and closes.
If you’re looking for more ideas, check out my easy Easter crafts for toddlers for even more simple projects little hands can enjoy.
Materials You’ll Need
Gather these simple supplies before starting:
- Printed Easter Story Tomb template
- Crayons or markers
- Child-safe scissors
- Glue stick or school glue
- Construction paper (optional backing for stability)
How to Make the 3D Easter Story Tomb Craft
This craft comes together in a few simple steps. Take your time, let children enjoy the process, and move at a relaxed pace.
Step 1: Color All the Pieces
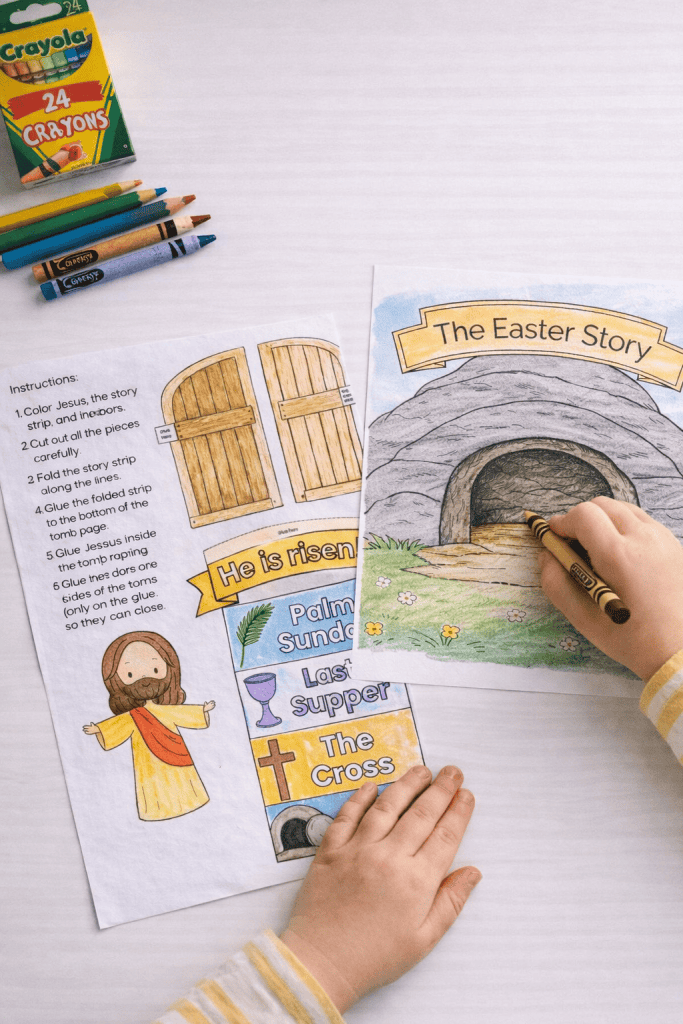
Have children color:
- Jesus
- The story strip panels
- The tomb doors
- The banner
Encourage them to talk about each section as they color. Keep it simple and age-appropriate.
Step 2: Carefully Cut Out All Pieces
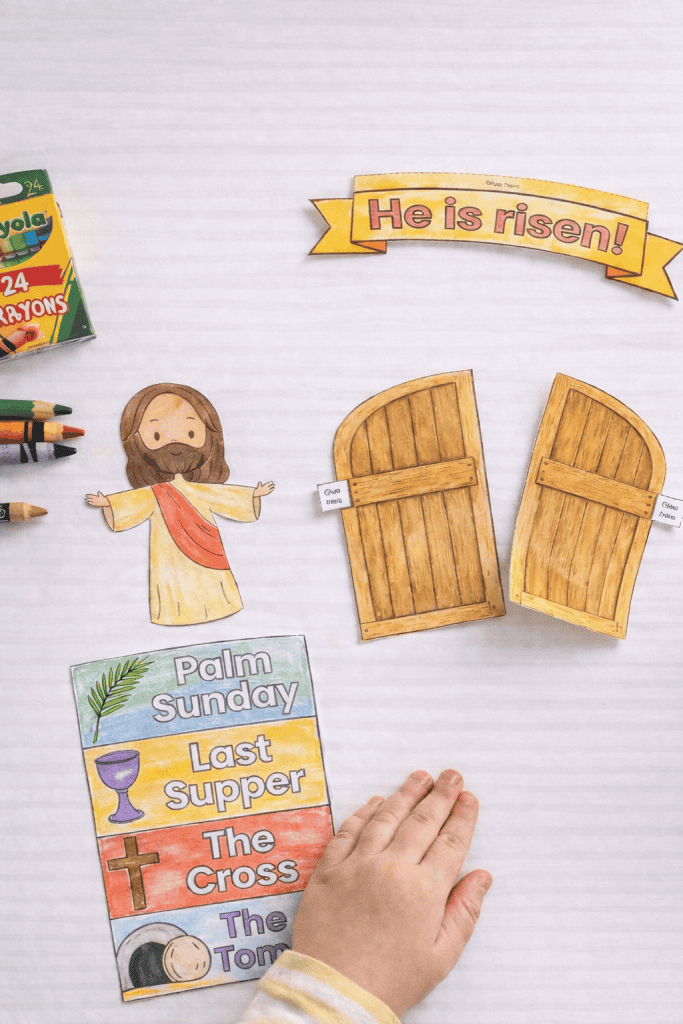
Cut out:
- Jesus
- The story strip
- Both tomb doors
- The banner
Younger children may need help with the door curves and detailed edges.
Step 3: Fold the Story Strip Along the Lines
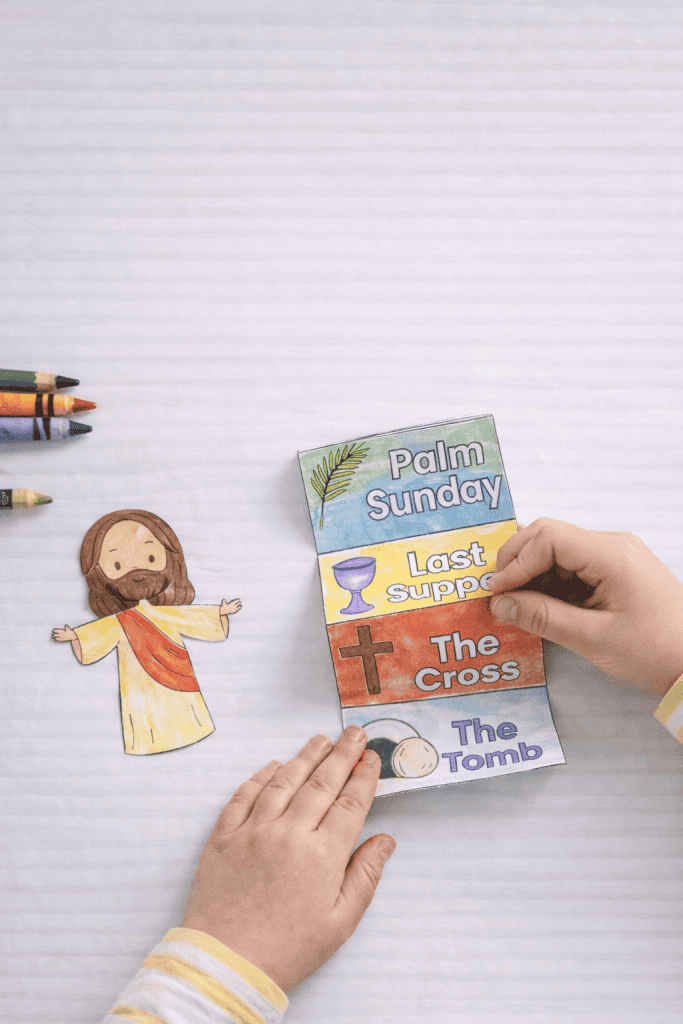
The story strip includes sections for:
- Palm Sunday
- Last Supper
- The Cross
- The Tomb
Fold along the marked lines in an accordion (zig-zag) style so each panel stacks neatly.
Press folds firmly so they hold their shape.
This creates the layered 3D effect.
Step 4: Glue the Folded Story Strip to the Bottom of the Tomb Page
Apply glue to the bottom panel of the folded strip.
Attach it to the bottom center of the tomb background page.
Make sure it is positioned so it rises upward from the tomb opening.
Hold for several seconds to secure.
Step 5: Glue Jesus Inside the Tomb Opening
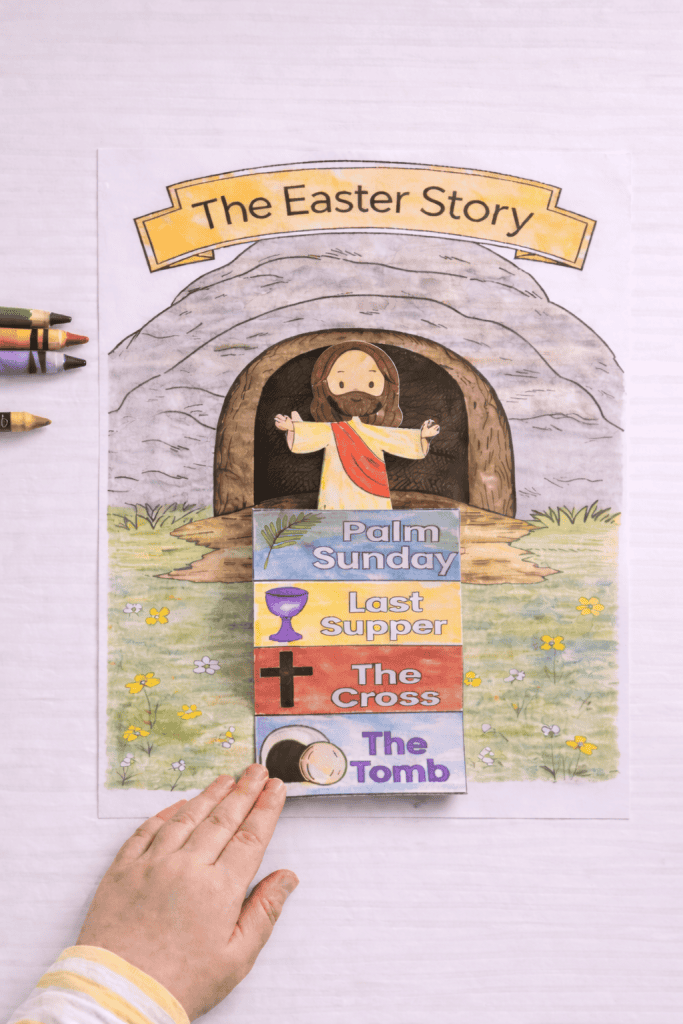
Apply glue to the back of the Jesus cutout.
Place Him inside the tomb entrance area.
Allow to dry briefly before moving to the next step.
Step 6: Attach the Tomb Doors
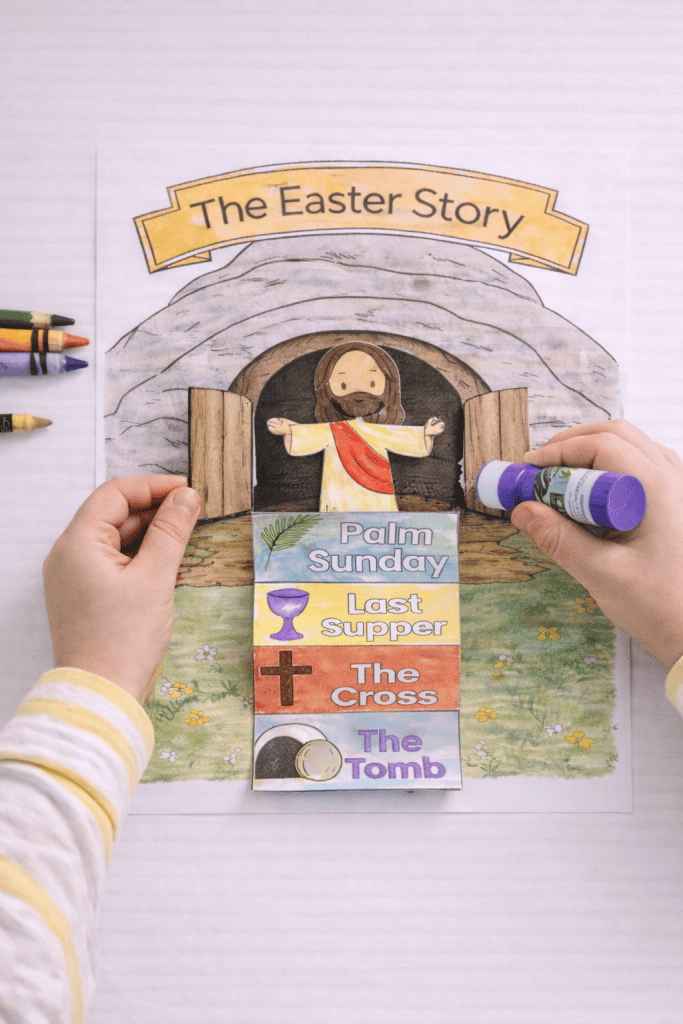
This step creates the interactive 3D effect.
- Apply glue only to the glue tabs on the sides of each door.
- Attach one door to the left side of the tomb opening.
- Attach the other to the right side.
Do not glue the entire door – only the tabs.
This allows the doors to open and close.
Let everything dry completely before testing.
Once your craft is complete, consider adding an Easter egg hunt activity using my fun Easter egg hunt ideas to extend the joy and learning.
Create a Meaningful Easter Moment Together
This 3D Easter Story Tomb Craft gives children a way to slow down and engage with the Easter story in a visual, interactive way.
Let the craft be a time for conversation, connection, and calm.
Whether this activity happens at the kitchen table, in a classroom, or during Sunday school, it offers a quiet way to talk about Jesus’ love, new life, and hope.
For even more faith-based crafts, you might enjoy our Days of Creation craft for kids.
I’d love to hear from you! Comment down below and share who you’re making this craft with or how you plan to use it this Easter season.
Get the FREE Easter Egg Story Printable Craft

Make Easter more meaningful for your kids with this FREE Easter Egg Story Printable Craft that shares the resurrection story in a simple, hands-on way.
Children will color four Easter eggs, then fold and connect them into a 3D keepsake they can display and revisit. It walks through the story from the Last Supper to the empty tomb to Jesus rising again, helping kids understand what Easter is really about.
Click below to grab the printable and start crafting together.
FAQs
Can this be used in Sunday school?
Yes. It works very well in small groups. Pre-cut pieces for younger children to save time.
What age group is this best for?
Ideal for preschool through early elementary (ages 3–8). Younger children will need assistance with cutting and folding.
How long does this craft take?
Plan for 25–35 minutes depending on age and skill level.
Can it be displayed upright?
Yes. Mounting it on construction paper adds extra stability for wall or board display.
