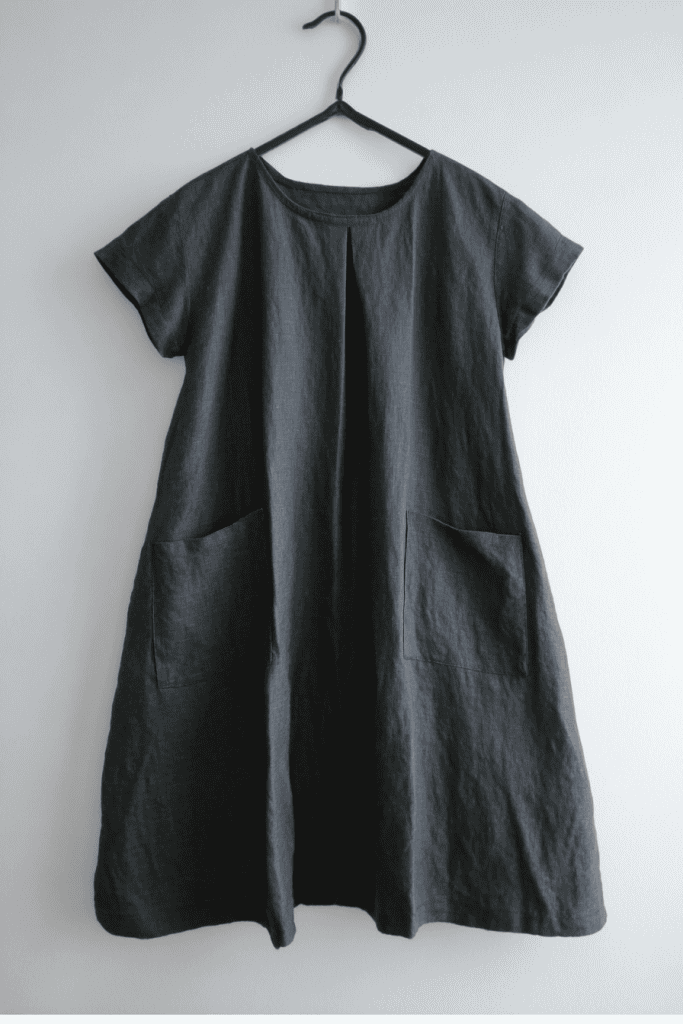
Before every great sewing project begins, there’s a moment of preparation.
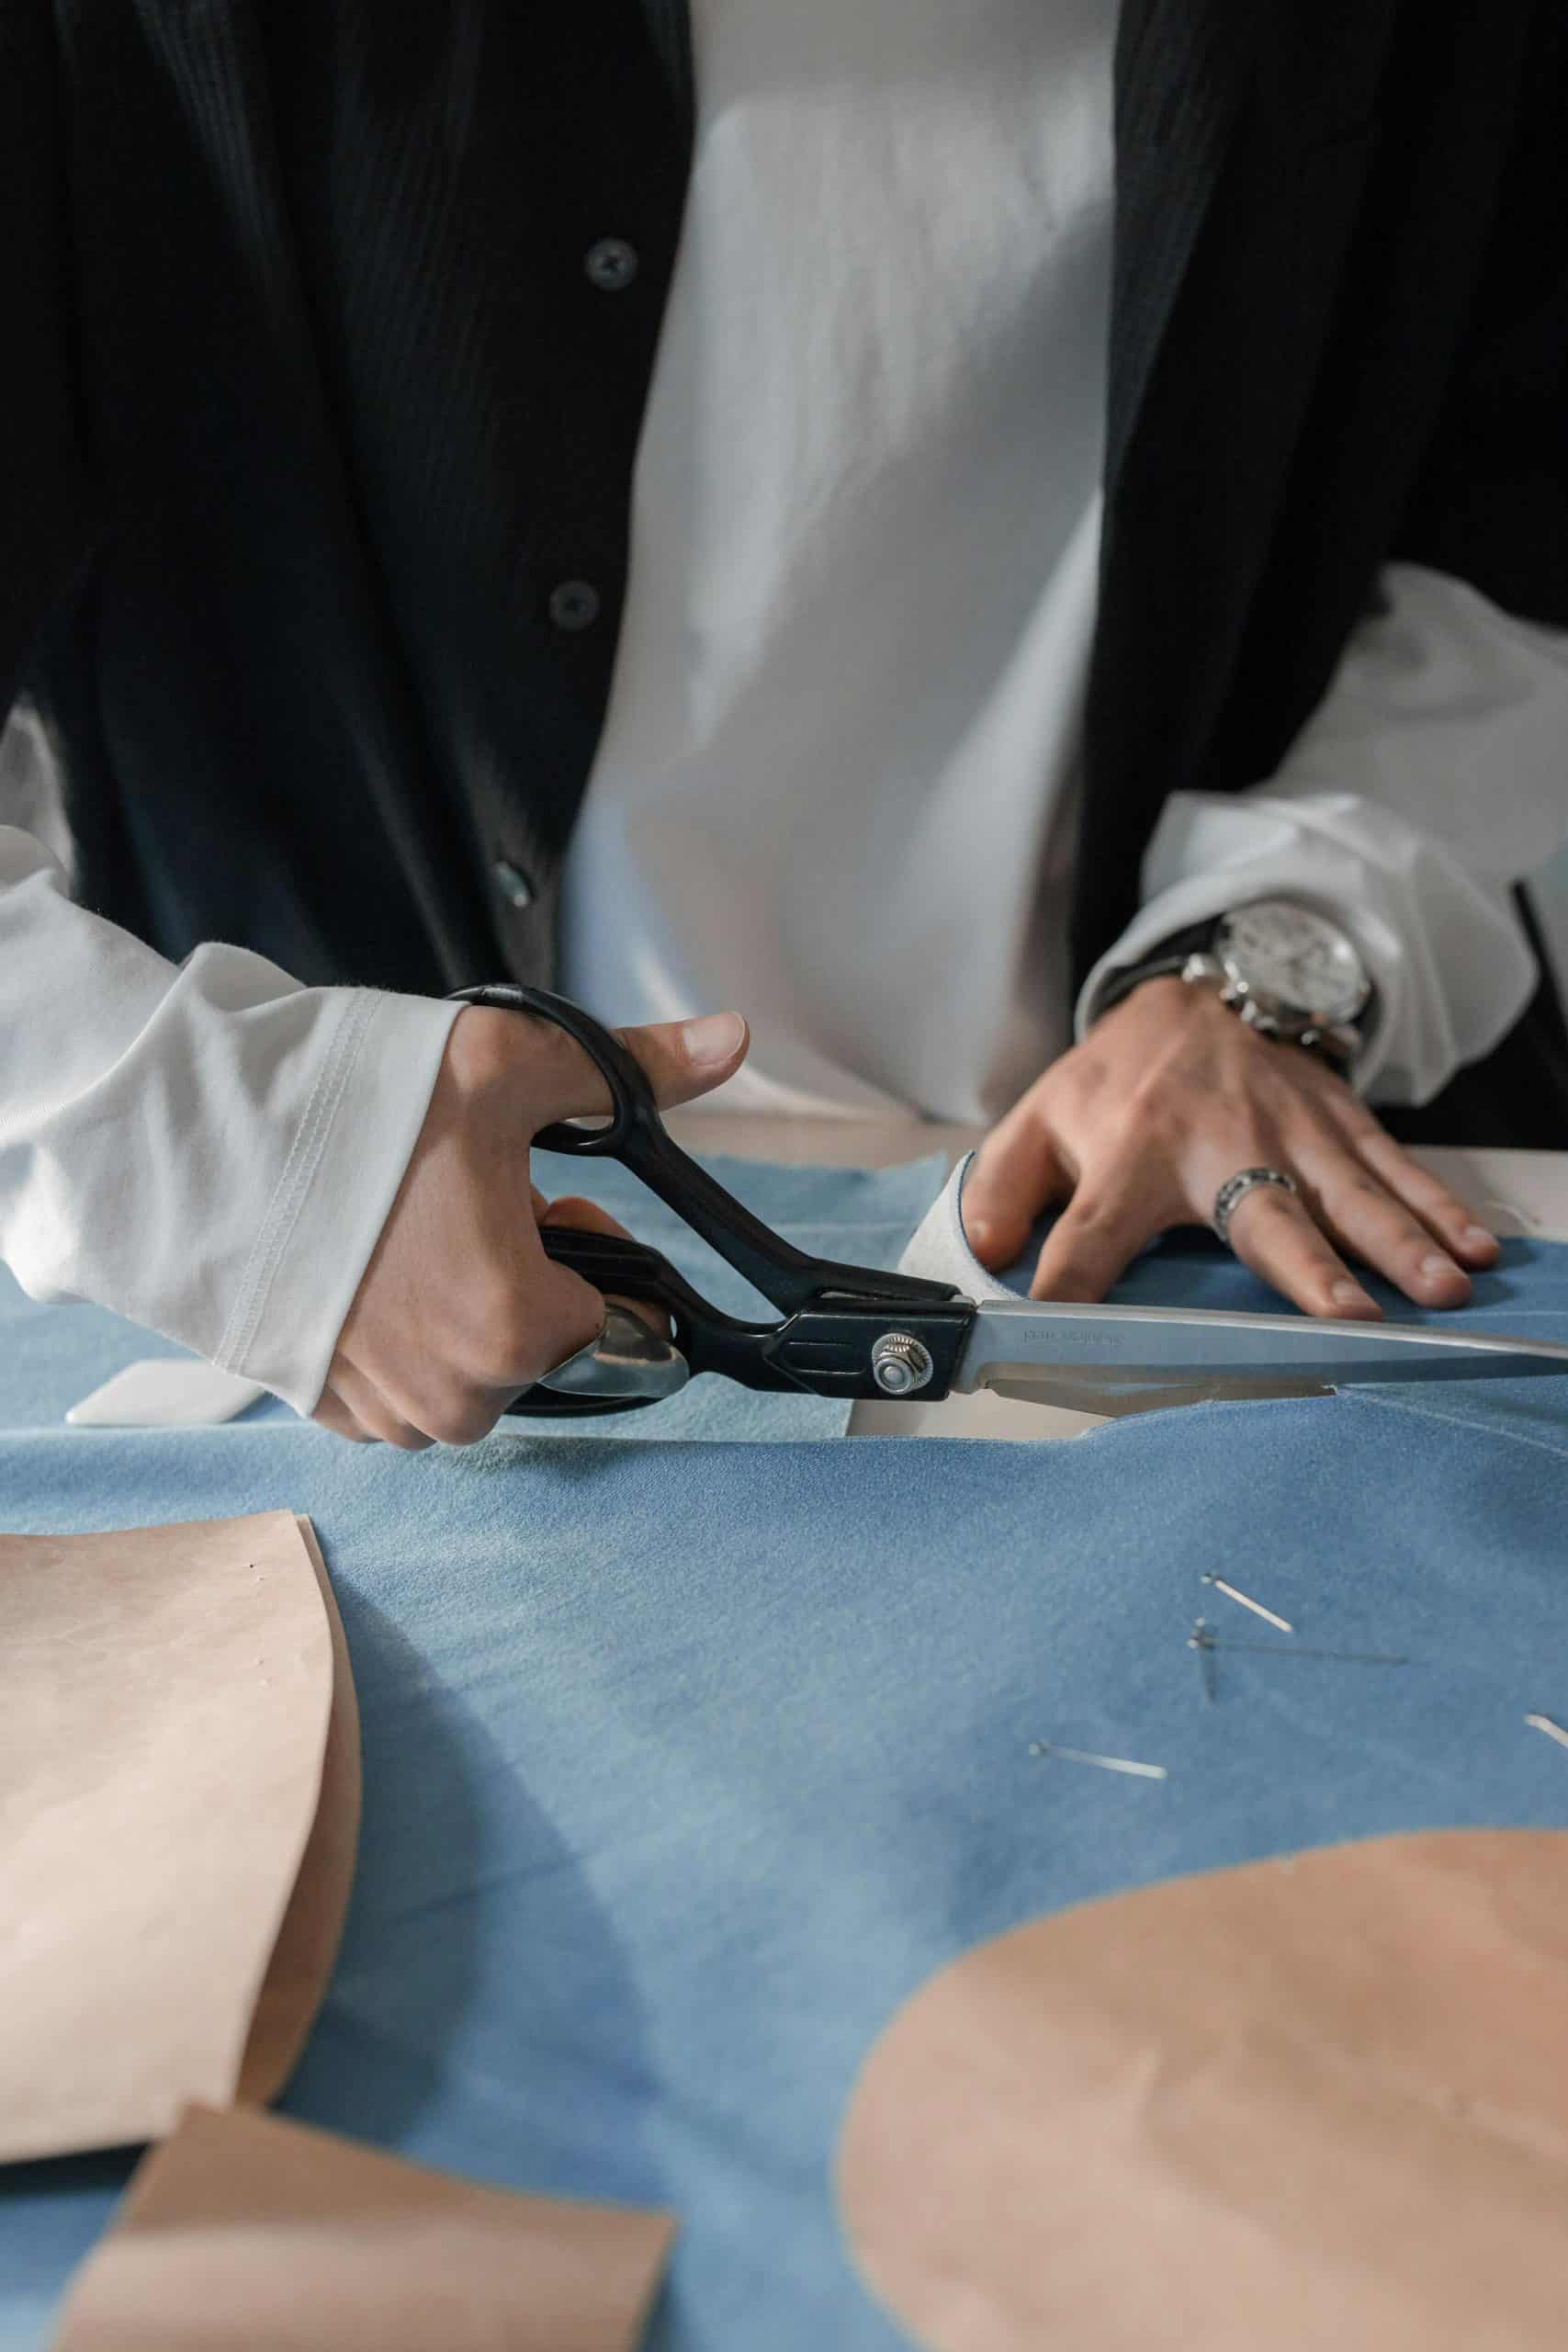
Cutting fabric is one of the most decisive steps in the process.
Once the scissors meet the cloth, your plan takes form. That’s why a thoughtful pause before cutting is empowering.
These ten steps will help you move from idea to fabric with clarity and confidence.
You’ll gather inspiration, study what already works for you, and prepare each detail so that your time at the sewing table feels steady and enjoyable.
10 Things To Do Before Cutting Your Fabric
Preparation shapes the success of every sewing project.
Before you begin cutting, take time to understand your vision and plan your process.
1. Gather Your Inspiration

Before patterns or measurements come into play, start with inspiration.
Look at garments that capture your attention – a sleeve that feels graceful, a pocket placement that’s clever, a silhouette that feels balanced.
Notice what naturally draws you in.
- Is it structured fabrics with clean lines, or softer materials with a gentle drape?
- Are you leaning toward earthy tones or bold color statements?
Collect these ideas intentionally.
You can do it digitally (saving images on Pinterest or Canva) or physically, clipping magazine photos and fabric swatches onto a board.
You can also jot notes and sketches in a sewing journal to track your ideas over time.
The goal is to create a visual language for your project. When you begin arranging your inspiration, patterns will emerge.
Some pieces will fit seamlessly into your vision; others won’t.
Edit as you go until your board feels cohesive – a clear reflection of your aesthetic and the mood you want your garment to express.
This step helps you define what you truly like before you even choose a pattern.
You’ll start to see your preferences more clearly – not just in full garments, but in the details that make them special.
2. Study Garments You Already Love
One of the most reliable ways to create clothes you’ll genuinely enjoy wearing is to learn from the ones you already do.
Take a close look at the garments in your wardrobe that you reach for again and again.
These pieces hold valuable clues about your personal style and comfort preferences.
Pay attention to how each garment feels when you wear it. Notice the amount of ease – how closely it fits or how freely it moves.
A pair of jeans might feel best with a bit of structure, while a favorite dress might have a few extra inches of ease for flow and comfort.
Observe the seam placements, dart positions, hem lengths, and sleeve proportions that feel just right on your body.
These small details often make the biggest difference.
Write down your observations.
- What makes that neckline flattering?
- Why does that skirt length feel balanced?
This quiet study will guide your design decisions going forward. It helps you recognize your preferences in real terms (fit, proportion, and movement) and that awareness leads to more consistent, satisfying results each time you sew.
3. Choose the Right Fabric

Fabric choice defines how your finished garment will look, feel, and move – it’s the bridge between your inspiration and the reality you’ll wear.
Once your vision is clear, take time to choose materials that truly align with it. This is where intention matters most.
It’s easy to be drawn to a beautiful print or texture, but not every fabric will serve your design well. Pause and consider what your project needs.
- Does it call for structure or drape?
- Weight or lightness?
- Subtle sheen or matte softness?
Each fabric tells its own story through its fiber, weave, and hand – and learning to recognize those qualities will refine every project you make.
Spend time getting to know the language of fabric. Learn how weight (GSM), texture, and fiber content affect movement and durability.
You can even perform a simple burn test for natural fabrics to better understand fiber types before cutting into your yardage.
This knowledge pays off in every future project.
When testing options, handle the fabric, drape it over your arm, and imagine how it will behave once stitched.
Lay your trims and linings beside it – see how they interact, how they complement or compete.
Selecting fabric with thought and purpose ensures your garment feels exactly as you envisioned.
4. Plan Your Construction Details
Before you even sketch your design, take time to decide how you want your garment to be built.
This is where craftsmanship begins – in the quiet decisions that determine how your work will look and feel inside and out.
Think about the construction techniques that align with your fabric and vision.
- Do you want a clean Hong Kong finish inside a structured jacket?
- Would an invisible zipper suit the look, or would a lapped zipper feel more intentional?
Perhaps the pattern suggests one type of facing, but you prefer the simplicity of a bias-bound edge.
These choices give you control over both function and finish.
Even if you’re new to sewing, you can still plan details like seam finishes, hems, and topstitching.
These are design elements in their own right – subtle but powerful.
Decide how deep you’d like your hem, whether to include pockets, and whether visible stitching will complement your style.
Writing these ideas down beside your inspiration board helps you visualize how everything connects.
This level of planning transforms a pattern from a template into something uniquely yours.
5. Plan Pattern Alterations

Once you’ve chosen your construction details, take a closer look at your pattern and consider if it needs adjustments to bring your design to life.
Maybe you want to lengthen a hem, add piping along a seam, or adjust a neckline or sleeve band to suit your proportions.
These are the thoughtful refinements that make a garment truly yours.
If you’re a beginner, you can absolutely sew the pattern as written and still get beautiful results.
As your confidence grows, start experimenting – small changes, like extending a sleeve or adjusting a waistband, teach you how a pattern works.
Over time, these experiences help you use one pattern in multiple ways, creating entirely new styles from the same foundation.
Pattern alterations are not just technical adjustments; they’re creative decisions.
Each one adds intention and individuality to your work. Even a simple modification can shift the entire look and balance of a garment.
This is where sewing becomes design – where you begin shaping not just fabric, but your personal style.
6. List Out the Sewing Steps in Order
Before you begin cutting or sewing, map out the order of construction.
This is one of the most practical habits you can build.
Write down every step you plan to take – from the first seam to the final hem. Think of it as your sewing roadmap.
Patterns come with instructions, but your custom choices – special seam finishes, trims, or alternate closures – may not be reflected there.
Listing your steps ensures you don’t miss something essential, like applying a binding before closing a seam or inserting a zipper before attaching a lining.
This kind of planning clarifies your process.
It allows you to see the entire flow of your project at a glance and approach each step with calm focus.
By the time you start sewing, you’ll have already made the big decisions.
All that’s left is the steady rhythm of bringing your design together.
7. Prepare and Test Your Pattern
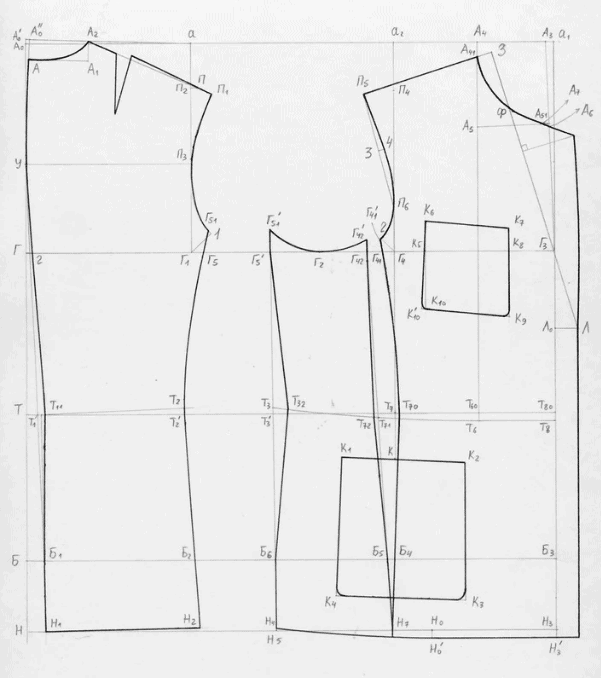
Before you reach for your fabric, pause to study your pattern.
Lay out each piece, check that all markings, notches, and grainlines are clear and easy to follow.
If you’ve made any adjustments or added custom details, update your pattern pieces accordingly. A few quiet minutes of review here prevent confusion later.
If your project involves a new pattern or an unfamiliar fit, make a quick test version using inexpensive fabric or muslin.
You can also explore these free sewing patterns online for practice pieces before committing to your main fabric.
This helps you understand how the design behaves, where adjustments may improve comfort or proportion, and how your chosen fabric might respond.
Even a simple test can reveal small refinements that make your final garment look polished and feel effortless to wear.
Preparing and testing is part of building confidence.
It allows you to step into the cutting and sewing stages knowing exactly what you’re creating.
8. Pre-Treat and Press Your Fabric
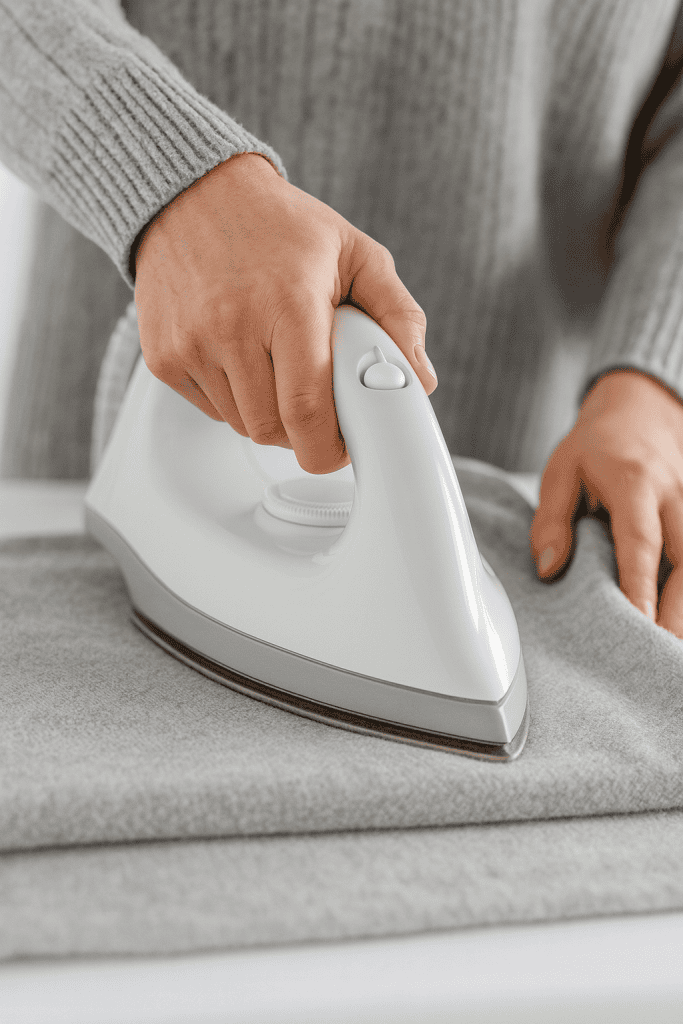
Fabric deserves attention before the first cut.
Treat it as you’ll treat your finished garment – wash, steam, or dry it in the same way you intend to care for it later.
This step relaxes the fibers, sets the texture, and ensures that your garment will maintain its shape and size after sewing.
Once pre-treated, press your fabric thoroughly. A smooth, wrinkle-free surface gives you clean cuts and precise seams.
Take a moment to check the grainlines and straighten edges if needed.
This kind of preparation might seem simple, but it’s one of the quiet secrets behind garments that look professionally made.
When your fabric is clean, smooth, and ready, you’ve created the best possible foundation for everything that follows.
9. Check Your Tools and Workspace
A well-prepared workspace sets the stage for smooth, enjoyable sewing.
Before you begin cutting, take a few minutes to organize your area and check your tools.
Make sure your scissors or rotary cutter are sharp, your pins are straight, and your rulers and measuring tapes are accurate.
Replace dull blades and clear away any clutter that might interfere with your fabric.
Lay out your fabric on a clean, flat surface with enough room to move comfortably.
Have your pressing tools nearby (iron, board, or clapper) so you can press as you go without breaking your rhythm.
Small details like good lighting and a tidy table make a real difference.
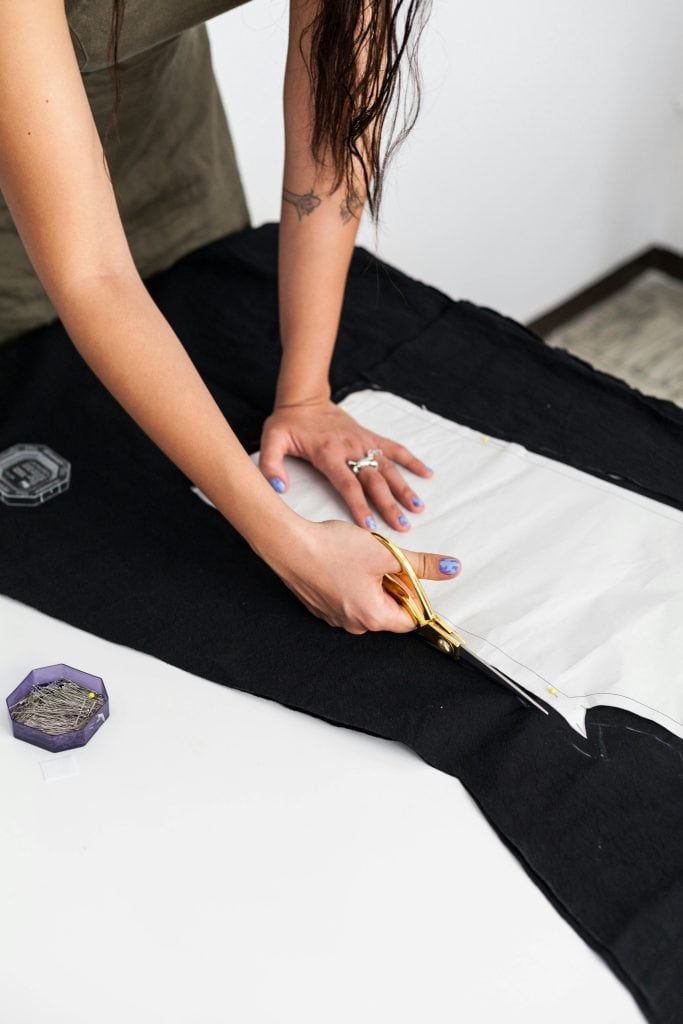
10. Lay Out With Precision

Now comes one of the most important moments before the first cut – laying out your pattern.
Take your time here; accuracy at this stage ensures every piece fits and hangs just as it should.
Align the grainline markings carefully with the fabric grain, using a ruler or tape measure to keep them straight from end to end.
Secure your pattern pieces with pins or weights, double-checking folds, prints, and directional patterns so everything aligns beautifully.
This extra care helps your finished garment drape evenly and look intentional from every angle.
Before cutting, pause and take one final look – confirm your layout, check your markings, and visualize how the pieces will come together.
If you’re unsure about any symbols or instructions, it’s always helpful to review a guide on how to read a sewing pattern before making the first cut.
When everything feels aligned, begin cutting with steady confidence.
After Cutting: Label and Organize Your Pieces
Once your fabric is cut, take a few extra minutes to label each piece before moving them from your cutting surface.
Use small paper tags, removable stickers, or chalk marks to identify each part – front, back, sleeve, collar, facing, or pocket.
Stack them in sewing order or clip them together with pattern weights or clothespins.
This simple system keeps your workflow smooth when you start sewing.
It prevents confusion later – especially with similar-looking pieces like left and right sleeves or mirrored facings.
If your project includes interfacing or lining, cut and label those pieces now, too.
A few minutes of organization here saves time and keeps your focus where it belongs: on the sewing, not on sorting.
Start Cutting with Confidence
You’ve done the thoughtful work – your fabric is prepped, your tools are ready, and your plan is in place.
Now, cutting your fabric is a steady, intentional step toward something you’ve designed with care.
When you slow down and follow these steps, your sewing time becomes smoother, more enjoyable, and deeply satisfying.
You’re not just making clothing; you’re building skill, confidence, and rhythm with every project.
If you found these steps helpful, comment down below – what’s your go-to ritual before cutting fabric? Your tip might help another sewist find their stride.
FAQs
1. Should I wash every type of fabric before cutting?
Most natural fibers – like cotton, linen, and wool – should be washed or steamed before cutting to prevent shrinkage later. However, dry-clean-only fabrics (like silk or certain wools) can be steamed or pressed instead. Always pre-treat your fabric the same way you’ll care for your finished garment.
2. How can I tell which way the grainline runs on my fabric?
Look for the selvage – the tightly woven edge that runs along both sides of the fabric. The grainline runs parallel to that edge. If your fabric doesn’t have a selvage (like a remnant or a cut piece), gently pull a thread near the edge; the direction that thread travels is your straight grain.
3. What’s the best way to cut slippery fabrics like satin or rayon?
Place a thin cotton sheet or tissue paper under the fabric before pinning or cutting. Use pattern weights instead of pins, and a sharp rotary cutter instead of scissors for smoother edges. Work slowly and avoid stretching the fabric as you cut.
4. How do I keep fabric pieces organized after cutting?
Use small sticky notes, safety pins, or tailor’s chalk to label each piece. Keep all pieces for each section (like sleeves, facings, or pockets) clipped together with clothespins or in zip pouches. Labeling saves time when assembling and prevents confusion with mirrored or similar pieces.
5. What if I notice a mistake after cutting?
Small errors happen – and they can often be fixed. If a piece is slightly short, you can add a seam allowance extension. If something’s cut off-grain, try re-cutting that piece using leftover fabric or adjusting its placement during sewing. The key is to stay calm and focus on creative solutions rather than perfection.
