
When you sit down at your sewing machine, it’s easy to focus on the fabric, the thread, or the pattern in front of you.
But underneath it all, a small piece of metal quietly makes every stitch possible – the presser foot.
These little attachments may look simple, yet they shape the way your fabric moves, how your seams line up, and how polished your projects feel when they’re finished. Learning how each presser foot works is one of the easiest ways to elevate your sewing.
It takes the guesswork out of tricky techniques and gives you cleaner seams, smoother hems, and steadier results every time.
In this article, I’ll share the 10 most common presser feet for sewing – what each one does, when to use it, and how it can help you bring more precision and joy to your projects.
What a Presser Foot Actually Does
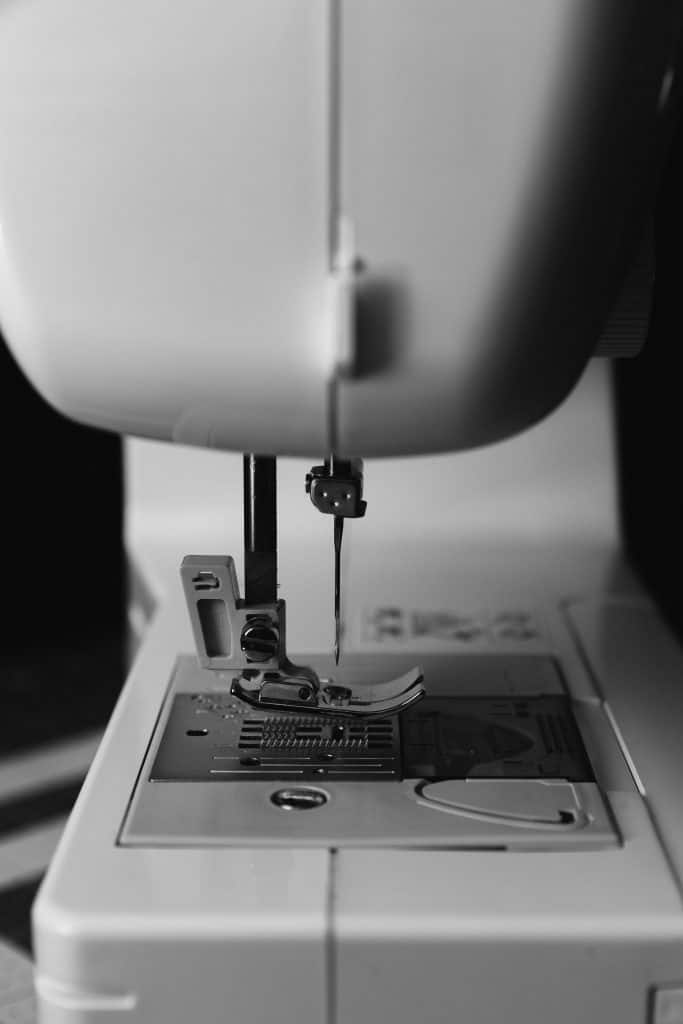
At its simplest, a presser foot holds your fabric steady as you sew.
It works with the feed dogs beneath your needle to move the fabric evenly through the machine, one stitch at a time.
But its role goes far beyond pressure and motion – the presser foot is what gives your sewing balance, accuracy, and control.
Think of it as the anchor that helps every layer stay in place while you guide your fabric.
Whether you’re stitching straight seams or turning gentle curves, the presser foot keeps your work smooth and consistent.
Each type is designed to support a specific task (hemming, quilting, inserting zippers, or adding buttons) so your stitches look clean and professional.
What’s encouraging is that switching presser feet is simple.
Most machines use a quick “snap-on” system, so changing from one to another takes just a few seconds.
With the right foot in place, your sewing instantly feels easier and more precise – a small change that makes a big difference in how your projects turn out.
If you’re trying to get your stitches looking just right, you might like my complete sewing machine settings cheat sheet for clothes. It’s a simple guide that helps you figure out the best stitch length, tension, and settings for whatever fabric you’re working with.
The 10 Most Common Presser Feet (and When to Use Each)
Ever look at all those sewing machine feet and think, “Do I really need all of these?” You’re not alone.
Each presser foot has its own job – from keeping seams straight to helping fabric feed smoothly.
Once you know what each one’s for, sewing gets a lot simpler (and a lot less frustrating).
1. All-Purpose (Zigzag) Foot
This is the standard foot that comes with nearly every sewing machine – and for good reason.
The all-purpose foot (sometimes called the zigzag foot) is built for versatility. It has a wide needle opening that allows for both straight and zigzag stitches, and slightly curved edges underneath to help fabric glide smoothly across the plate.
You’ll use this foot for the majority of your sewing – piecing seams, topstitching, sewing darts, attaching patches, or even basic edge finishing.
It handles medium-weight fabrics beautifully, like cotton, linen, or light denim.
If you look closely, you’ll notice that the bottom of the foot isn’t completely flat – that little curve helps prevent fabric bunching, especially when sewing multiple layers. And the wider opening makes it easy to switch between different stitch widths without changing feet.
When to Use It:
- Straight and zigzag stitching
- Everyday sewing and construction seams
- Attaching trims, labels, or elastic (with zigzag stitches)
Tip: When working with slippery fabrics like rayon or silk, lower your machine’s speed slightly and hold the threads gently as you start.
This prevents the fabric from sliding or getting pulled into the feed dogs.
2. Zipper Foot
The zipper foot is designed for precision – and once you use it, you’ll never go back to struggling with bulky seams.
Its slim shape allows the needle to stitch very close to a raised edge, like zipper teeth, piping, or cording.
Most zipper feet can attach to either the left or right side of the needle, letting you sew along both sides of a zipper with perfect alignment.
A standard all-purpose foot is too wide for zipper installation because it can’t get close enough to the teeth – that’s where this specialized foot shines.
The narrow profile keeps your stitching straight and even, giving your finished project a clean, tailored look.
When to Use It:
- Installing zippers on garments, pillow covers, or bags
- Attaching piping to seams or edges
- Sewing close to bulky trims or folded edges
How to Use It:
- Clip the zipper foot onto your machine, positioning it on the side you plan to sew.
- Place your zipper face down on the fabric edge, aligning the teeth with your seam line.
- Stitch slowly, guiding the fabric so the edge of the foot runs evenly along the zipper teeth.
- When you reach the zipper pull, pause with the needle down, lift the presser foot slightly, slide the pull past it, and continue sewing.
Tip: For invisible zippers, use an invisible zipper foot (a variation with grooves underneath that hold the zipper coils flat).
It opens the teeth just enough for the needle to pass close without catching – giving you a truly seamless look.
3. Buttonhole Foot
The buttonhole foot takes what can feel like a fiddly process and turns it into something reliable and repeatable.
This foot is longer than most, with markings that help you measure the exact size of the buttonhole.
Many modern versions include a built-in slider or a back slot where you place your button – the machine then automatically sews a perfectly sized buttonhole to match.
The foot works by moving the fabric backward and forward in a controlled pattern as your machine switches between straight and zigzag stitches.
This forms the four sides of the buttonhole – two narrow bars and two zigzag end stops – all in one smooth sequence.
When to Use It:
- Garments with front closures (shirts, dresses, skirts, coats)
- Cushion covers, pillowcases, or craft projects that use buttons
- Decorative details, such as faux button plackets
How to Use It:
- Select the buttonhole stitch on your machine.
- Place your button in the back slot (if your foot has one).
- Mark your fabric where the buttonhole will go – a fabric marking pen or chalk works best.
- Position the foot so the front aligns with your mark, then lower the lever (often called the “buttonhole lever”) that tells the machine when to stop and reverse.
- Sew – the machine will complete the buttonhole automatically.
Tip: Always test on a fabric scrap first. Match your stabilizer and thread type to your project so the buttonhole stitches stay crisp.
For thick fabrics, reduce the stitch density slightly to avoid bulky, stiff edges.
4. Blind Hem Foot

A blind hem foot is one of those small tools that makes a big difference when you’re ready to take your sewing from “handmade” to “hand-finished.”
This foot helps you sew hems that are nearly invisible from the front of the fabric – ideal for trousers, skirts, and drapes.
It has a metal guide down the center that keeps your fabric folded consistently as you sew, ensuring your stitches catch just enough of the hem fold to hold it in place without showing through.
The result is a polished, professional-looking edge that blends beautifully into the fabric.
When to Use It:
- Hemming dress pants, skirts, or curtains
- Finishing projects where you want a clean, invisible edge
- Working with medium to heavy fabrics like wool, twill, or linen
How to Use It:
- Fold your hem under and press it. Then fold the fabric again so that about ¼ inch of the hem edge peeks out — this is what the stitch will catch.
- Place the folded fabric under the foot with the guide running right along the main fold.
- Select your machine’s blind hem stitch (it alternates straight stitches with a small zigzag).
- Stitch slowly, adjusting the guide screw if needed so the zigzag just barely catches the fabric fold.
Tip: Match your thread color closely to your fabric and press the hem after stitching – the zigzag tucks into the fold and becomes nearly invisible.
With practice, this technique gives you hems that look like they came straight from a tailor’s shop.
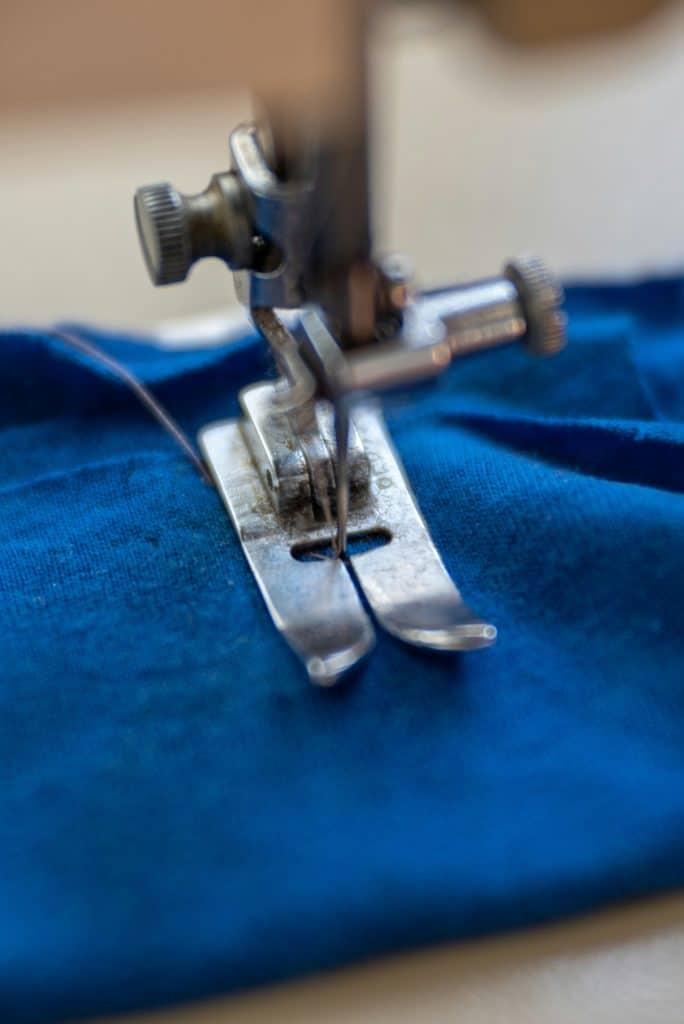
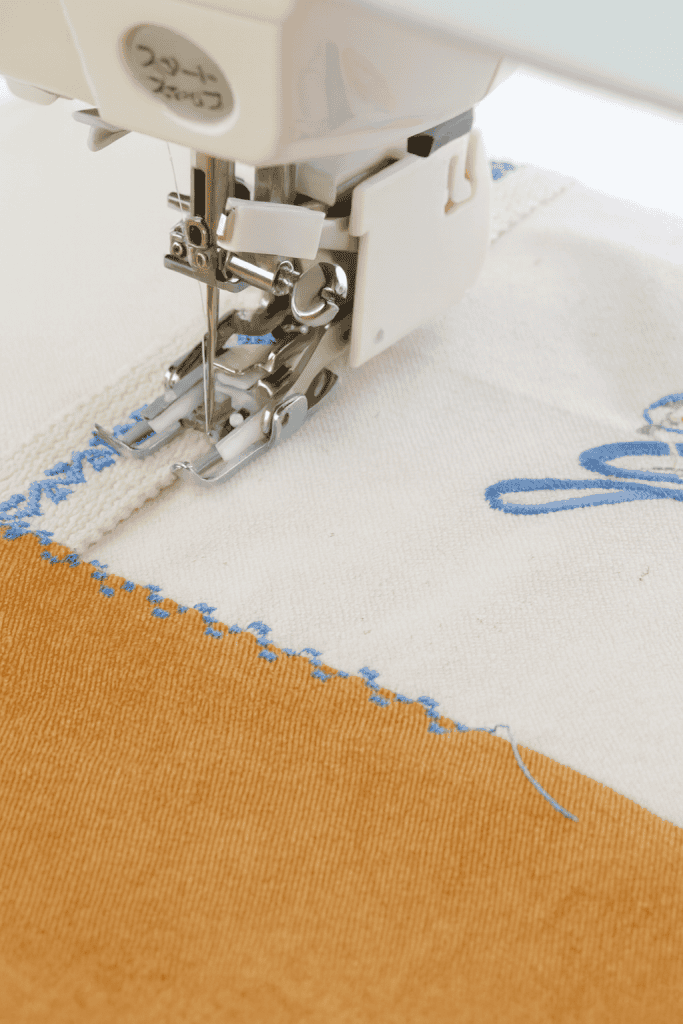
5. Overcasting Foot
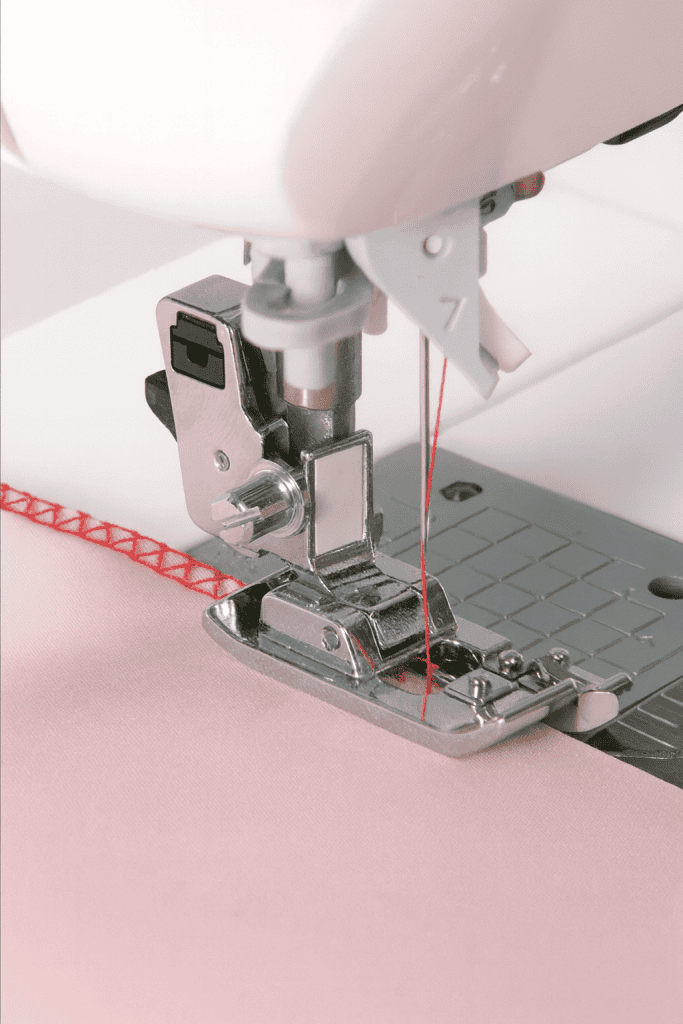
The overcasting foot is designed to give your seams a clean, finished edge – especially useful if you don’t have a serger.
It keeps fabric edges from fraying while stitching a neat overcast pattern along the raw edge.
The small metal bar in the center of the foot guides the thread evenly and prevents puckering, creating a tidy, flat seam finish.
You’ll notice a little fork or pin running along the inner edge – this acts as a barrier that keeps the thread loops from pulling too tightly, mimicking the effect of a serger’s edge stitch.
It’s perfect for woven fabrics that tend to unravel, like linen, cotton, or canvas.
When to Use It:
- Finishing raw fabric edges on garments or home textiles
- Reinforcing seams in lightweight to medium fabrics
- Working with woven materials prone to fraying
How to Use It:
- Attach the overcasting foot and select your machine’s overlock or zigzag stitch (check your manual for the recommended setting).
- Position your fabric so its raw edge lines up with the guide on the right side of the foot.
- Sew slowly, allowing the needle to swing off the edge of the fabric with each zigzag. The thread will wrap around the edge, forming a smooth, professional finish.
Tip: Use polyester thread for overcasting – it has more stretch and durability than cotton.
And remember to trim stray threads before you start, so your edge stays clean and even.
6. Walking Foot (Even Feed Foot)
The walking foot – sometimes called the even feed foot – is a powerhouse for thick fabrics, layered projects, and anything that tends to shift while sewing.
Unlike a standard presser foot, the walking foot has built-in feed dogs that move in sync with the machine’s feed dogs below.
This double grip pulls both the top and bottom layers of fabric through evenly, preventing the top from stretching ahead or the bottom from bunching up.
You’ll recognize it by its size – it’s bulkier than other feet and attaches with a lever that rests on the machine’s needle clamp screw.
That lever moves up and down with every stitch, creating the even feeding motion that makes it so reliable.
When to Use It:
- Quilting (especially when sewing through multiple layers)
- Sewing knits or stretchy fabrics that can shift
- Attaching binding, sewing stripes or plaids, or matching patterns
- Heavy fabrics like denim, canvas, or upholstery cloth
How to Use It:
- Remove your regular foot and shank, then attach the walking foot directly to the presser bar. Make sure the lever arm rests on top of the needle clamp screw – this is what powers its upper feed movement.
- Use a straight stitch and sew slowly for best control.
- Guide your fabric steadily – no tugging or pushing – and you’ll see each layer feeding smoothly together.
Tip: When quilting, pair your walking foot with a longer stitch length (around 3.0 mm) to avoid puckering and create even, relaxed stitches.
This foot is also excellent for matching plaids and stripes because it keeps your pattern aligned perfectly from start to finish.
7. Quarter-Inch Foot (1/4” Foot)

If precision is what turns a project from “good” to “beautiful,” the quarter-inch foot is the tool that helps you get there.
This foot is designed specifically to maintain a consistent ¼-inch seam allowance – the standard for quilting and many garment projects.
The distance from the needle to the edge of the foot is exactly one-quarter inch, giving you perfect alignment for piecing blocks or sewing narrow seams.
Many ¼-inch feet include a small metal guide or flange on the right side.
This edge acts as a built-in fence: as you feed your fabric, you simply keep its edge touching the guide to achieve flawless, repeatable seams without measuring each time.
When to Use It:
- Quilting and patchwork projects
- Piecing together fabric squares or strips
- Garment construction that calls for narrow or precise seams
- Topstitching near edges for decorative finishes
How to Use It:
- Attach the quarter-inch foot and select a straight stitch.
- Line up the raw edge of your fabric with the guide or edge of the foot.
- Keep your focus on that edge (not the needle) as you guide the fabric. This trains your eye for consistency and gives you neat, uniform seams every time.
Tip: For projects requiring scant ¼-inch seams (slightly less than a true ¼ inch), test your seam width on scrap fabric and adjust your needle position one step to the right.
It’s a small adjustment that keeps quilt blocks perfectly sized once the seams are pressed open.
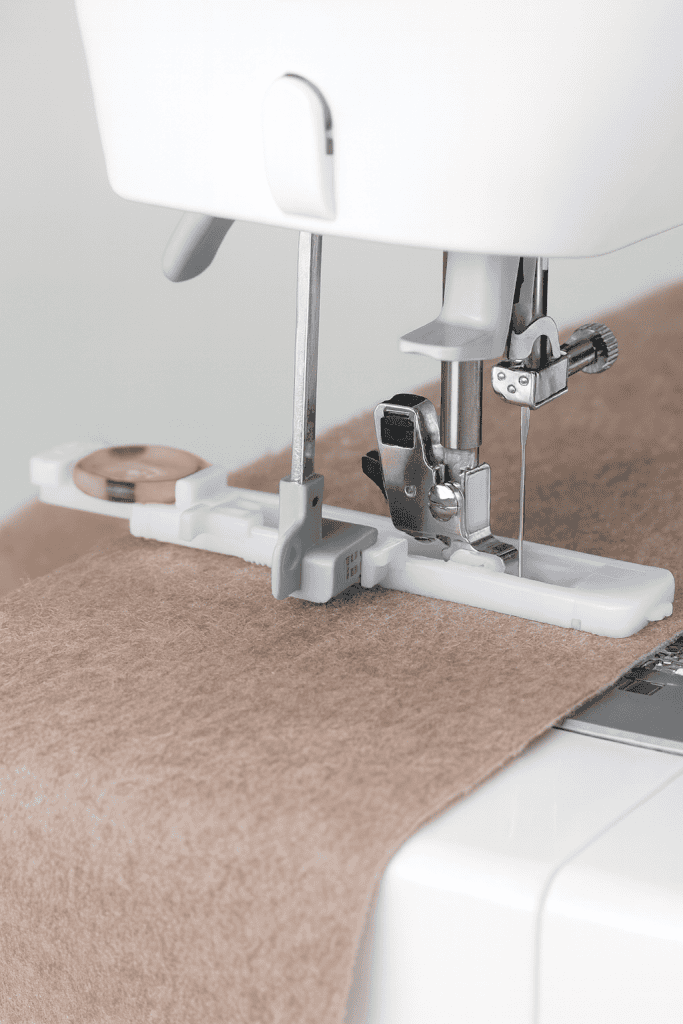
8. Gathering (or Ruffle) Foot

The gathering foot is your shortcut to soft fullness and even gathers without the tedious hand-pulling of basting threads.
It gently bunches the fabric as you sew, feeding more fabric under the needle than under the feed dogs, which creates uniform gathers or small pleats in one pass.
This foot has a raised front and a small slot underneath that helps fold and compress the fabric as it moves forward.
Depending on your machine’s stitch length and tension settings, you can control how subtle or full the gathers appear.
Some versions even let you feed a second, flat layer of fabric at the same time – stitching gathered fabric onto a smooth base (perfect for ruffled trims, aprons, and children’s clothing).
When to Use It:
- Creating ruffles for sleeves, skirts, aprons, or home décor
- Adding gathered trims to pillow edges or curtains
- Crafting tiered garments or gathered yokes
How to Use It:
- Attach the gathering foot and select a straight stitch.
- Set your stitch length between 3.5–5.0 mm and increase your top tension slightly – both adjustments will increase the fullness of the gathers.
- Place the fabric under the foot and sew at a steady pace. The foot will automatically gather as it stitches.
- For attached gathers, slide the flat fabric layer into the slot on top of the foot while the lower layer gathers underneath.
Tip: Always test your settings on a scrap first.
Different fabrics react differently – light cotton gathers easily, while denim or canvas may need a ruffler foot (a heavier-duty cousin) or two gathering passes for full results.
9. Satin Stitch Foot (Decorative Stitch Foot)

The satin stitch foot is designed for beauty and precision.
When you use dense, decorative stitches – such as satin, appliqué, or embroidery designs – this foot helps your fabric glide smoothly and prevents the thread from building up unevenly.
You can recognize it by its slightly raised, clear plastic base (or sometimes metal with a see-through center) and a wide needle opening that accommodates side-to-side motion.
The key feature is the small indentation or curve underneath the foot.
This space allows thick thread layers to pass freely without snagging, keeping your stitches flat and polished.
The transparency of the foot also gives you full visibility of your stitching line – essential when outlining shapes, doing appliqué, or adding decorative borders.
When to Use It:
- Satin stitches (tight, dense zigzag stitches)
- Decorative or embroidery-style stitching
- Appliqué, monograms, and embellishments
- Finishing edges neatly on delicate or decorative fabrics
How to Use It:
- Attach the satin stitch foot and choose a dense zigzag or decorative stitch.
- Place a stabilizer beneath your fabric to prevent tunneling or puckering (a tear-away or lightweight fusible stabilizer works well).
- Sew at a moderate speed – not too fast – allowing the stitches to form smoothly and evenly.
- Watch your guide marks through the clear foot to keep curves and corners precise.
Tip: Use embroidery thread or rayon thread for a soft sheen, and match your bobbin thread to your fabric color for a clean underside.
If your stitches look bunched, lengthen the stitch slightly or reduce upper tension until the surface lays flat and smooth.
10. Button Sewing Foot

The button sewing foot saves time and creates strong, uniform button attachments – all without picking up a hand needle.
It’s small and flat with rubber grips or raised prongs that hold the button securely in place while the machine stitches it down.
The design prevents slipping and ensures your needle hits the holes accurately every time.
This foot works with a zigzag stitch setting and lowered feed dogs so the fabric stays still while the needle moves side to side.
In a few seconds, your button is perfectly sewn on – evenly, neatly, and much stronger than hand stitching alone.
When to Use It:
- Attaching buttons on shirts, blouses, and coats
- Sewing decorative buttons on home projects or crafts
- Replacing lost buttons quickly and neatly
How to Use It:
- Lower your feed dogs or cover them (so the fabric doesn’t move).
- Position the button under the foot, aligning the needle with one hole.
- Select a zigzag stitch and adjust the stitch width to match the distance between the holes.
- Slowly turn the handwheel to make sure the needle clears both holes before stitching at a slow speed.
- After about 10–12 stitches, secure the threads and lift the foot.
Tip: For garments that need a thread shank (a little space between the button and fabric), place a toothpick or pin across the button before sewing.
Once you’re done, remove it and wrap the loose threads under the button several times – this gives the button room for the fabric to sit comfortably when fastened.
How to Choose the Right Foot for Your Machine
Most modern machines use a snap-on system, which means the feet easily attach and release with a simple lever.
The main thing to understand is compatibility – every machine has a specific “shank type” that determines how the foot connects to the presser bar.
Start by checking your sewing machine manual or the manufacturer’s website.
Machines generally fall into three categories:
- Low shank: Common for most home sewing machines (Brother, Janome, Singer, Baby Lock, etc.). These take standard presser feet that attach close to the needle plate.
- High shank: Found mostly on industrial or semi-industrial machines. These require taller presser feet made for the longer distance between the screw and the needle plate.
- Slant shank: Unique to certain vintage Singer models; these need their own specialized feet.
Once you know your shank type, you can confidently shop for additional presser feet – many are sold in universal kits labeled “for low shank machines.”
Always confirm compatibility with your model before purchasing, since some brands use slightly different attachment points.
If your machine uses a snap-on adapter, you can mix and match most feet by simply releasing the spring clip and snapping on a new one.
Older models with screw-on feet may need a small screwdriver to swap them out, but the process is still simple once you’ve done it once or twice.
A few helpful tips for choosing and using feet confidently:
- Buy quality: Metal presser feet tend to last longer and provide smoother, more stable contact than cheaper plastic versions.
- Stay organized: Keep your feet labeled or stored in a divided box. Once you start building a collection, it’s easy to forget which one’s which.
- Test before sewing: Whenever you attach a new foot, manually lower the needle to make sure it clears the opening — this protects both the needle and the foot.
- Explore intentionally: Try one new presser foot at a time. Mastering how and when to use each one will build both your confidence and your sewing precision.
Sew Better, One Foot at a Time
Once you start getting comfortable with different presser feet, sewing starts to click in a whole new way.
Suddenly your seams line up, your fabric behaves, and those little frustrations start to fade away.
Think of your presser feet as your quiet team of helpers, each one ready to make your next project go a little smoother.
The more you experiment, the more confident you’ll feel sitting down at your machine.
Whether you’re piecing a quilt, hemming a dress, or fixing a favorite shirt, you’ll know exactly which foot to reach for.
Which presser foot do you love using most – or which one are you curious to try next? Drop a comment below and let’s trade a few sewing tips!
FAQs
1. How do I know if a presser foot will fit my sewing machine?
Check your machine’s shank type – most home machines are low shank. You can confirm this in your user manual or by measuring: if the distance from the screw to the needle plate is about ¾ inch, it’s a low-shank machine. When in doubt, look for “compatible with low-shank models” on product descriptions.
2. Do I need to change my presser foot for every project?
Not necessarily – the all-purpose foot works for most sewing. But using the right foot for each task (like a zipper foot for zippers or a blind hem foot for hems) makes your sewing faster, neater, and more consistent. Switching feet becomes second nature once you see the difference in your results.
3. What’s the best presser foot for beginners to learn first?
Start with the all-purpose foot, zipper foot, and buttonhole foot – these three cover most basic projects. As you gain confidence, add others like the walking foot (great for quilting) or the overcasting foot (for clean edges). It’s best to master a few at a time rather than learning all ten at once.
4. Can I use presser feet from a different sewing machine brand?
Sometimes, yes – but only if the shank type and attachment system match. Many universal presser foot sets are designed for low-shank, snap-on machines like Brother, Janome, and Singer. However, always check the product details; some brands, such as Bernina, require a specific adapter.
5. How do I clean and maintain my presser feet?
After each big project, remove your foot and wipe it with a soft cloth to remove lint or thread residue. For metal feet, use a small brush around the joints to keep them moving smoothly. Store them in a dry container or a divided box – keeping them labeled prevents mix-ups and protects delicate parts.