Every sewist, whether brand-new or seasoned, eventually meets a moment when the machine doesn’t behave as expected.
A thread might tangle beneath the fabric, stitches might skip, or the bobbin might refuse to cooperate.
These are simply signals that something small needs attention.
When you understand the most common mistakes and their easy solutions, your sewing becomes smoother and your projects feel more enjoyable.
Think of it as adding another layer of skill to your craft: you’re not just creating, you’re also caring for the tool that helps you bring ideas to life.
In this article, I’ll walk you through the most frequent sewing machine issues, explain why they happen, and share practical fixes.
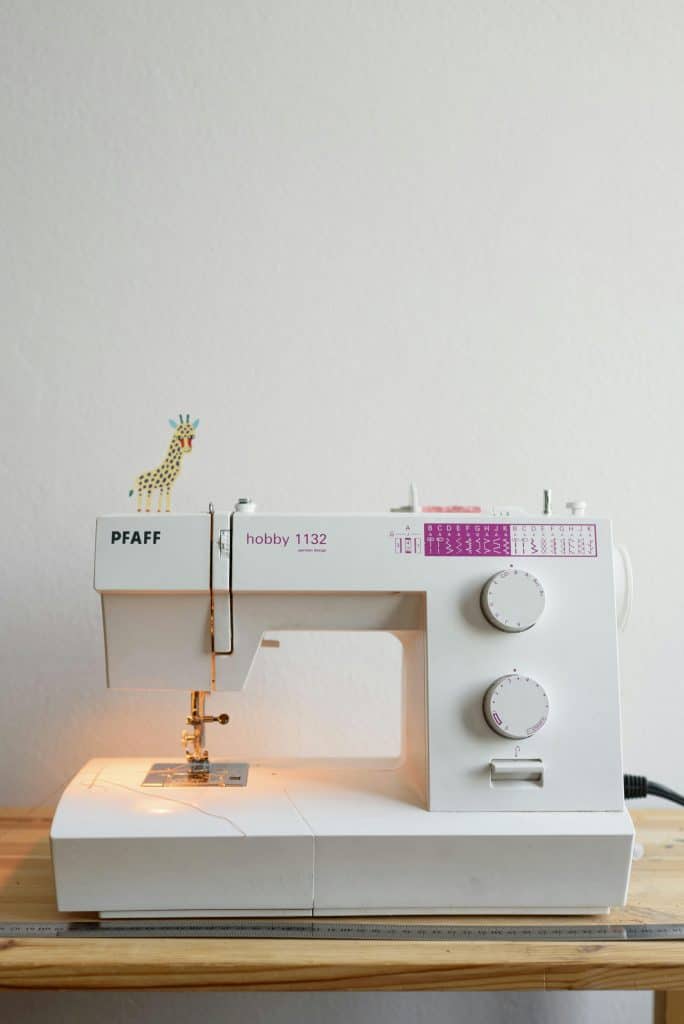
How to Set Up Your Sewing Machine Correctly (Before Problems Start)

Most sewing machine issues can be traced back to setup.
The good news is that a few mindful habits at the beginning of every project prevent the majority of mistakes before they ever appear.
This also helps you avoid many of those rookie sewing mistakes that make clothes “homemade” and keeps your projects looking polished from the very first stitch.
Start with your manual. Every sewing machine has its own rhythm and design quirks, and the manual is the clearest map to understanding yours. It may feel basic, but reviewing threading paths, tension settings, and bobbin placement helps you catch small details that make a big difference.
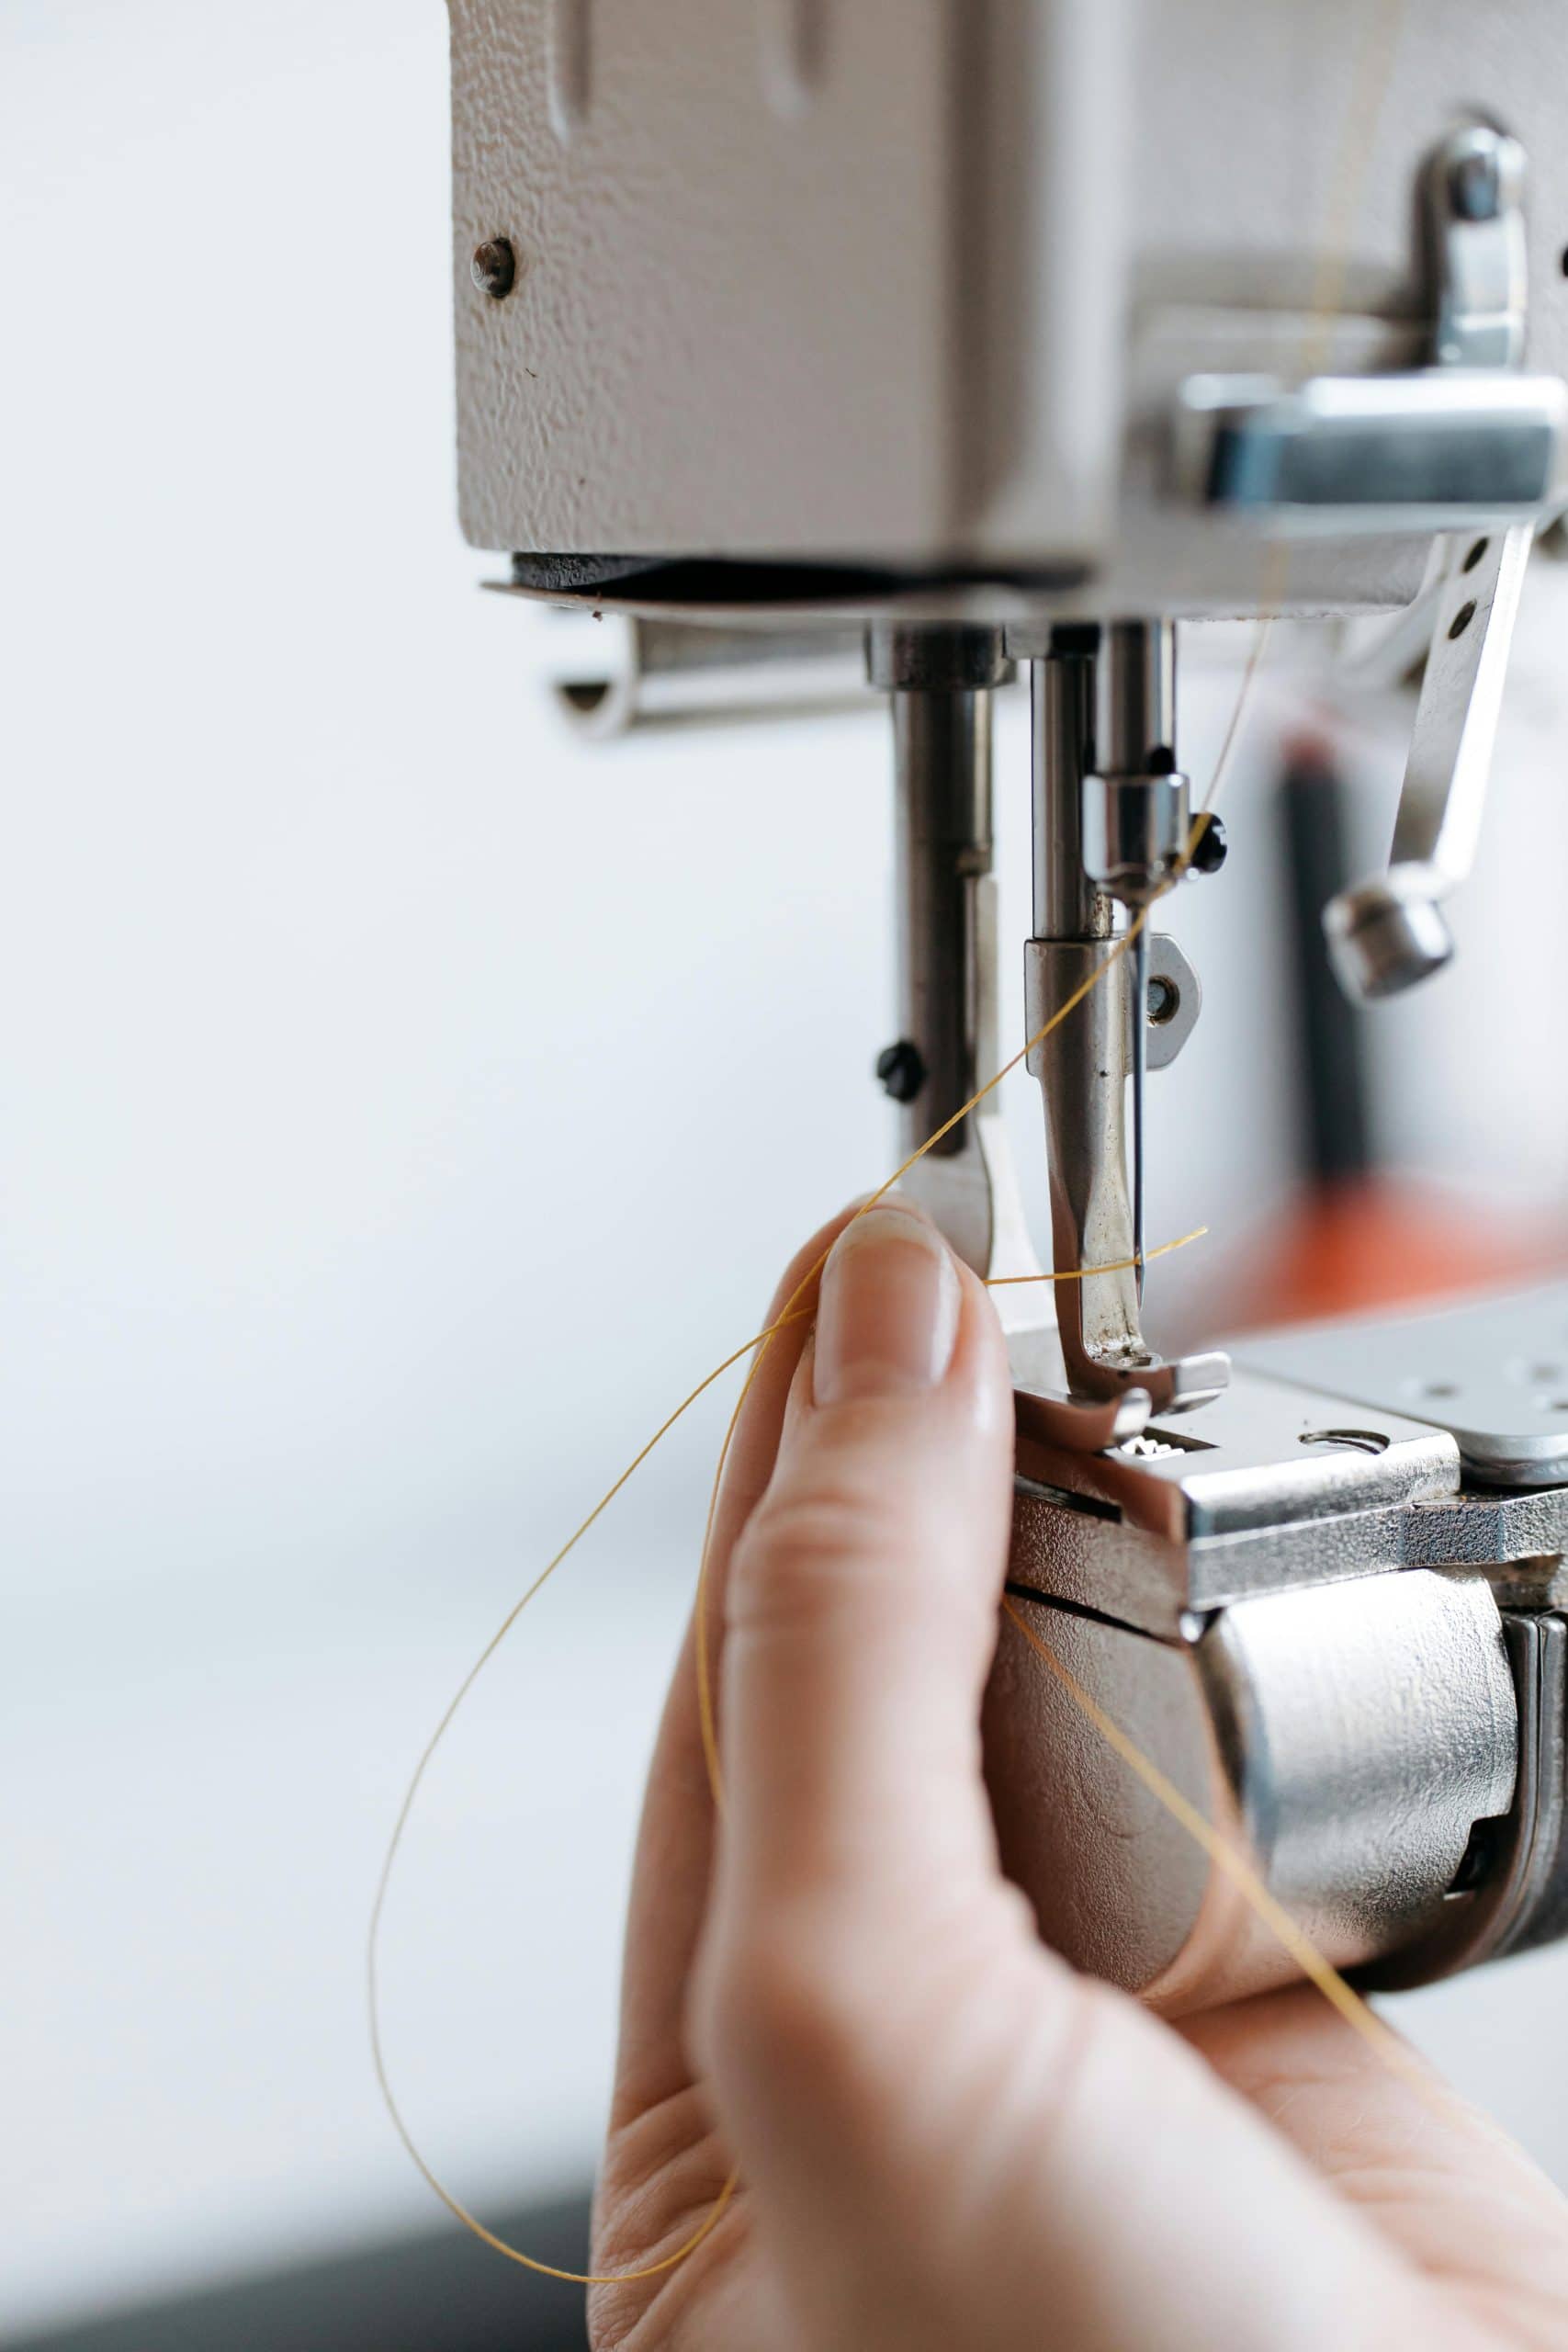
Threading matters more than you think. Even a single slip – like missing a guide or not seating the thread fully in the tension discs – can lead to thread bunching, snapping, or uneven stitches. Taking a few extra seconds to rethread with care often solves what looks like a complicated issue.
The bobbin deserves attention too. A bobbin wound unevenly or dropped in backwards can cause tangles underneath your fabric. Winding evenly, inserting it the right way, and always using the bobbin type recommended for your machine keeps stitching smooth.
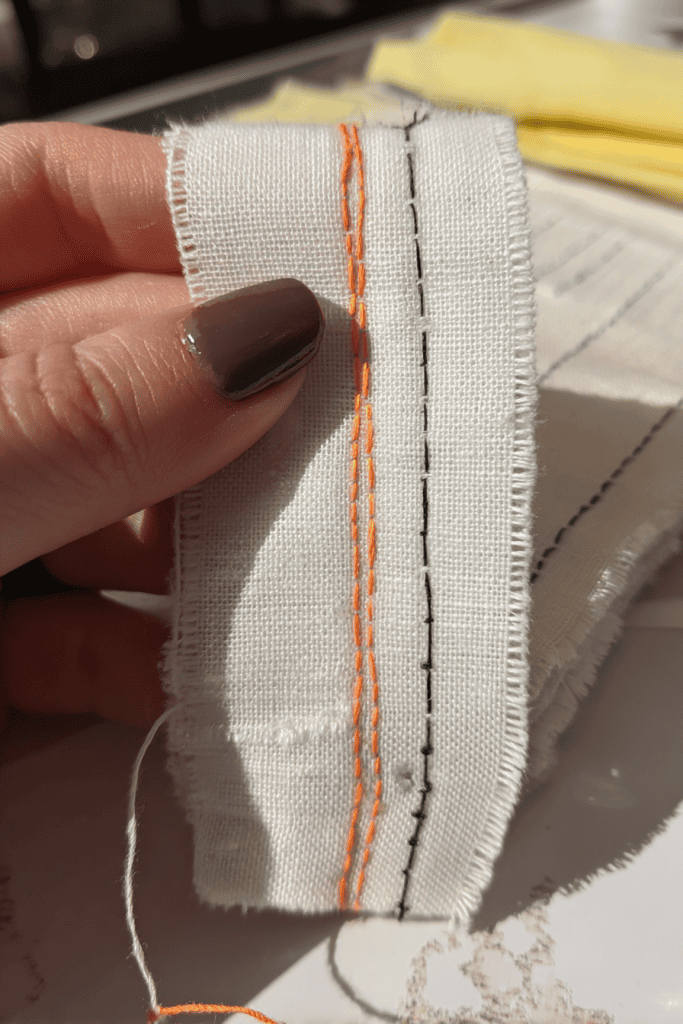
Check your tension. Think of tension as balance between top thread and bobbin thread. If they pull evenly, your stitches will lock neatly in the fabric. Start with the default setting in your manual, then make small adjustments as needed.
With these basics in place, many common sewing machine mistakes never get the chance to appear. It’s the simplest troubleshooting step: prevent problems before they start.
10 Common Sewing Machine Mistakes (and Quick Fixes!)
Even the most reliable sewing machine will sometimes act in ways that slow you down.
The good news: most issues are easy to identify and solve once you know what to look for.
Below is a list of the most common sewing machine mistakes, why they happen, and the practical steps to fix them.
1. Sewing Machine Thread Bunch Up
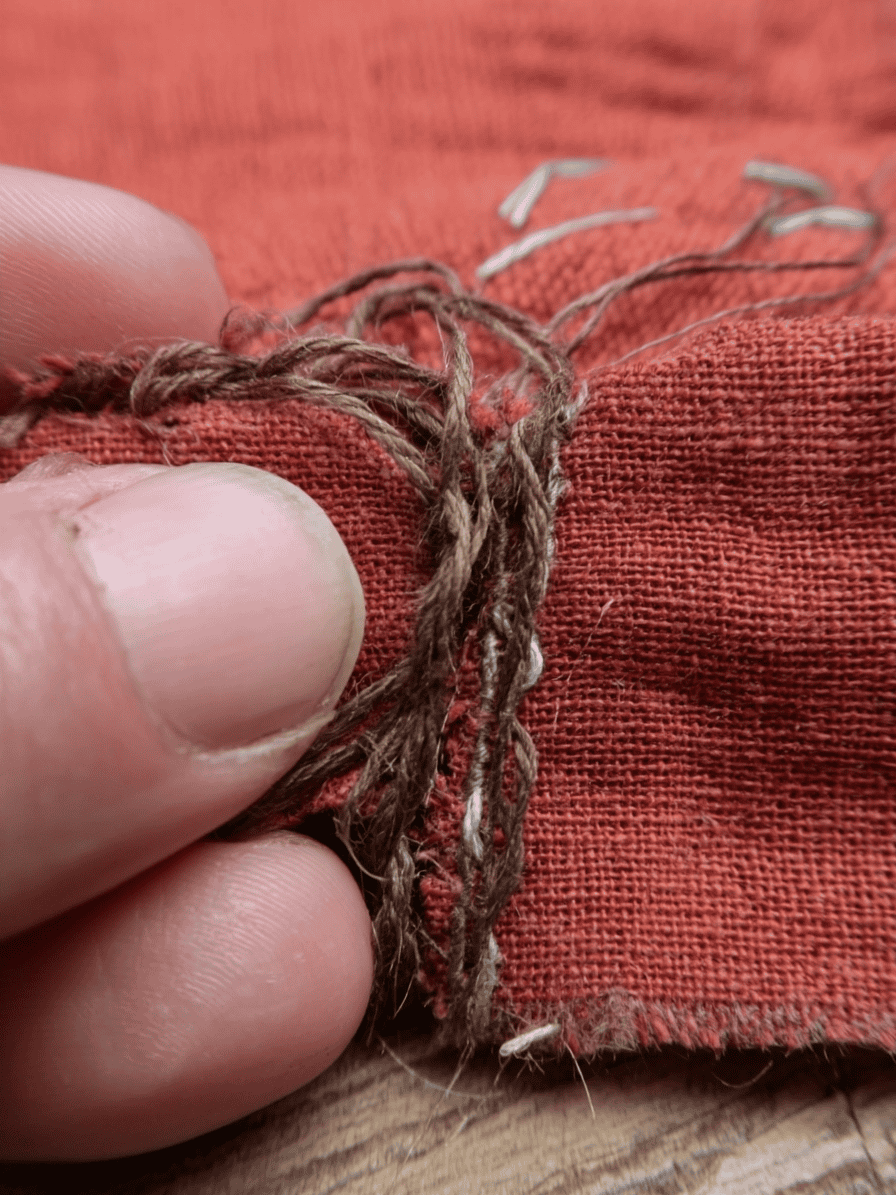
Few things feel more discouraging than flipping over your fabric and finding a bird’s nest of thread underneath.
This is one of the most common sewing mistakes – and also one of the easiest to solve once you know where to look.
Likely causes:
- The top thread isn’t fully seated in the tension discs.
- The bobbin was inserted incorrectly or wound unevenly.
- The presser foot was up while threading, leaving tension discs open.
- Tension settings are mismatched for the fabric and thread.
Practical fixes:
- Rethread completely. Raise the presser foot (to open the tension discs), remove the thread, and guide it carefully through every thread path.
- Check the bobbin. Make sure it’s wound evenly and turning in the correct direction when inserted. If not, rewind and reseat.
- Hold thread tails. For the first 3–4 stitches, hold both top and bobbin thread ends to prevent them from pulling under.
- Adjust tension gradually. If bunching persists, move the tension dial one notch at a time, testing on scrap fabric until stitches lock evenly in the middle.
2. Sewing Machine Thread Keep Breaking
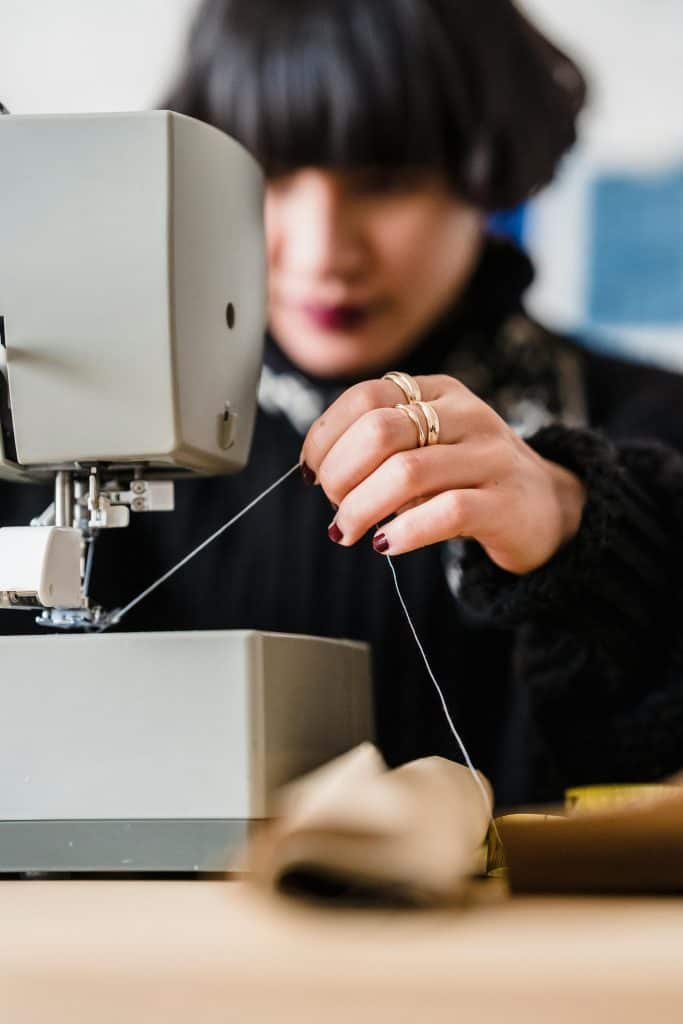
A snapping thread can halt your momentum quickly.
Instead of forcing the machine, pause – thread breakage is almost always linked to a small, correctable detail.
Likely causes:
- Tension is set too high.
- Thread is poor quality, old, or mismatched to the needle/fabric.
- Needle has a burr or eye that’s rough on the thread.
- Thread is catching on a rough spot inside the machine or spool cap.
Practical fixes:
- Lower the tension slightly. Move the dial down one step, then test again.
- Upgrade your thread. Choose a strong, smooth polyester or cotton-wrapped polyester thread rather than bargain or vintage spools that fray easily.
- Replace the needle. A fresh, sharp needle eliminates burrs that shred thread.
- Check thread path. Inspect spool cap, guides, and tension discs for burrs or lint that may snag the thread. Smooth rough edges with fine emery cloth or replace damaged parts.
3. Sewing Machine Needle Problems: Bent, Dull, or Wrong Type
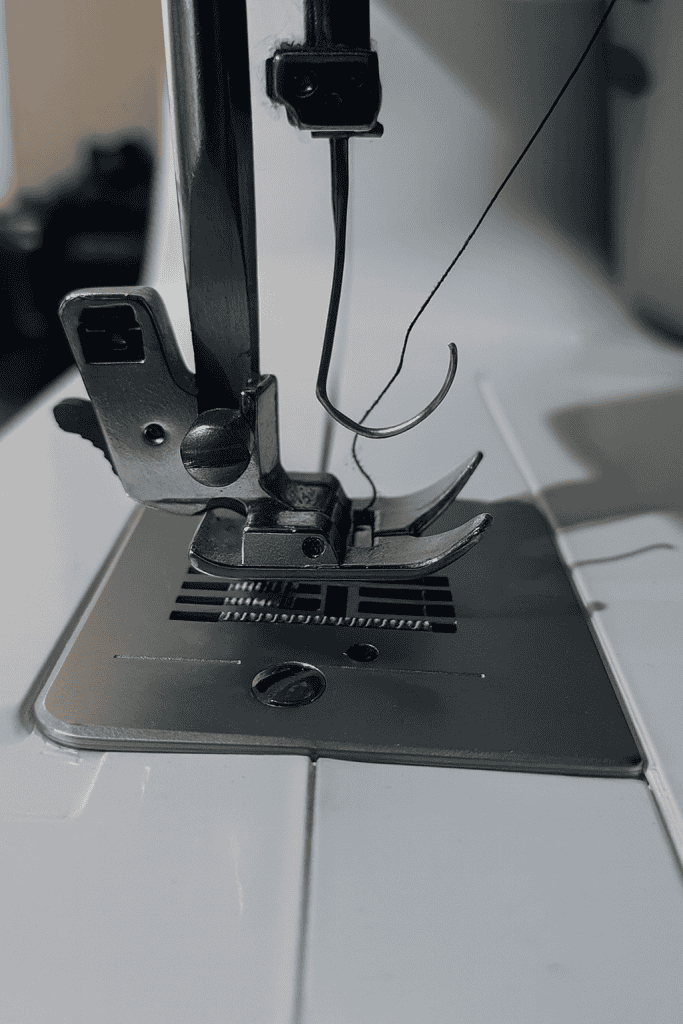
Your needle is the smallest part of the machine – but it does the hardest work.
When it’s bent, dull, or mismatched, nearly every type of stitch issue can appear.
Likely causes:
- Needle is dull from extended use.
- Needle has bent after hitting a pin or thick seam.
- Wrong needle type or size for the fabric (e.g., using a universal needle on heavy denim).
Practical fixes:
- Replace needles often. As a rule of thumb, change after 8–10 hours of sewing, or at the start of a big project.
- Match needle to fabric. Use ballpoint needles for knits, sharp/microtex for delicate woven fabrics, denim/jeans needles for heavy fabrics, and leather needles for hides.
- Use correct sizes. A 70/10 for lightweight fabrics, 80/12 for midweight cottons, and 90/14 or higher for heavy fabrics.
- Install correctly. Flat side to the back (on most machines), pushed fully up into the clamp.
4. Stitches Skipping
Skipped stitches leave gaps in your seam and can weaken your project.
This mistake often comes down to either threading issues or needle choice.
Likely causes:
- Dull or bent needle.
- Wrong needle type for the fabric (ballpoint needed for knits, for example).
- Thread not correctly seated in tension or take-up lever.
- Presser foot not applying enough pressure.
Practical fixes:
- Swap the needle first. Use a fresh needle designed for your fabric type.
- Rethread top and bobbin. Make sure thread passes through every guide and the take-up lever.
- Check presser foot pressure. Increase slightly if fabric is not held firmly.
- Slow down on tricky fabrics. On stretch knits or slippery silks, sew at a steady, moderate speed for even stitch formation.
5. Sewing Machine Not Feeding Fabric Smoothly
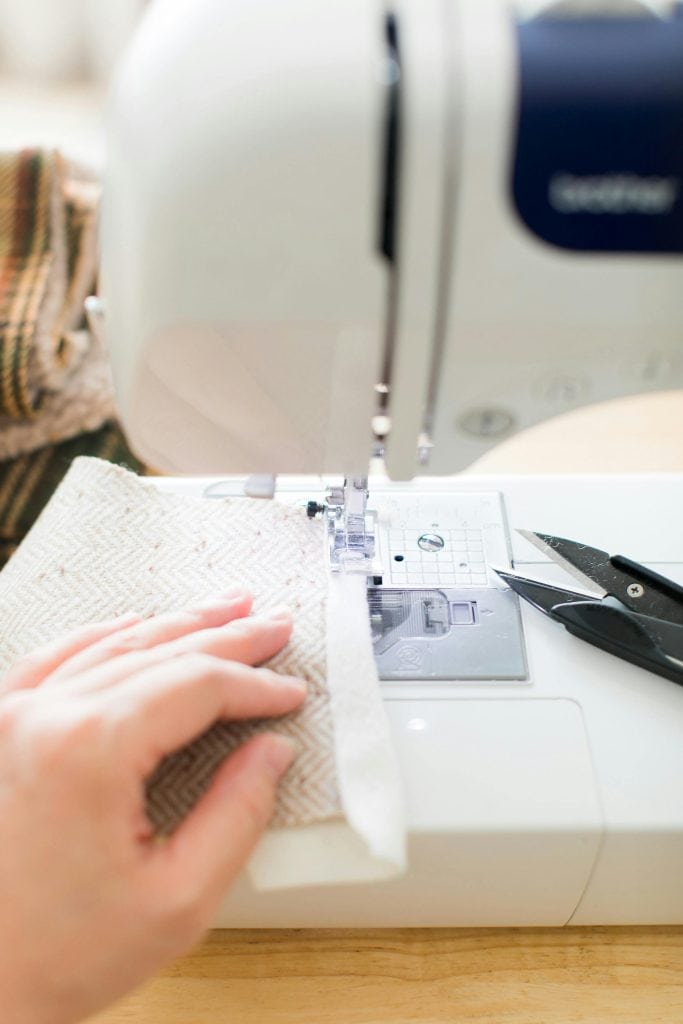
When your fabric doesn’t move forward – or bunches up under the presser foot – it interrupts the flow of your project.
The feed system underneath the fabric usually needs a small adjustment or cleaning.
Likely causes:
- Feed dogs are lowered (common after free-motion quilting or darning).
- Presser foot pressure is too light for the fabric thickness.
- Lint or thread is clogging the feed dogs.
- Starting at the very edge of fabric without support.
Practical fixes:
- Raise the feed dogs. Check the side or back lever on your machine and ensure they’re engaged.
- Adjust presser foot pressure. Increase for thick fabrics, decrease for delicate fabrics.
- Clean under the throat plate. Remove plate, brush away lint, and oil if your manual suggests it.
- Give fabric a start. Use a small scrap “leader” fabric before your actual seam to help the feed dogs grab evenly.
6. Bobbin Thread Problems: Tangles, Loose Loops, or Uneven Stitches

Bobbin issues can leave your seams looking messy on the underside, even when the top looks fine. Fortunately, these mistakes usually come down to how the bobbin was wound or inserted.
Likely causes:
- Bobbin wound unevenly, too loose, or overfilled.
- Bobbin inserted in the wrong direction.
- Using the wrong bobbin size or type for your machine.
- Lint or thread fragments in the bobbin case.
Practical fixes:
- Rewind the bobbin. Make sure thread winds evenly and firmly across the spool. Avoid filling past the bobbin’s edge.
- Insert correctly. Double-check your manual: some machines require clockwise feed, others counterclockwise.
- Use only matching bobbins. Generic bobbins can look similar but may sit too high or too low, throwing off tension.
- Clean bobbin case. Remove and brush away lint, then replace securely.
7. Sewing Machine Jamming or Making Strange Noises
A sudden jam or grinding noise can feel alarming, but it usually signals a simple mechanical block.
The key is to stop sewing immediately and clear the obstruction before damage occurs.
Likely causes:
- Thread snarled in the bobbin area or caught around the hook.
- Lint buildup in feed dogs or under the plate.
- Lack of oil in moving parts.
- Needle hitting the throat plate or presser foot.
Practical fixes:
- Stop right away. Forcing the machine can bend the needle or damage timing.
- Cut and remove thread. Open the bobbin case, clear out snags, and rethread.
- Clean thoroughly. Remove the throat plate, brush lint from feed dogs and hook race, and oil lightly (if your machine requires it).
- Check needle alignment. Make sure it’s not bent or scraping the plate.
8. Sewing Machine Won’t Start Sewing (Motor Runs but Needle Won’t Move)
Sometimes the motor hums, but the needle refuses to move.
This can feel confusing, but it usually means a simple setting or part needs attention.
Likely causes:
- Bobbin-winding mode still engaged.
- Handwheel clutch disengaged.
- Thread jam preventing motion.
- Drive belt loose or off track.
Practical fixes:
- Check bobbin-winding mode. Slide the bobbin winder back to sewing position.
- Reset the handwheel. Turn it toward you to re-engage the clutch.
- Clear jams. Remove fabric, rethread, and check bobbin area.
- Inspect the belt. If the belt is loose or slipping, adjust tension or schedule professional service.
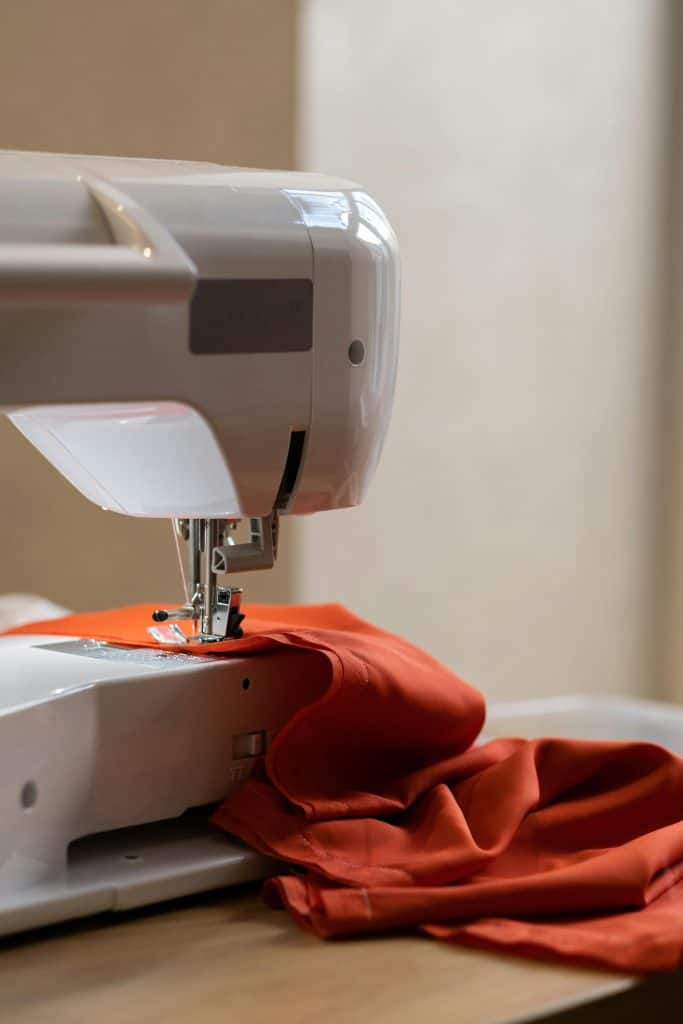
9. Uneven or Wavy Seams on Fabric
Instead of crisp, straight seams, you may notice stitches that pull, ripple, or wave along the fabric.
This issue often comes from mismatched fabric handling and tension.
Likely causes:
- Fabric stretched while sewing (common with knits).
- Tension too loose or too tight.
- Presser foot pressure mismatched to fabric thickness.
- Wrong needle or thread for fabric type.
Practical fixes:
- Let the feed dogs work. Guide the fabric without pulling or pushing.
- Adjust tension. Test on a scrap until stitches lie flat.
- Modify presser foot pressure. Reduce on delicate fabrics, increase on heavy ones.
- Use stabilizers. For very stretchy or thin fabrics, add tissue paper or water-soluble stabilizer under seams.
10. Sewing Machine Foot Pedal Problems (Unresponsive or Speed Surges)
The foot pedal controls your speed – so when it misbehaves, it can throw off your entire project.
Likely causes:
- Dust or lint buildup inside the pedal.
- Loose or damaged cord connection.
- Pedal overheating from extended use.
- Internal electrical wear over time.
Practical fixes:
- Unplug and clean. Use compressed air to clear dust inside the pedal casing.
- Check cords. Make sure the plug is fully inserted at both the machine and outlet. Inspect for wear or damage.
- Avoid overheating. Take breaks during long sessions to let the pedal cool.
- Replace if needed. Pedals are replaceable; if speed control remains erratic, a new one is the safest fix.
Prevent Sewing Machine Problems Before They Happen
The easiest form of troubleshooting is prevention.
By building a few simple habits into your sewing routine, you can avoid most of the common mistakes altogether.
These small steps keep your machine running smoothly and your projects stress-free.
Practical habits for smooth sewing:
- Change needles regularly. A fresh, sharp needle every 8–10 hours of sewing prevents skipped stitches, thread breaks, and fabric damage.
- Use quality thread. Cheap or old thread frays, stretches, and snaps. Invest in smooth, strong brands that glide through tension discs cleanly.
- Clean after every project. Lint builds up fast – especially with fabrics like flannel or fleece. Remove the throat plate, brush out feed dogs and bobbin area, and add a drop of oil if your manual calls for it.
- Cover your machine. A simple dust cover protects delicate parts and prevents lint from settling in when the machine isn’t in use.
- Keep a small maintenance kit. Store a lint brush, small screwdriver, extra needles, bobbins, and machine oil nearby so upkeep feels easy and immediate.
- Test on scraps first. Before starting a new seam, test tension, stitch length, and needle choice on a scrap of the same fabric.
These habits take just a few minutes but pay off in hours of smooth sewing.
Instead of stopping to fix mistakes mid-project, you’ll enjoy steady, even stitching from start to finish.
When to Get Professional Sewing Machine Service
Most sewing machine mistakes can be solved at home with careful rethreading, cleaning, or a simple part replacement.
Still, there are times when the smartest fix is to let a professional technician step in.
Situations where professional service is worth it:
- Persistent timing issues. If the needle and bobbin thread aren’t meeting properly – even after rethreading and tension adjustments – the machine’s timing may need resetting. This requires tools and expertise beyond home troubleshooting.
- Unusual grinding or knocking noises. A harsh mechanical sound that continues after cleaning and oiling suggests internal parts may be worn or misaligned.
- Frequent thread jams. If jams return again and again despite proper threading and clean bobbin work, the hook or bobbin case may be damaged.
- Electrical concerns. Pedals that spark, machines that lose power, or motors that smell overheated should be checked immediately by a certified technician.
- Annual maintenance. Even if your machine seems fine, a yearly tune-up helps keep it running smoothly, especially if you sew often.
Practical takeaway: Regular service extends the life of your sewing machine and makes troubleshooting less frequent. Just as a car benefits from a mechanic’s eye, your machine stays dependable when a professional checks alignment, tension, and moving parts.
Troubleshoot With Confidence and Keep Sewing Strong
Every time you pause to fix a mistake, you’re learning how your machine works and strengthening your confidence as a sewist.
With practice, these fixes become second nature, and your sewing flows more smoothly from start to finish.
Your sewing machine is a partner in creativity, and a little attention keeps it dependable for years to come.
The next time something goes wrong, you’ll know exactly where to look and what to do.
What’s the trickiest sewing machine issue you’ve faced—and how did you fix it?
Share your experience in the comments below to help other sewists learn from your solutions!
FAQs
1. How often should I oil my sewing machine?
Most machines need a drop of oil in the hook race and moving parts every 8–10 hours of use, unless your manual specifies otherwise. Some modern machines are pre-lubricated and shouldn’t be oiled, so always confirm with the manual.
2. Why does my sewing machine needle keep hitting the throat plate?
This usually happens when the needle is bent, installed incorrectly, or when the machine’s timing is off. First, replace the needle and make sure it’s fully seated with the flat side facing the correct direction. If the issue continues, professional service may be needed.
3. What’s the best way to sew over thick seams without jamming?
Use a jeans or denim needle, slow your speed, and place a scrap of folded fabric (a “hump jumper” or seam leveler) behind the presser foot to keep it level as it passes over the bulky seam.
4. Why is my sewing machine skipping reverse stitches?
If your machine sews fine forward but skips in reverse, the feed dogs or reverse mechanism may be sticky from lint or lack of oil. Clean the area thoroughly, oil lightly if your machine allows, and test again.
5. Can I use canned air to clean my sewing machine?
It’s not recommended. Canned air can push lint deeper into the machine. A small lint brush or handheld vacuum with a sewing attachment is safer and more effective for cleaning.
