Sewing is a hands-on skill that develops steadily with practice.
In the early stages, it helps to have simple techniques that make each step more approachable.
Instead of rushing, you can focus on learning the basics and enjoying steady progress.
The hacks ahead are chosen to give beginners practical support. Each one improves efficiency, brings clarity, or sharpens results.
With these tools in place, sewing feels less uncertain and more like a craft you can approach with growing confidence.
Building Confidence as a Beginner
Every new skill takes time to feel natural, and sewing is no exception. The key is to create an environment where progress feels manageable and rewarding.
That means keeping your workspace simple, using tools that make tasks smoother, and focusing on one improvement at a time.
Confidence grows from small wins – like stitching a straight seam, finishing a clean corner, or keeping supplies neatly organized.
When you see these details come together, it reinforces that you are capable and moving forward.
The more you practice with intention, the more sewing begins to feel steady and familiar, rather than something you need to figure out from scratch.
If you’re looking for easy starter projects, check out these easy things to sew as a beginner for extra practice and inspiration.
These hacks exist to shorten the learning curve.
By applying them early on, you spend less effort on unnecessary trial-and-error and more energy on building skills you can use for years to come.
10 Best Sewing Hacks for Beginners
Getting started with sewing feels smoother when you have small shortcuts to rely on.
These 10 sewing hacks will give you practical ways to stay organized, keep momentum, and create cleaner results.
Hack #1. Painter’s Tape for Perfect Seams

Straight seams are one of the first skills every beginner practices, and painter’s tape makes that learning curve easier.
Cut a strip of tape and place it directly on the throat plate of your sewing machine, lining it up with the seam allowance you need – most often ⅝ inch or ½ inch.
Instead of constantly watching the tiny markings on the metal plate, your eyes can now follow the edge of the tape.
The bright line acts like a runway for your fabric, guiding it smoothly as you stitch.
If seam allowances still feel confusing, you may want to review my essential guide to seam and hem allowances to understand how different projects require different measurements.
Because painter’s tape is low-tack, it peels off without leaving sticky residue, and you can reposition it for different seam widths as often as you like.
It’s inexpensive, reusable, and gives you a reliable reference point every time you sit down at the machine.
For beginners, this hack builds the habit of sewing with consistent seam allowances – something that instantly makes projects fit together better and look more polished.
Hack #2. Rubber Band as a Seam Guide
A thick rubber band wrapped around the free arm of your sewing machine works as a quick seam allowance marker.
Unlike tape, which lies flat, the rubber band creates a raised edge that you can run your fabric against as you sew.
This tactile guide is especially useful when you’re first training your hands to move fabric in a steady line.
To use it, simply slide the rubber band to the spot that matches your desired seam width. If you’re switching between narrow seams and wider hems, you can adjust it in seconds.
It doesn’t damage the machine, and it can stay in place as long as you need it.
Beginners often find this hack reassuring because it removes guesswork – your fabric touches the band, and the seam naturally stays straight.
Over time, it helps develop muscle memory so straight seams feel less like effort and more like second nature.
If you’re also practicing your pin placement, see my guide on how to pin fabric the right way to help your seams stay aligned before they even reach the machine.
Hack #3. Chain Piecing to Save Time
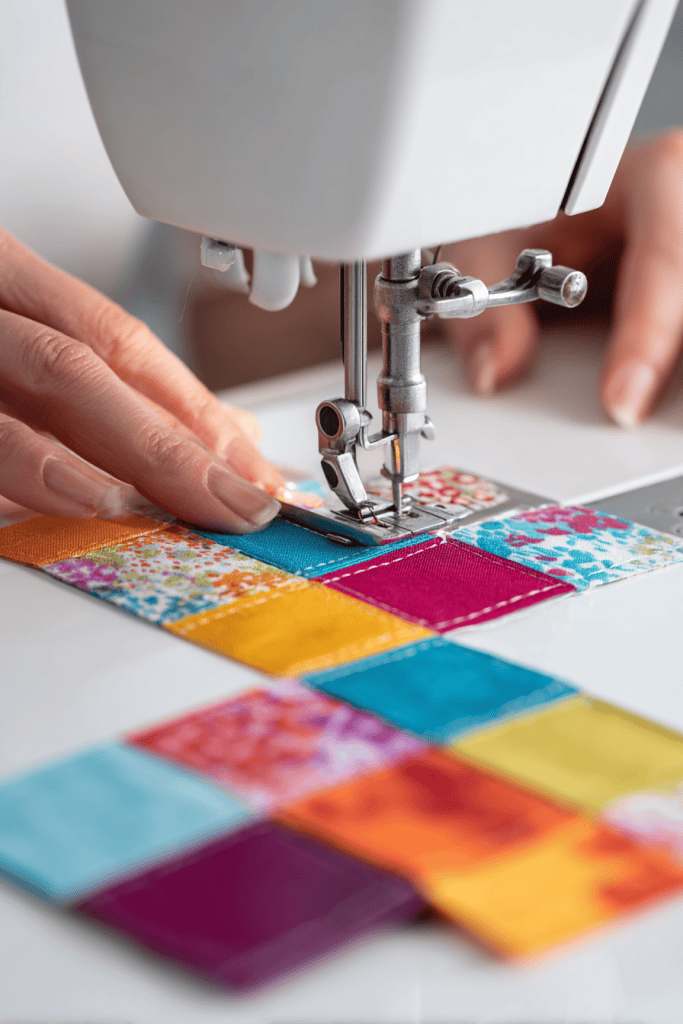
When you’re sewing multiple small pieces, stopping after every seam to trim threads can feel slow and distracting.
Chain piecing solves this by letting you feed fabric pieces one after the other under the presser foot without cutting the thread in between.
Each new piece follows the last, creating a “chain” of stitched fabrics connected by small thread bridges.
This technique is especially helpful if you’re practicing straight seams, working on patchwork, or sewing multiples of the same project.
You only pause once at the end to snip everything apart, which saves both time and thread.
For beginners, chain piecing also reduces the stop-and-start rhythm that sometimes makes sewing feel overwhelming.
Instead, you stay in a steady flow, building consistency with each seam.
Hack #4. Soap Slivers as Fabric Markers

Buying fabric chalk isn’t always necessary – especially when you already have a handy alternative in your home.
The thin, leftover pieces of bar soap that are too small to use make excellent fabric markers.
Their edges create clean lines, they glide easily over most fabrics, and best of all, the marks naturally wash out with water.
This hack is not only thrifty but also practical: soap markings are visible on light and dark fabrics alike, and you can sharpen the edge with a quick slice if you want finer lines.
Beginners often find soap easier to control than chalk because it doesn’t crumble or smudge.
Keeping a few soap slivers in your sewing kit means you always have a reliable, eco-friendly way to mark darts, buttonholes, or hemlines without an extra trip to the store.
Hack #5. Binder Clips for Bulky Fabrics
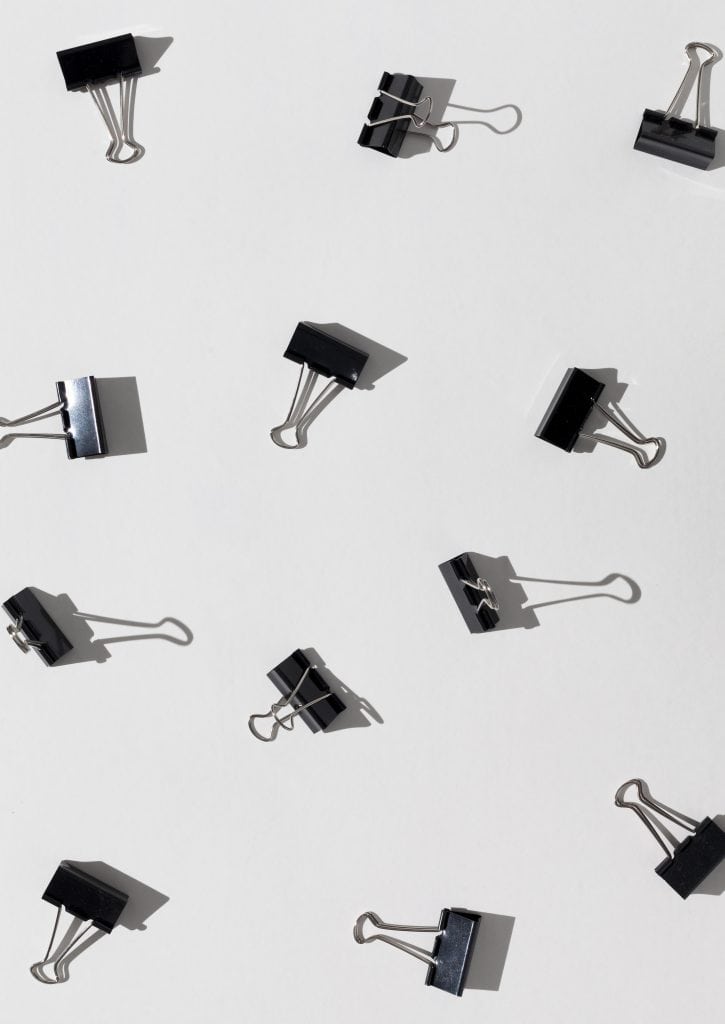
Thick fabrics like denim, canvas, or quilt layers can be tough to manage with pins.
Pins may bend, snag threads, or simply not hold the layers securely. A simple swap makes the process much easier: use small binder clips instead.
These sturdy little office supplies grip layers firmly without leaving holes in the fabric, and they’re quick to attach and remove as you sew.
This hack is especially useful when hemming jeans, attaching straps to heavy bags, or piecing together quilts.
Unlike pins, binder clips hold fabric edges flat, so nothing shifts out of place as you guide it under the presser foot.
They also save your fingers from unnecessary pricks, making sewing with thicker materials more approachable.
Keeping a handful of clips in your sewing kit ensures you’re ready for those projects where pins just aren’t enough.
Hack #6. Pre-Wind Extra Bobbins
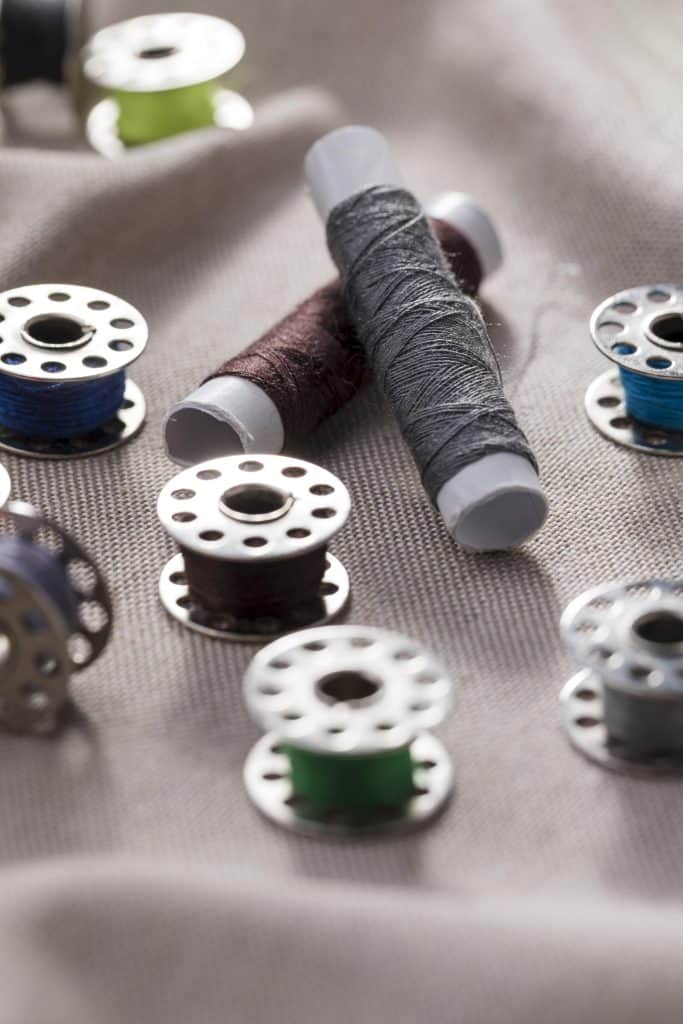
Few things interrupt sewing flow more than running out of bobbin thread in the middle of a seam.
Beginners often don’t realize how quickly bobbins empty, especially when working on longer seams.
A smart habit is to pre-wind several bobbins in your most-used thread colors before you begin a project.
Having extras on hand means you can swap one in immediately and keep going without breaking your rhythm.
This hack doesn’t just save time – it helps you stay focused. When your attention isn’t pulled away by an empty bobbin, you can concentrate on stitching steadily and building confidence.
Many sewists keep a small organizer box for their bobbins, winding two or three at a time in white, black, or neutral shades since these colors appear in so many projects.
Over time, this habit becomes second nature, and your sewing feels more seamless from start to finish.
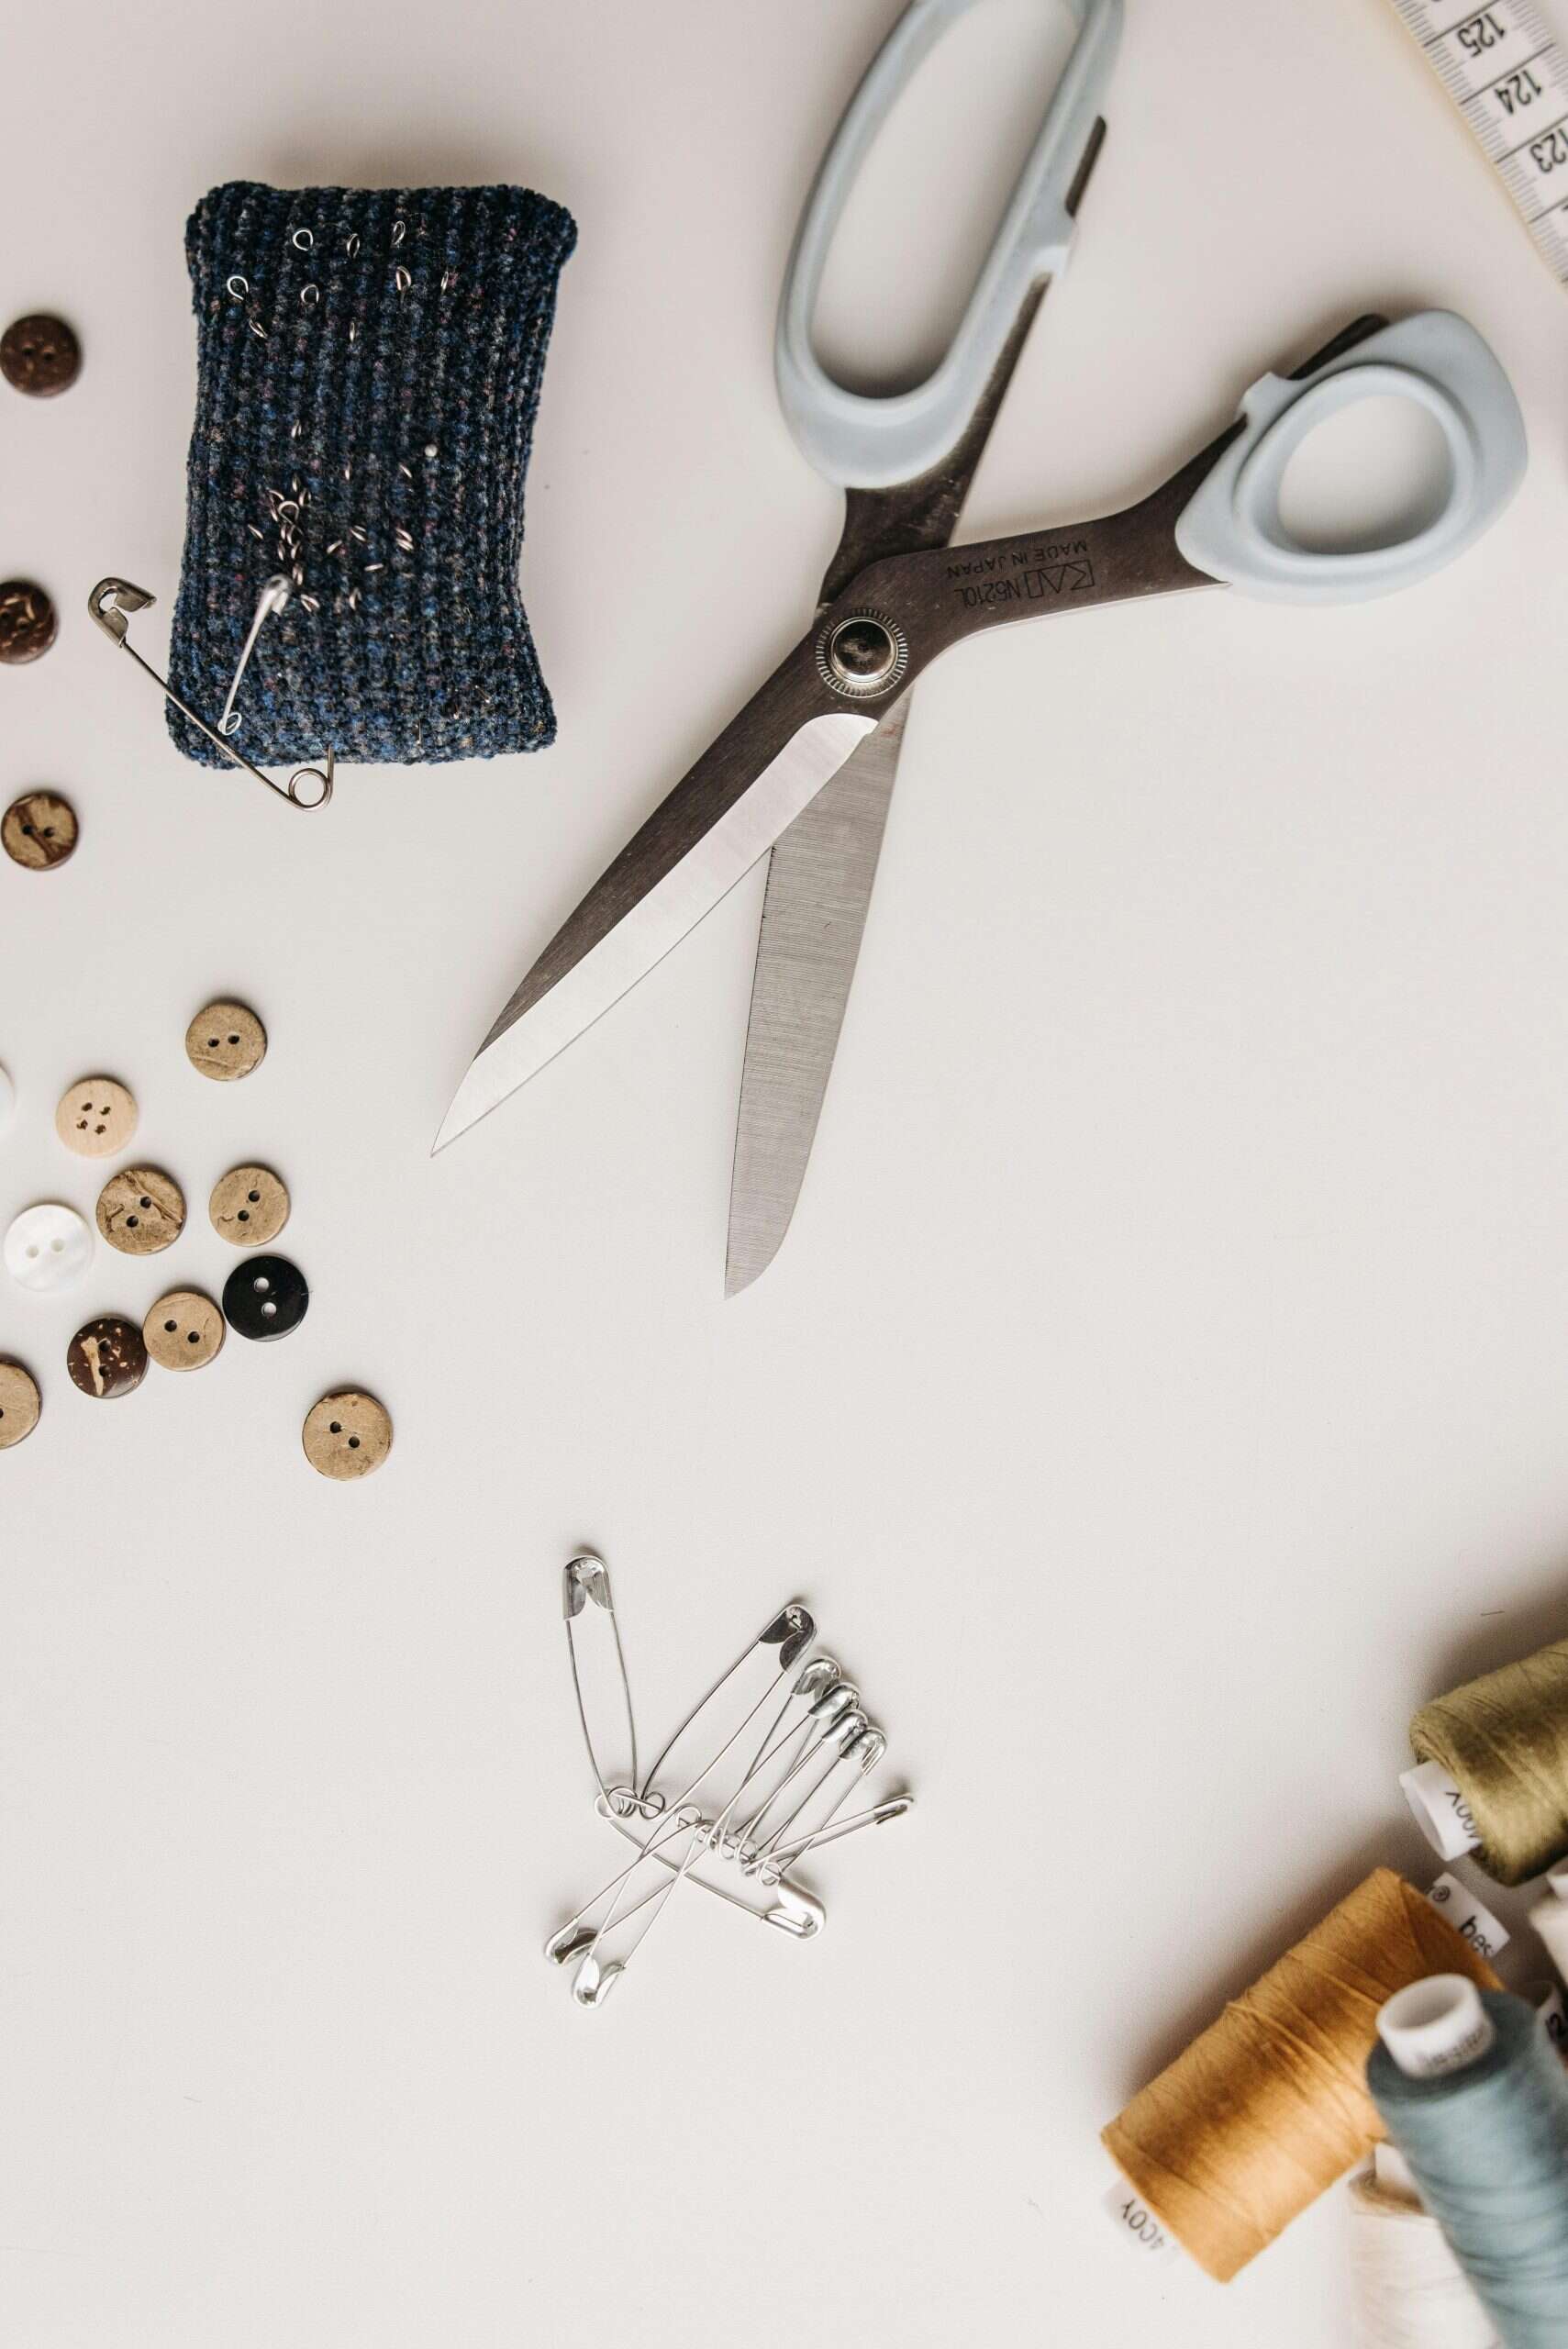
Hack #7. Magnetic Pin Dish for Easy Cleanup
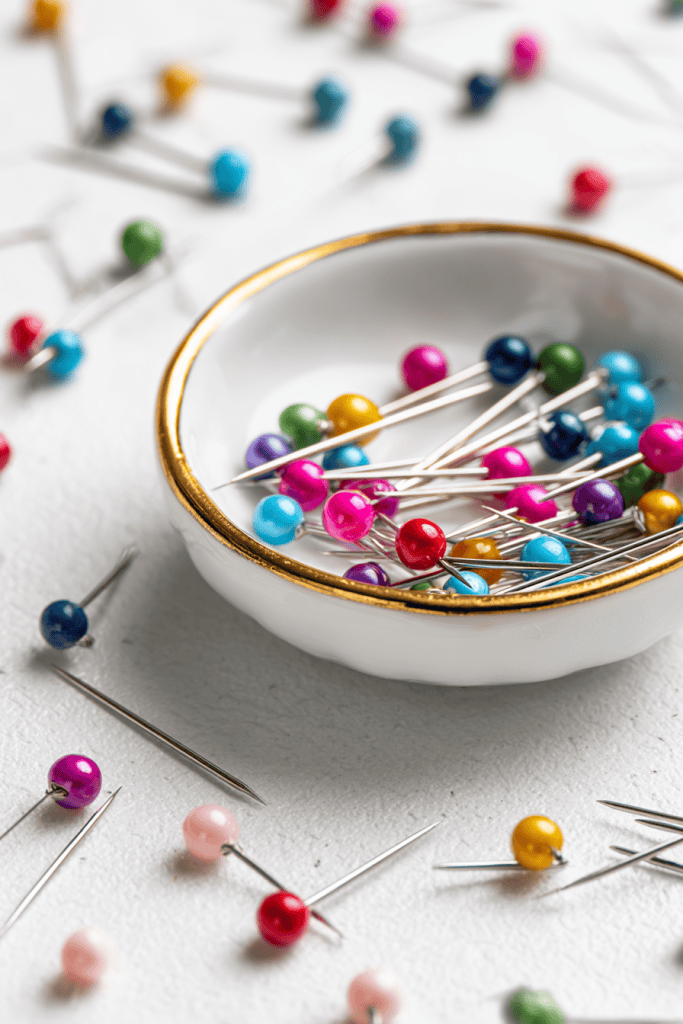
Pins are essential tools, but they have a way of scattering across tables and floors, especially when you’re just getting comfortable with sewing.
A magnetic pin dish keeps them neatly contained and always within reach. Simply drop your pins toward the dish, and the magnet gathers them instantly.
It also makes cleanup quick – just wave the dish over your workspace, and loose pins jump into place.
You don’t need a specialty product to use this hack. Many sewists repurpose magnetic bowls from hardware stores, which are inexpensive and sturdy.
For beginners, this small upgrade brings peace of mind: no more wasted minutes searching for pins, and fewer worries about leaving one behind on the floor.
Once you start accumulating patterns and tools, organizing everything properly becomes just as important as sewing itself. Take a look at my guide on how to store sewing patterns will help you keep your workspace efficient and clutter-free.
Hack #8. Spray Bottle for Crisp Seams
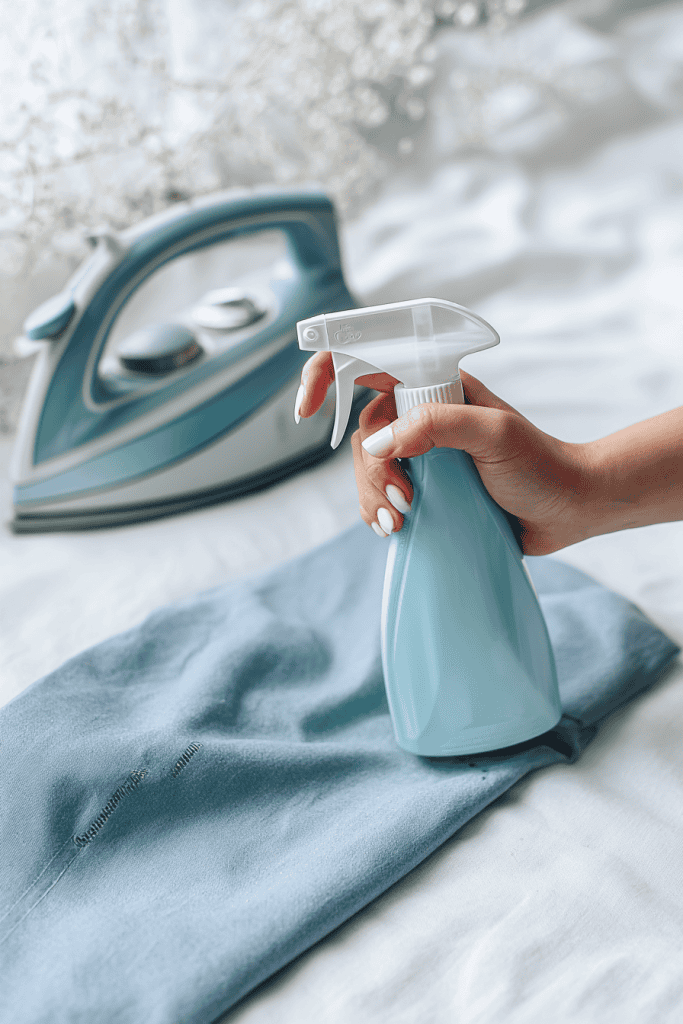
Pressing seams is a key step for polished sewing, but setting up the iron isn’t always convenient – especially for quick practice projects.
A simple spray bottle filled with water gives you an easy alternative.
A light mist relaxes fabric fibers, making them easier to fold, flatten, or finger-press into place before sewing.
It’s also handy for taming wrinkles in fabric pieces right at your worktable.
For best results, use a fine-mist spray so the fabric doesn’t get overly damp.
Beginners find this hack especially useful when learning to press seams open or to one side, since a little moisture helps them stay put.
While an iron will always have its place, a spray bottle is a lightweight, accessible tool that helps your sewing look neater with very little effort.
Hack #9. Clip Corners and Notch Curves for a Smooth Finish
When sewing pillows, bags, or garments, corners and curves can look bulky if you leave the seam allowance untouched.
A simple fix is to trim away the extra fabric before turning your project right side out.
For corners, clip the fabric diagonally across the point to reduce thickness.
For curves, cut small notches into the seam allowance so the fabric spreads evenly without bunching.
This hack transforms the final look of your project. Instead of stiff edges or puckered curves, you get crisp corners and smooth, flowing lines.
It’s a beginner-friendly technique that adds a professional touch without requiring advanced skills.
The extra minute you spend clipping pays off with results that feel more polished and satisfying.
Hack #10. Store Needles with Labels in a Pin Cushion
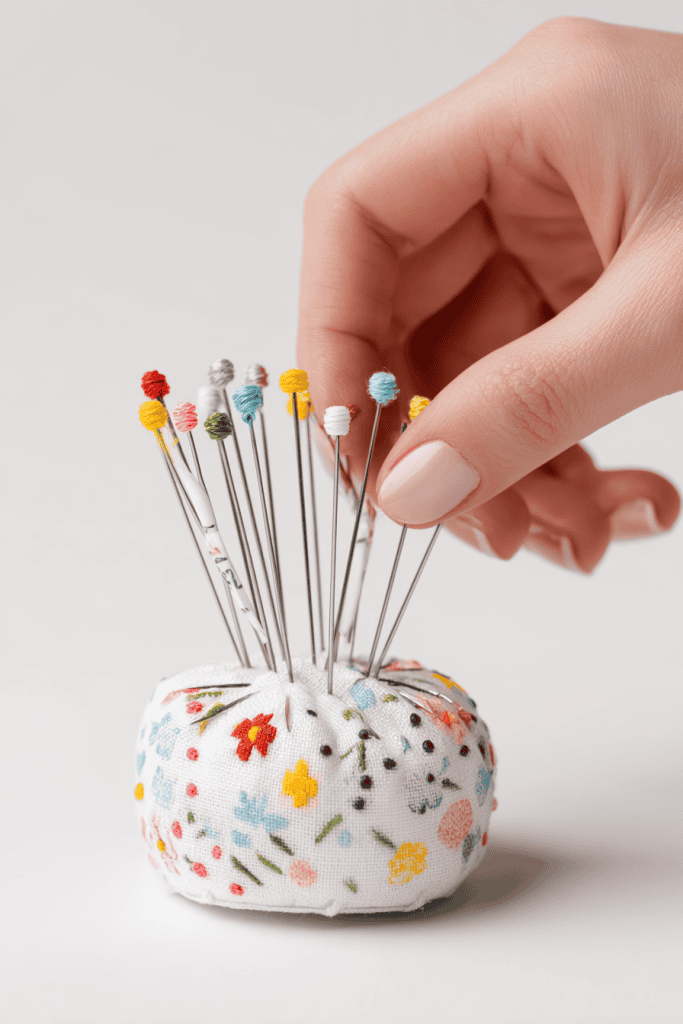
Sewing needles may look similar at a glance, but they come in different sizes and types suited for specific fabrics.
To keep them organized, use a tomato-style pin cushion (or any firm cushion) and mark sections with simple labels: “Universal 80/12,” “Denim 90/14,” “Ballpoint 70/10,” and so on.
As you switch needles during projects, place them back in the right spot instead of tossing them loosely in a drawer.
This hack saves time and builds confidence.
You’ll always know which needle you’re reaching for, and you’ll avoid the guesswork of trying to match unmarked needles later.
Beginners benefit most from this habit because it encourages intentional use of tools – choosing the right needle makes sewing smoother, prevents skipped stitches, and extends the life of your fabric.
If you want to strengthen your foundation even further, check out my roundup of common sewing mistakes you must avoid to help you sidestep beginner frustrations before they slow your progress.
Putting These Hacks Into Practice
Having clever tricks at your fingertips is only part of the journey – what matters most is how you use them.
Start by choosing one or two hacks that fit the project you’re working on now.
If you’re practicing seams, try painter’s tape or a rubber band guide. If you’re organizing your tools, set up a magnetic pin dish or label your needle cushion.
The goal is to build steady habits. Each time you use a hack, you strengthen your sewing rhythm and make the process smoother.
Over time, these small adjustments stack together, helping you feel capable and prepared for more advanced projects.
Start Sewing Smarter Today
These 10 beginner-friendly hacks are simple, practical ways to keep sewing organized, efficient, and enjoyable.
By weaving them into your routine, you’ll notice projects come together with less effort and more confidence.
Choose one hack to try on your very next project and see how it changes the experience.
Then add another, and another – soon these small steps will feel second nature.
Sewing is a journey best learned in layers, and these clever techniques give you a strong foundation to build on.
Which hack will you try first? Share your thoughts or your own favorite beginner sewing hacks in the comments below!
Keep Your Sewing Patterns Neat and Easy to Find

As the seasons pass and projects add up, those little paper patterns have a way of piling into drawers and baskets.
And when you go to remake something, you end up searching instead of sewing.
So I created these Free Sewing Pattern Labels to make things easier.
They’re simple.
They’re pretty.
And they help you store your patterns in a way that feels calm and intentional.
Print them, fill them out, and tuck them onto your pattern envelopes. That’s it.
A small step that keeps your creative space feeling peaceful and ready for the next project.
FAQs
1. What are the easiest sewing hacks for absolute beginners?
The simplest hacks to start with are painter’s tape for guiding seams, a rubber band on the sewing machine arm, and using a magnetic pin dish. These require almost no setup and instantly make sewing feel more manageable.
2. Do I need to buy special tools for these hacks?
Not at all. Most of these hacks use items you may already have at home – like soap slivers, binder clips, or painter’s tape. Over time, you can add more sewing-specific tools, but these hacks prove you can start with what you have on hand.
3. How do sewing hacks actually help beginners?
They remove unnecessary frustration and help you focus on building skill. For example, pre-wound bobbins prevent interruptions, while clipping corners makes projects look more polished. These small steps add up to smoother sewing and better results.
4. Can these hacks be used on any type of project?
Yes. Whether you’re making simple pillowcases, hemming jeans, or piecing a quilt, these hacks apply. Some are especially useful for heavy fabrics, while others help with precision or organization. Beginners can adapt them to almost any project.
5. What’s the best way to build confidence with sewing?
Start small, use hacks that simplify each step, and celebrate small wins – like a straight seam or a neatly pressed edge. As you repeat these successes, your confidence grows naturally. Consistency matters more than speed or perfection.

Hello!
These hacks are options I will use immediately. Thank you!